AUTUMN CHALLENGES
NOVEMBER

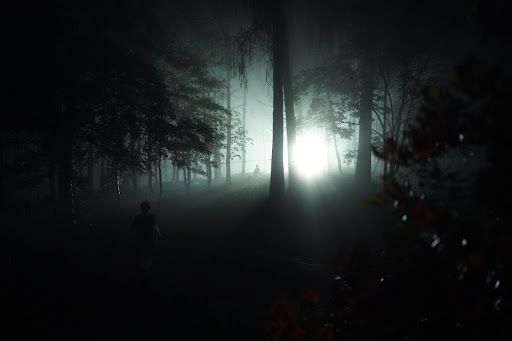
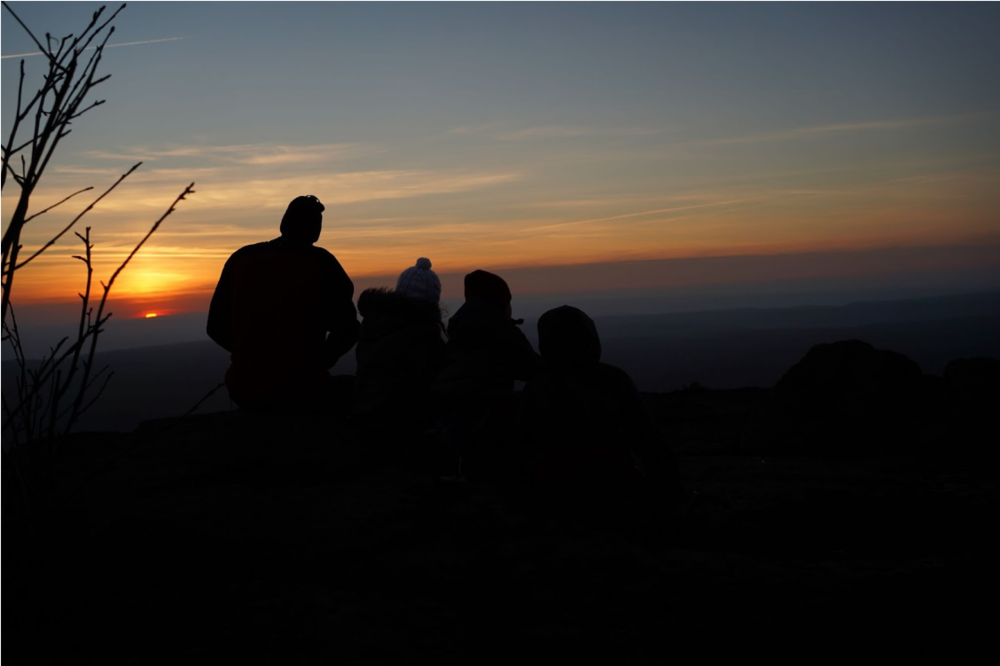
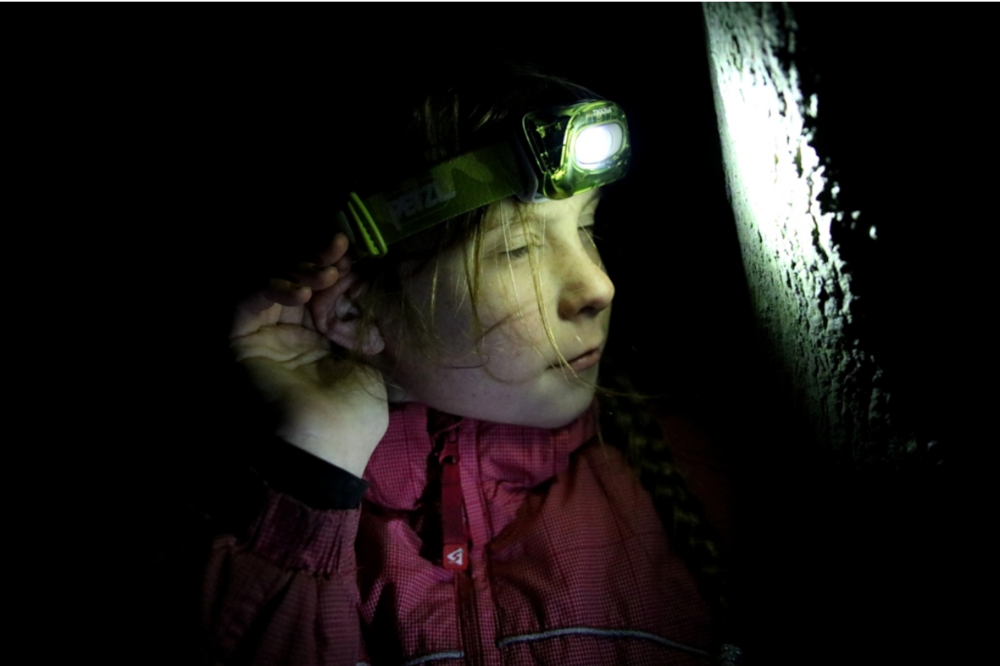


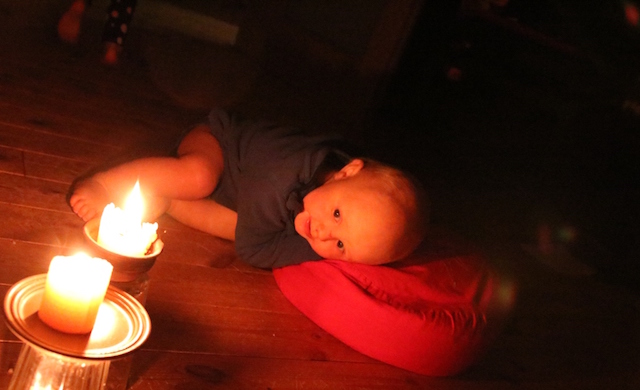

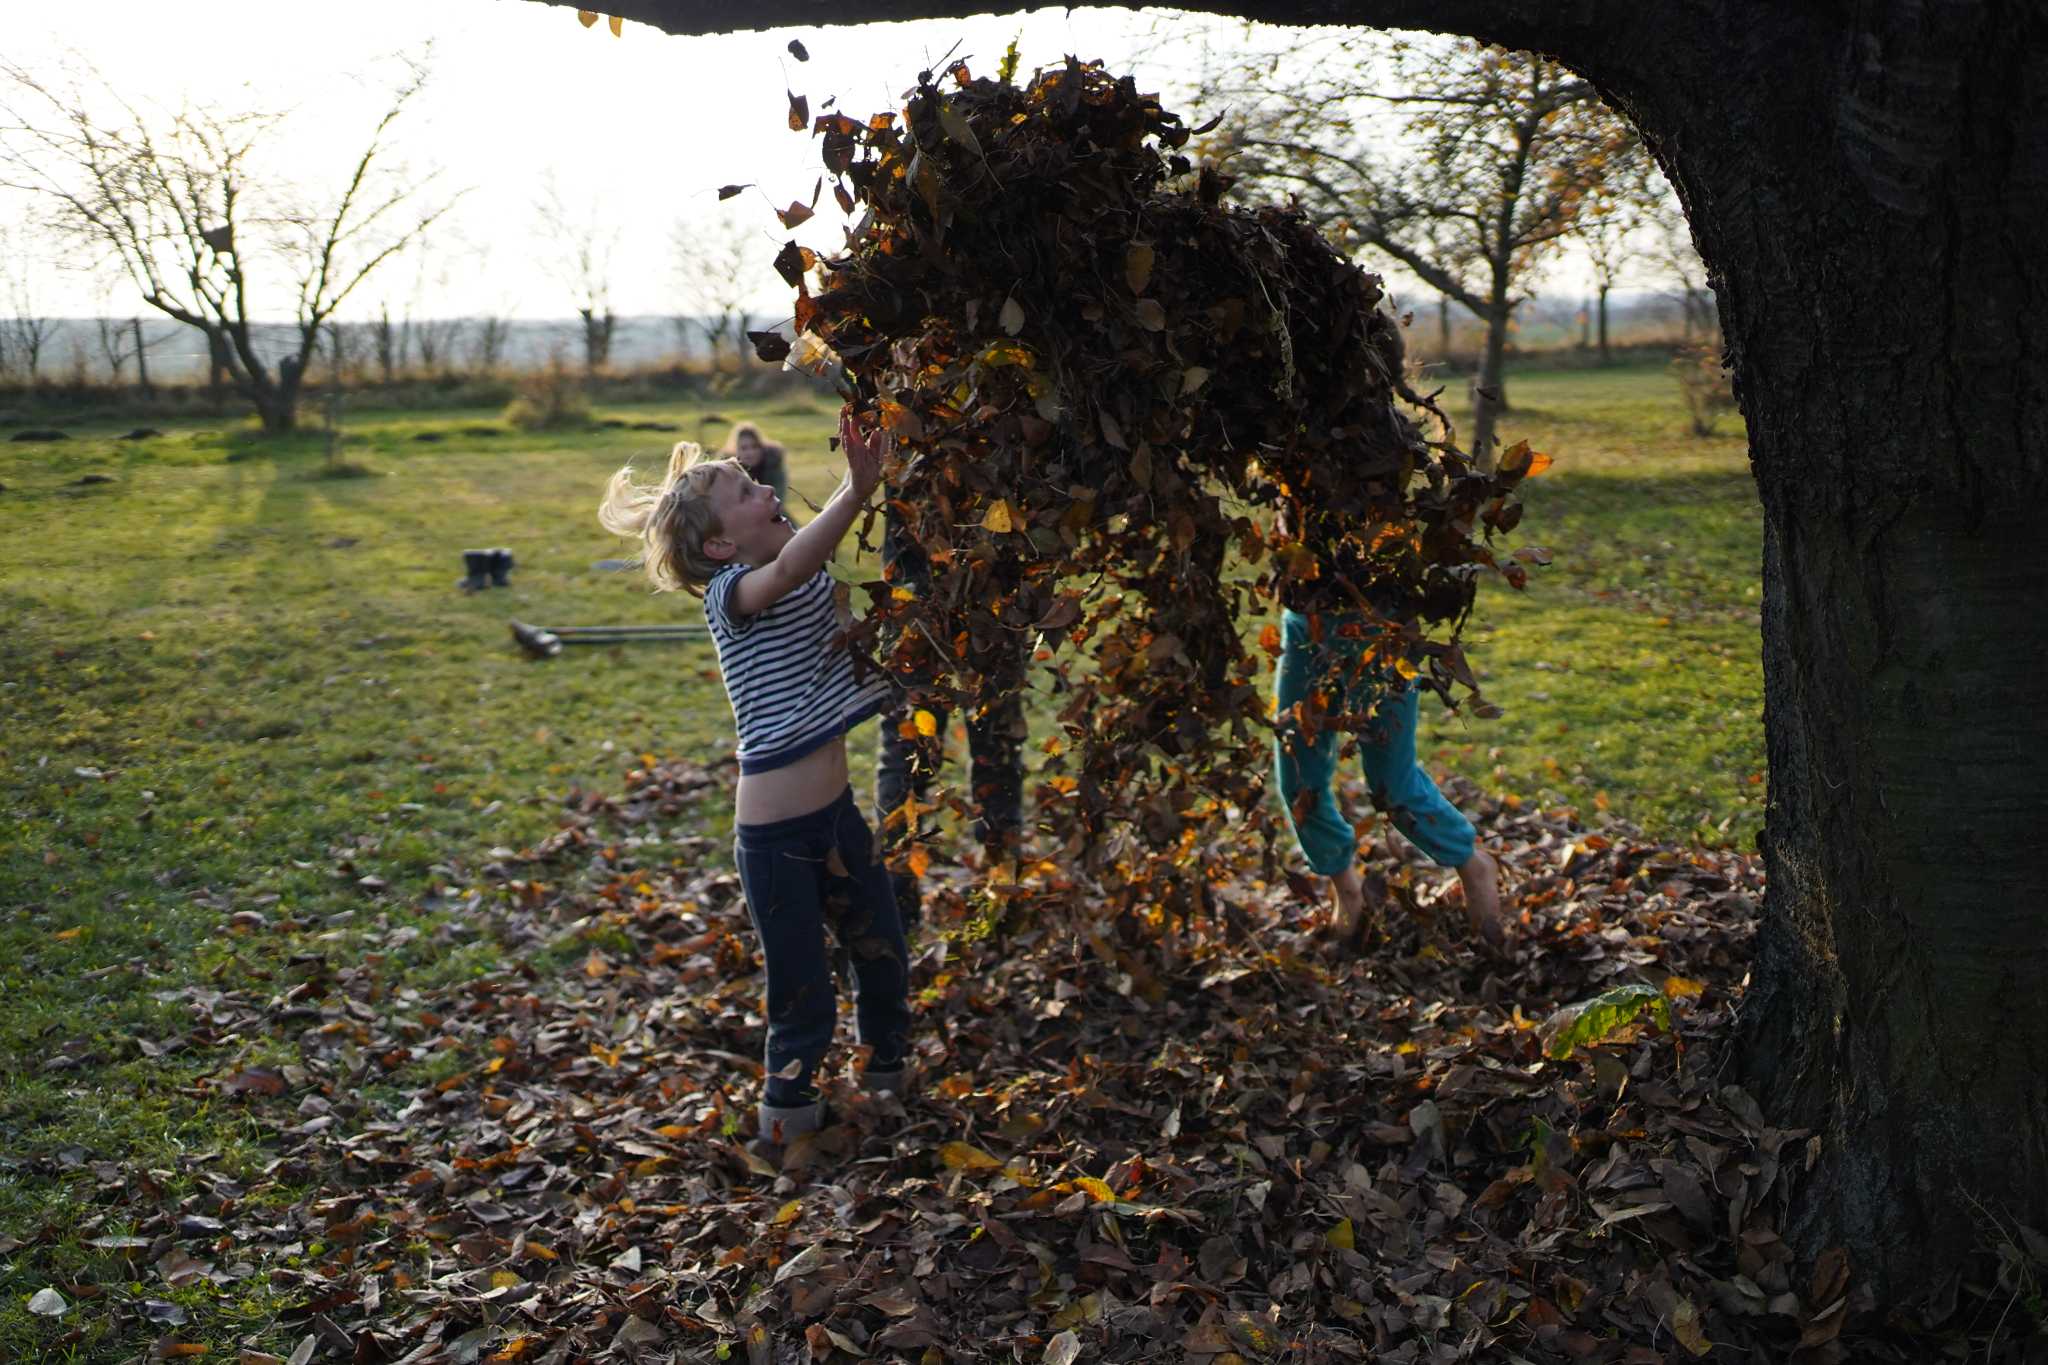
Head out after dark. Familiar places will look mysterious, new, adventurous.
YOU WILL NEED: a torch (preferably a head torch), a candle in a jar
HOW TO DO IT:
It is important not to frighten or spook the children (unless they like that sort of thing :).
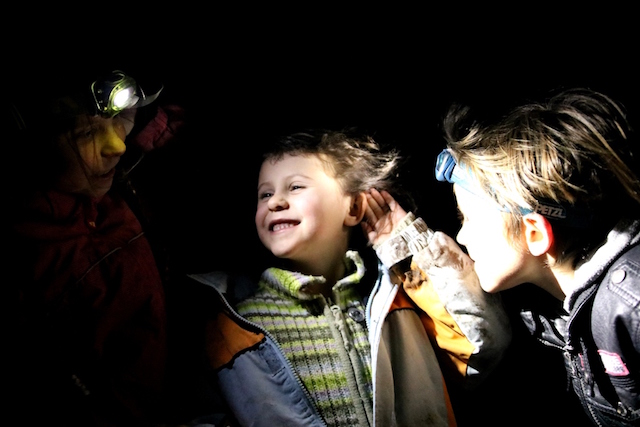
At first you can go out in front of the house for a moment or two. Gradually you can go for a short walk around the neighbourhood and eventually make your way up to enjoying a treasure hunt.
The treasure could be a snack, a small item or just a message. The path to the treasure may be on a map or marked with candles in jars or reflective tape that looks beautiful when the torch light shines on it.
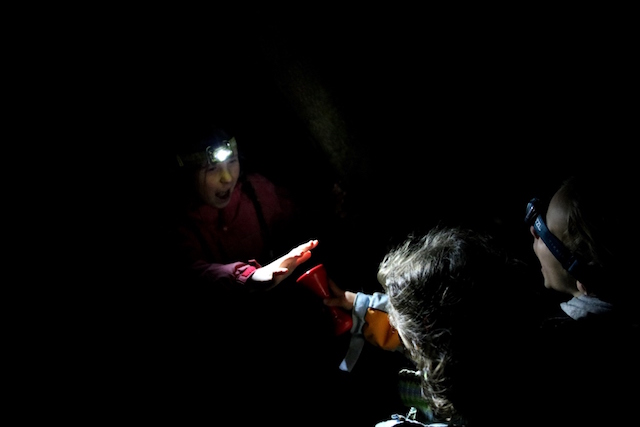
You can also try "dragon's breath". When the weather is colder and our exhaled air is visible.
It's even more impressive lit up by torches.
After returning home, you can talk about your experiences by torch or candle light and organise your next dark hour then read a fairy tale or other story and go to sleep in a different way after a night's adventure.


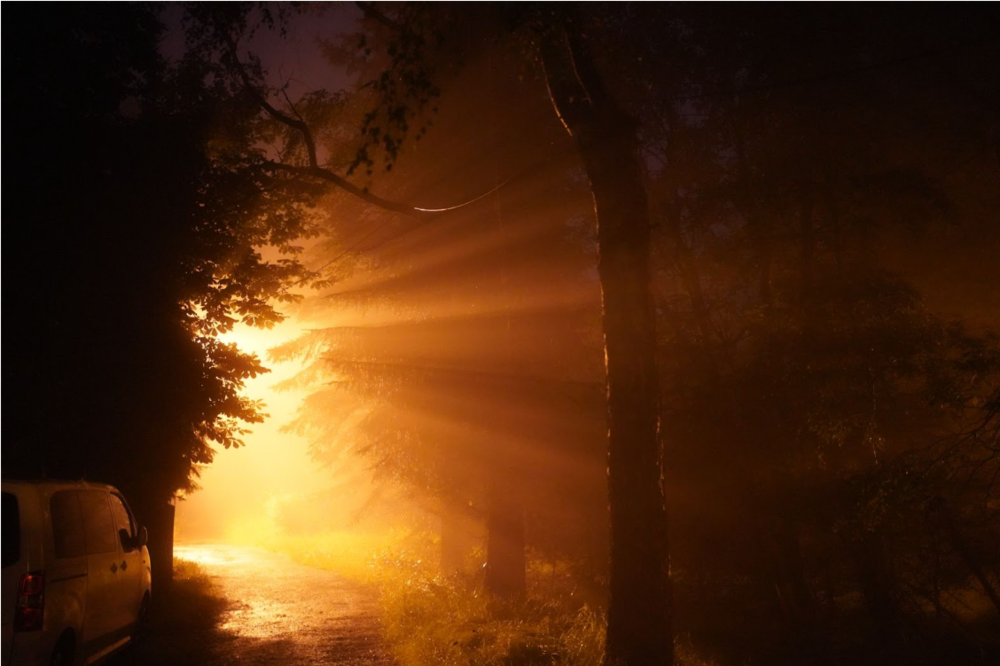
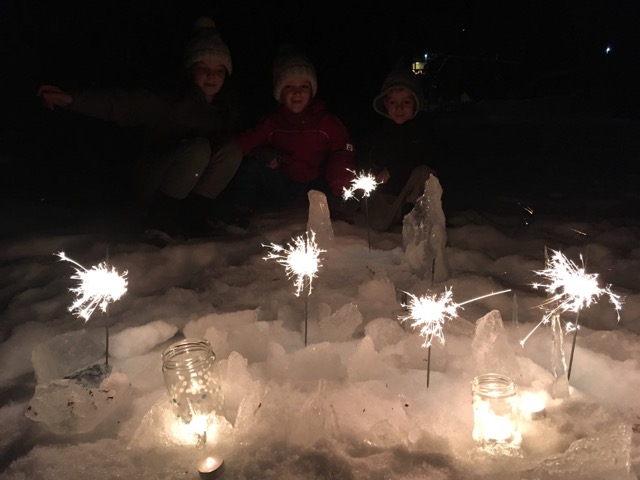
A candle flame outside creates mystery, a new atmosphere and opens the door to fantasy.
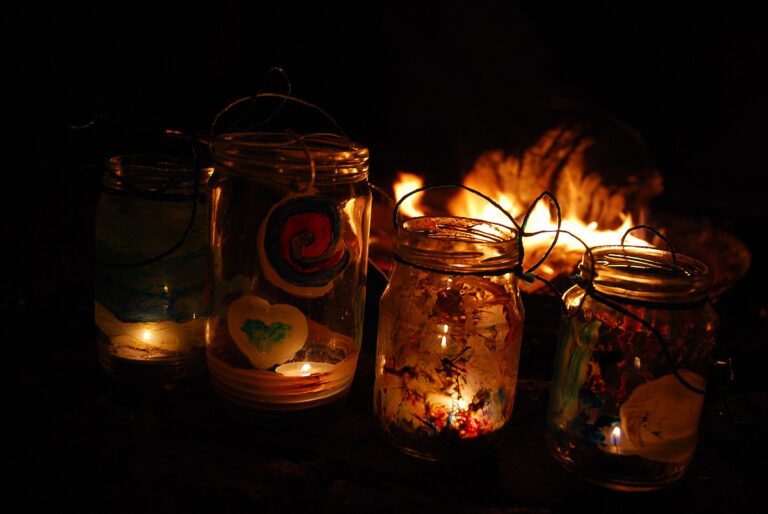
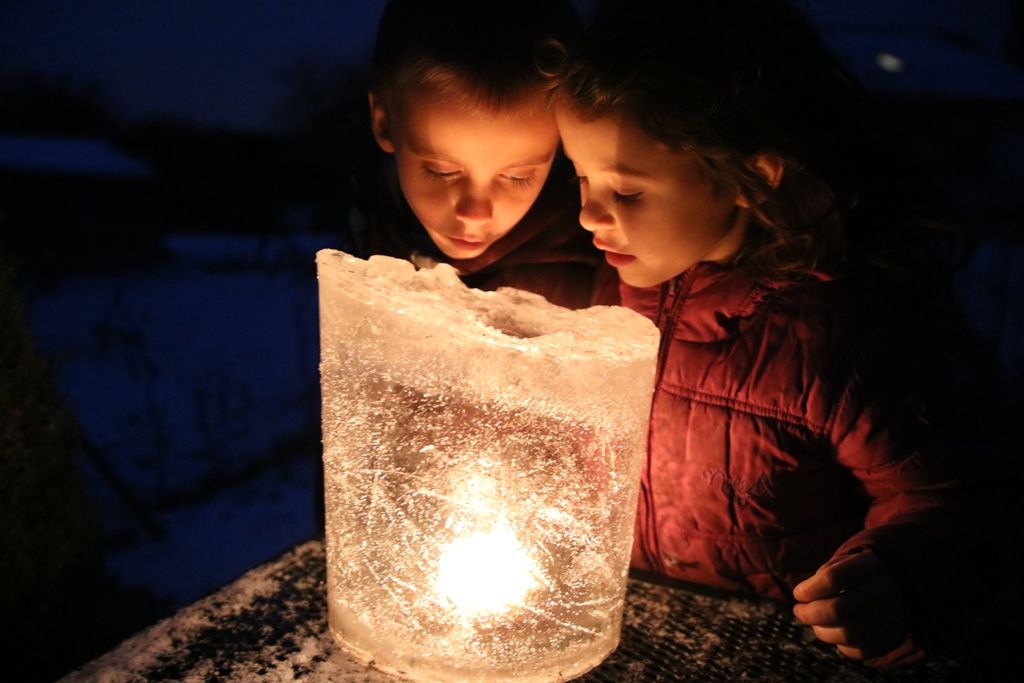
Try it out. The candlelight game works best in a combination of snow, ice and no wind. The fire lights up the snow and conjures up a unique spectacle. Start decorating and building in the snowy garden or elsewhere outdoors. Take out the lamps, tea lights, sparklers, build a snow candlestick. Or make your own lantern with which you can go for a short walk in the evening after dark. It will definitely be a great experience.
YOU WILL NEED: mason jars, decoration (glass paints, crepe paper or colourful leaves, glue or adhesive tape), string or wire
HOW TO DO IT:
Select a clean mason jar. Choose jars that the children can easily carry without their arms hurting. Either paint the glass with paints, or glue different shapes and pictures cut out of crepe paper on it. Wrap a string or a wire around the neck of the mason jar, which will serve as a handle. When the glue or crayons on the lantern dry, place a tea light inside it. And you are ready for an adventurous walk!
The snow makes it possible to experience playing with candles in relative safety (it quickly extinguishes an overturned candle), but be especially careful with smaller children.
Even the smallest toddlers (from 1 year) can decorate a lantern. Just give them finger paints and a beautiful lantern is born! Finger paints are harmless to health and can be easily washed. Adapt the length of the lantern handle to the child's height. It should neither be too short, to prevent children from getting burned, nor too long, so that the lantern does not interfere with the children's walking.

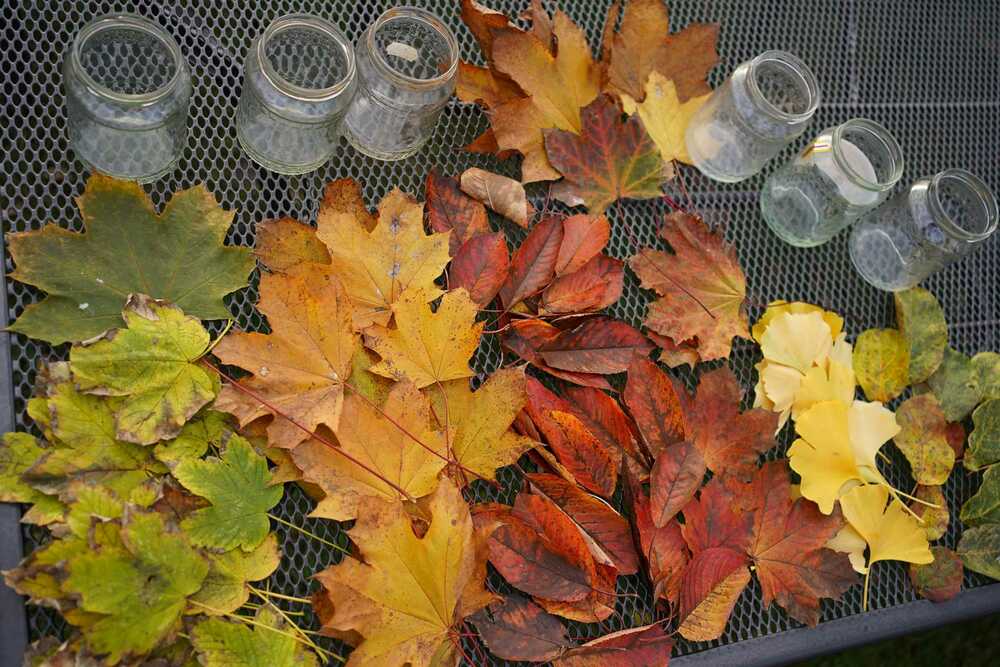

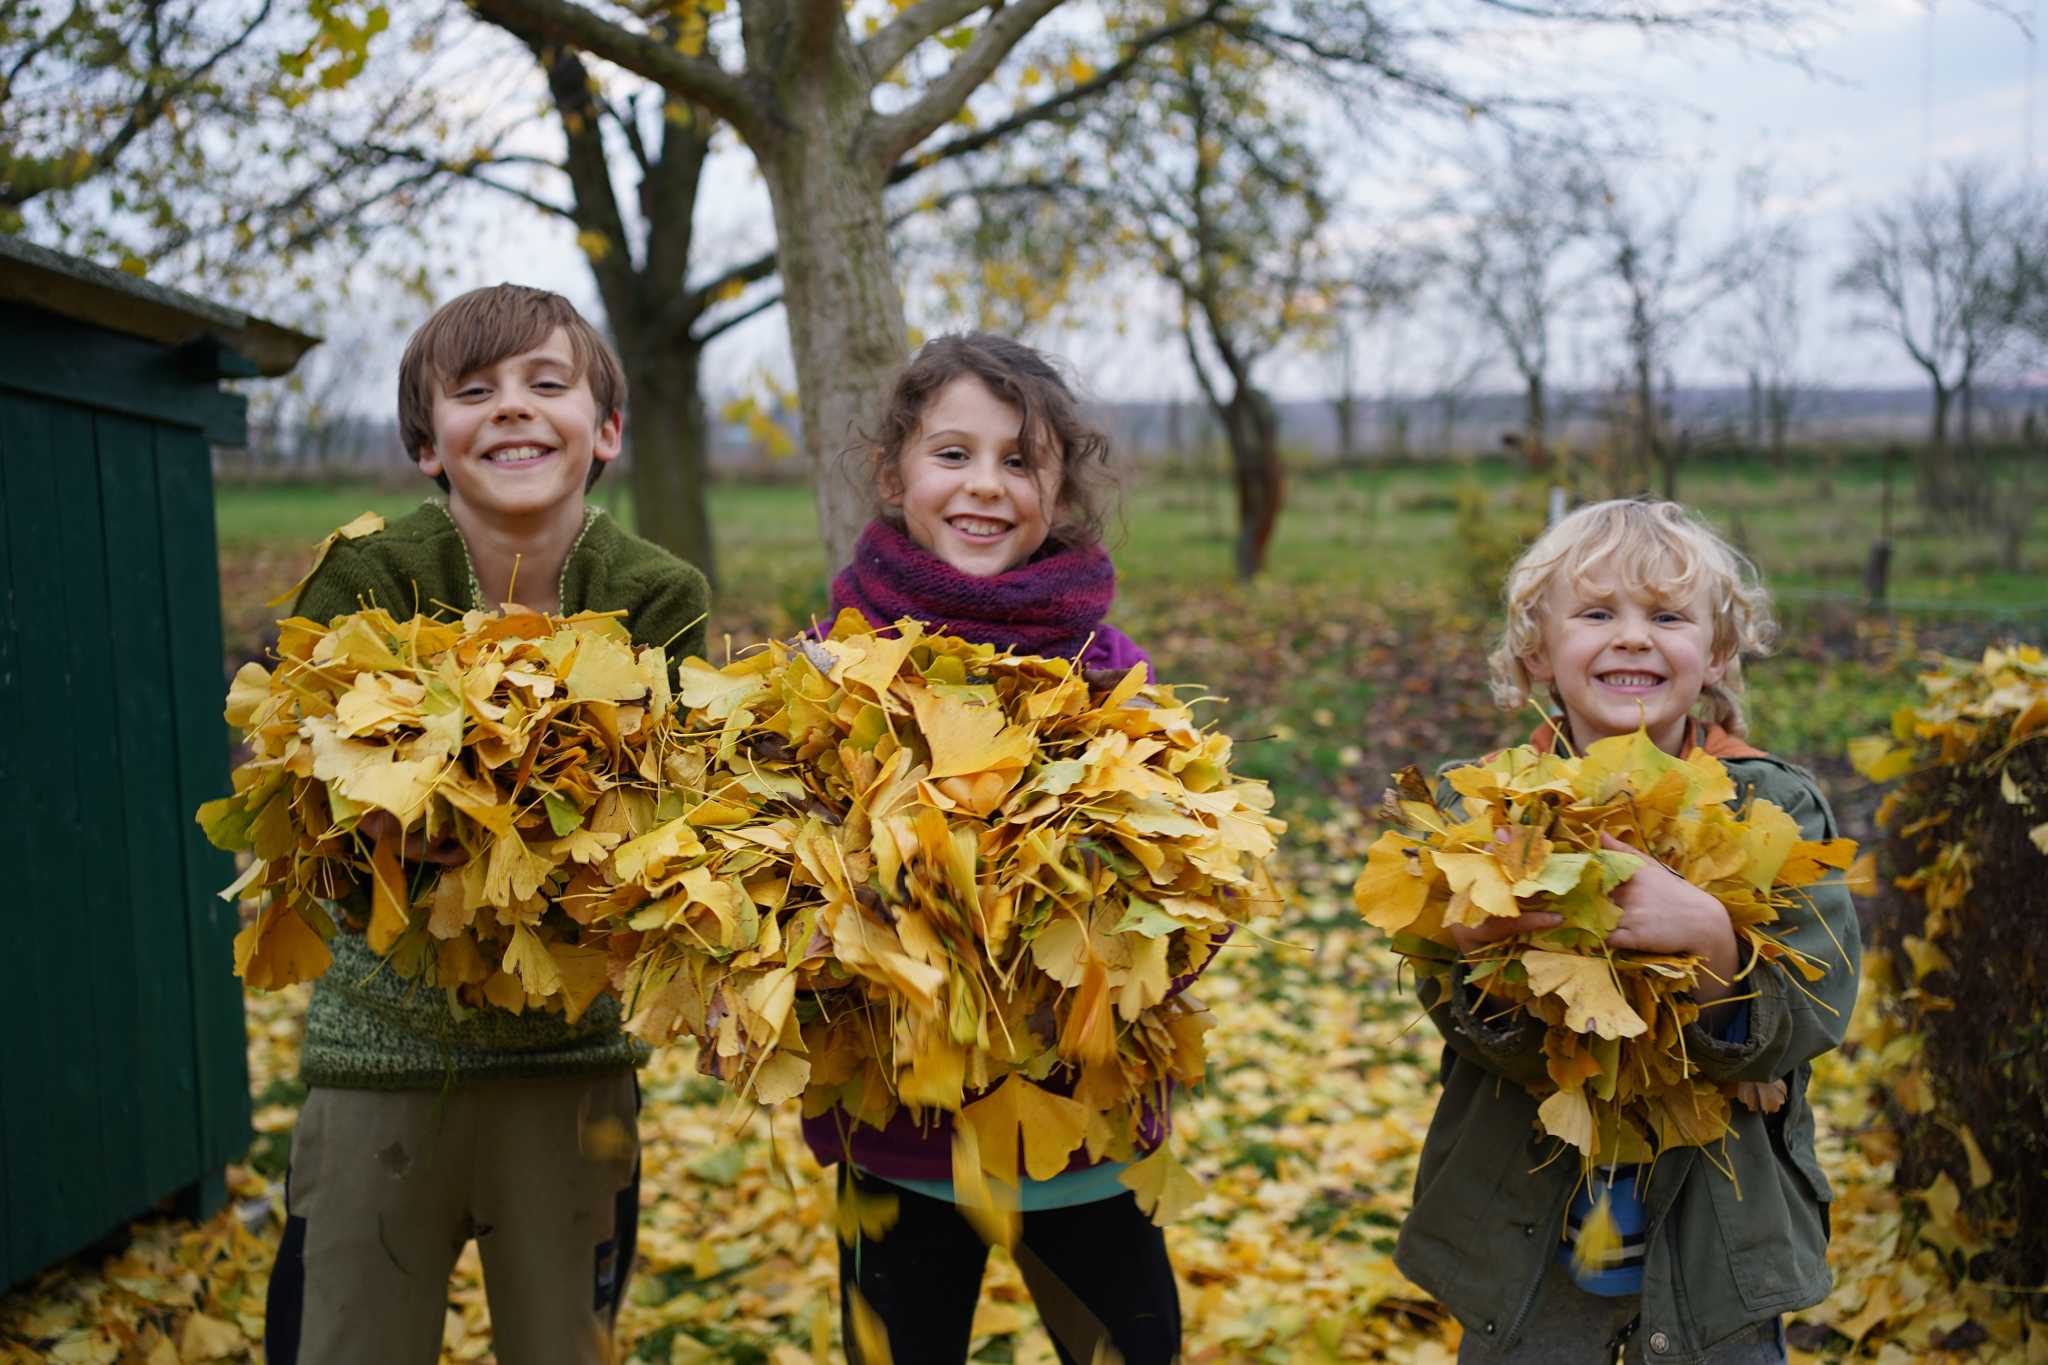
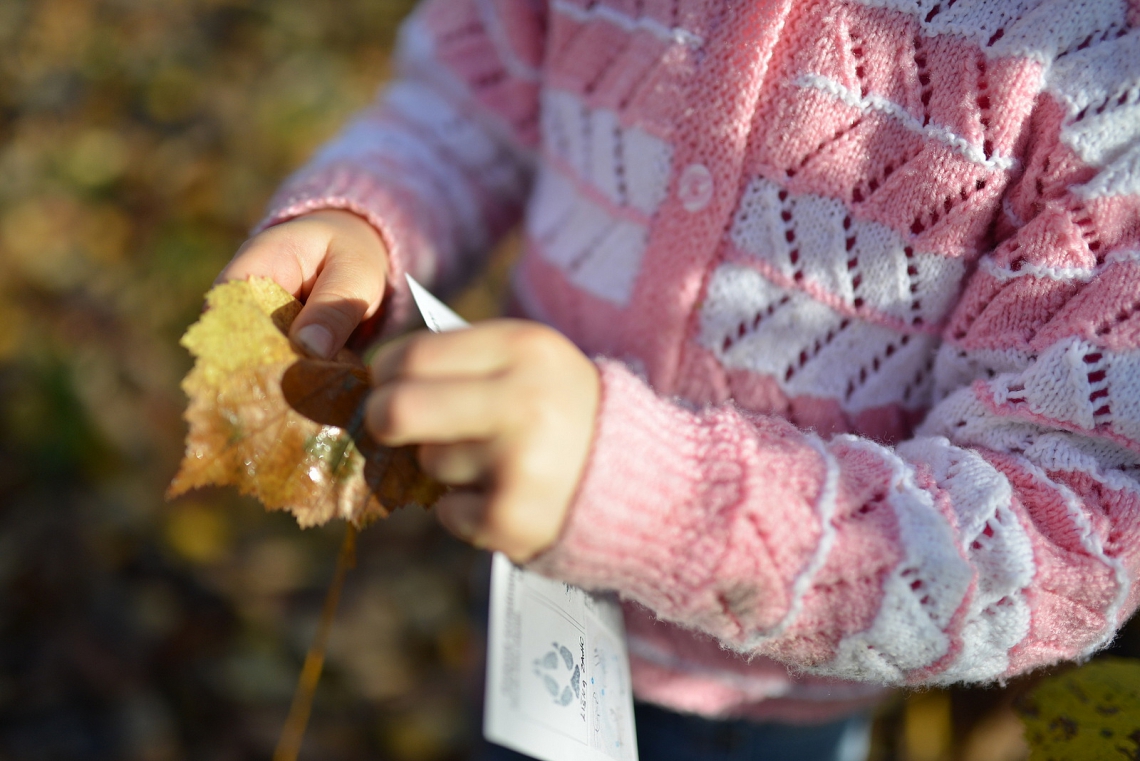
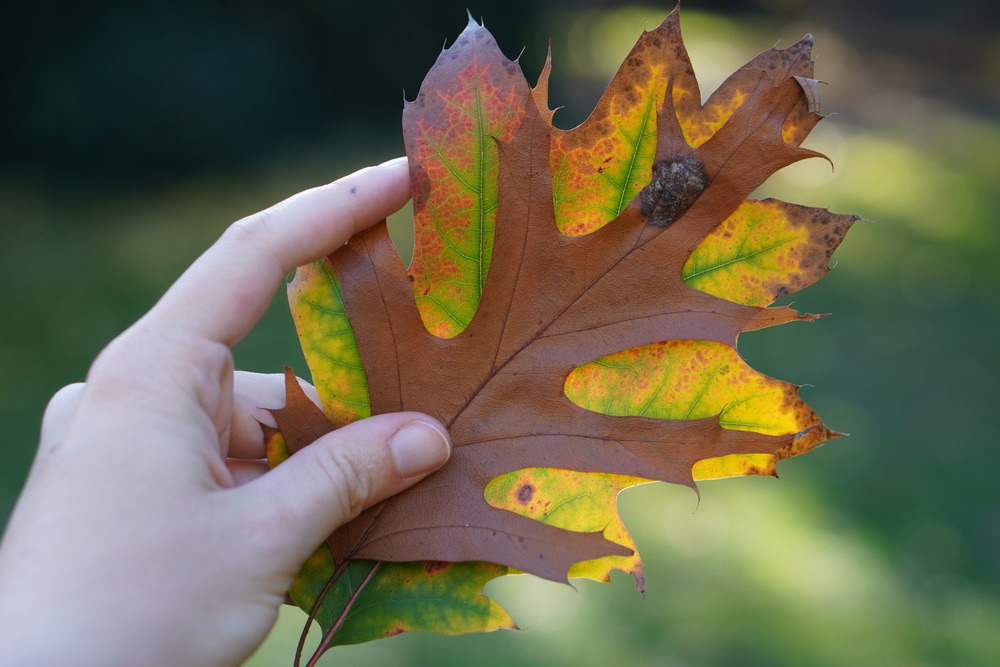
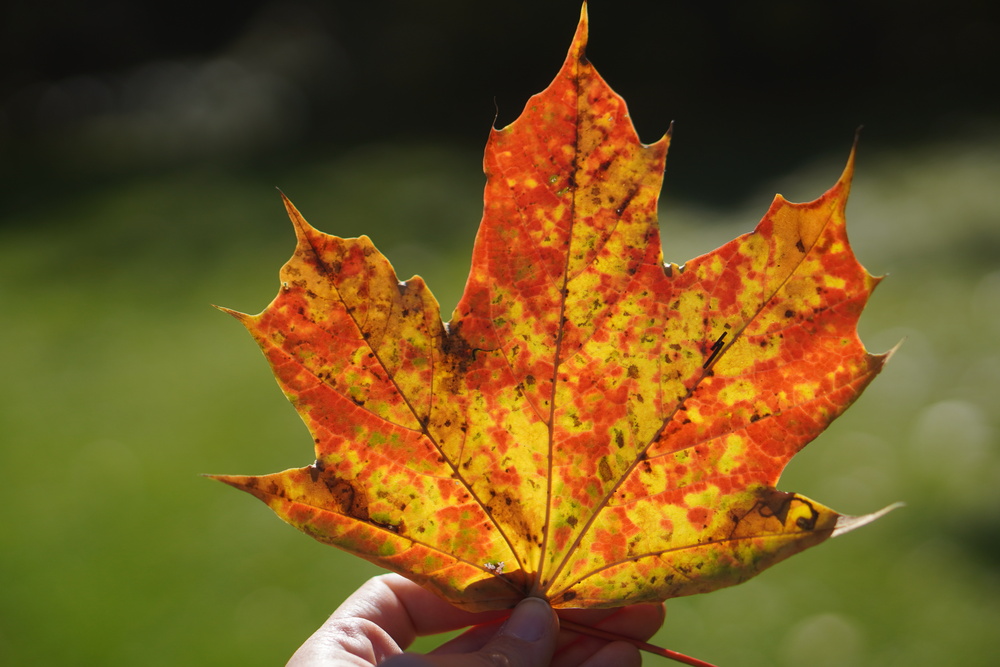
How does nature do it? How come autumn is so full of colours, smells and tastes? A wet misty morning turns into a warm sunny day which then ends in a chilly evening. No other season of the year has as much diversity, variety or wealth of opportunities to discover, create and have fun outdoors. Vast green spaces suddenly change with every bush, tree and overgrown corner shining with various colours. The most fabulous shades fall straight from the trees. In addition, every day they are a little different. When your little explorers are asking you tricky questions about how the leaves become coloured, try a little experiment.
YOU WILL NEED: canning or other (clear) jars, absorbent paper – e.g. coffee filter (not necessarily)
HOW TO DO IT:
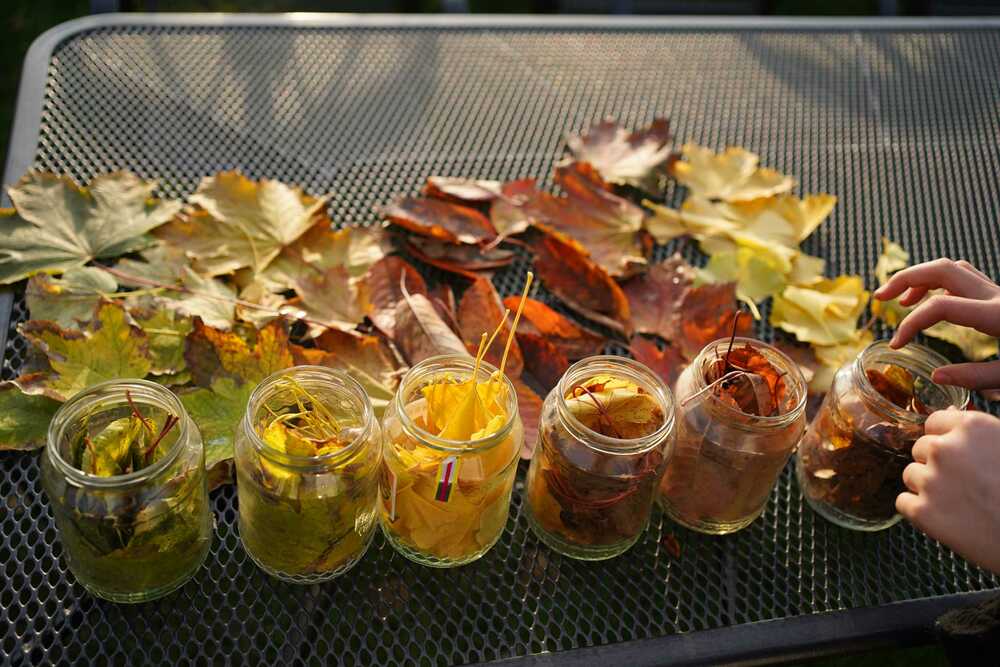
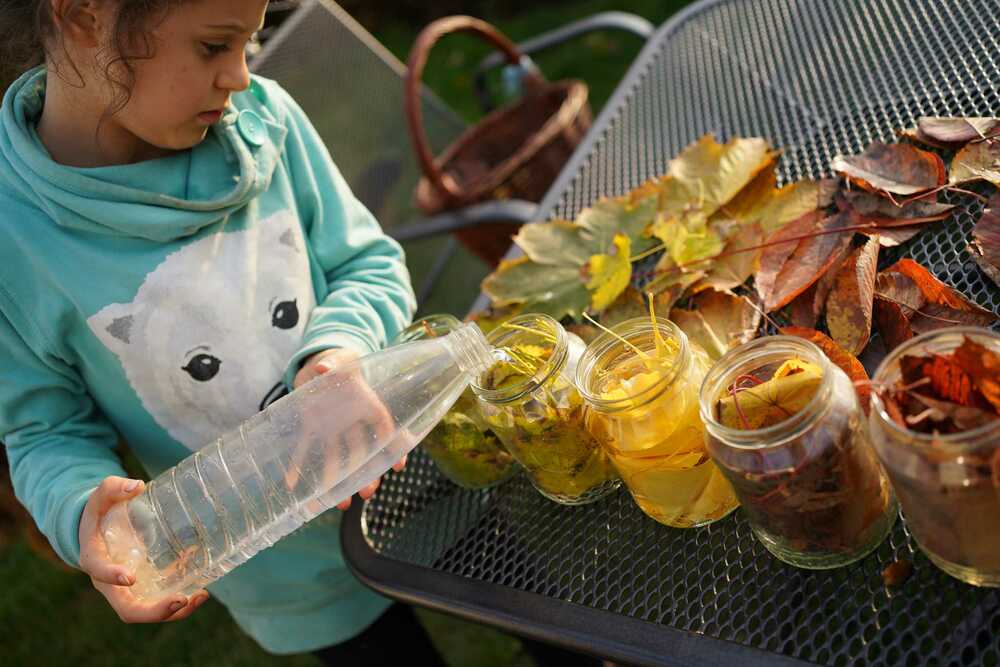
It is easy to do. Stack as many leaves of the same colour as possible into the clear jars. In a simplified version of the experiment, it is enough just to fill the jars with leaves with water but some people add a drop of alcohol though it is not necessary. It is also useful to label the samples, as scientists do, and write down the colour, type of leaves and the date on the lids of the jars.
Then set the samples aside, near a window is good, and let them stand for at least a week though two weeks is better. Now take the leaves out of the jars, they are compost now, and observe the hues of the water in the jars. The colours are beautifully diverse. Briefly soak a strip of absorbent paper (cut from a coffee filter or kitchen paper) in the coloured water and observe the decomposition of the colours into individual dyes.
Compare your results with the ones in the photos and tell us how they turned out for you.


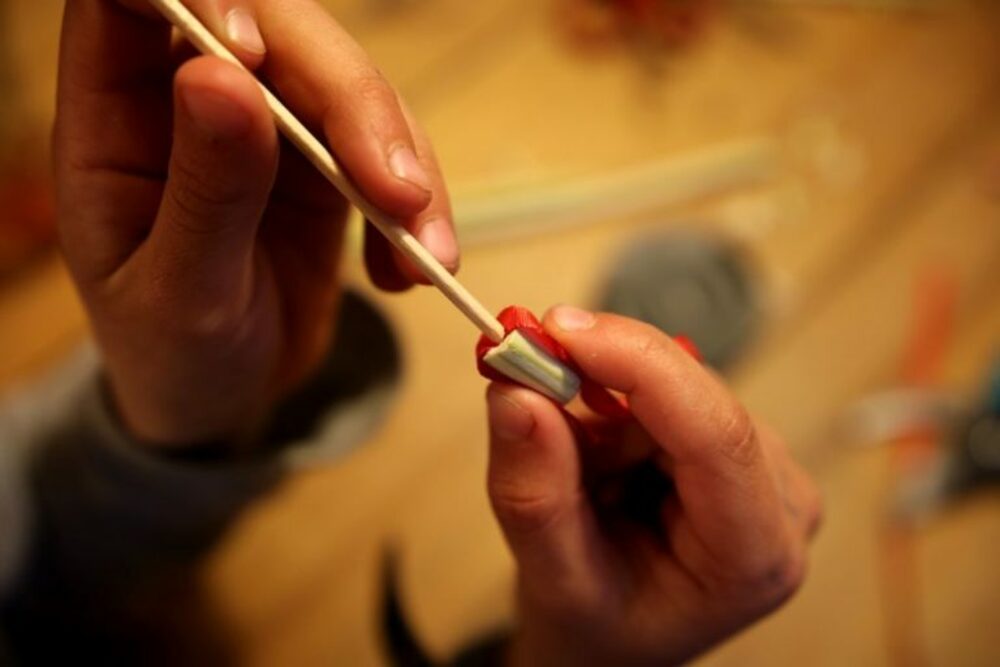
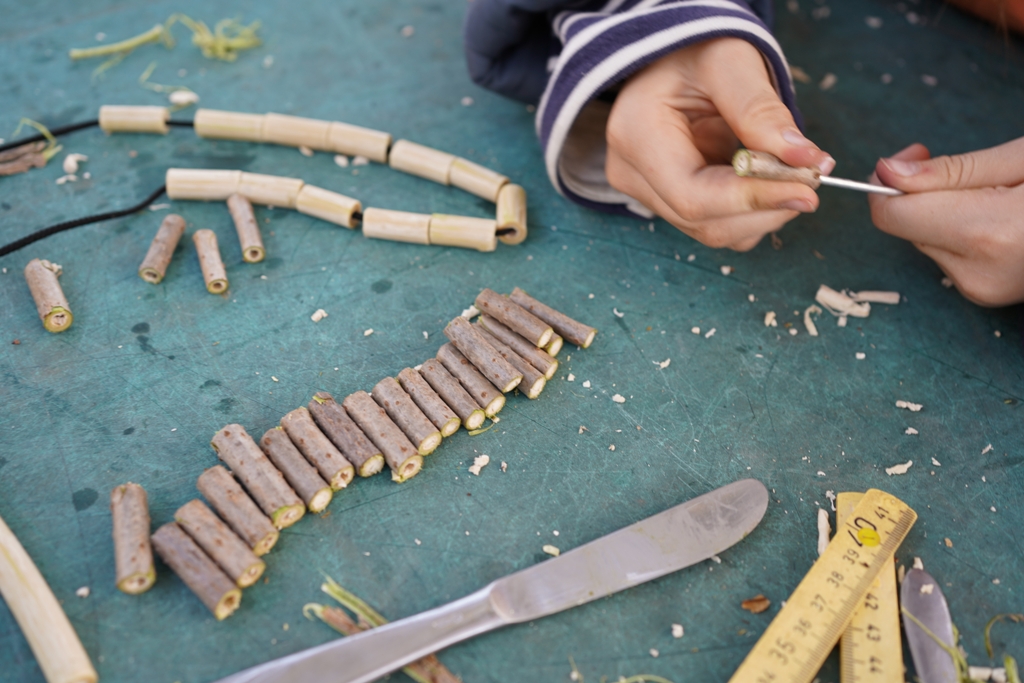

Discover the mystery and beauty of wicker beads.
YOU WILL NEED: twigs that can be hollowed out easily, scissors, wire, string or ribbon
HOW TO DO IT:
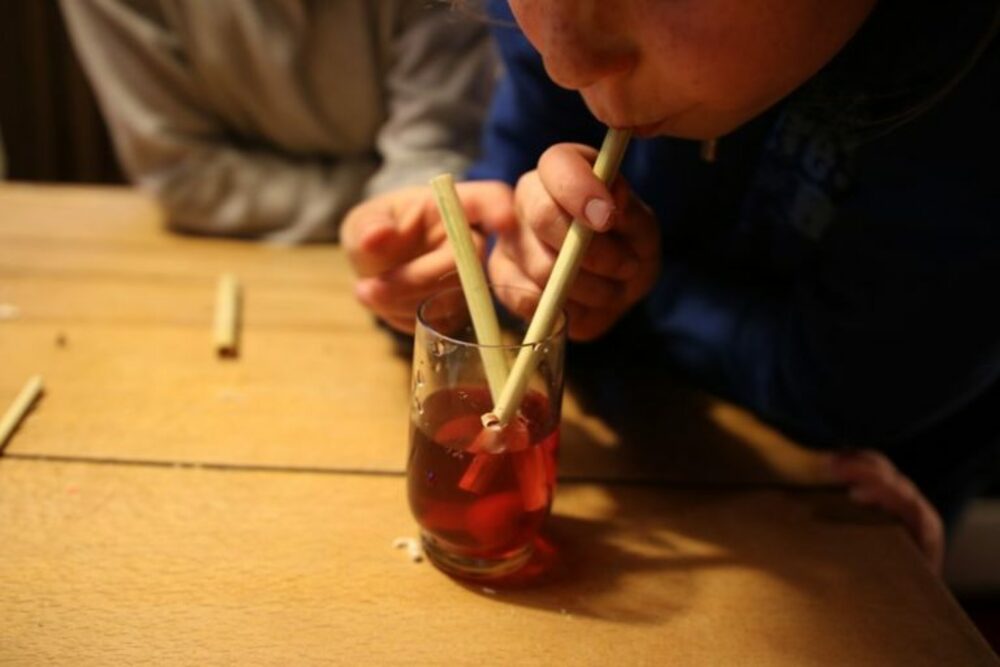
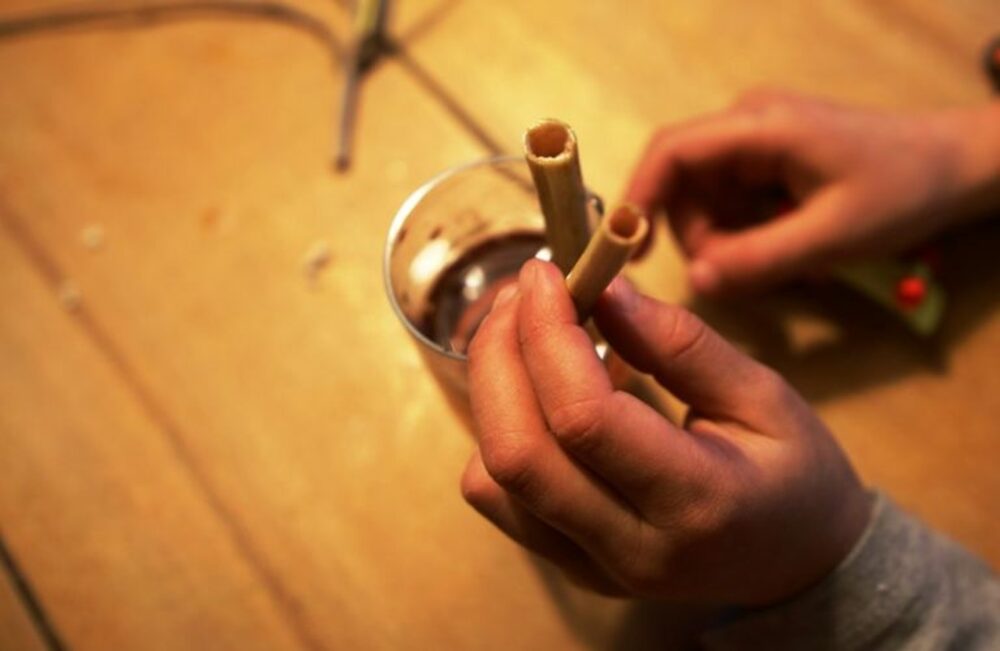
Where possible, cut twigs (sparingly and only what we need). Choose species with spongy tissue inside the branches (elderberry, forsythia, willow, blackberry, etc.). Then cut the twigs into approx. 2 cm beads. Remove the spongy filling of the twigs with a wire or an elongated paper clip. Then all you have to do is string the beads according to their colours and shapes. The twigs can also be peeled (but they will become more fragile then). Try making twig straws; elderberry is good for this.

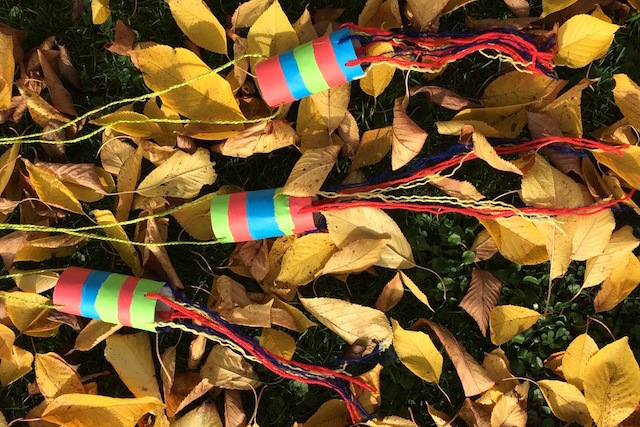

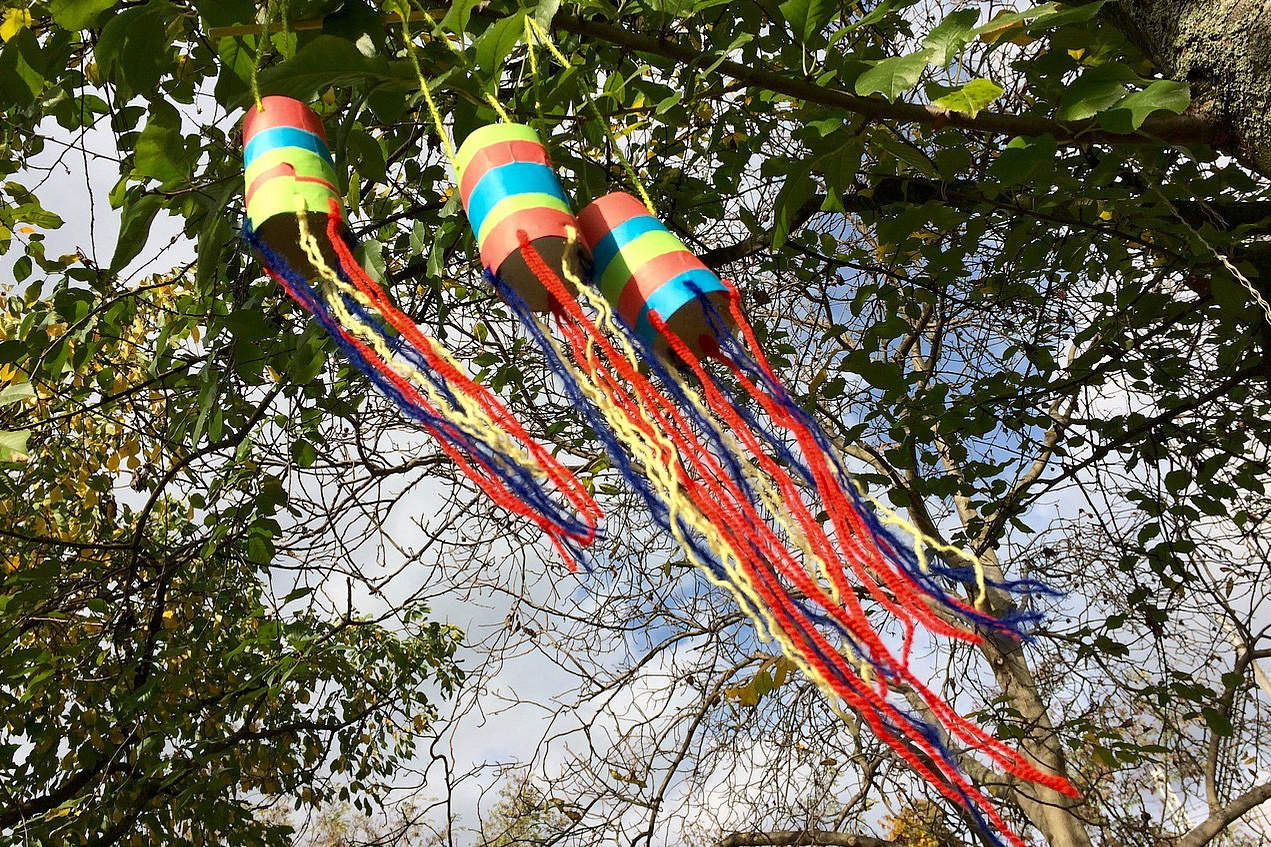
An adventurous expedition into the world of wind. In Japan, you can meet this fish-dragon under the mysterious name of KOINOBORI. If you run around with the dragon, it will fly and flutter to the delight of everyone around.
YOU WILL NEED:
- a toilet paper roll
- coloured paper
- crayons or markers
- scissors
- glue sticks
- wool scraps or crepe paper
- hole punch
- string
HOW TO DO IT:
Use a toilet paper roll for the body of the dragon. Cut different shapes out of coloured paper to decorate the body. Don't forget the eyes. Use a hole punch to punch a few holes on one side of the roll for the tail (wool fringe) and on the other side, make two holes for the attachment. Cut about 30 cm long fringes from the wool and thread them into the prepared holes. Finally, thread a longer string through the "mouth" of the dragon, make it long enough to control the flight. It would take a really strong wind to get the dragon to take off. But you can play with them in no wind - your running will be the propulsion. Test it in the garden or in the park.
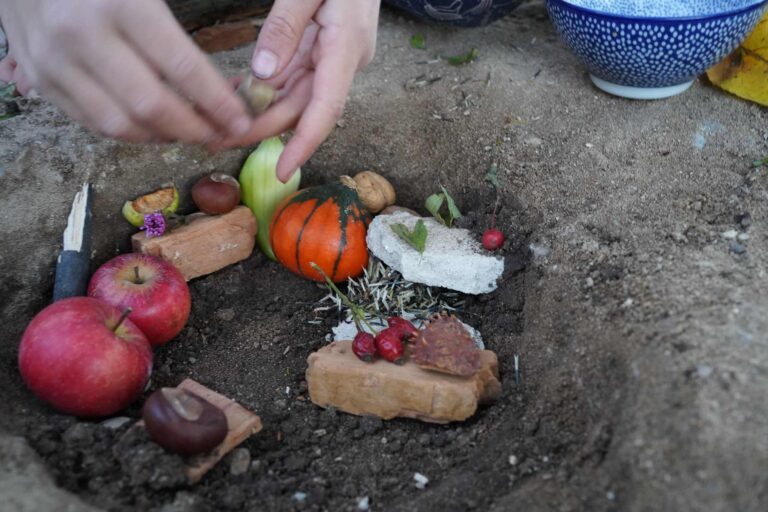
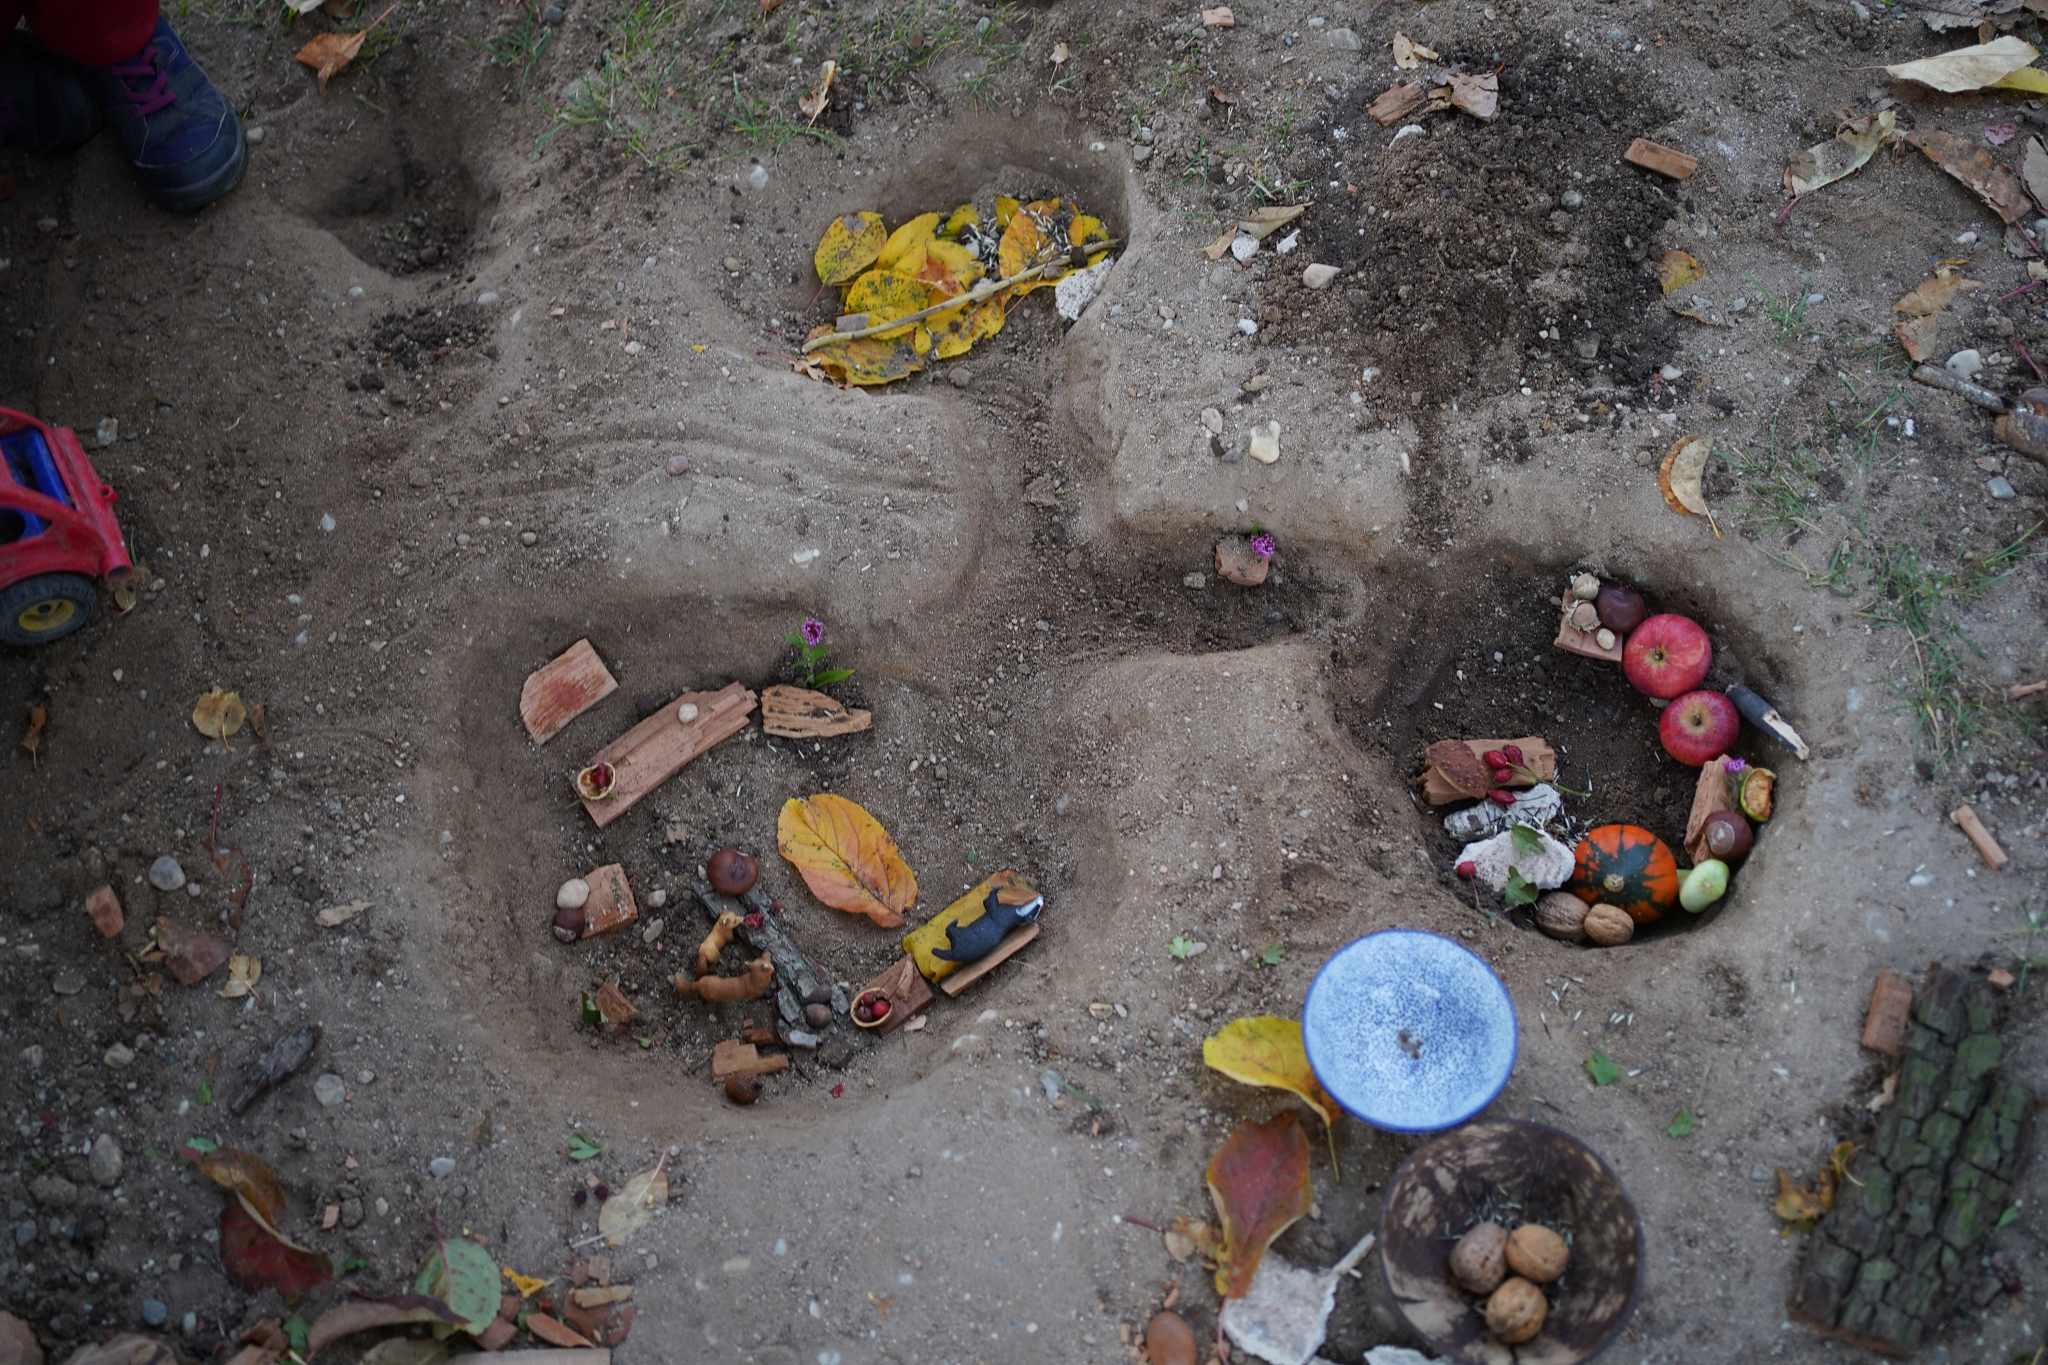

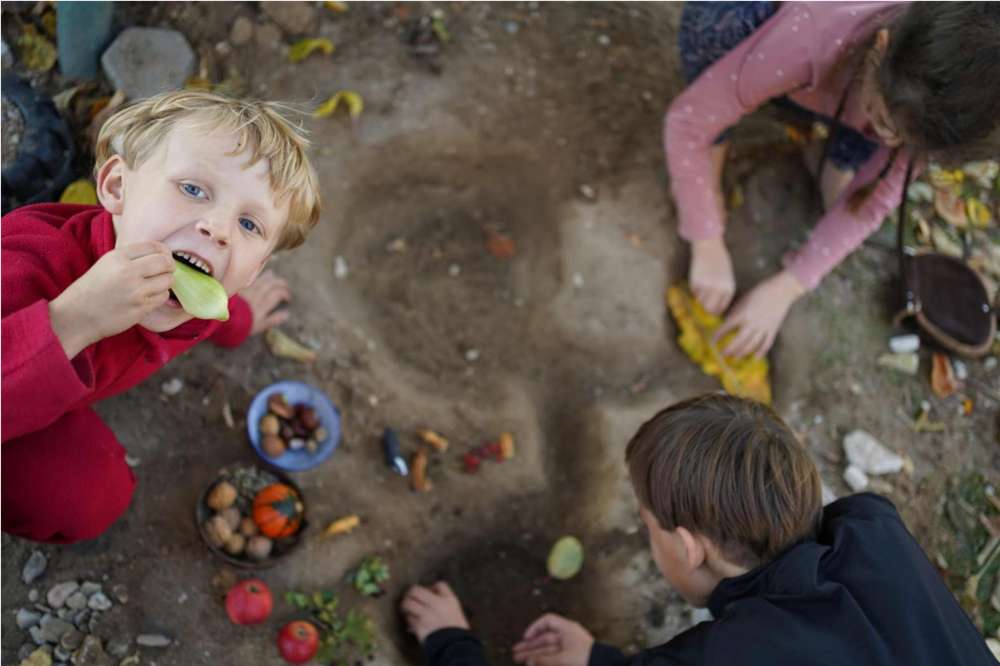
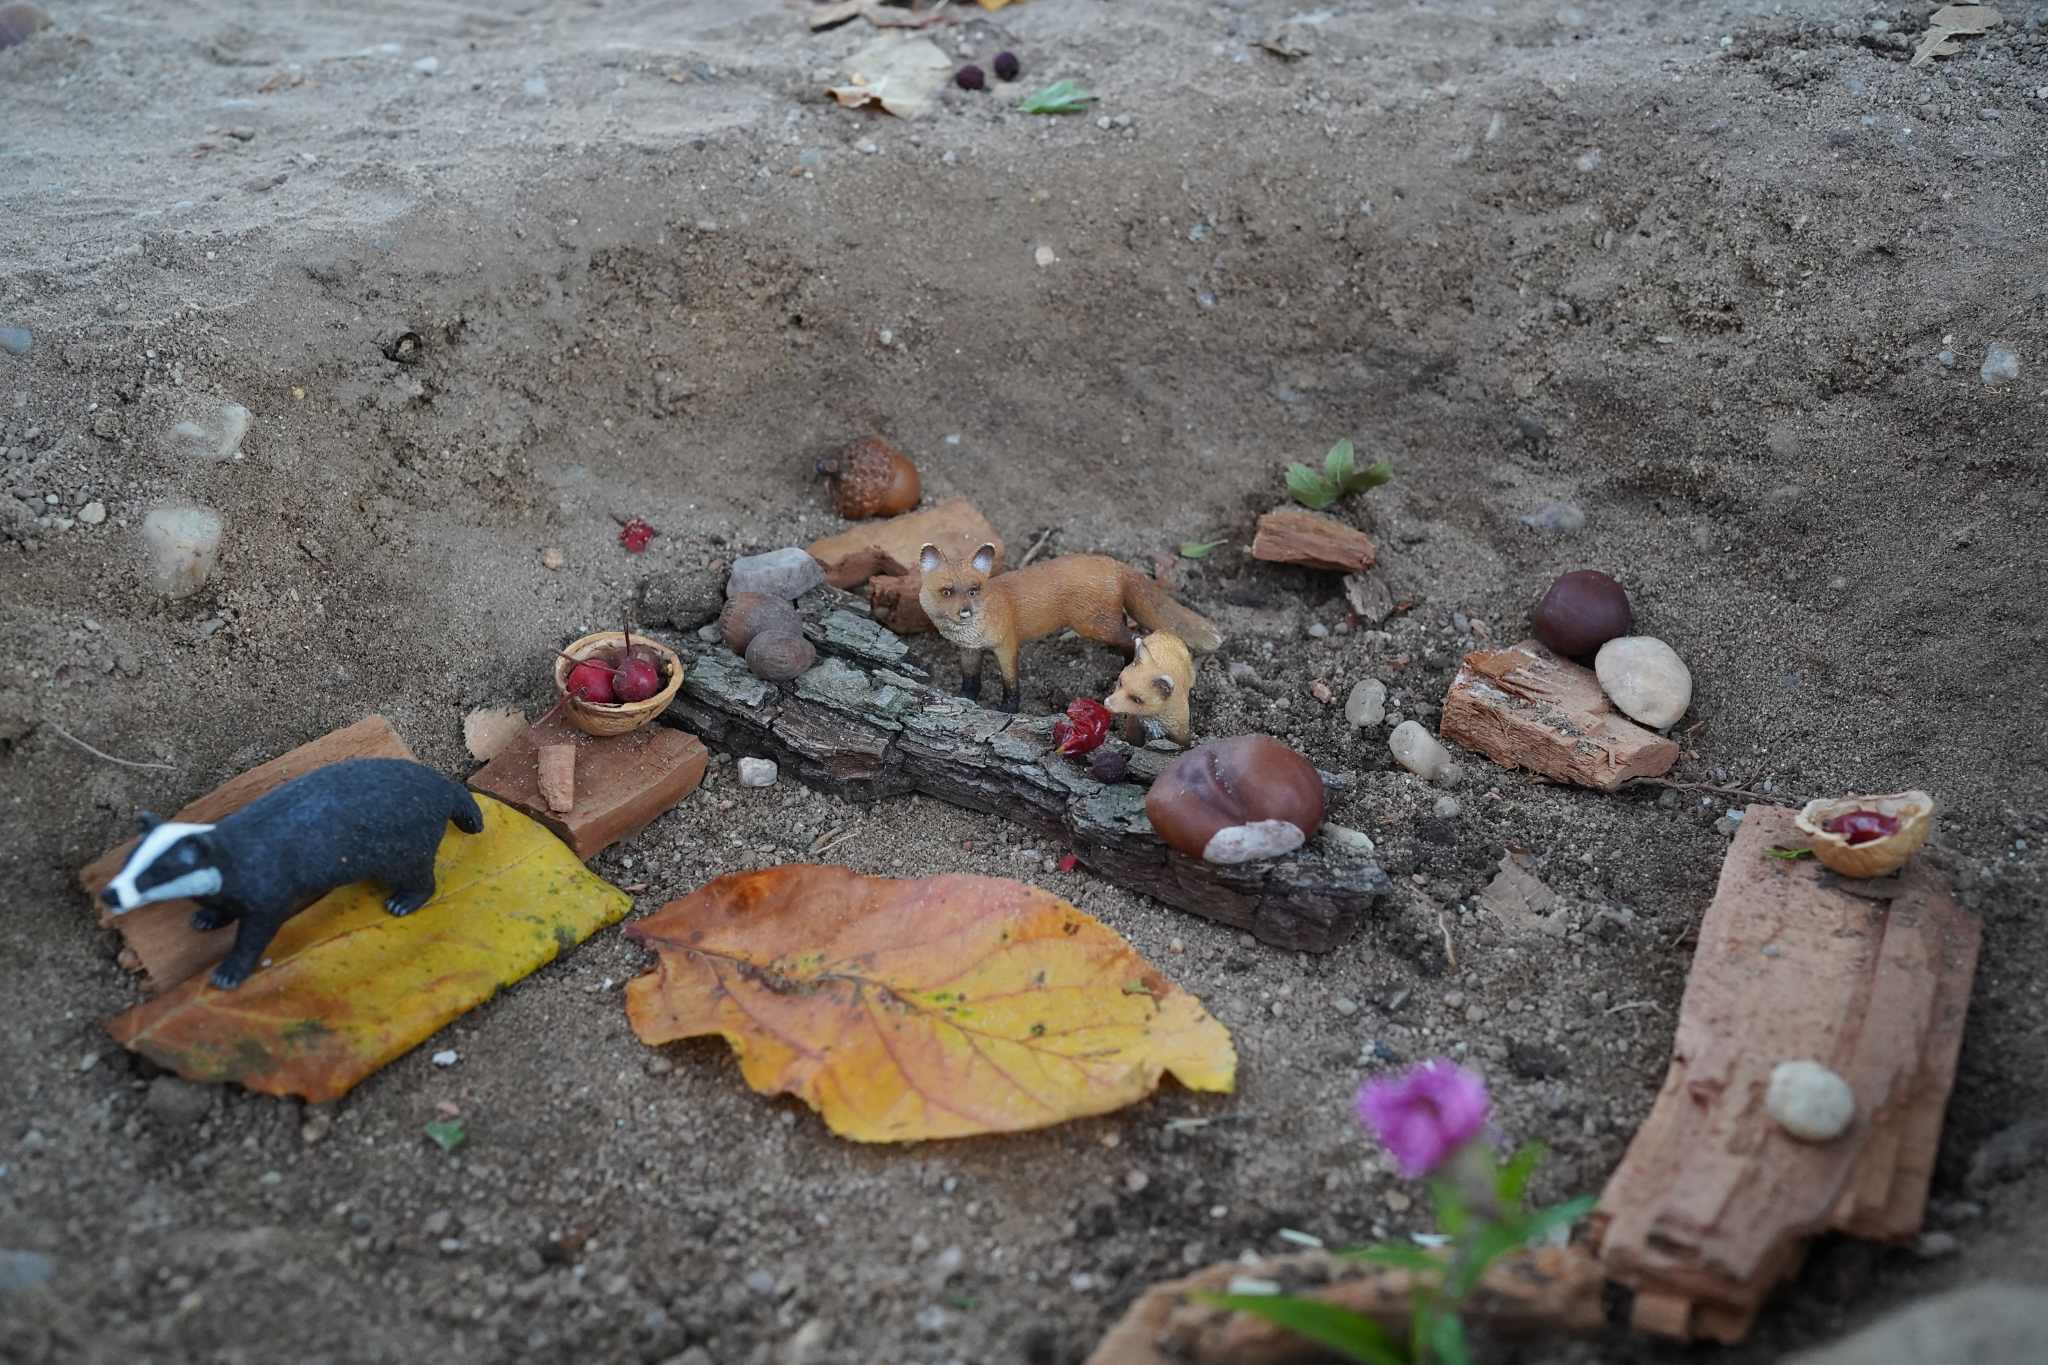
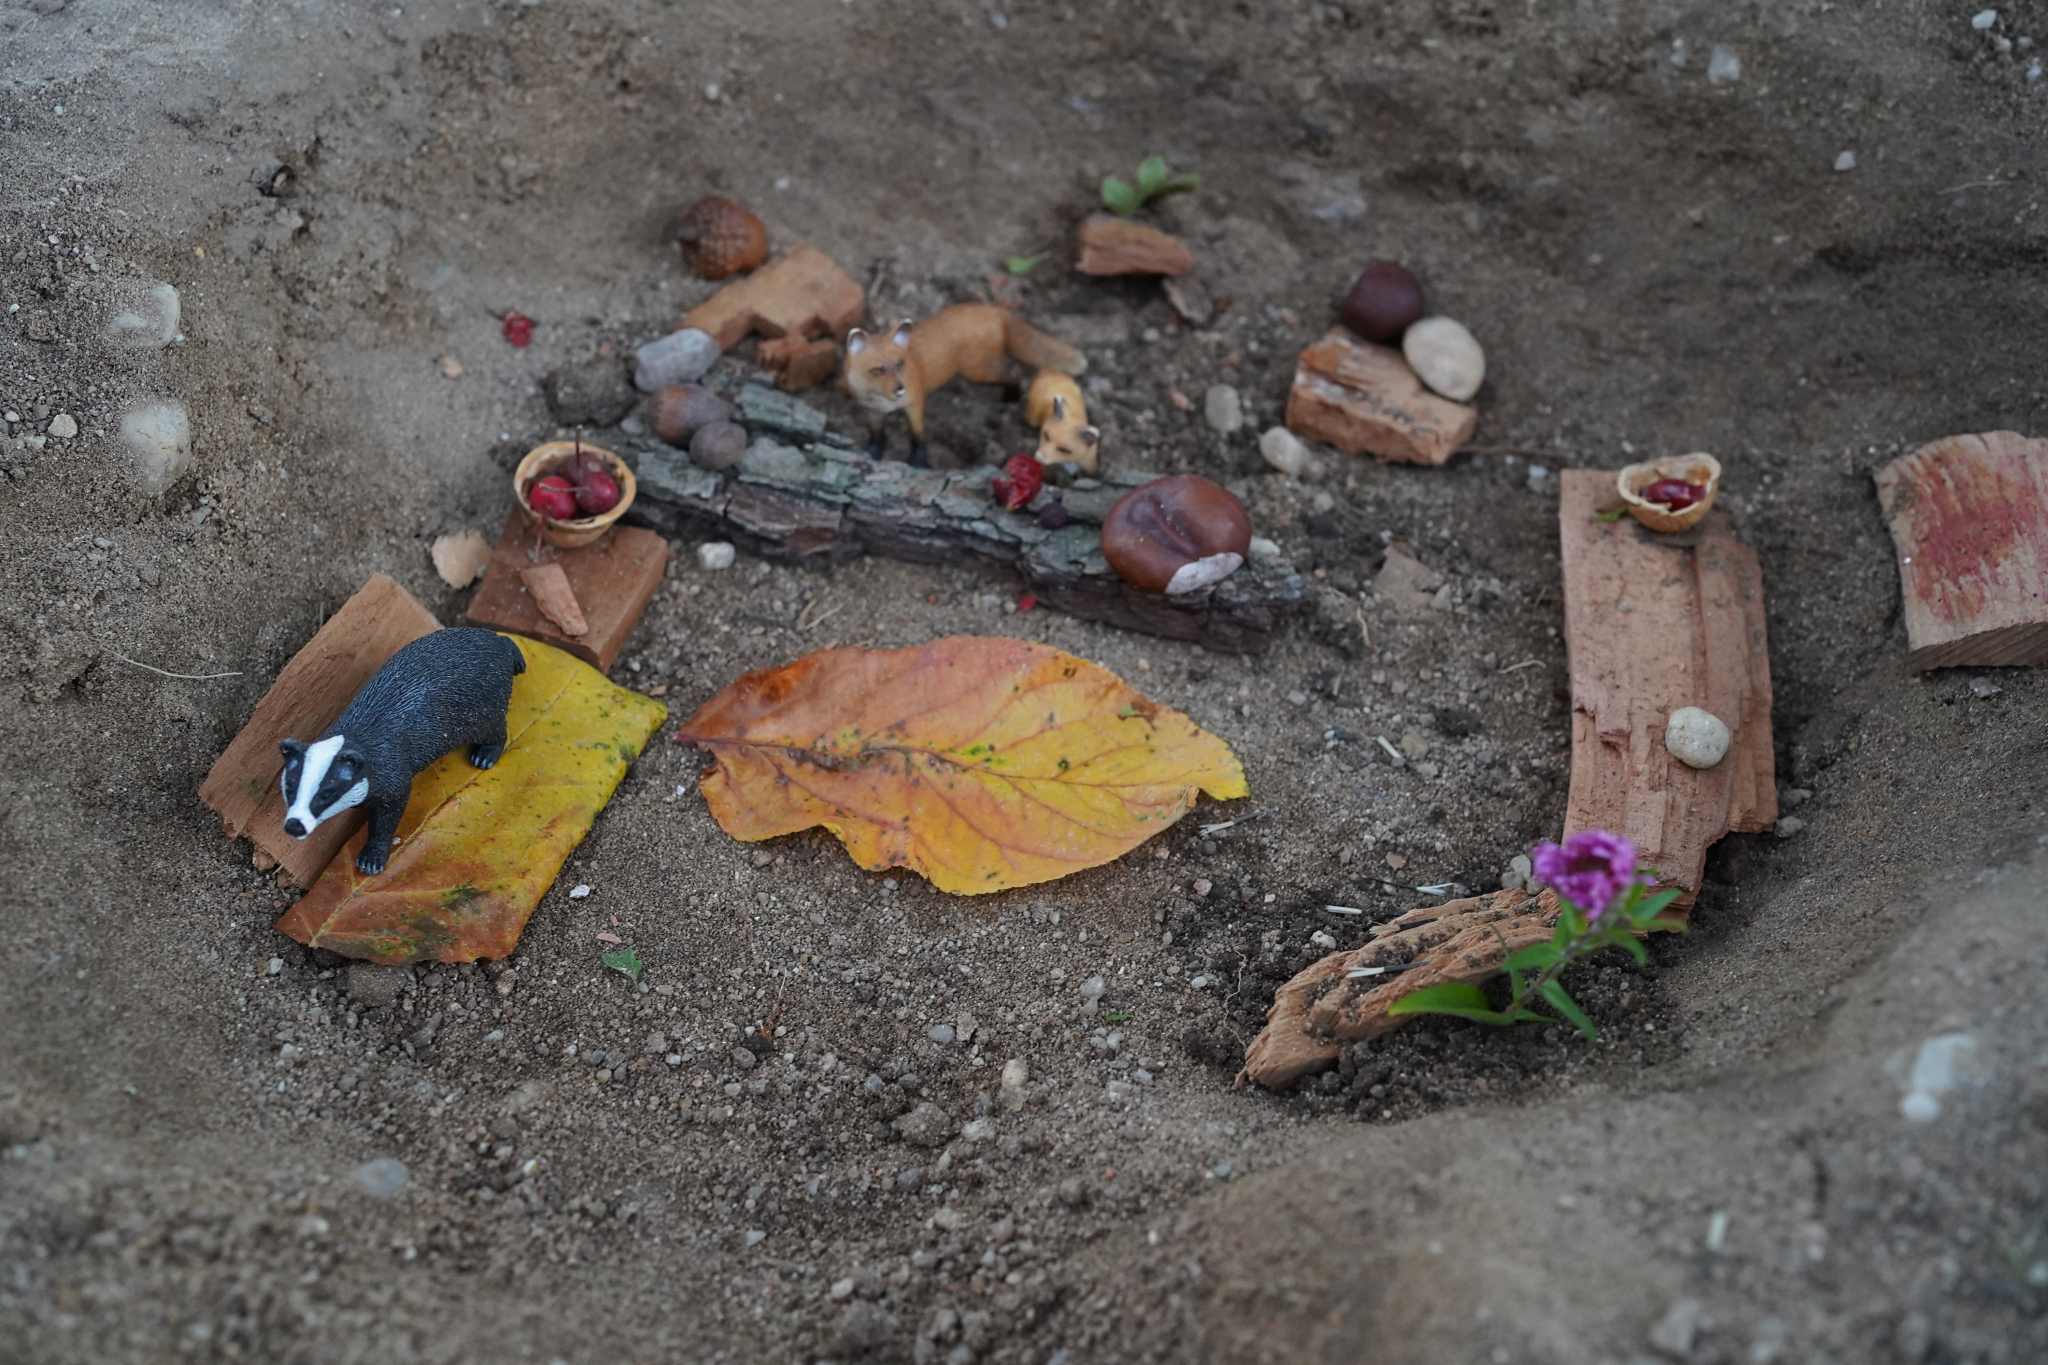
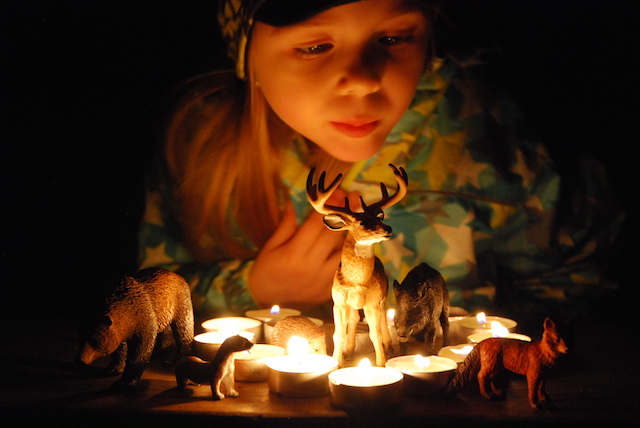
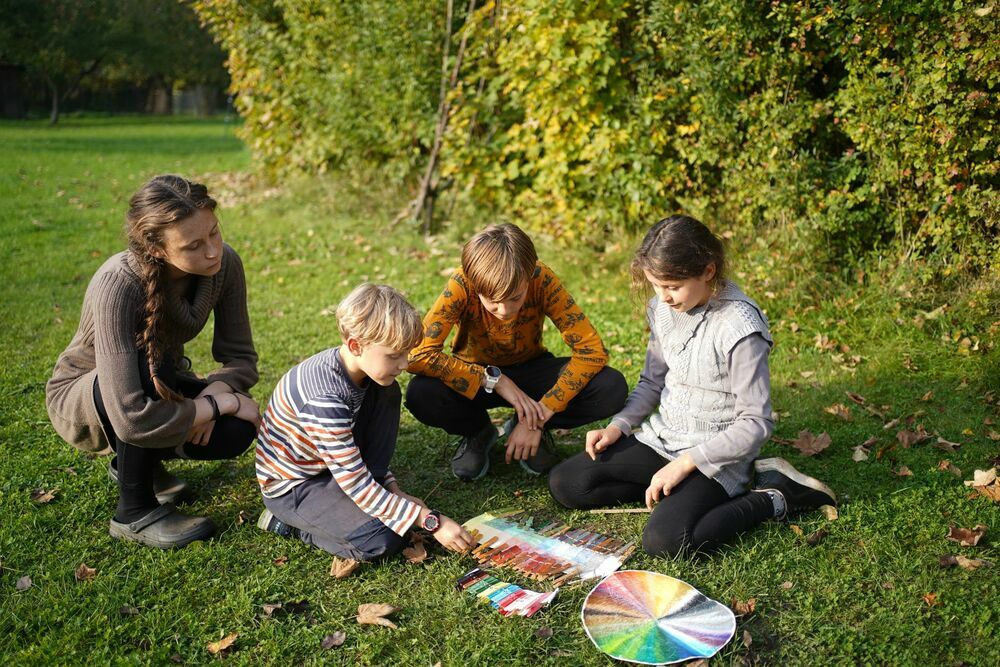
Children love building houses. Adults often like to talk about who hibernates, who stocks up and what. How do we connect these two activities? How about trying to build a gnome pantry or a pet store in the autumn? All you need is a suitable place and nature. Then the child's imagination is at work.
Where will the entrance be, where will the bedroom be, what will fit in the pantry and wouldn't it be better to make two? Children often get excited about building and also run around and collect natural objects that could be part of supplies or equipment.
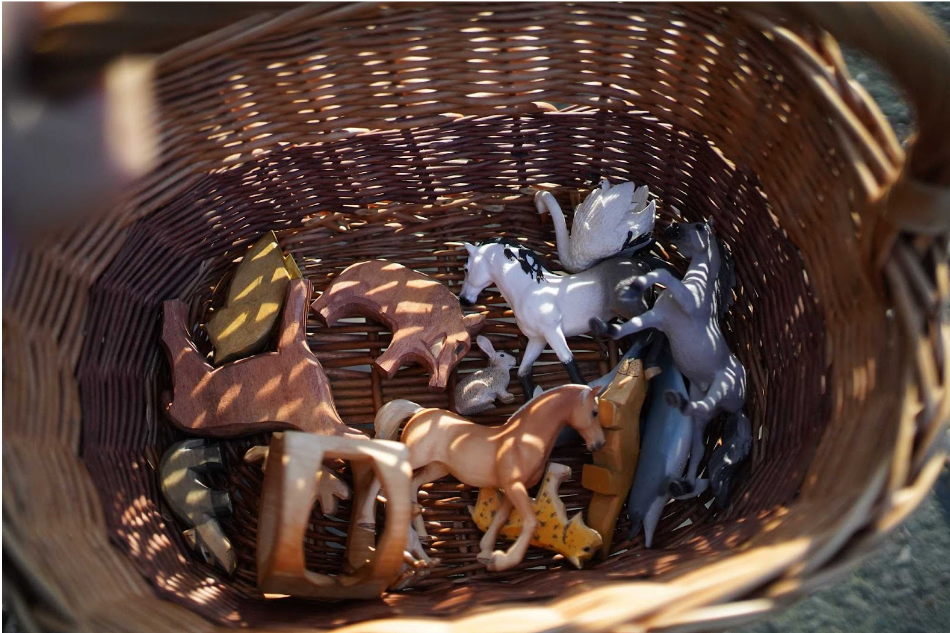
It is also a good idea to pack a few figures or plastic/wooden animals. This will give the children more ideas and add new dynamics to the games.
At the end you can take a picture of everything or tell a story about filling the pantry.
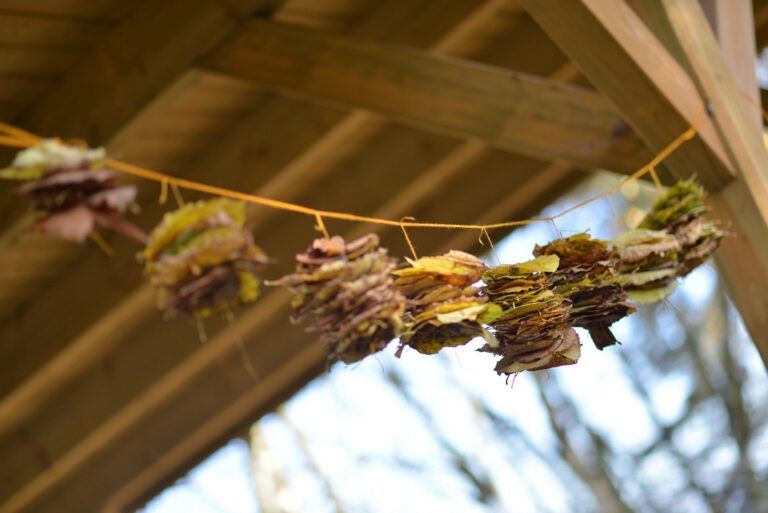
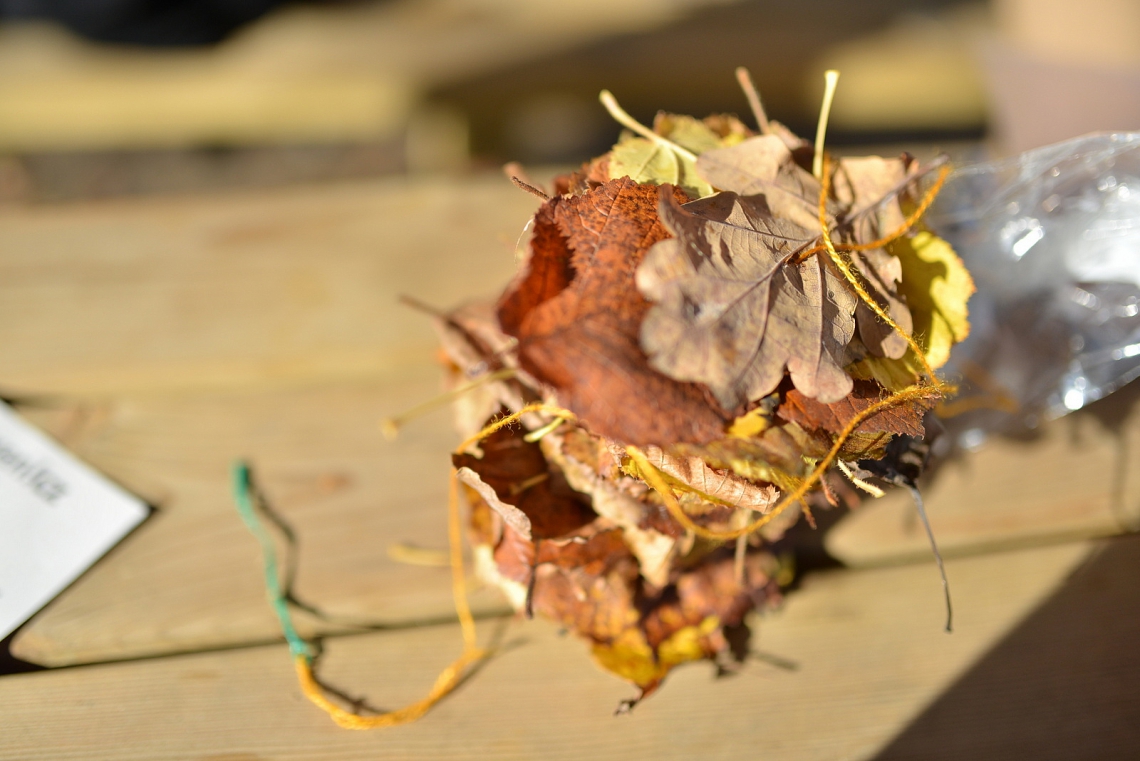
Oh, the colourful leaves, they are everywhere, irresistible. The fresh autumn air is sure to awaken your creative spirit. Bring the autumn mood into your home with some leaf lanterns. The instructions are so simple that in no time at all you will have so many lanterns that you will be giving them away as small autumn gifts. You can also string the lanterns together to make a garland and add this as part of your autumn decor.
YOU WILL NEED: a ball of wool or twine, a piece of garden wire or a skewer for piercing leaves, colourful leaves (maple ones are best)
HOW TO DO IT:
Attach the wire or skewer like a needle to one end of the wool and on the other end tie a knot with one curled leaf as a stopper and thread it leaf by leaf. Collect the most beautiful leaves around. The lanterns can be strung even on the go, during an autumn walk. The more of you threading, the longer your garland will be.
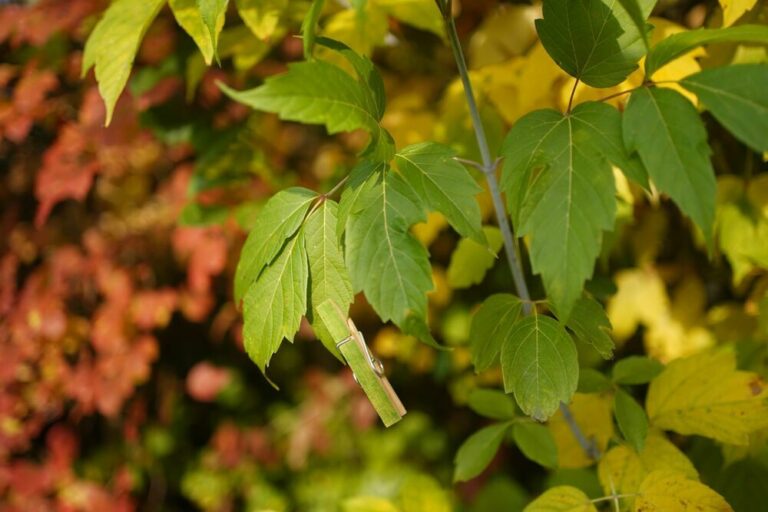


What is it like to hide yourself in nature? Which colours blend in easily and which will be visible from a distance?
YOU WILL NEED: 8–20 clothes pegs, colouring pencils
HOW TO DO IT:
Colour some pegs, each a different colour. The more different colours you have, the more interesting the game will be.
Outside, divide into two groups. One group tries to hide the pegs. They must attach the pegs to things outside in such a way as to camouflage them as best they can. However, they must not cover the pegs with anything or push them into holes, etc. The second group then tries to find all the pegs as quickly as they can.
Switch roles when all the pegs have been found.
At the end, you can talk with the children about how difficult it was to hide or find different colours and how and why animals camouflage themselves in nature.
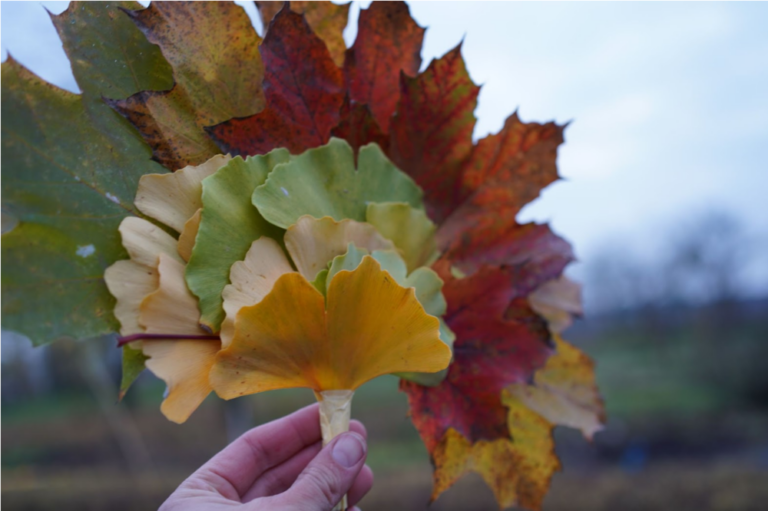
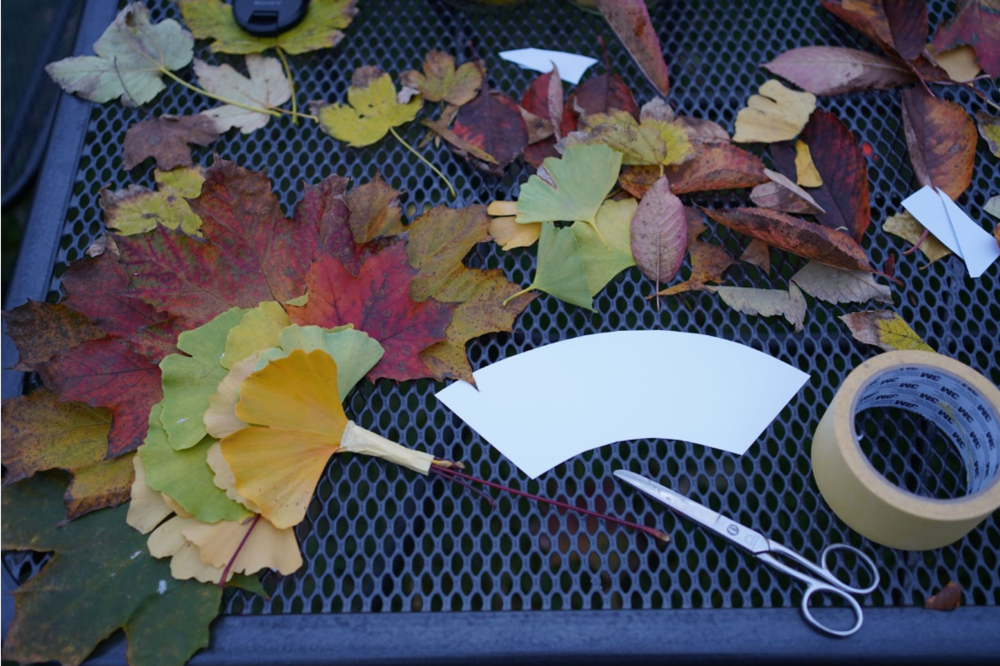


Make an unconventional natural accessory if you have plenty of colourful leaves around – a fan.
YOU WILL NEED: different coloured leaves, masking tape or string, a piece of stiff paper
HOW TO DO IT:
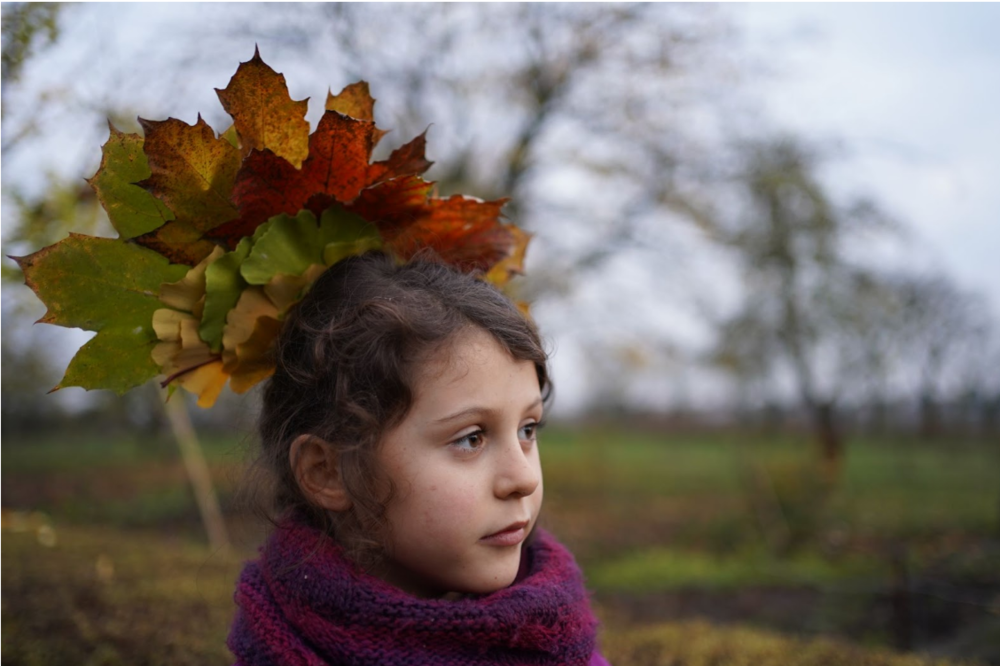
It is enough just to put together some suitably large and colourful leaves. You only need to wrap the stems with tape or tie them with string. You can use stiff paper as a base and attach the leaves to it. Now all you have to do is enjoy the fan! And how about creating a hairstyle or decorations for your clothes to go with it?
DON'T MISS NEW LESSONS AND MATERIALS!
Would you like to receive news from Lessons in Grass by e-mail?
Subscribe to our newsletter