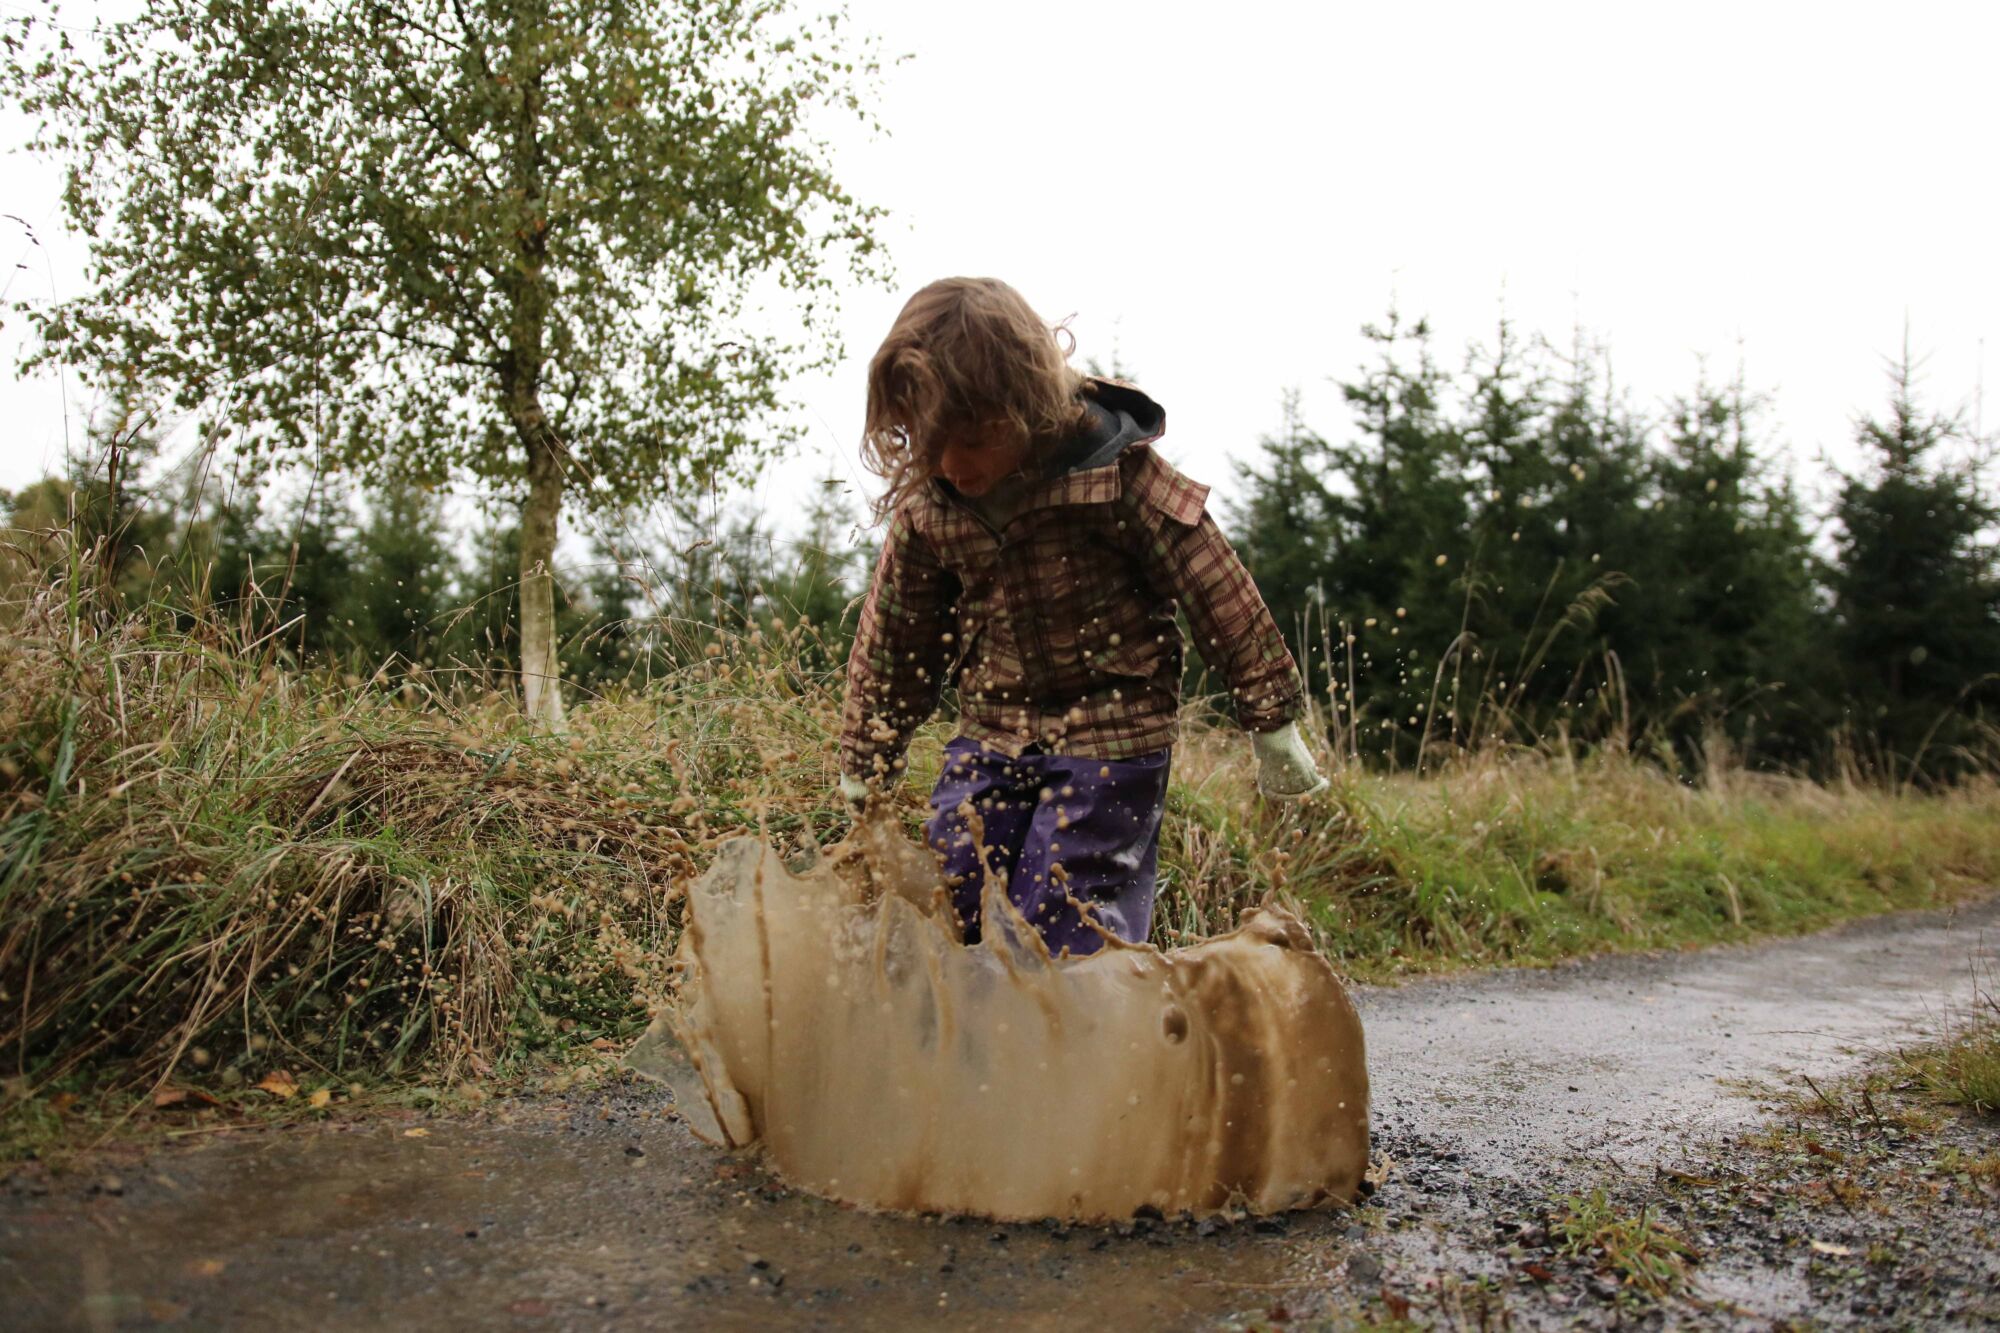
SPRING OUTDOOR CHALLENGESS
let's enjoy the SPRING outside to the fullest!
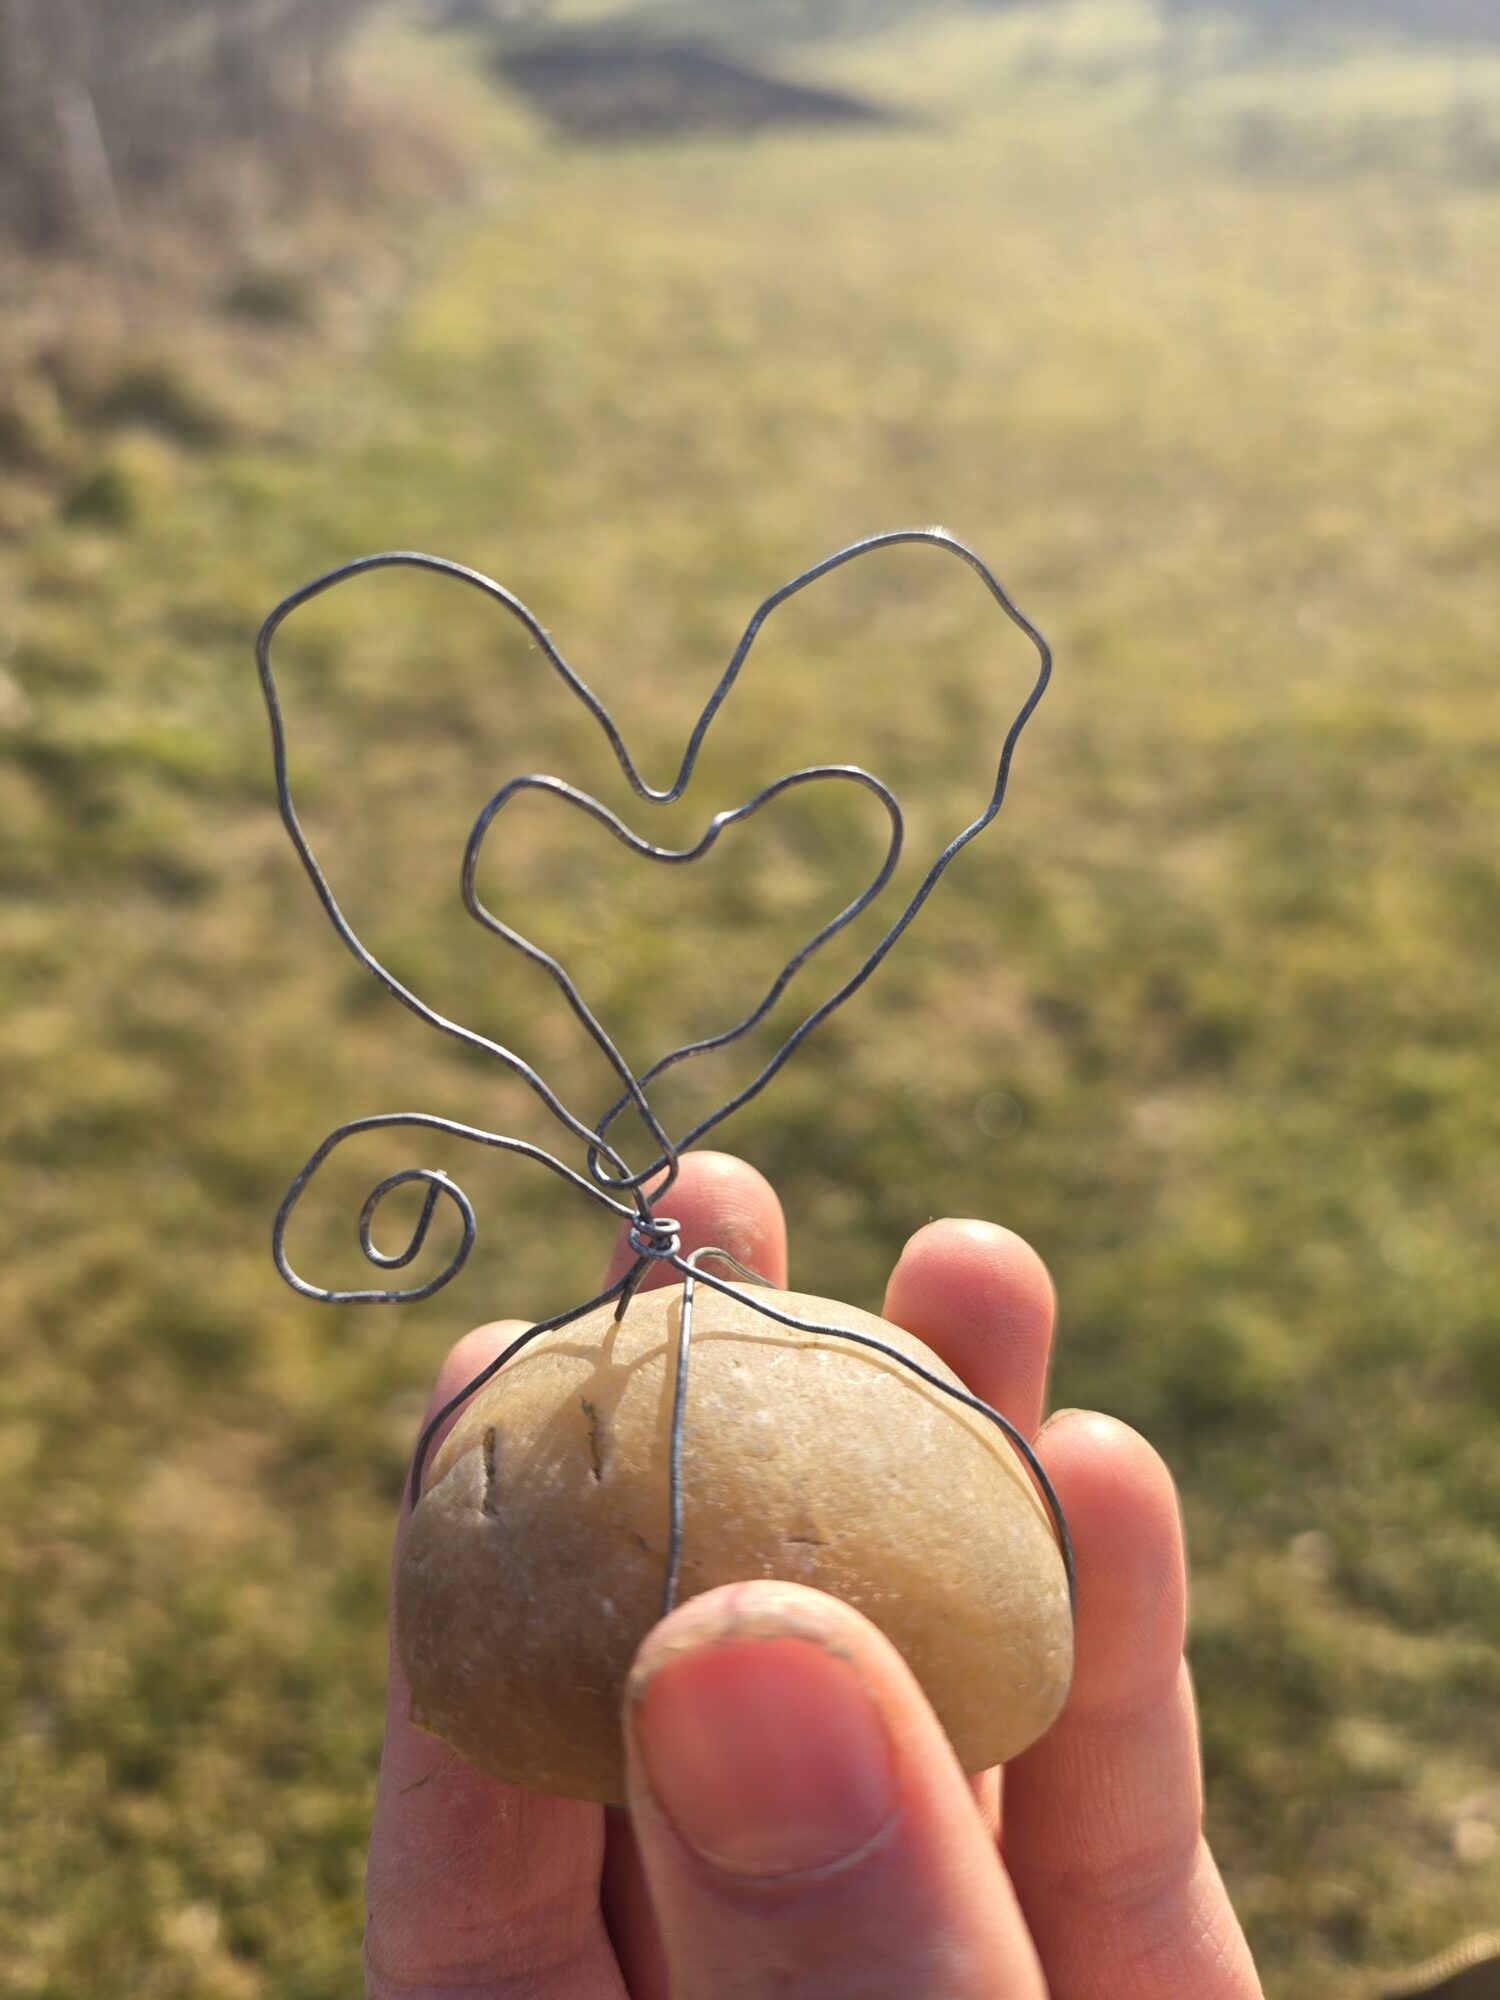
STONES IN LOVE
Wire + stone = present for someone.
NATURE IN LOVE
Let’s celebrate love playfully outdoors, not just on Valentine's Day

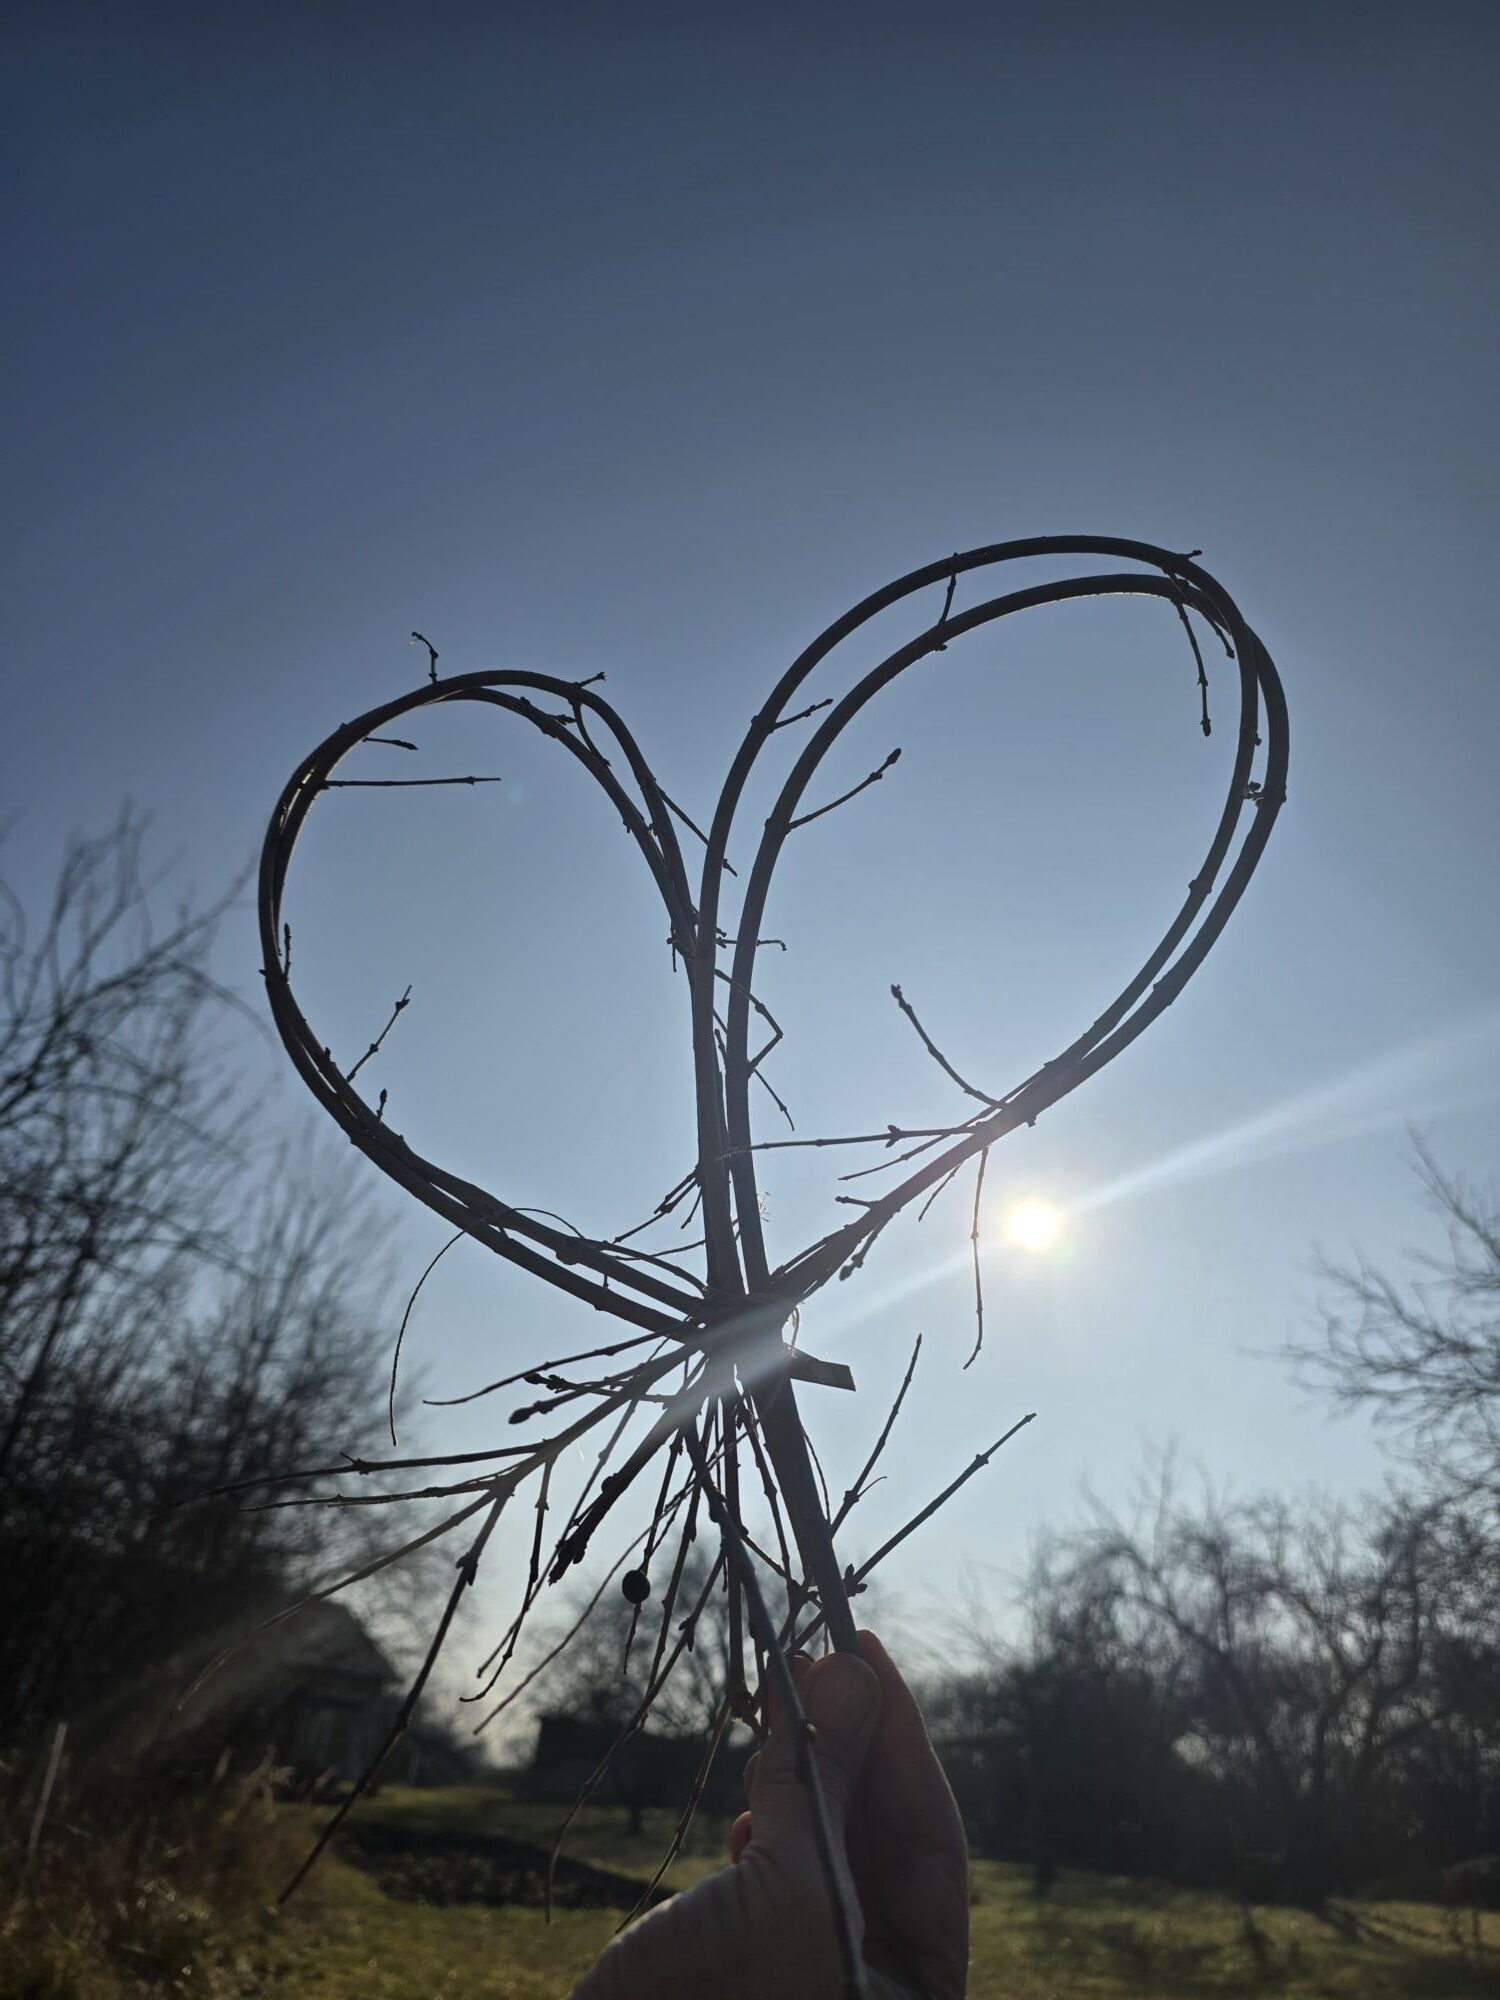
TWIGS IN LOVE
Create your own gifts of love using natural materials
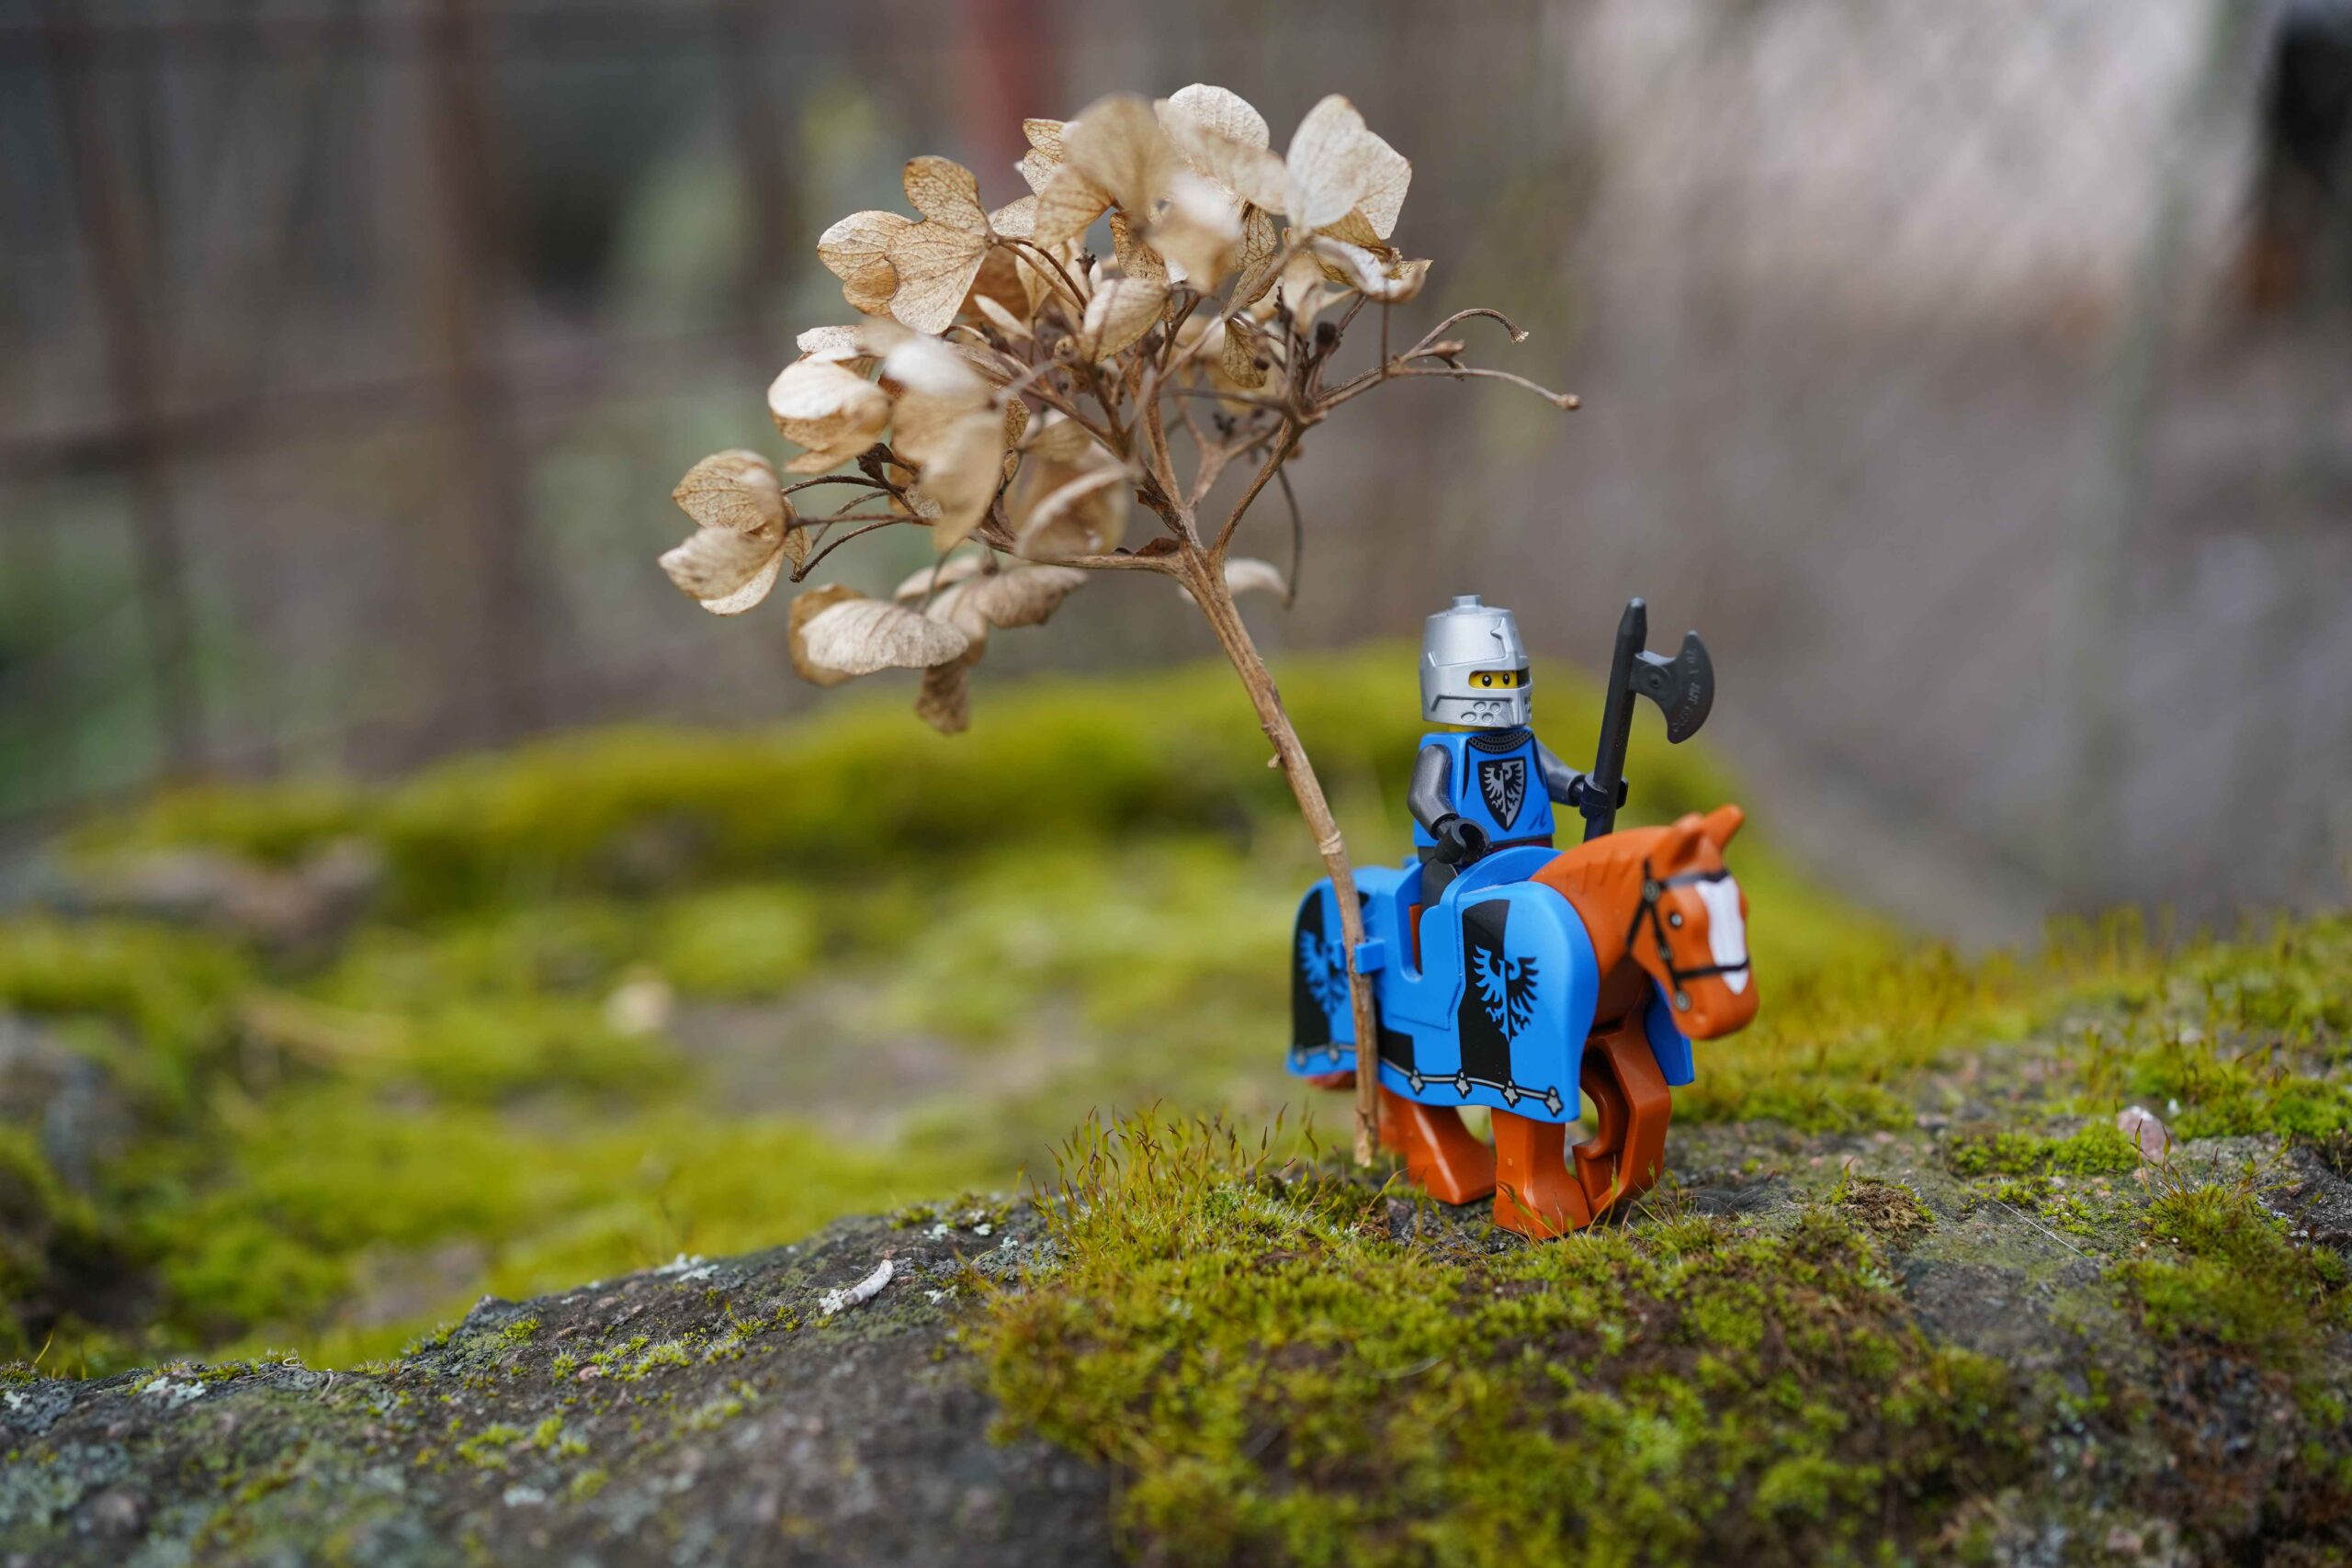
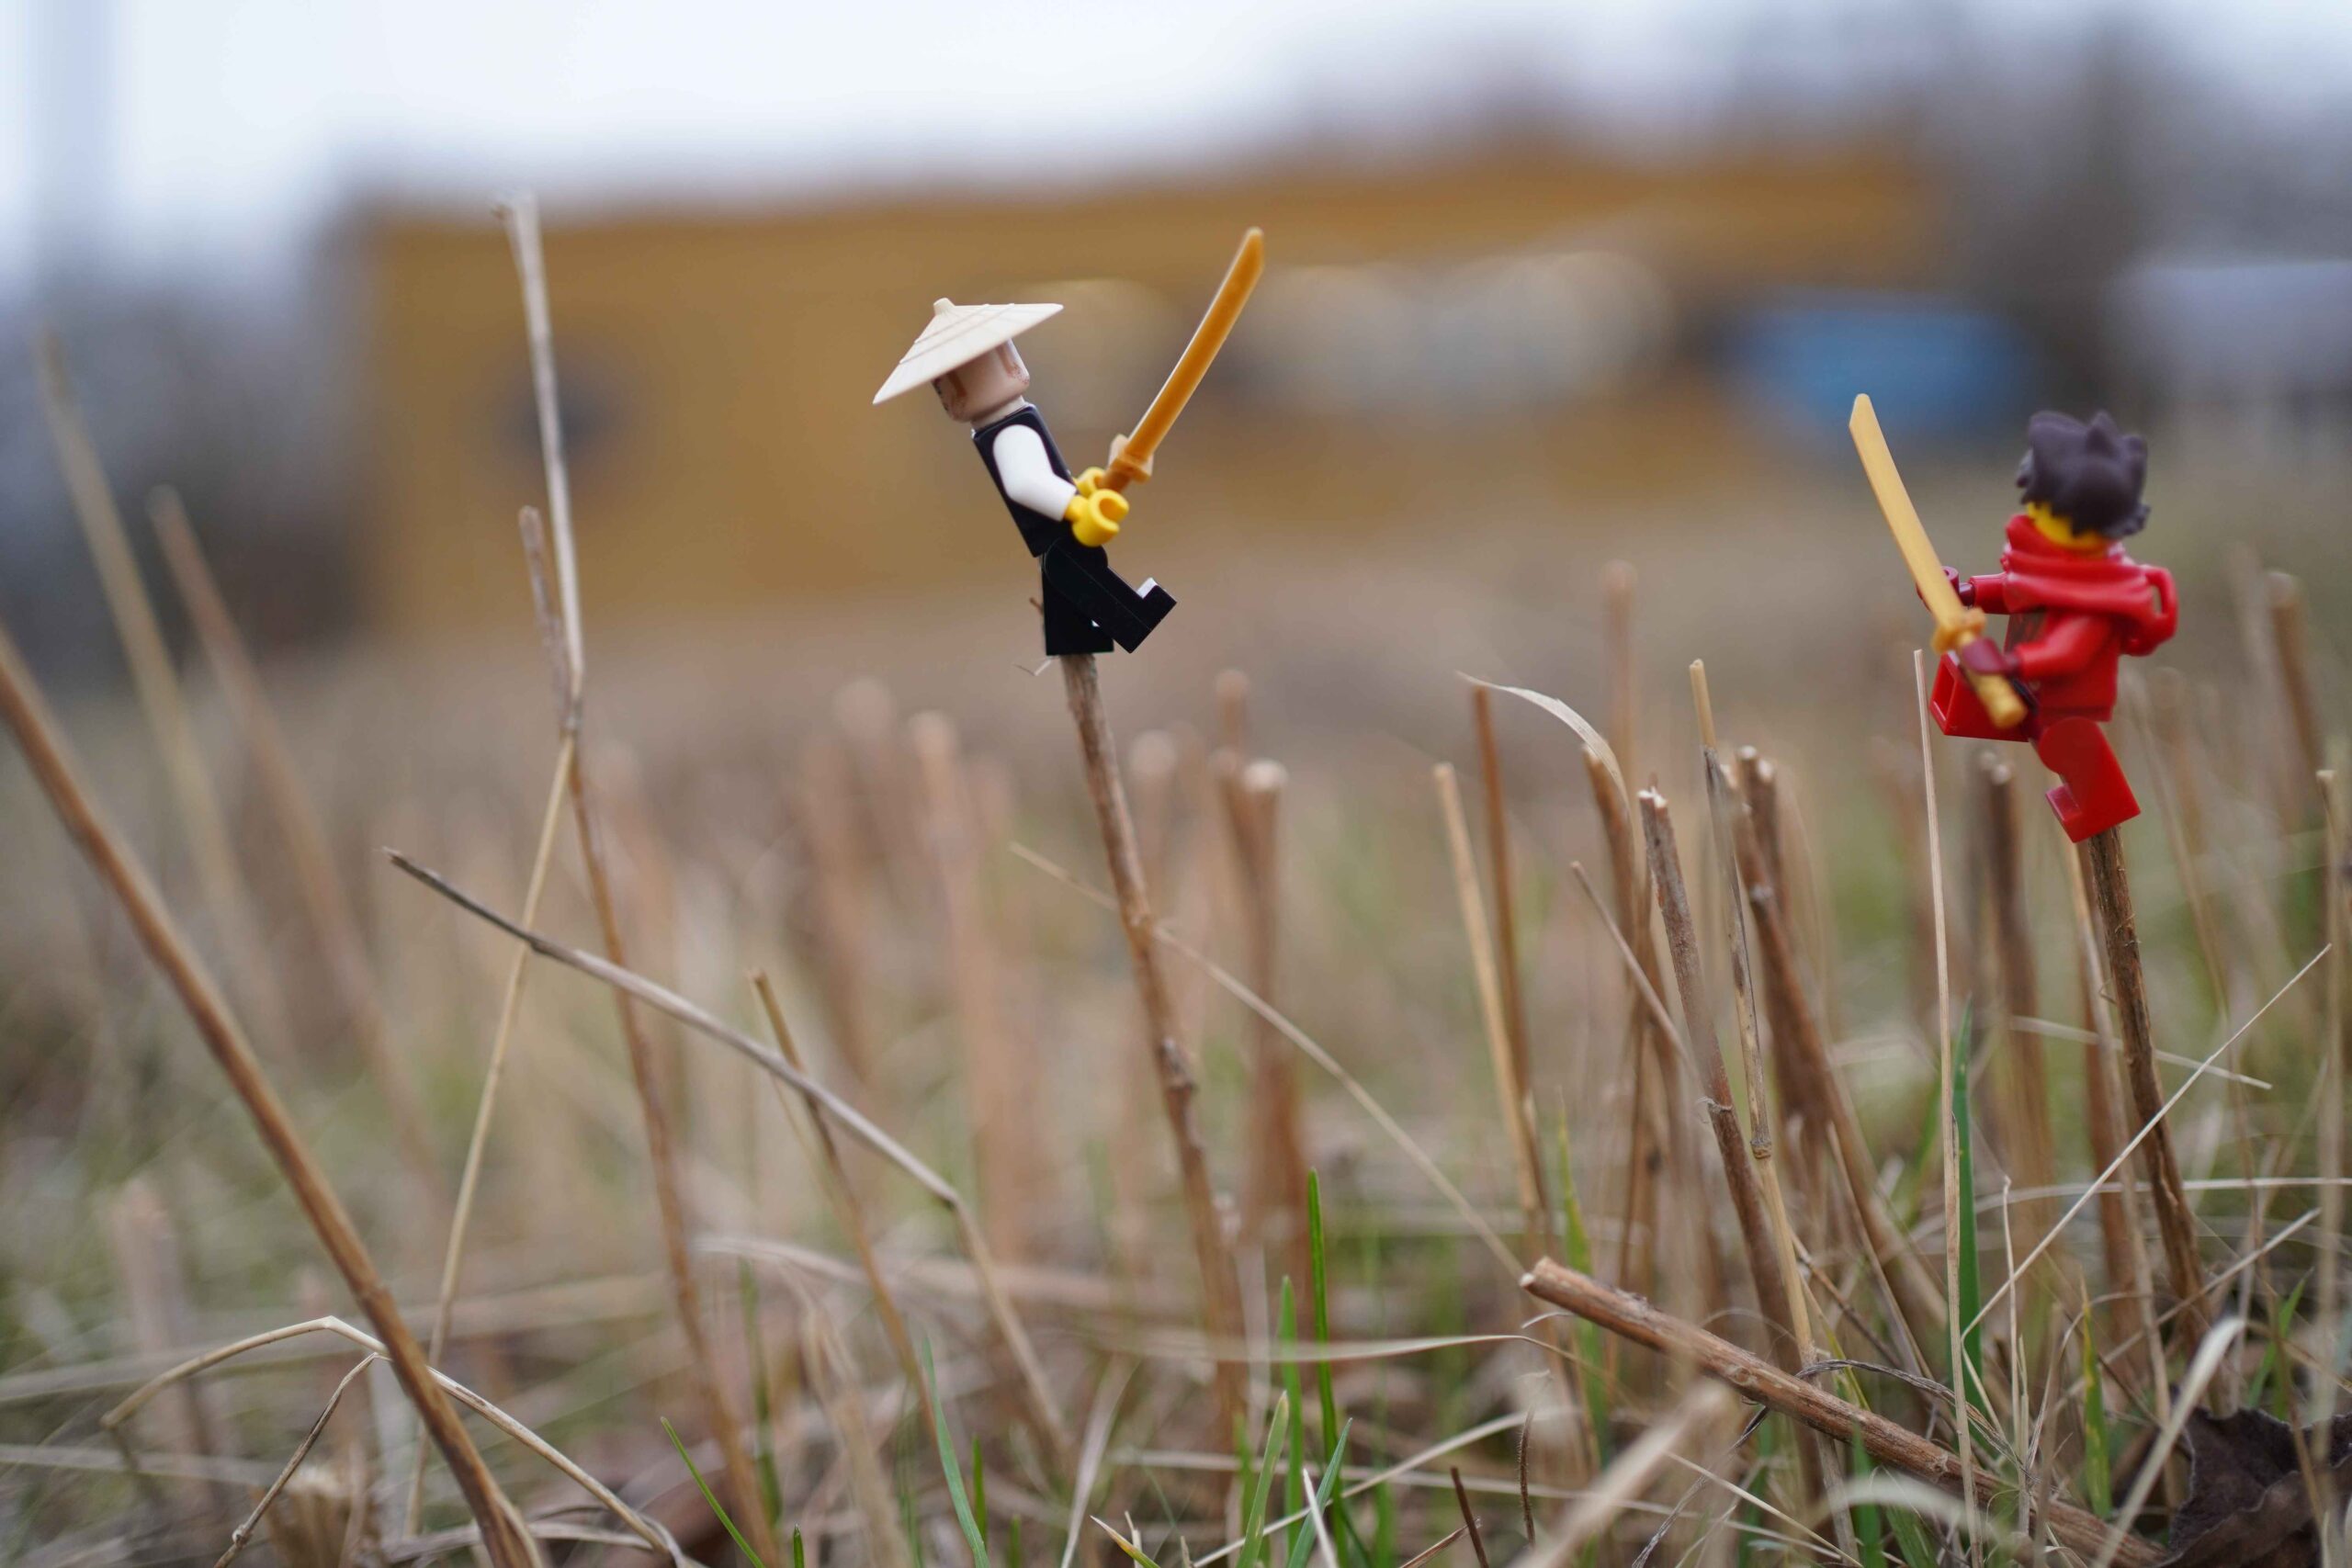
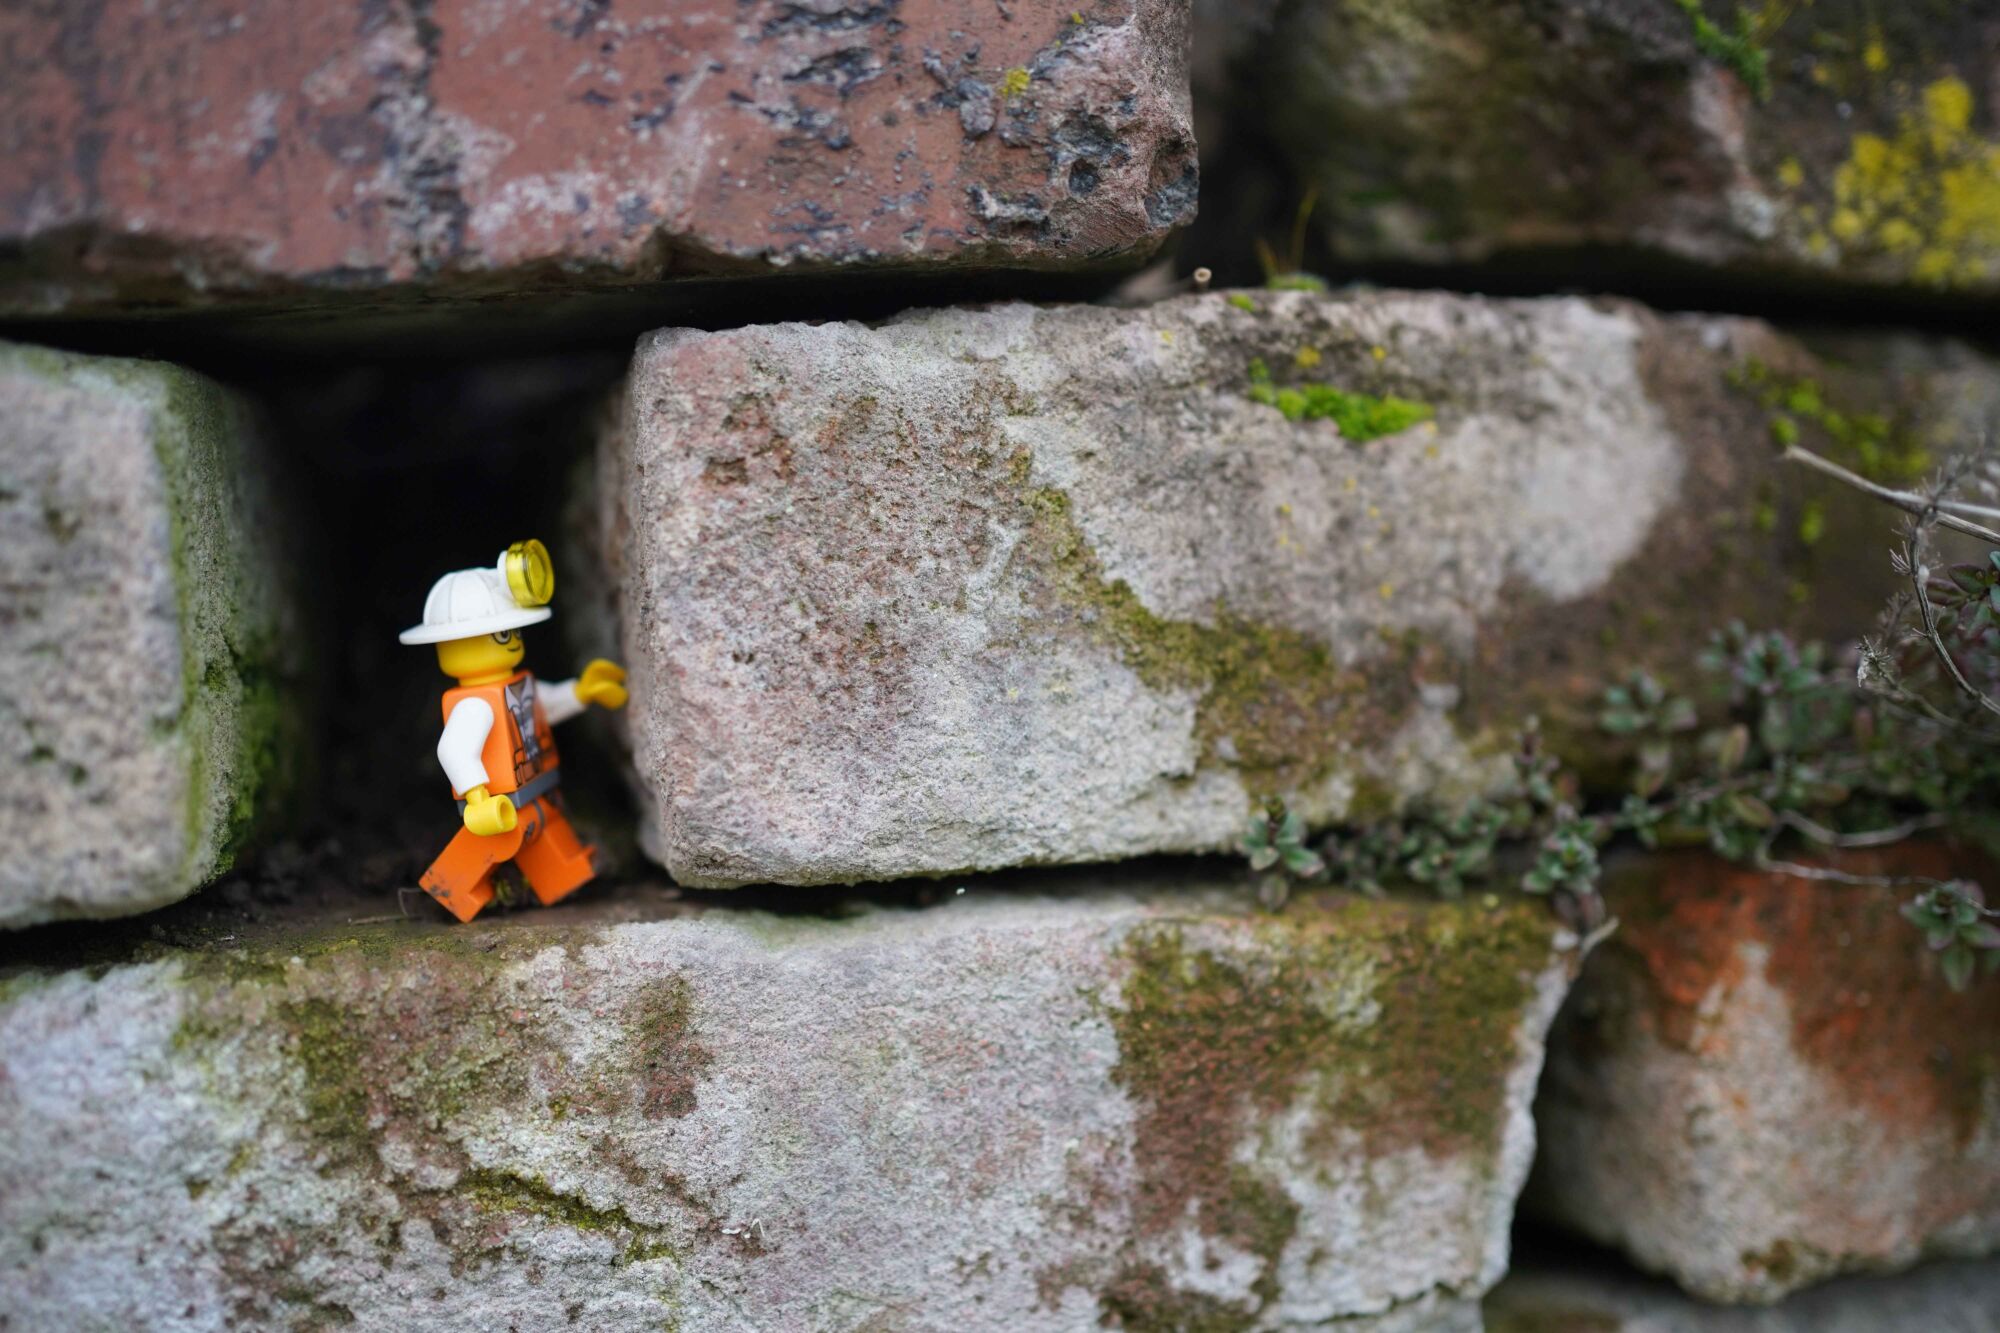
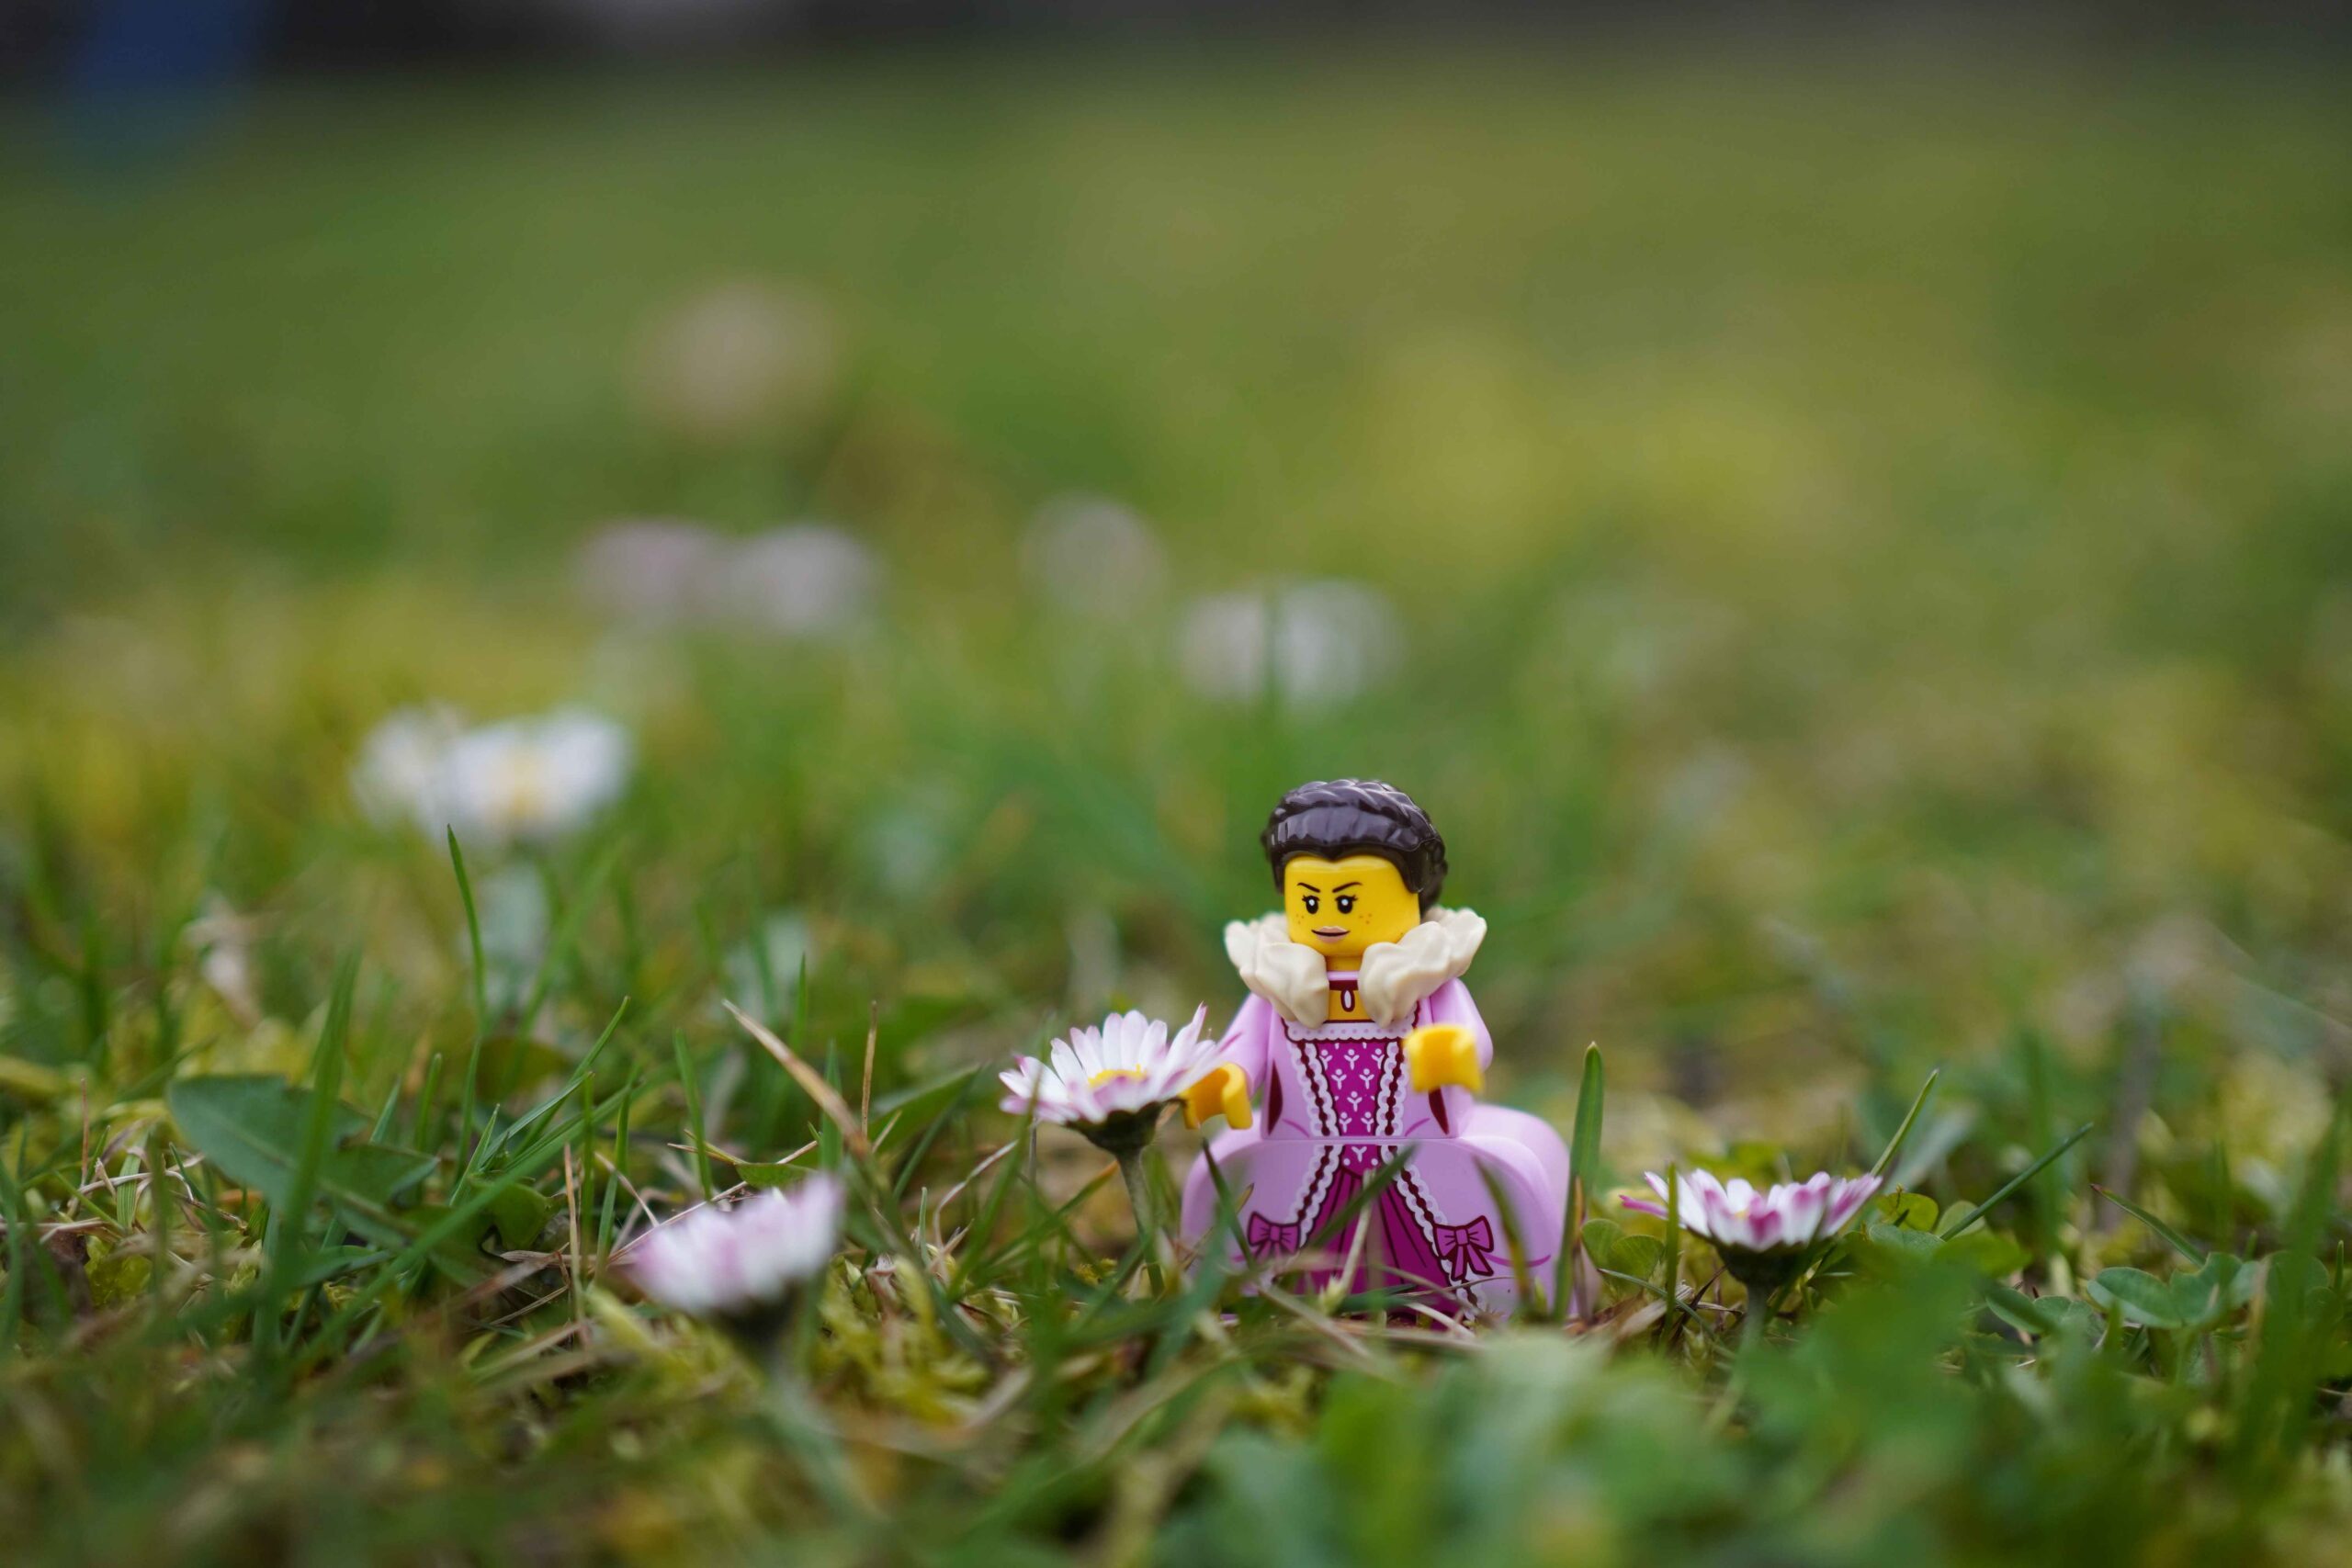
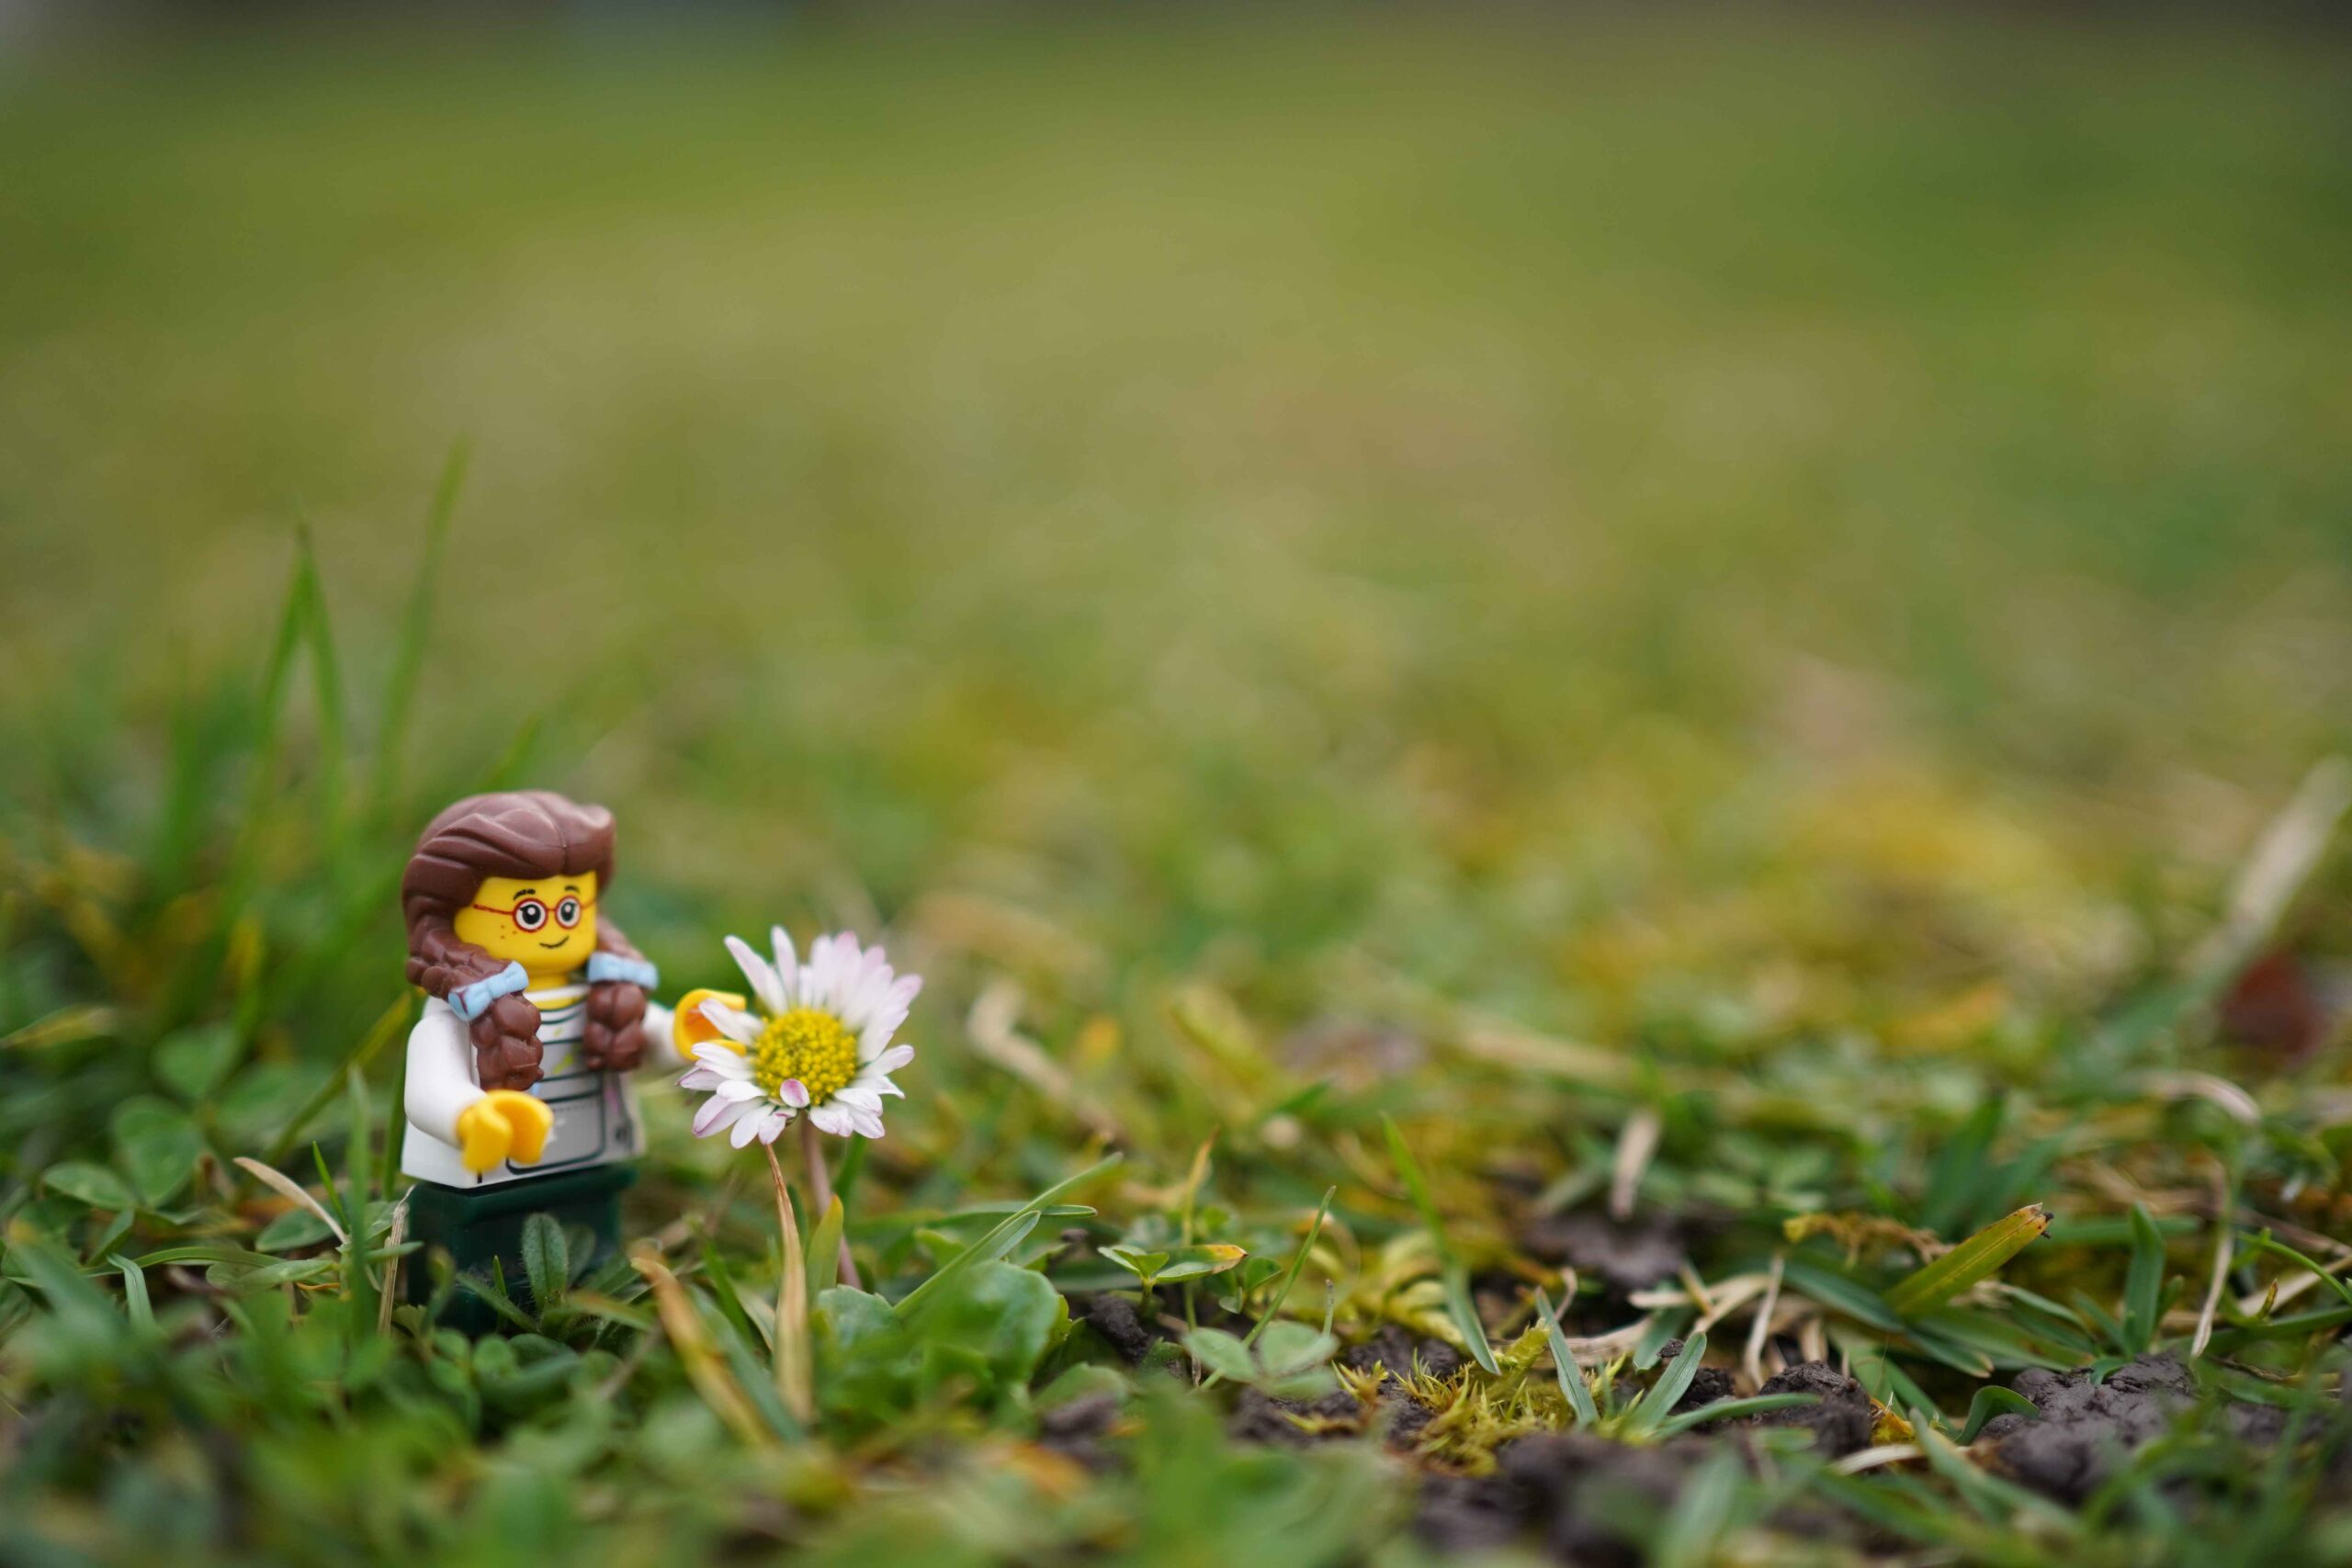
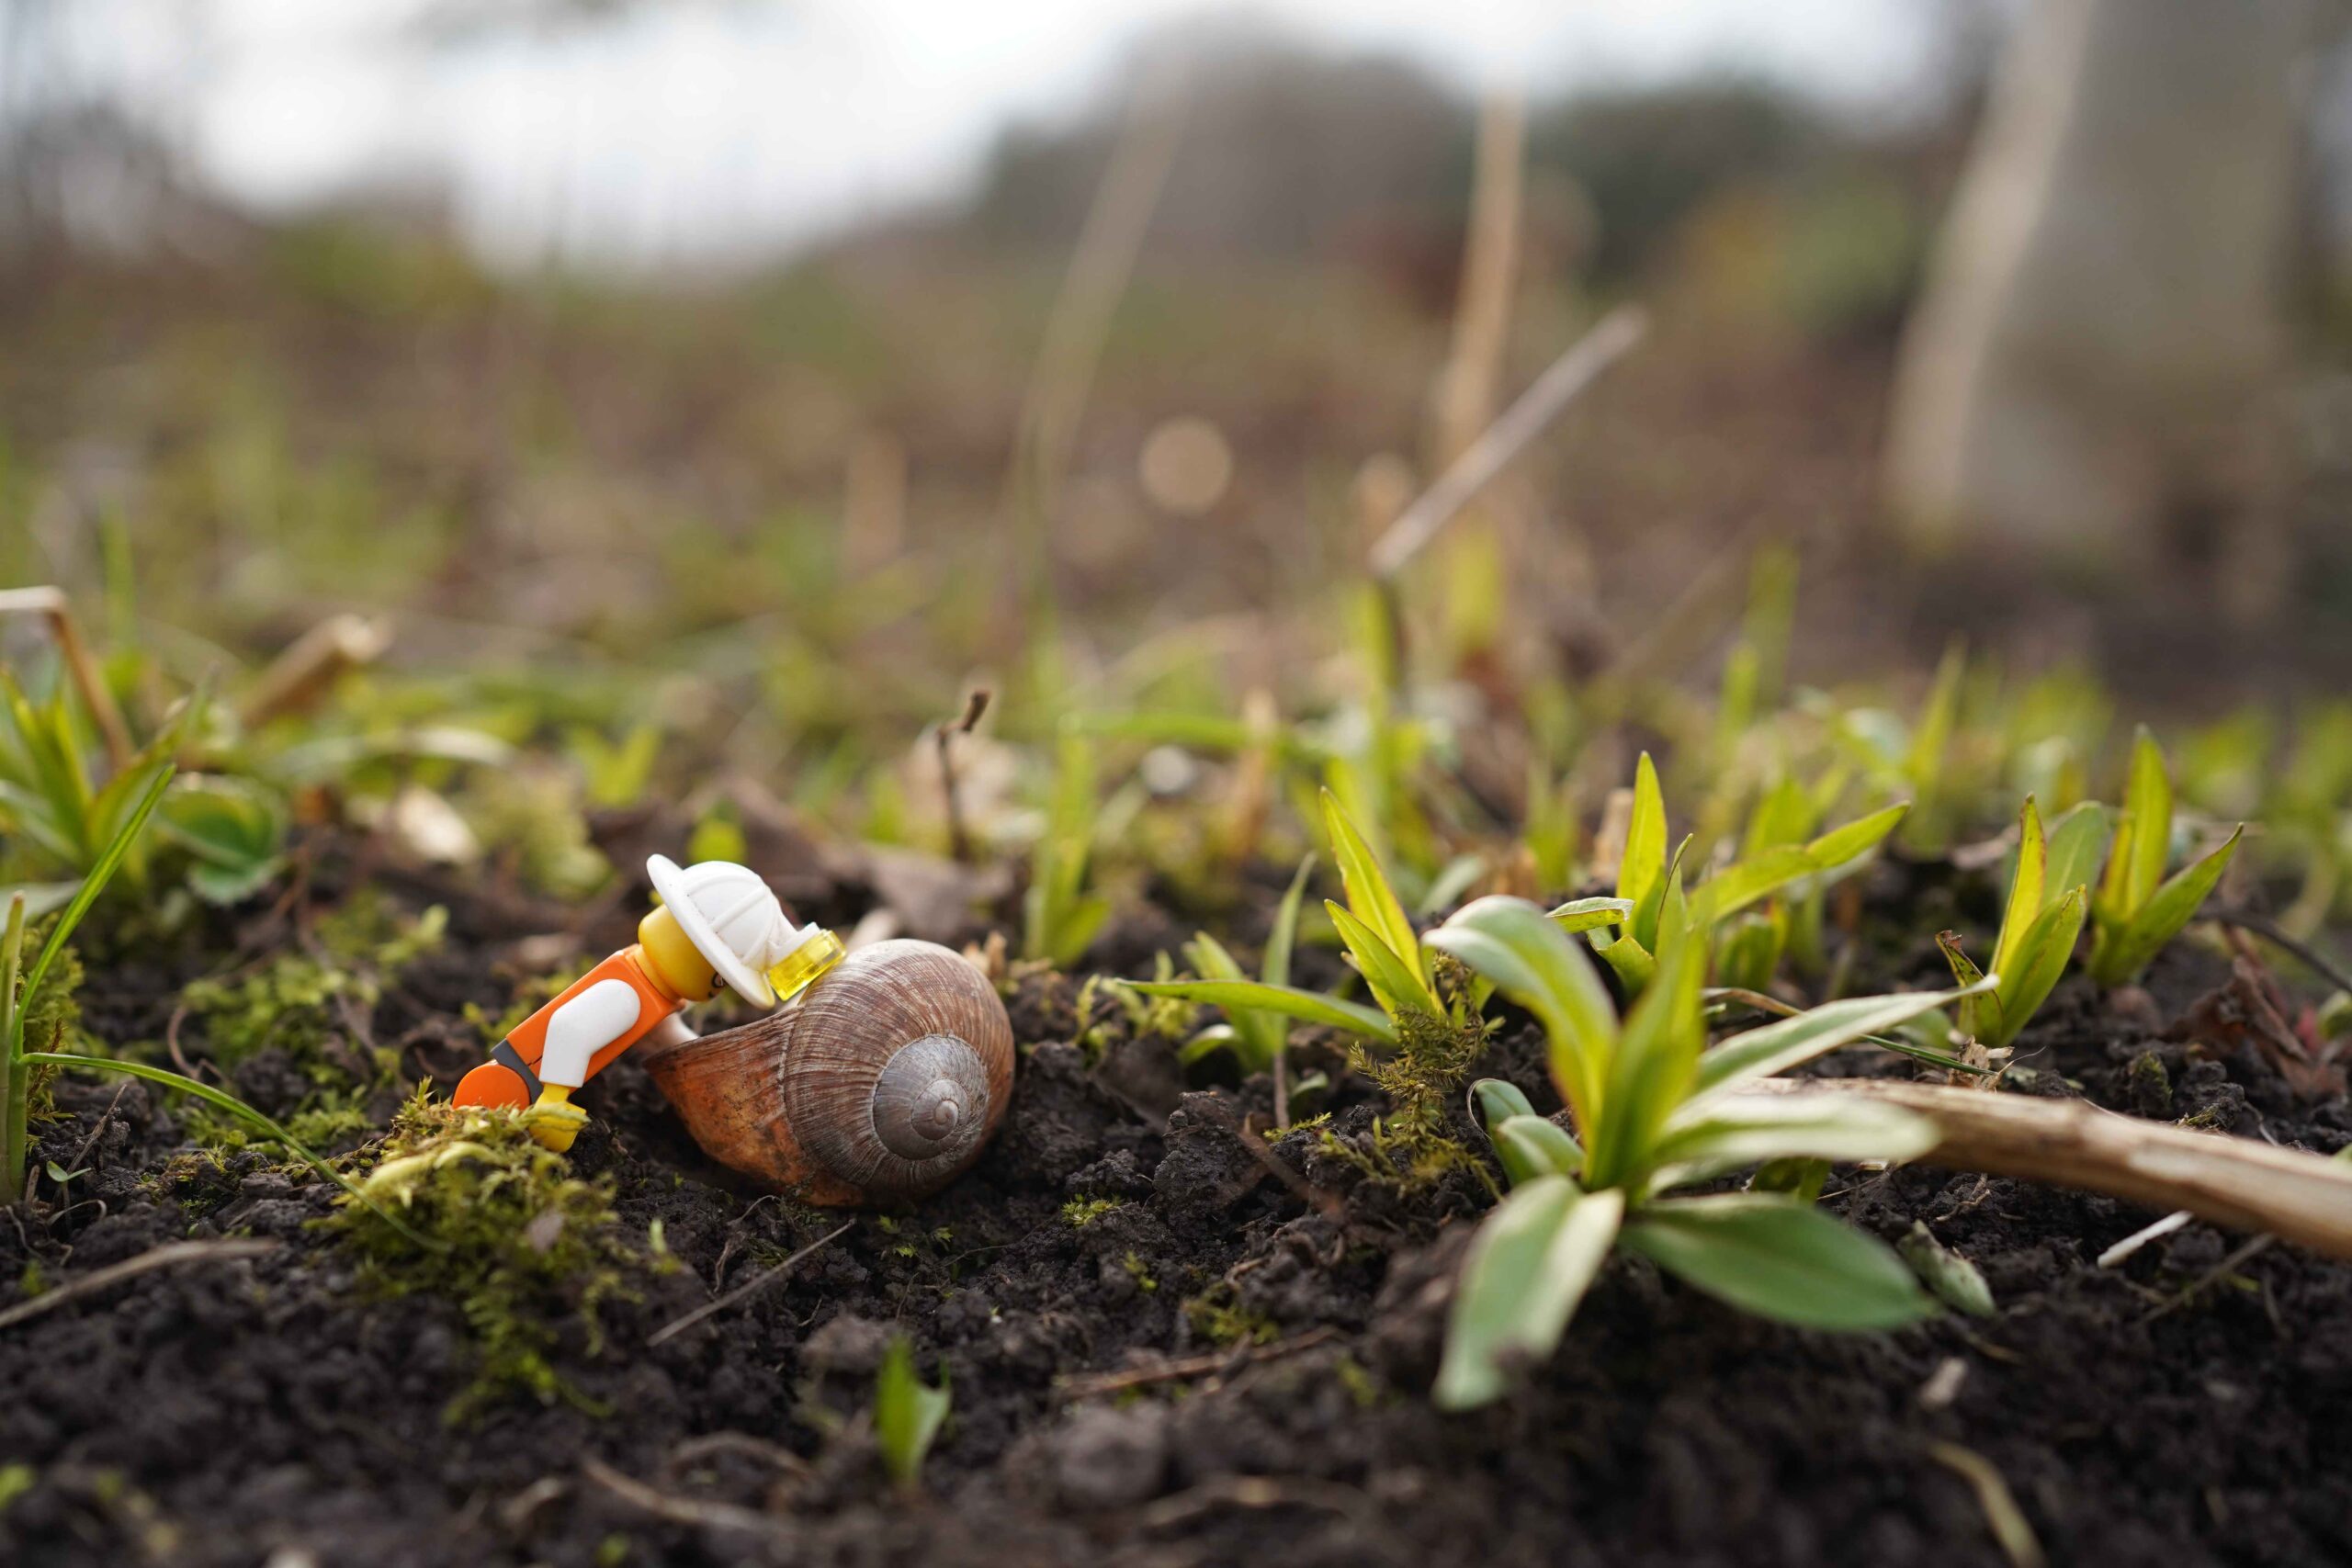
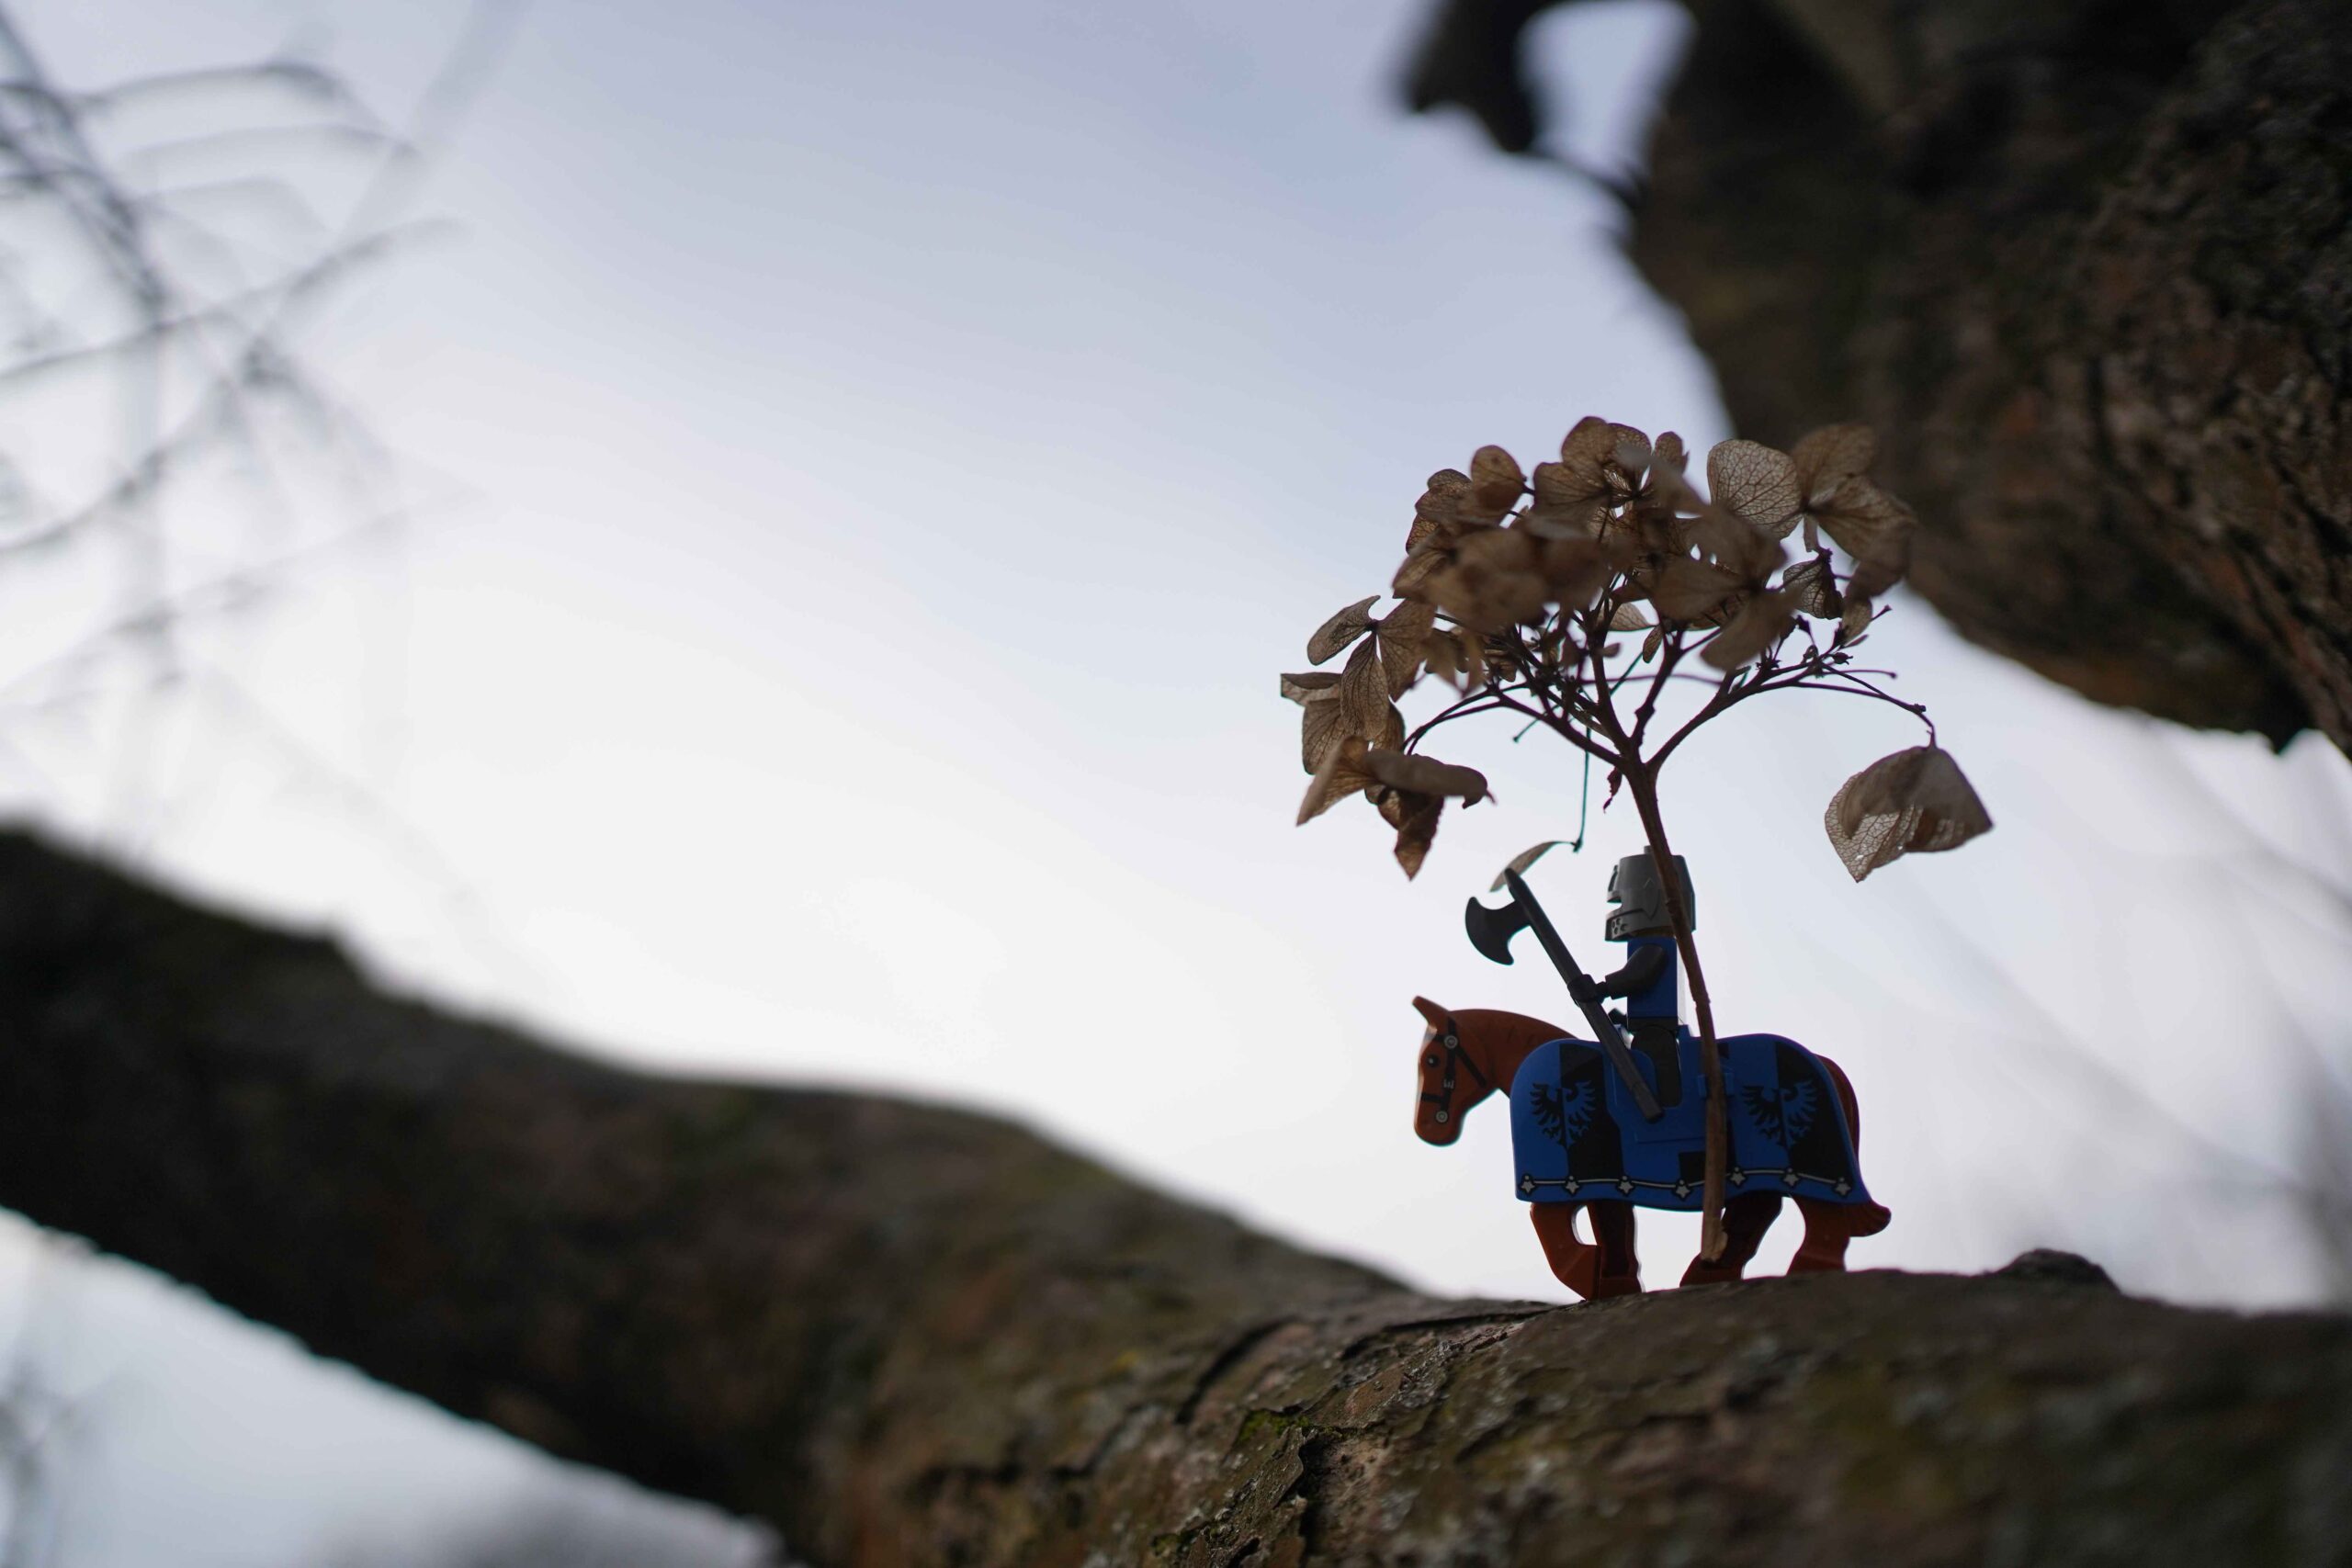
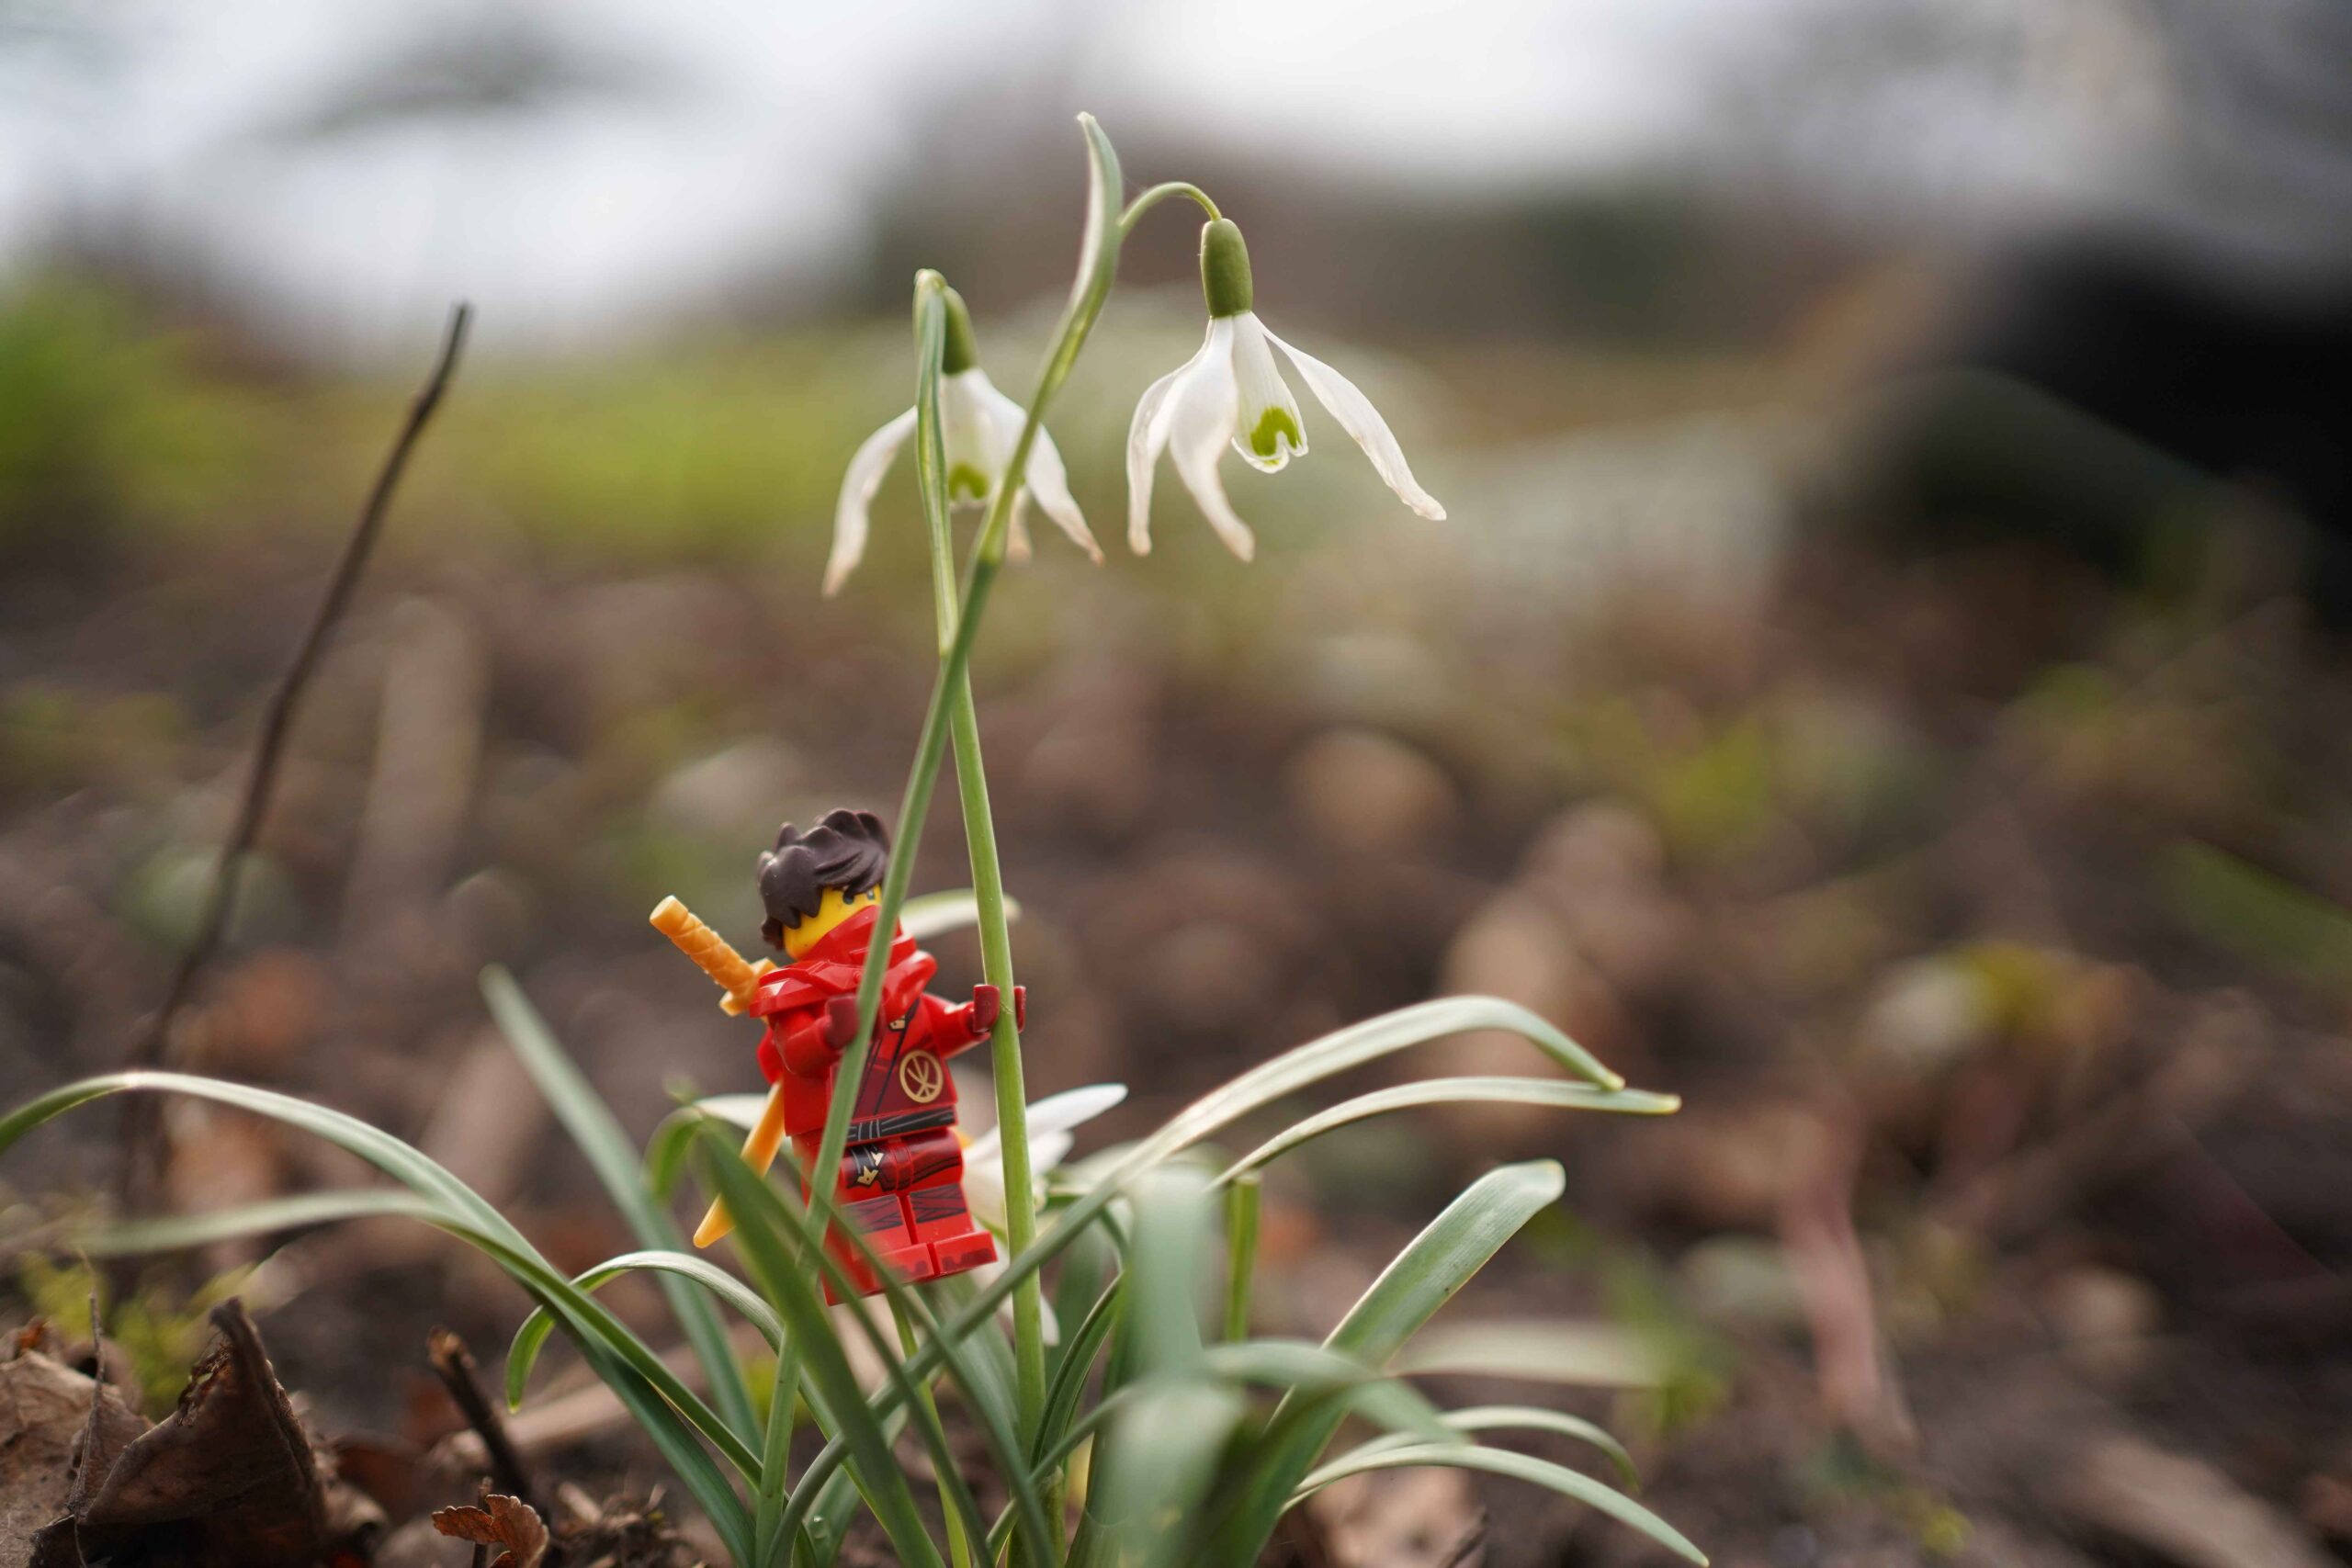
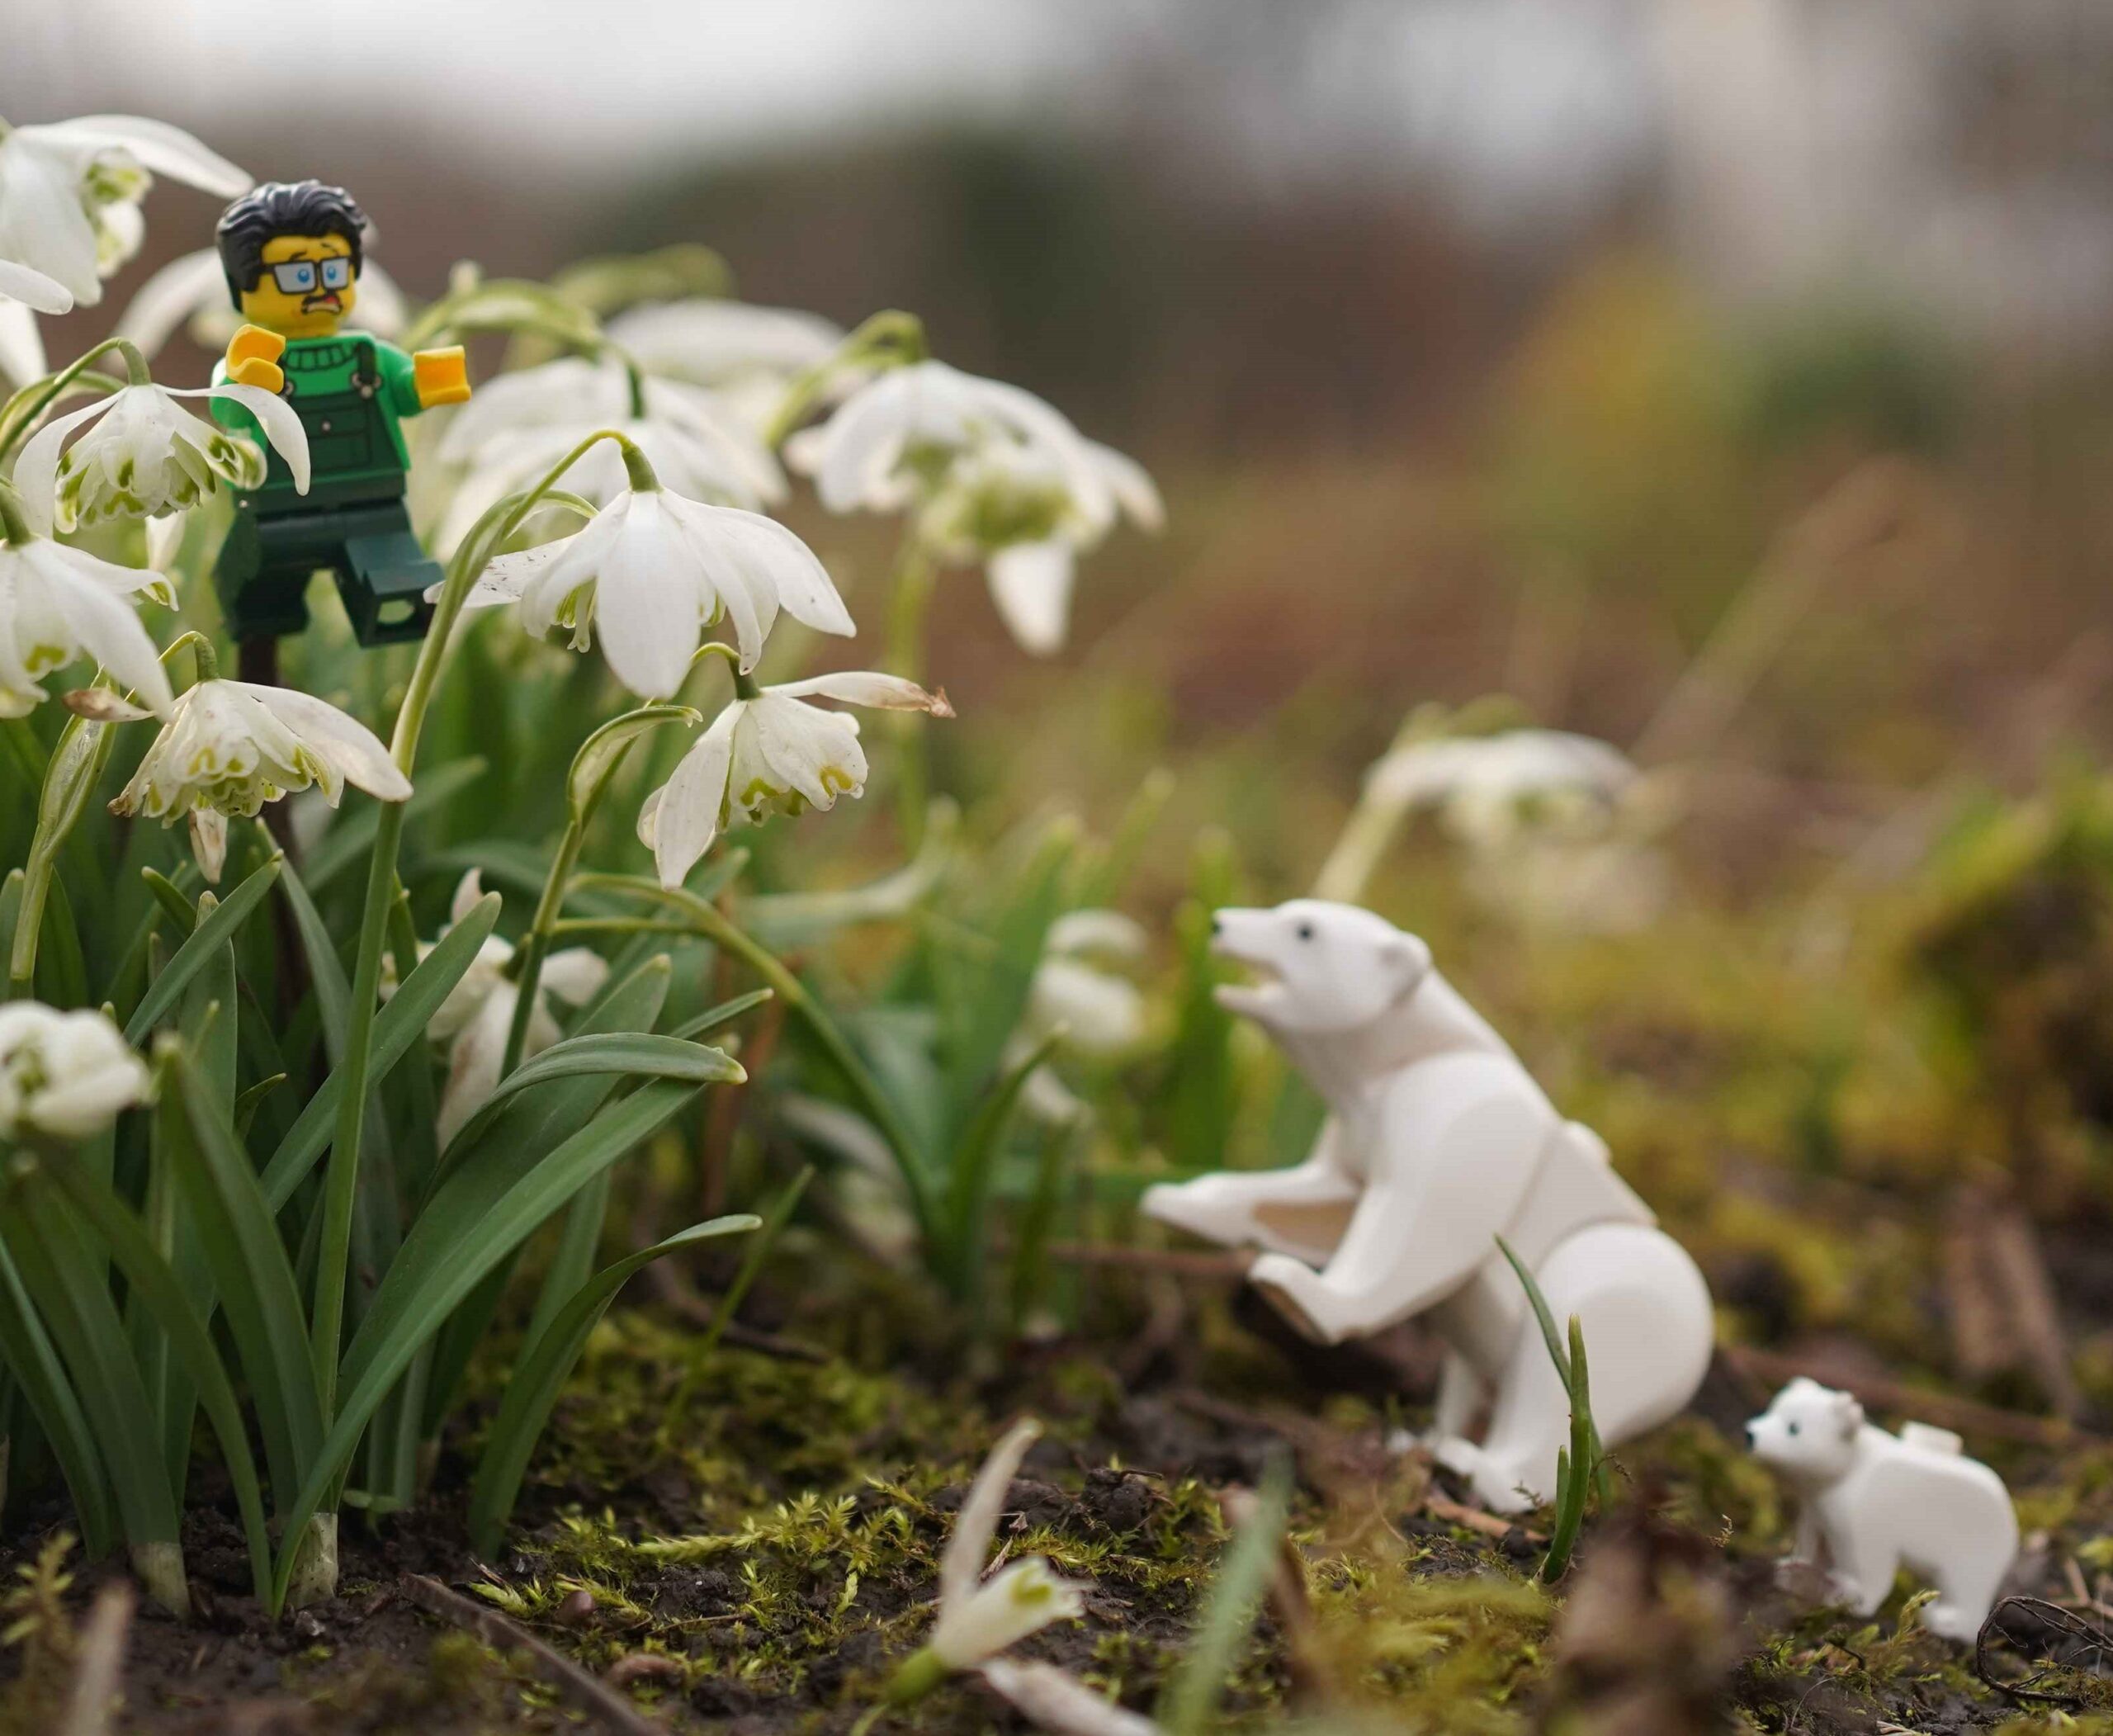
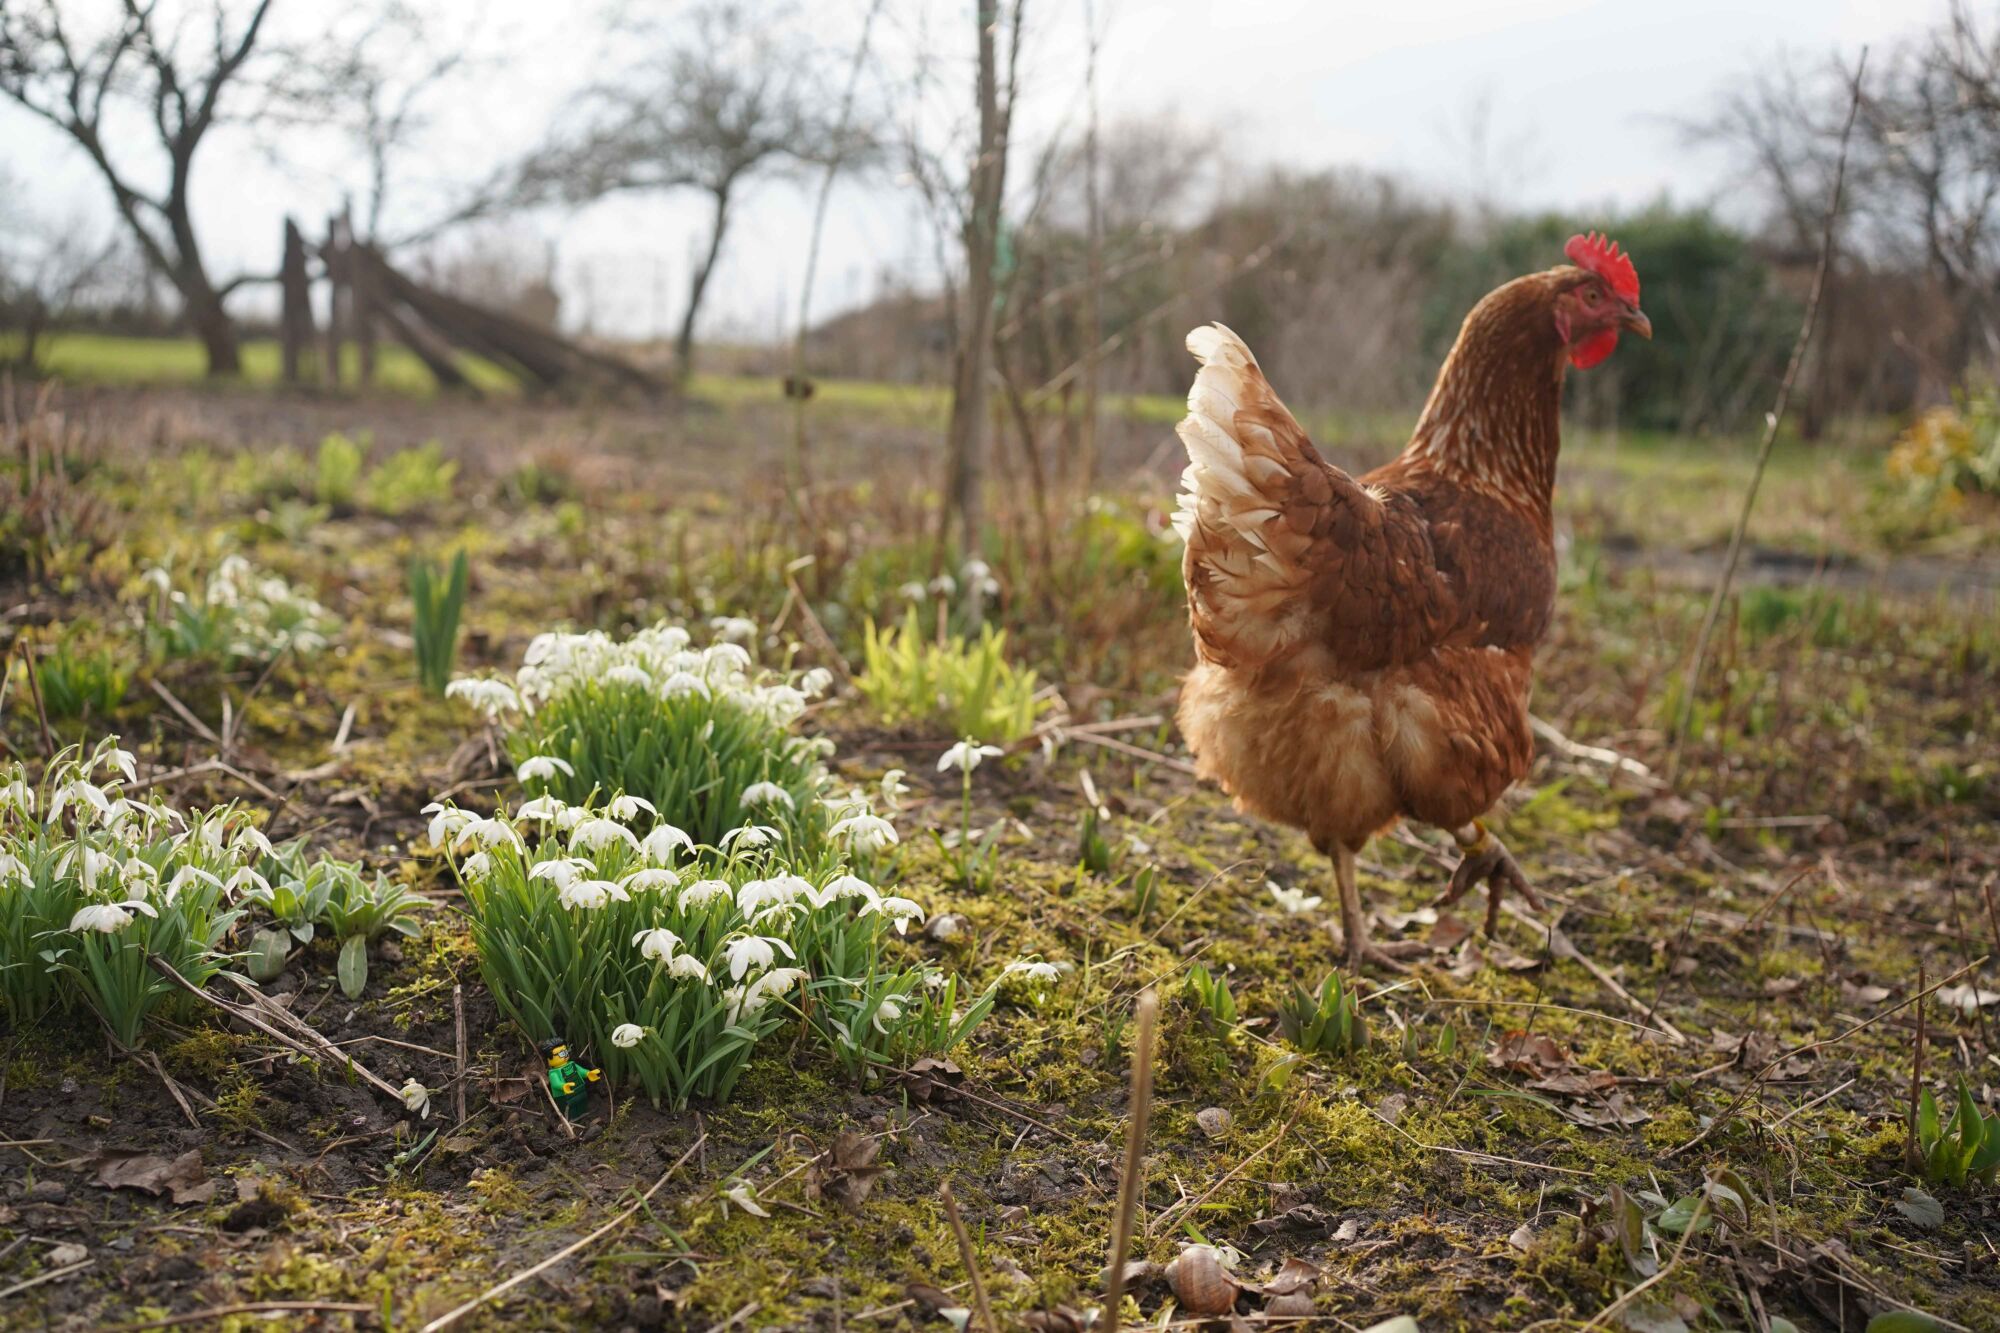
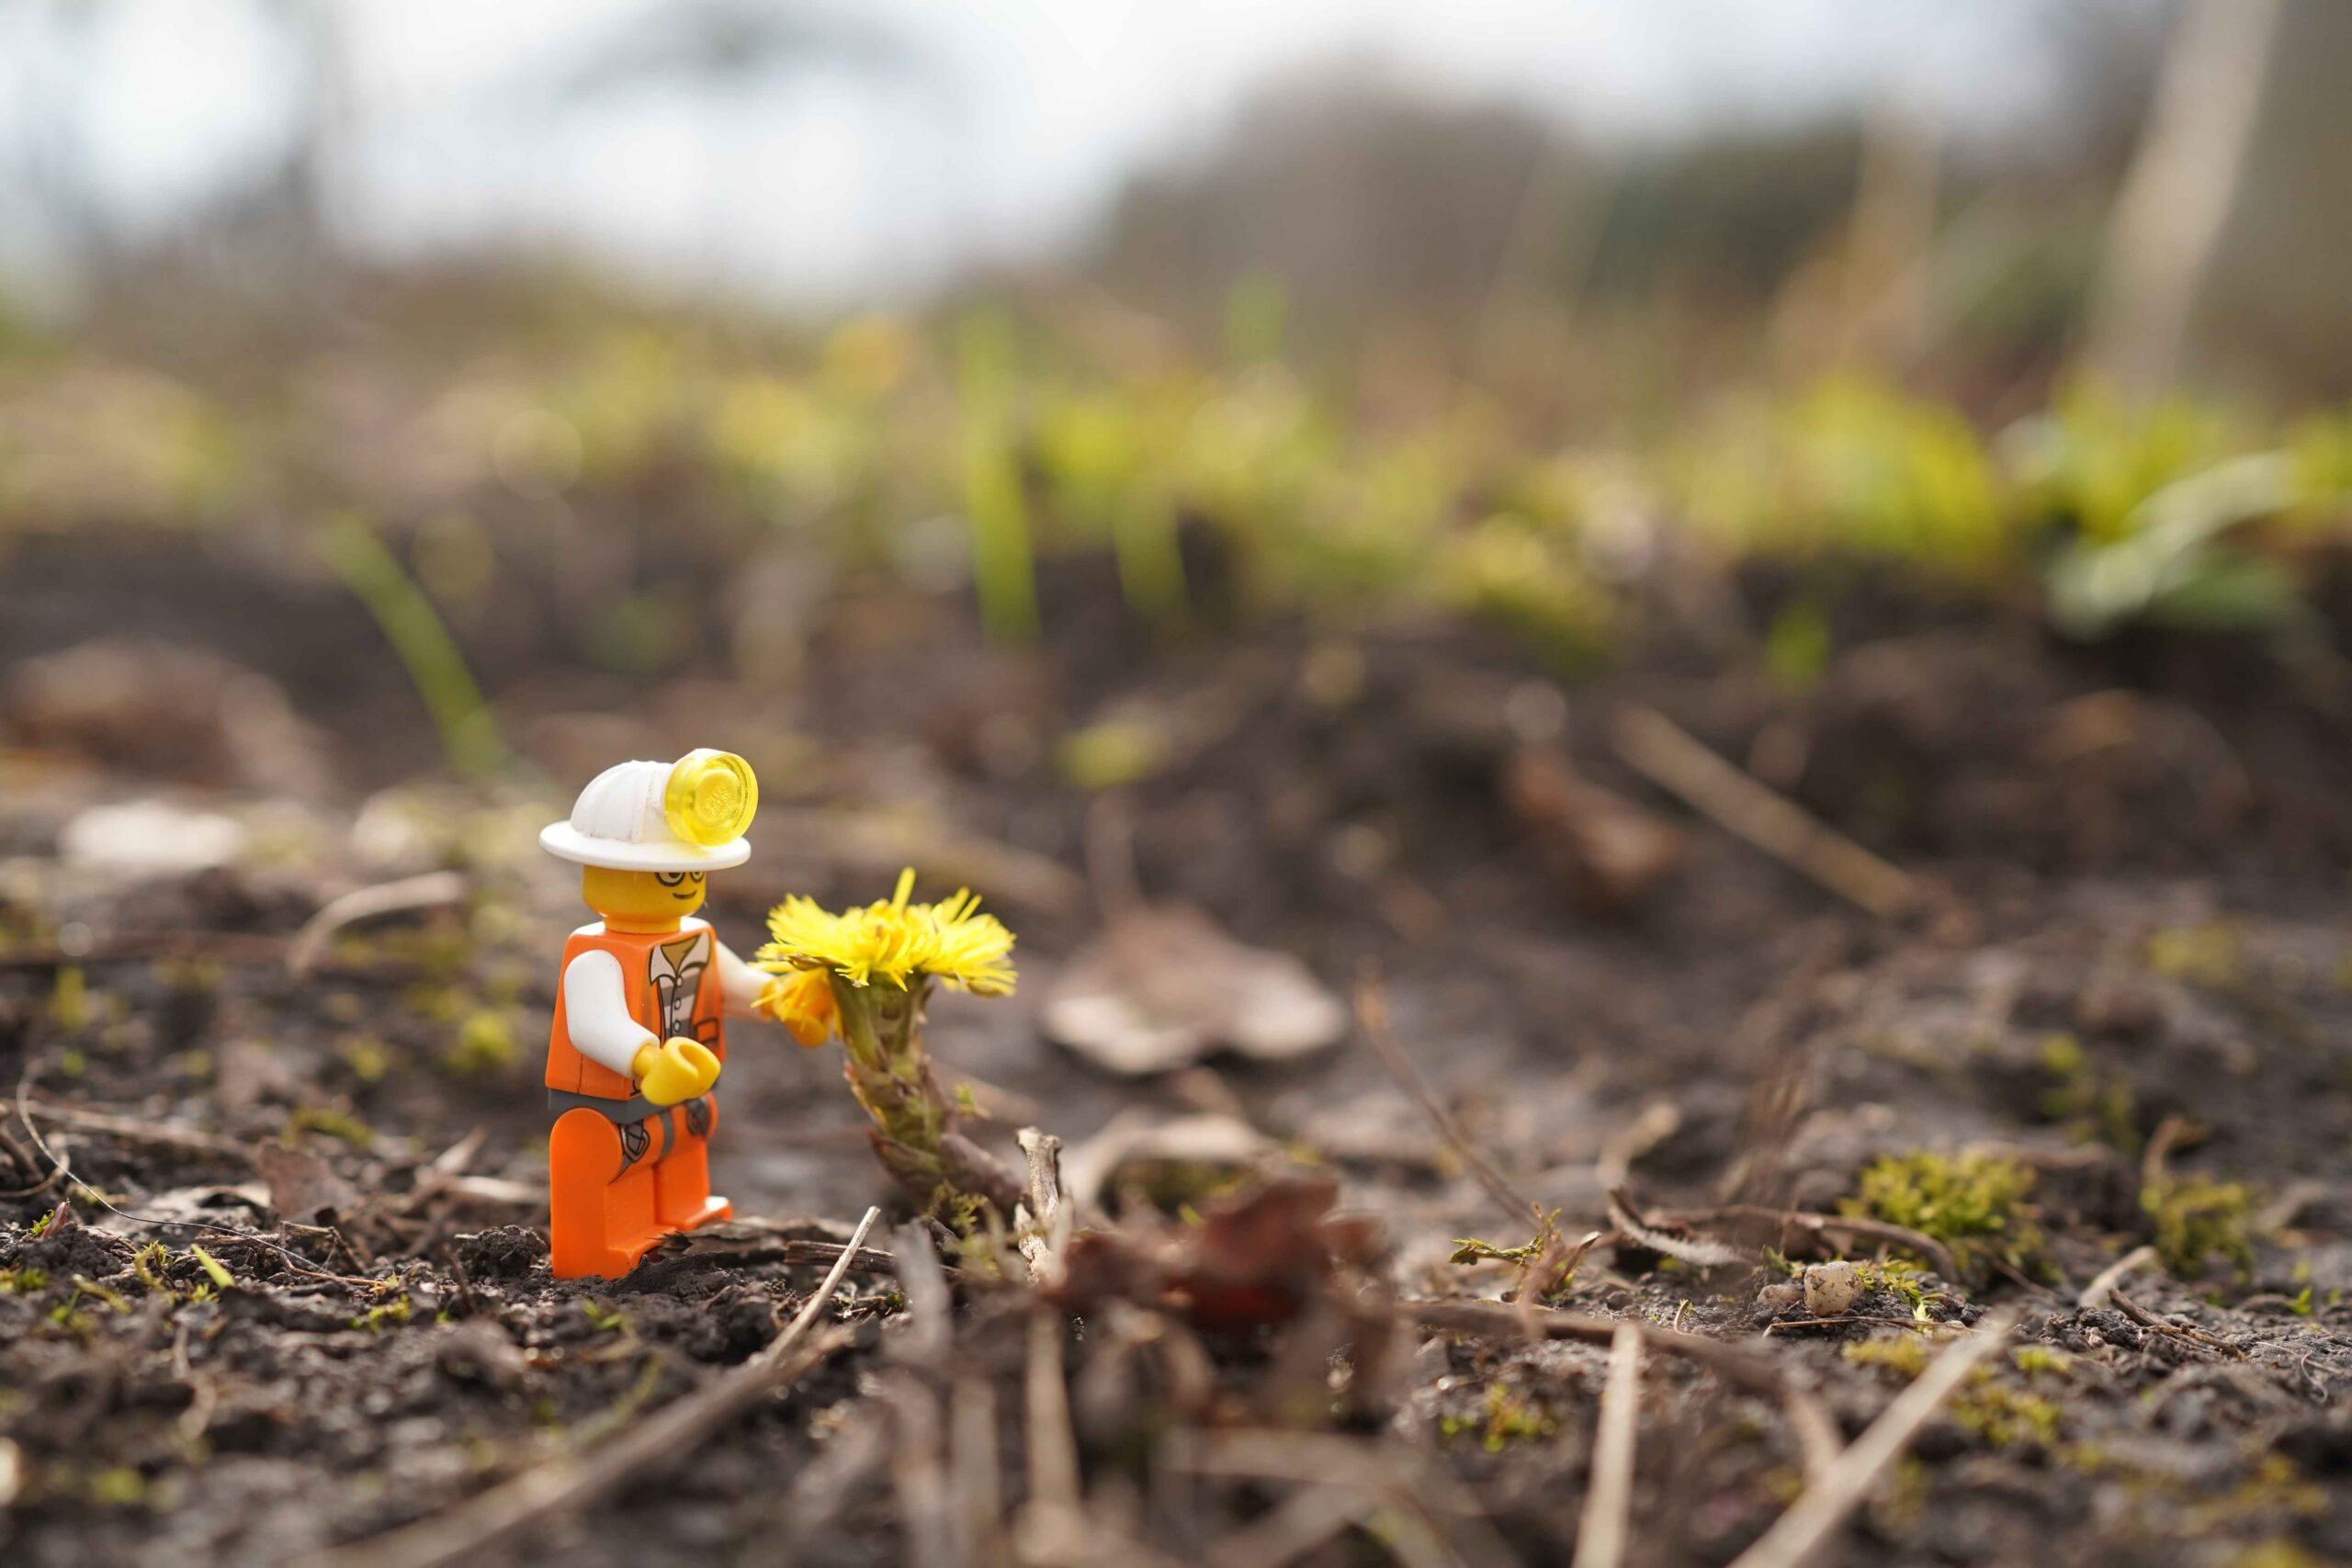
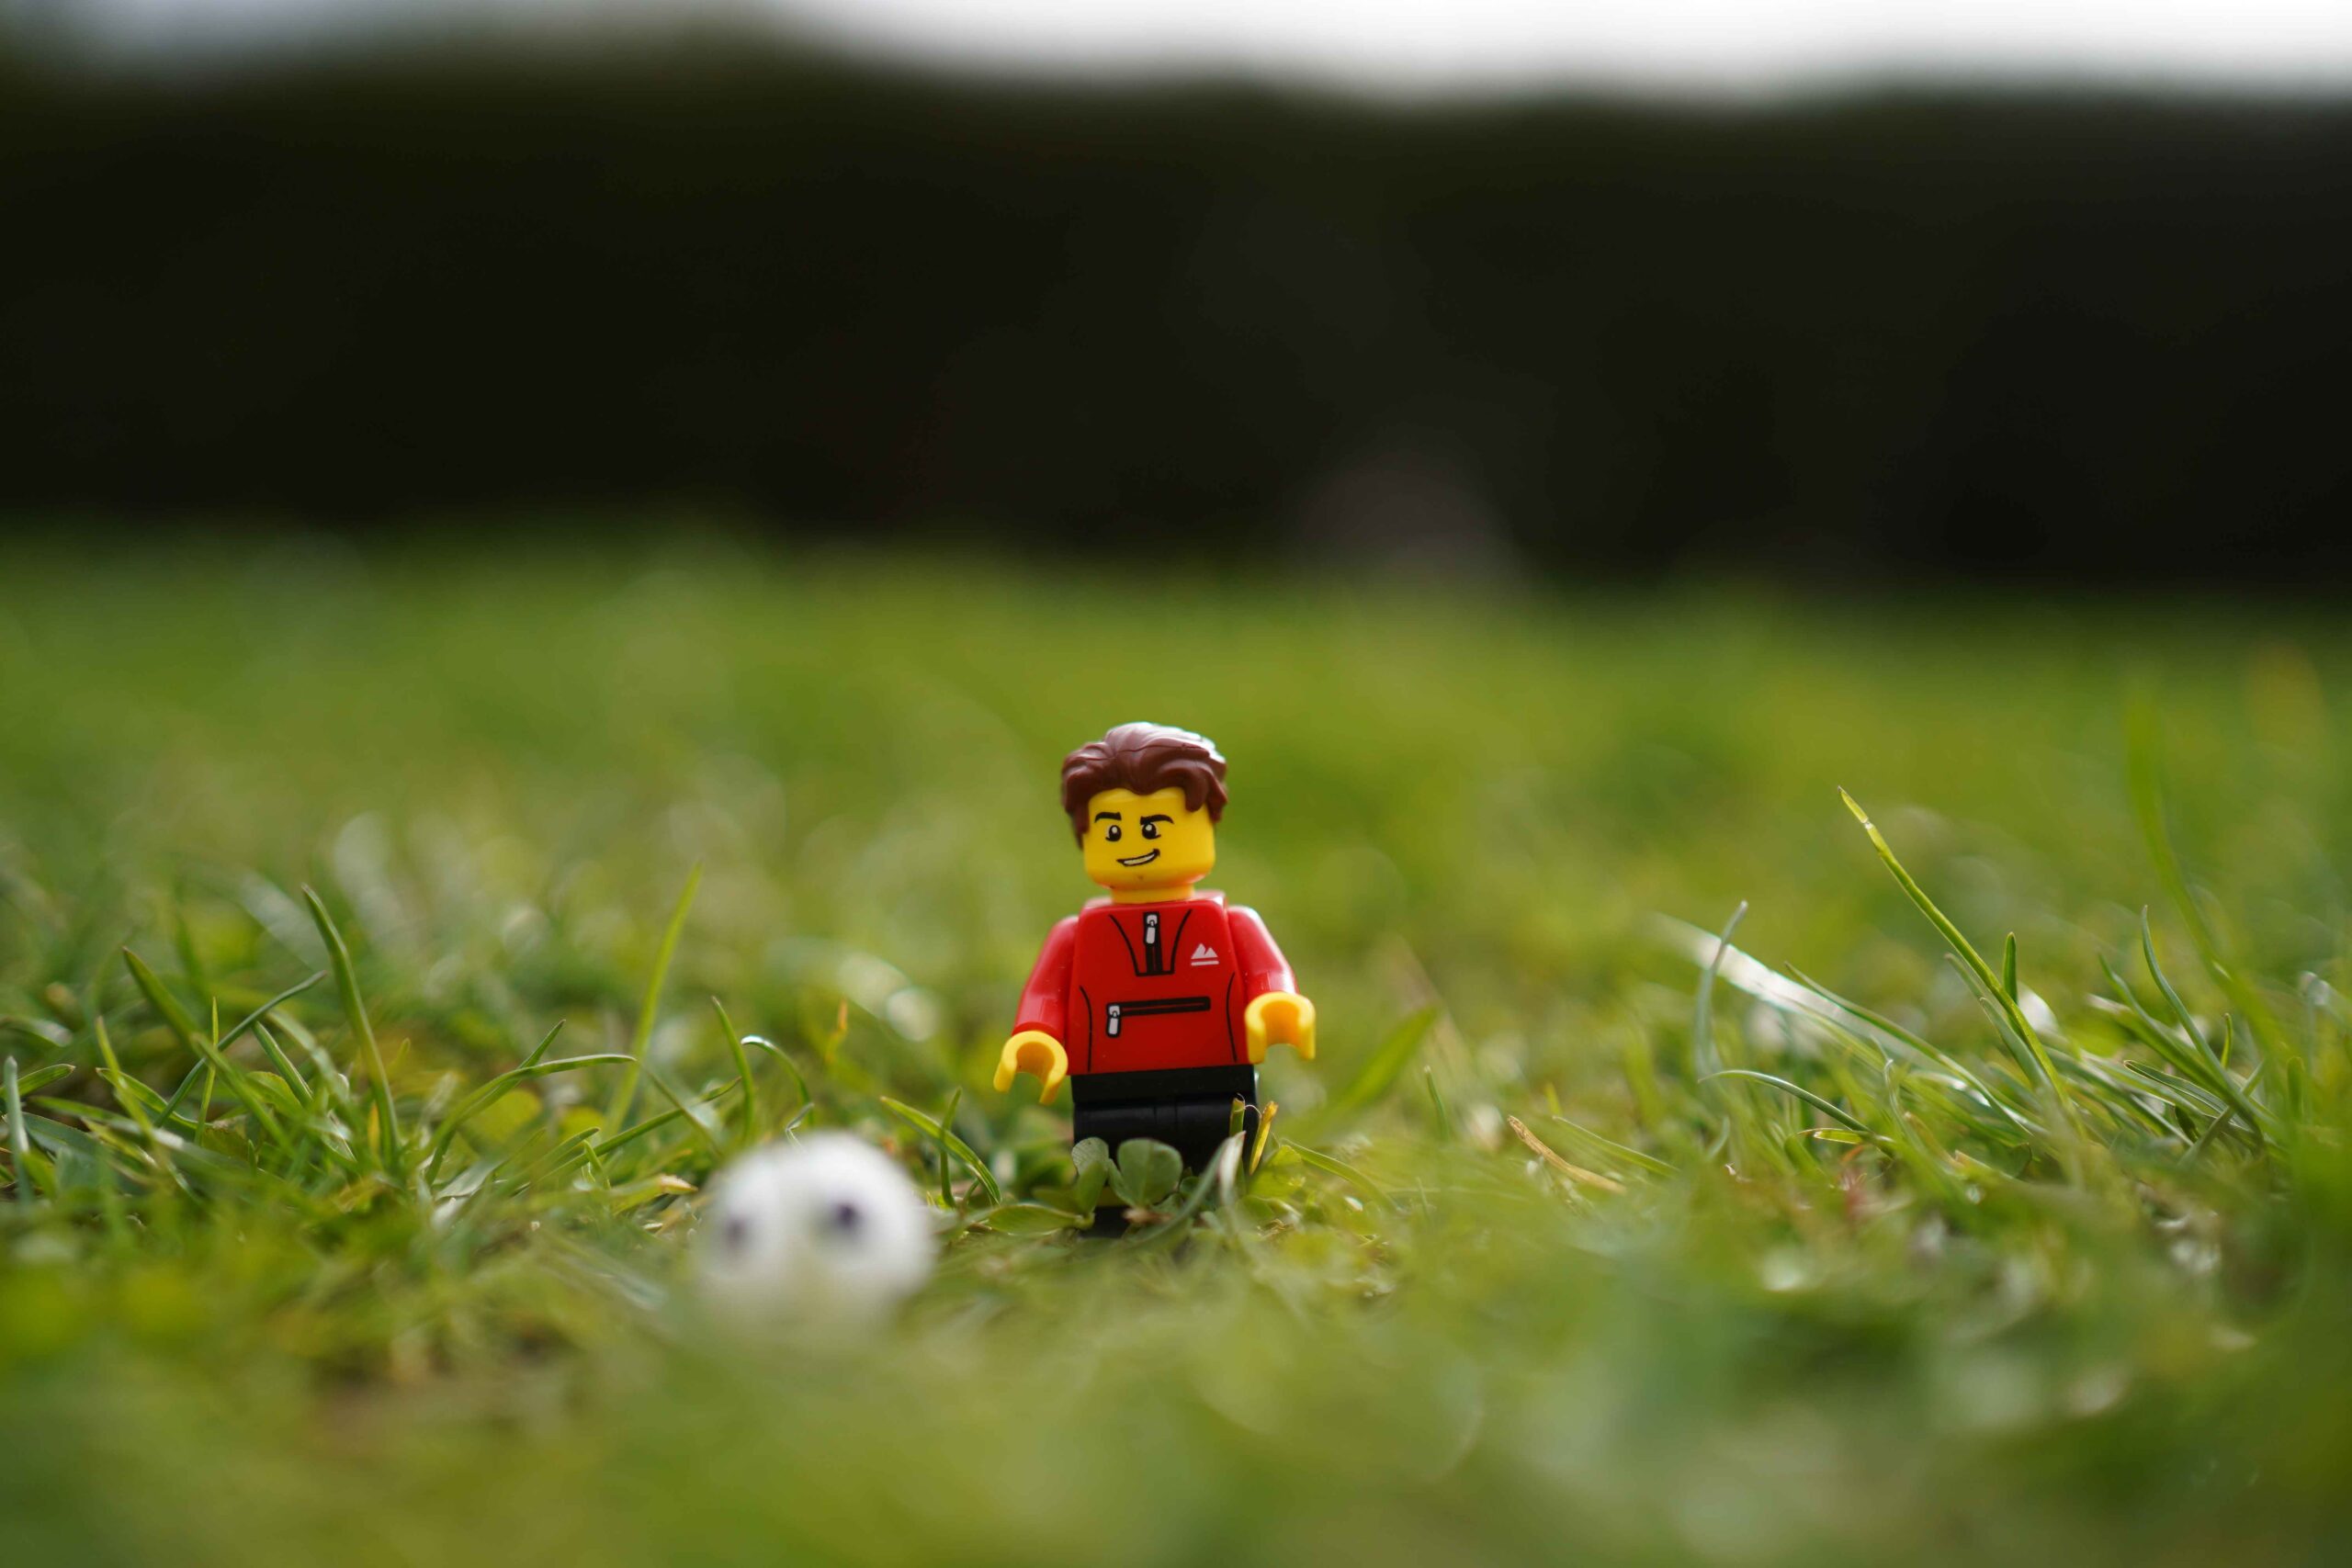
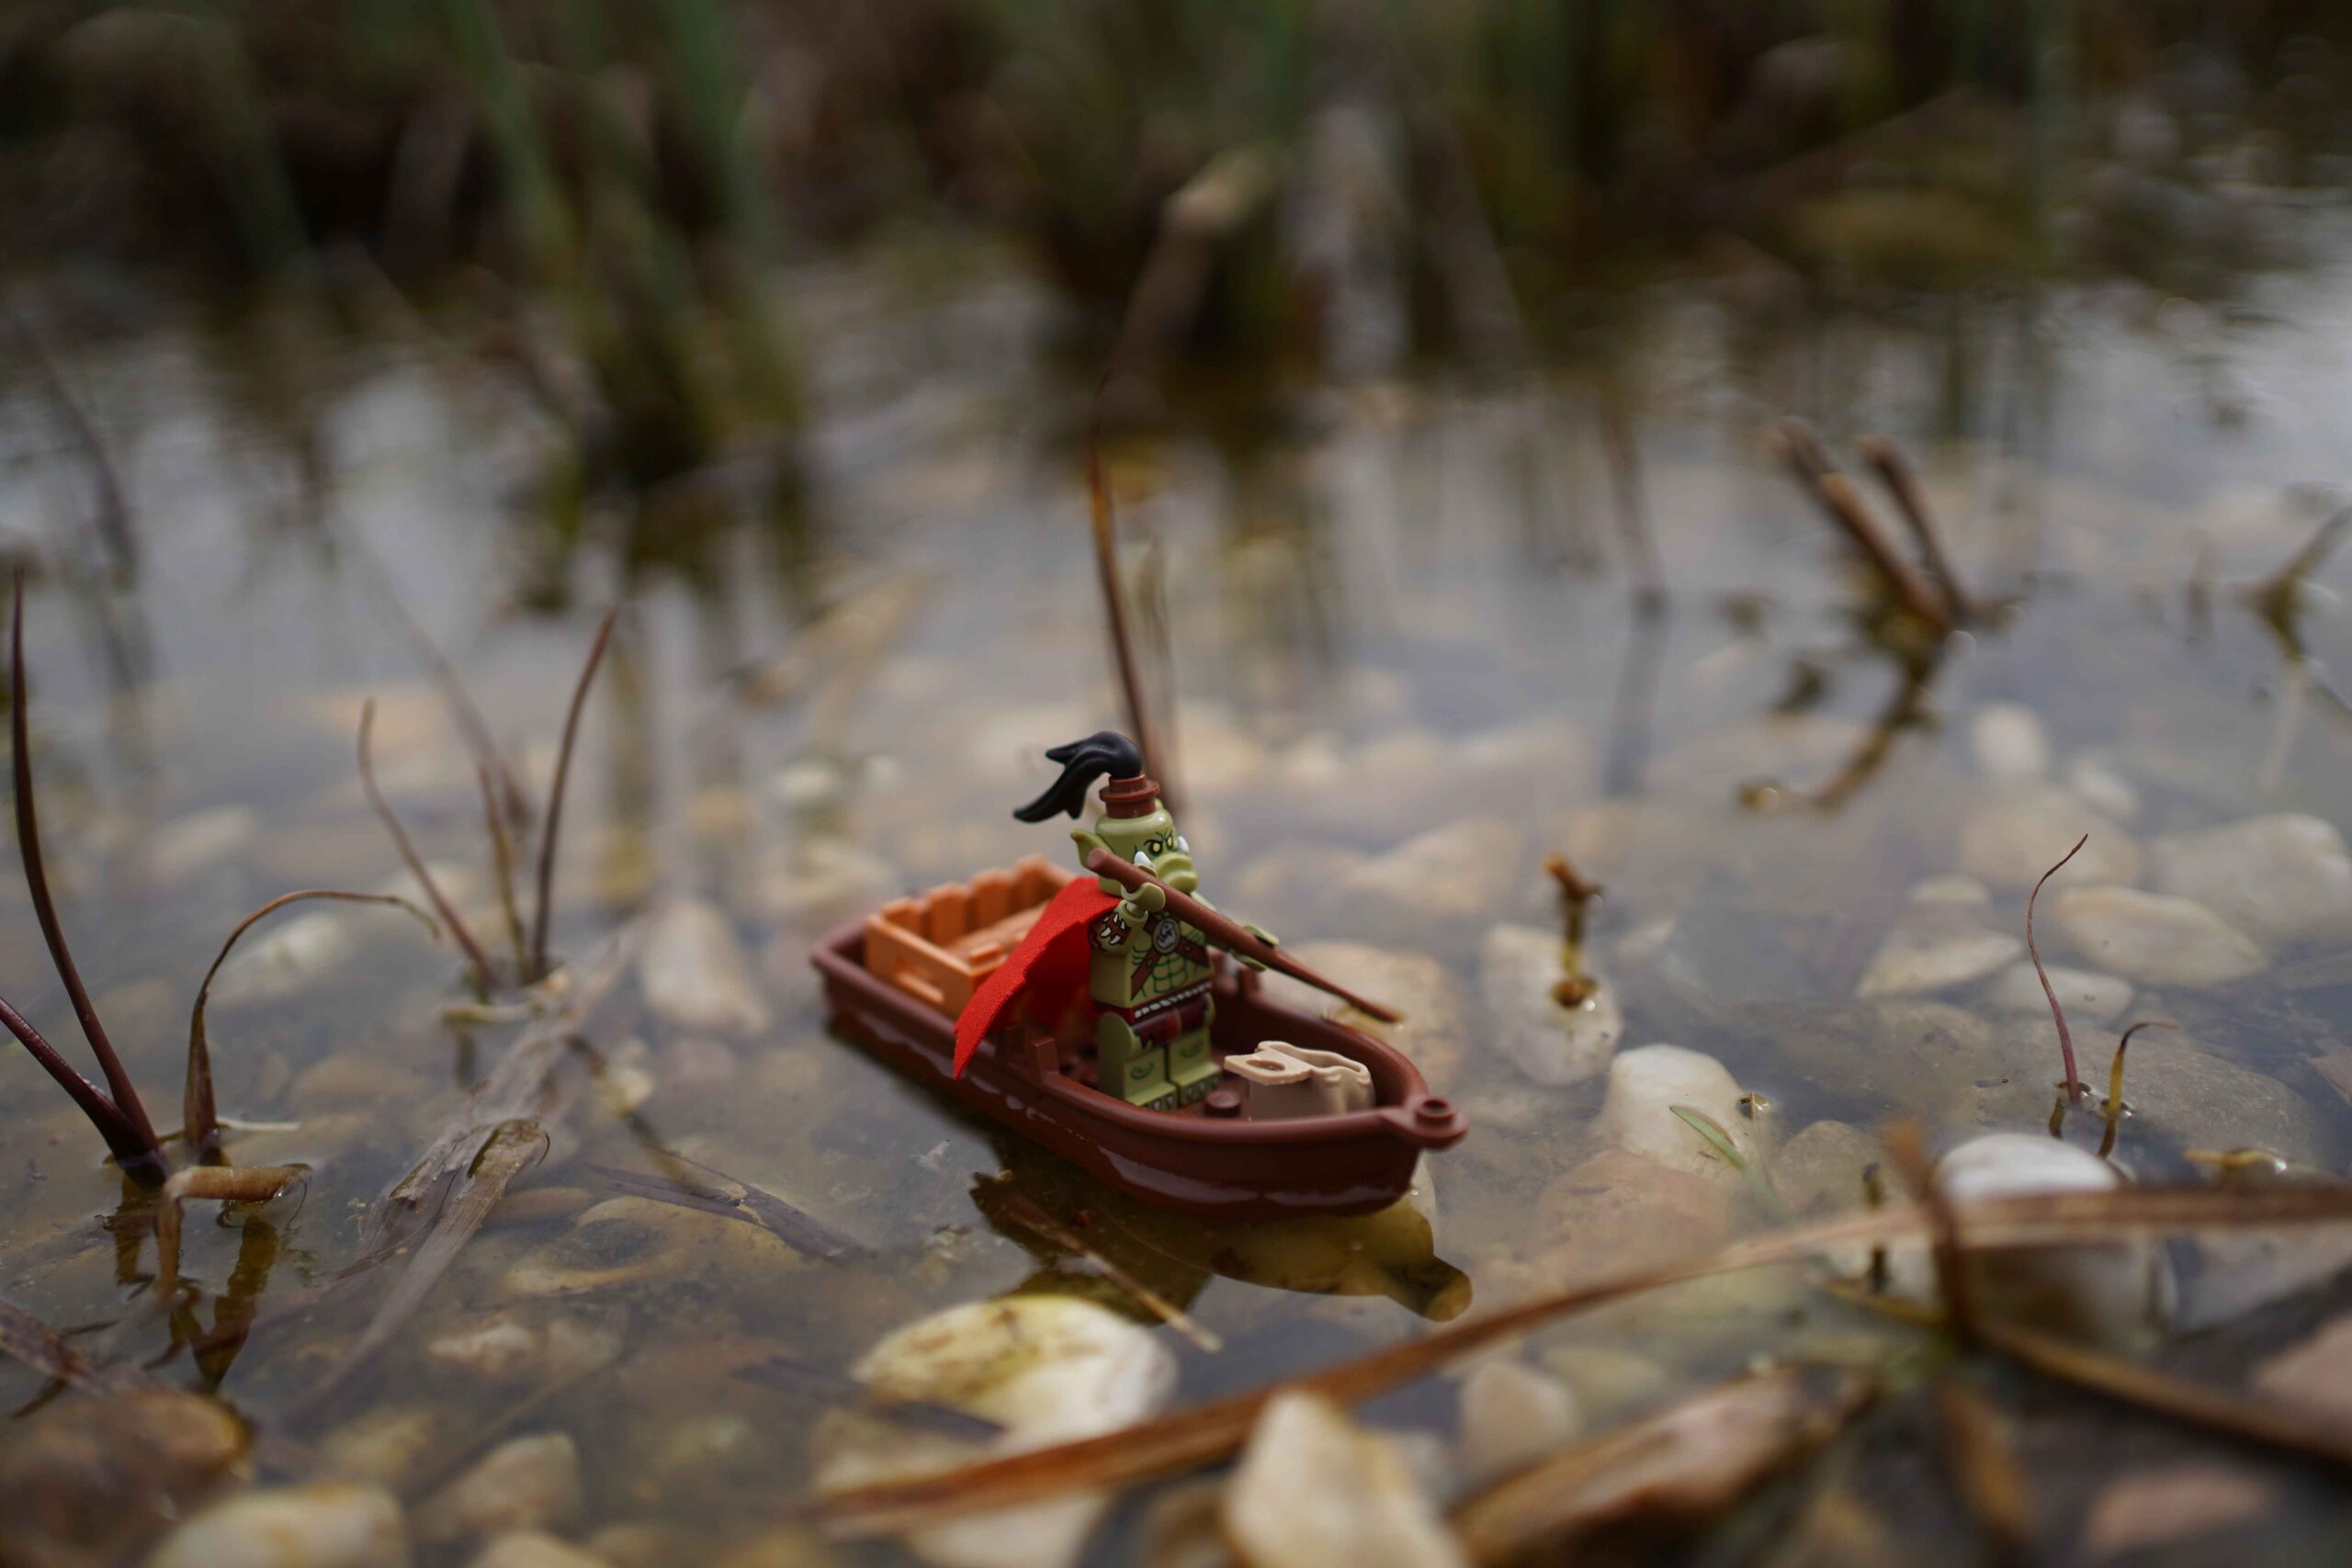
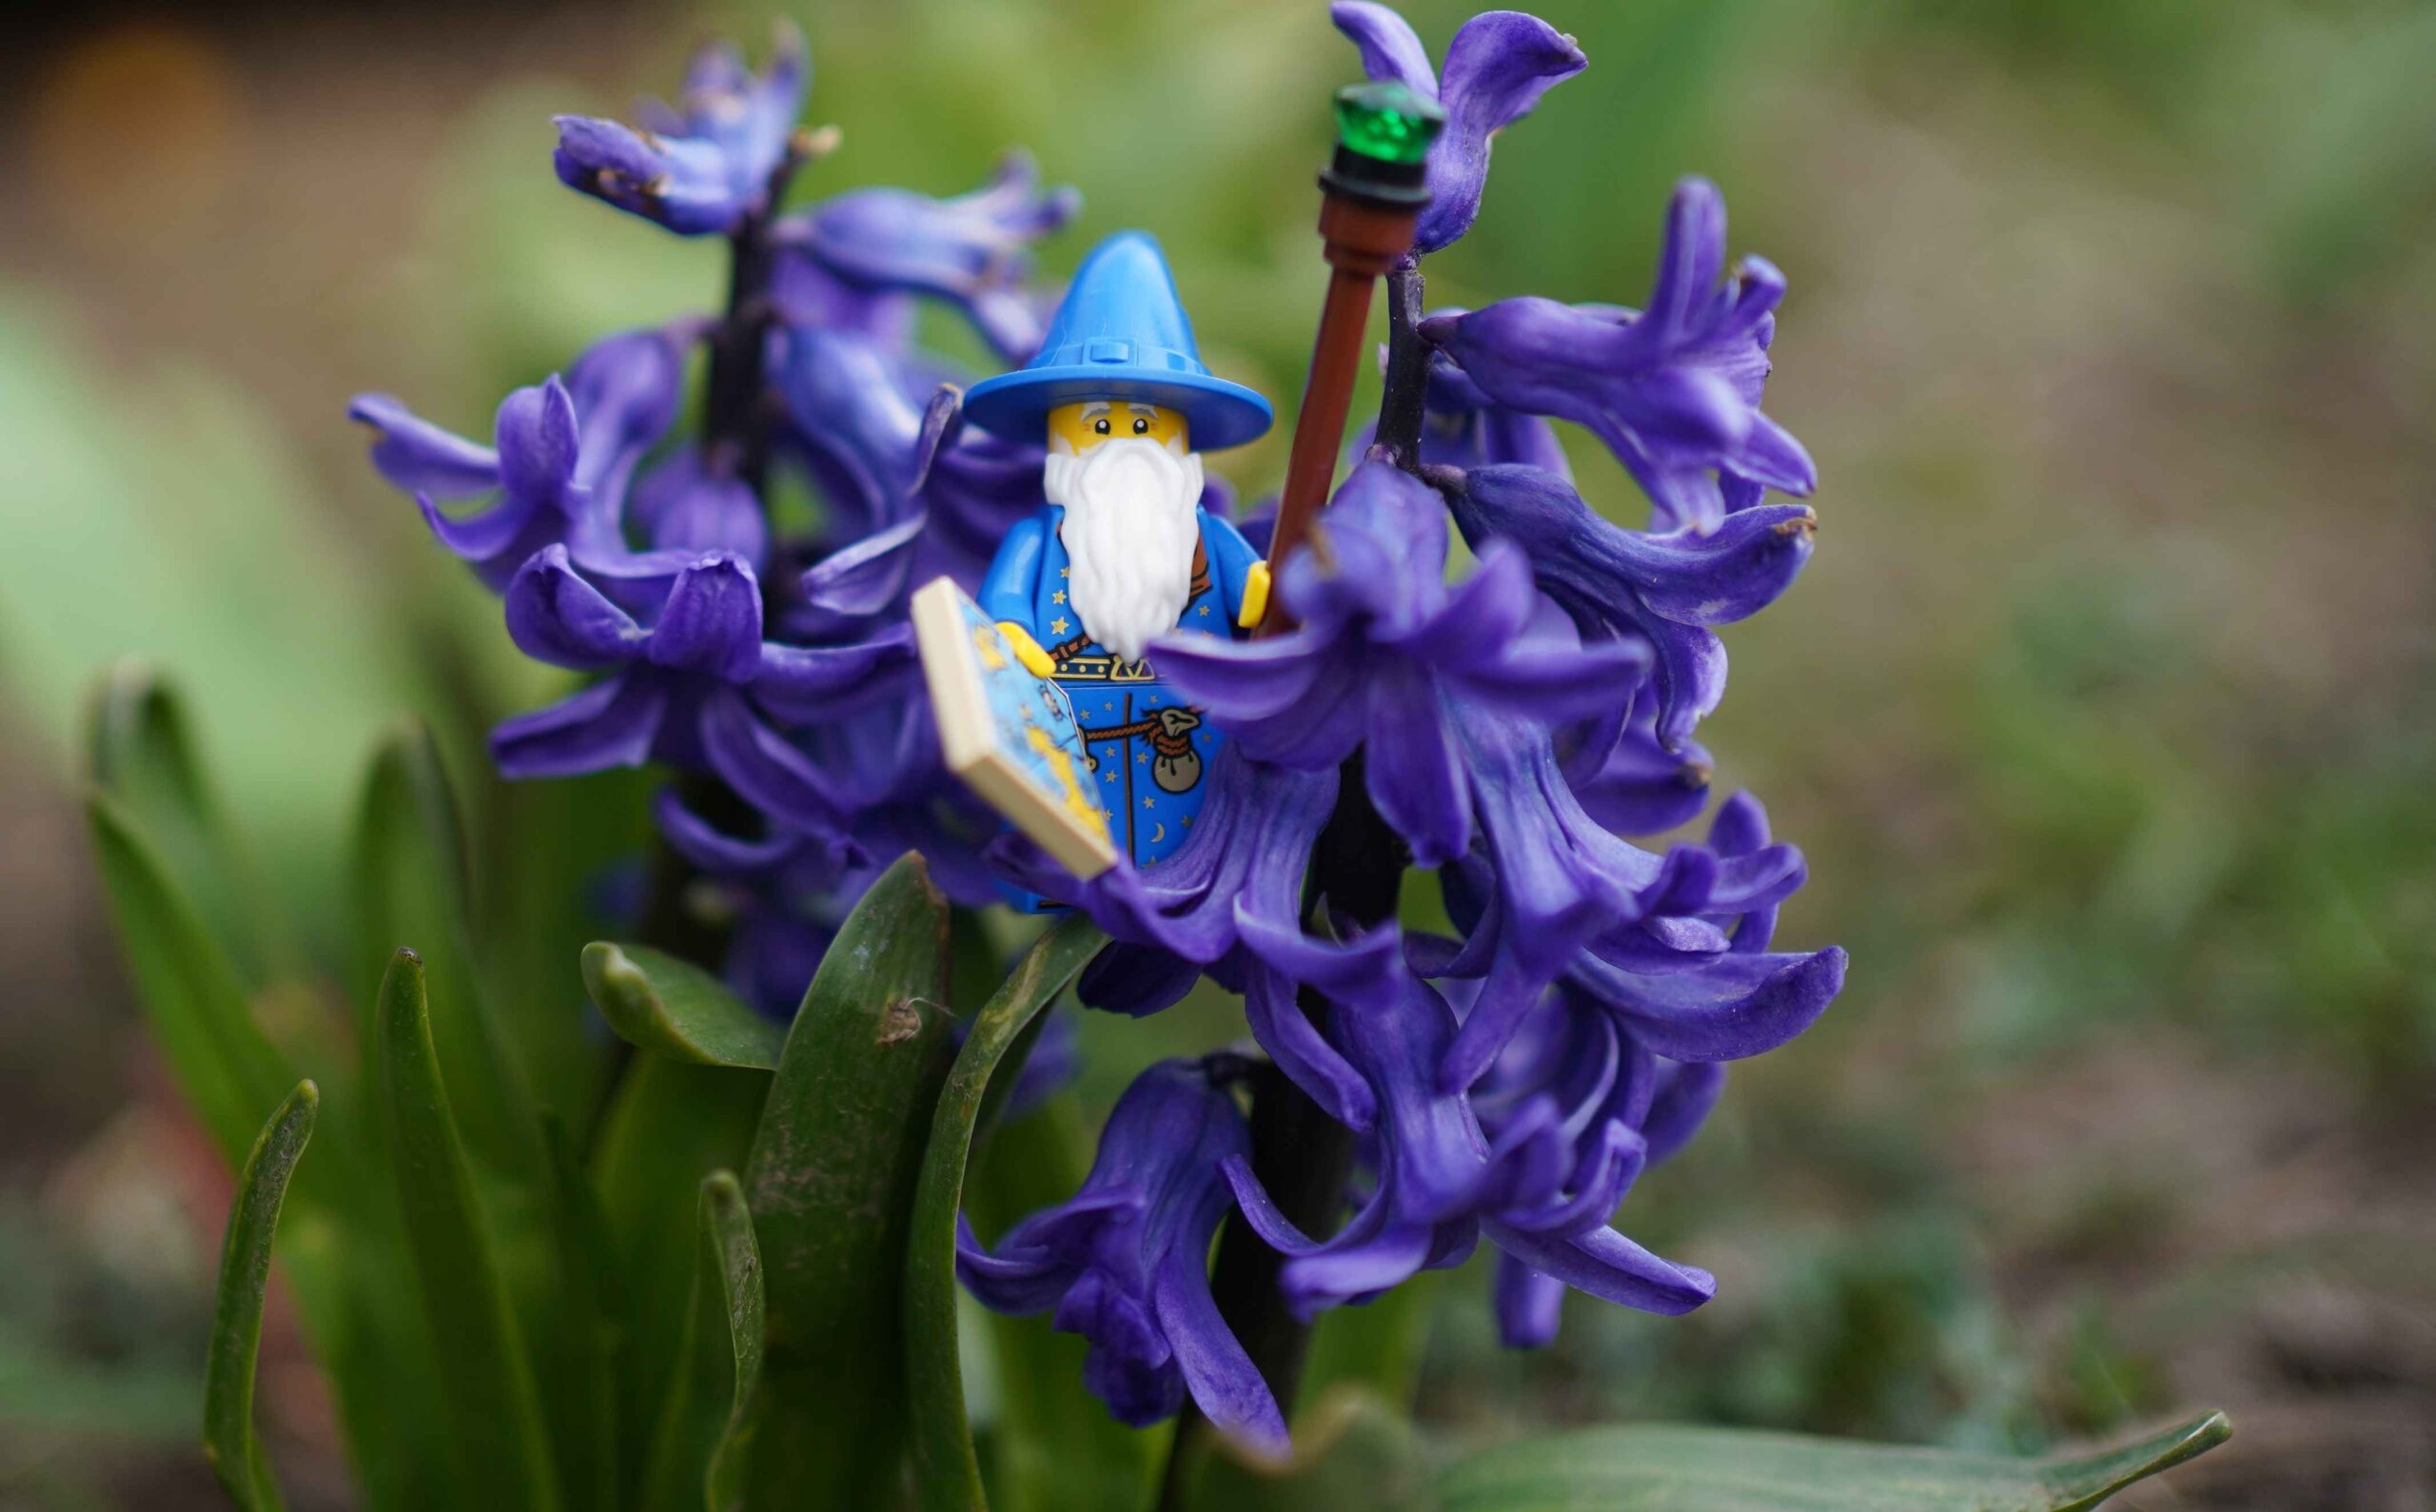
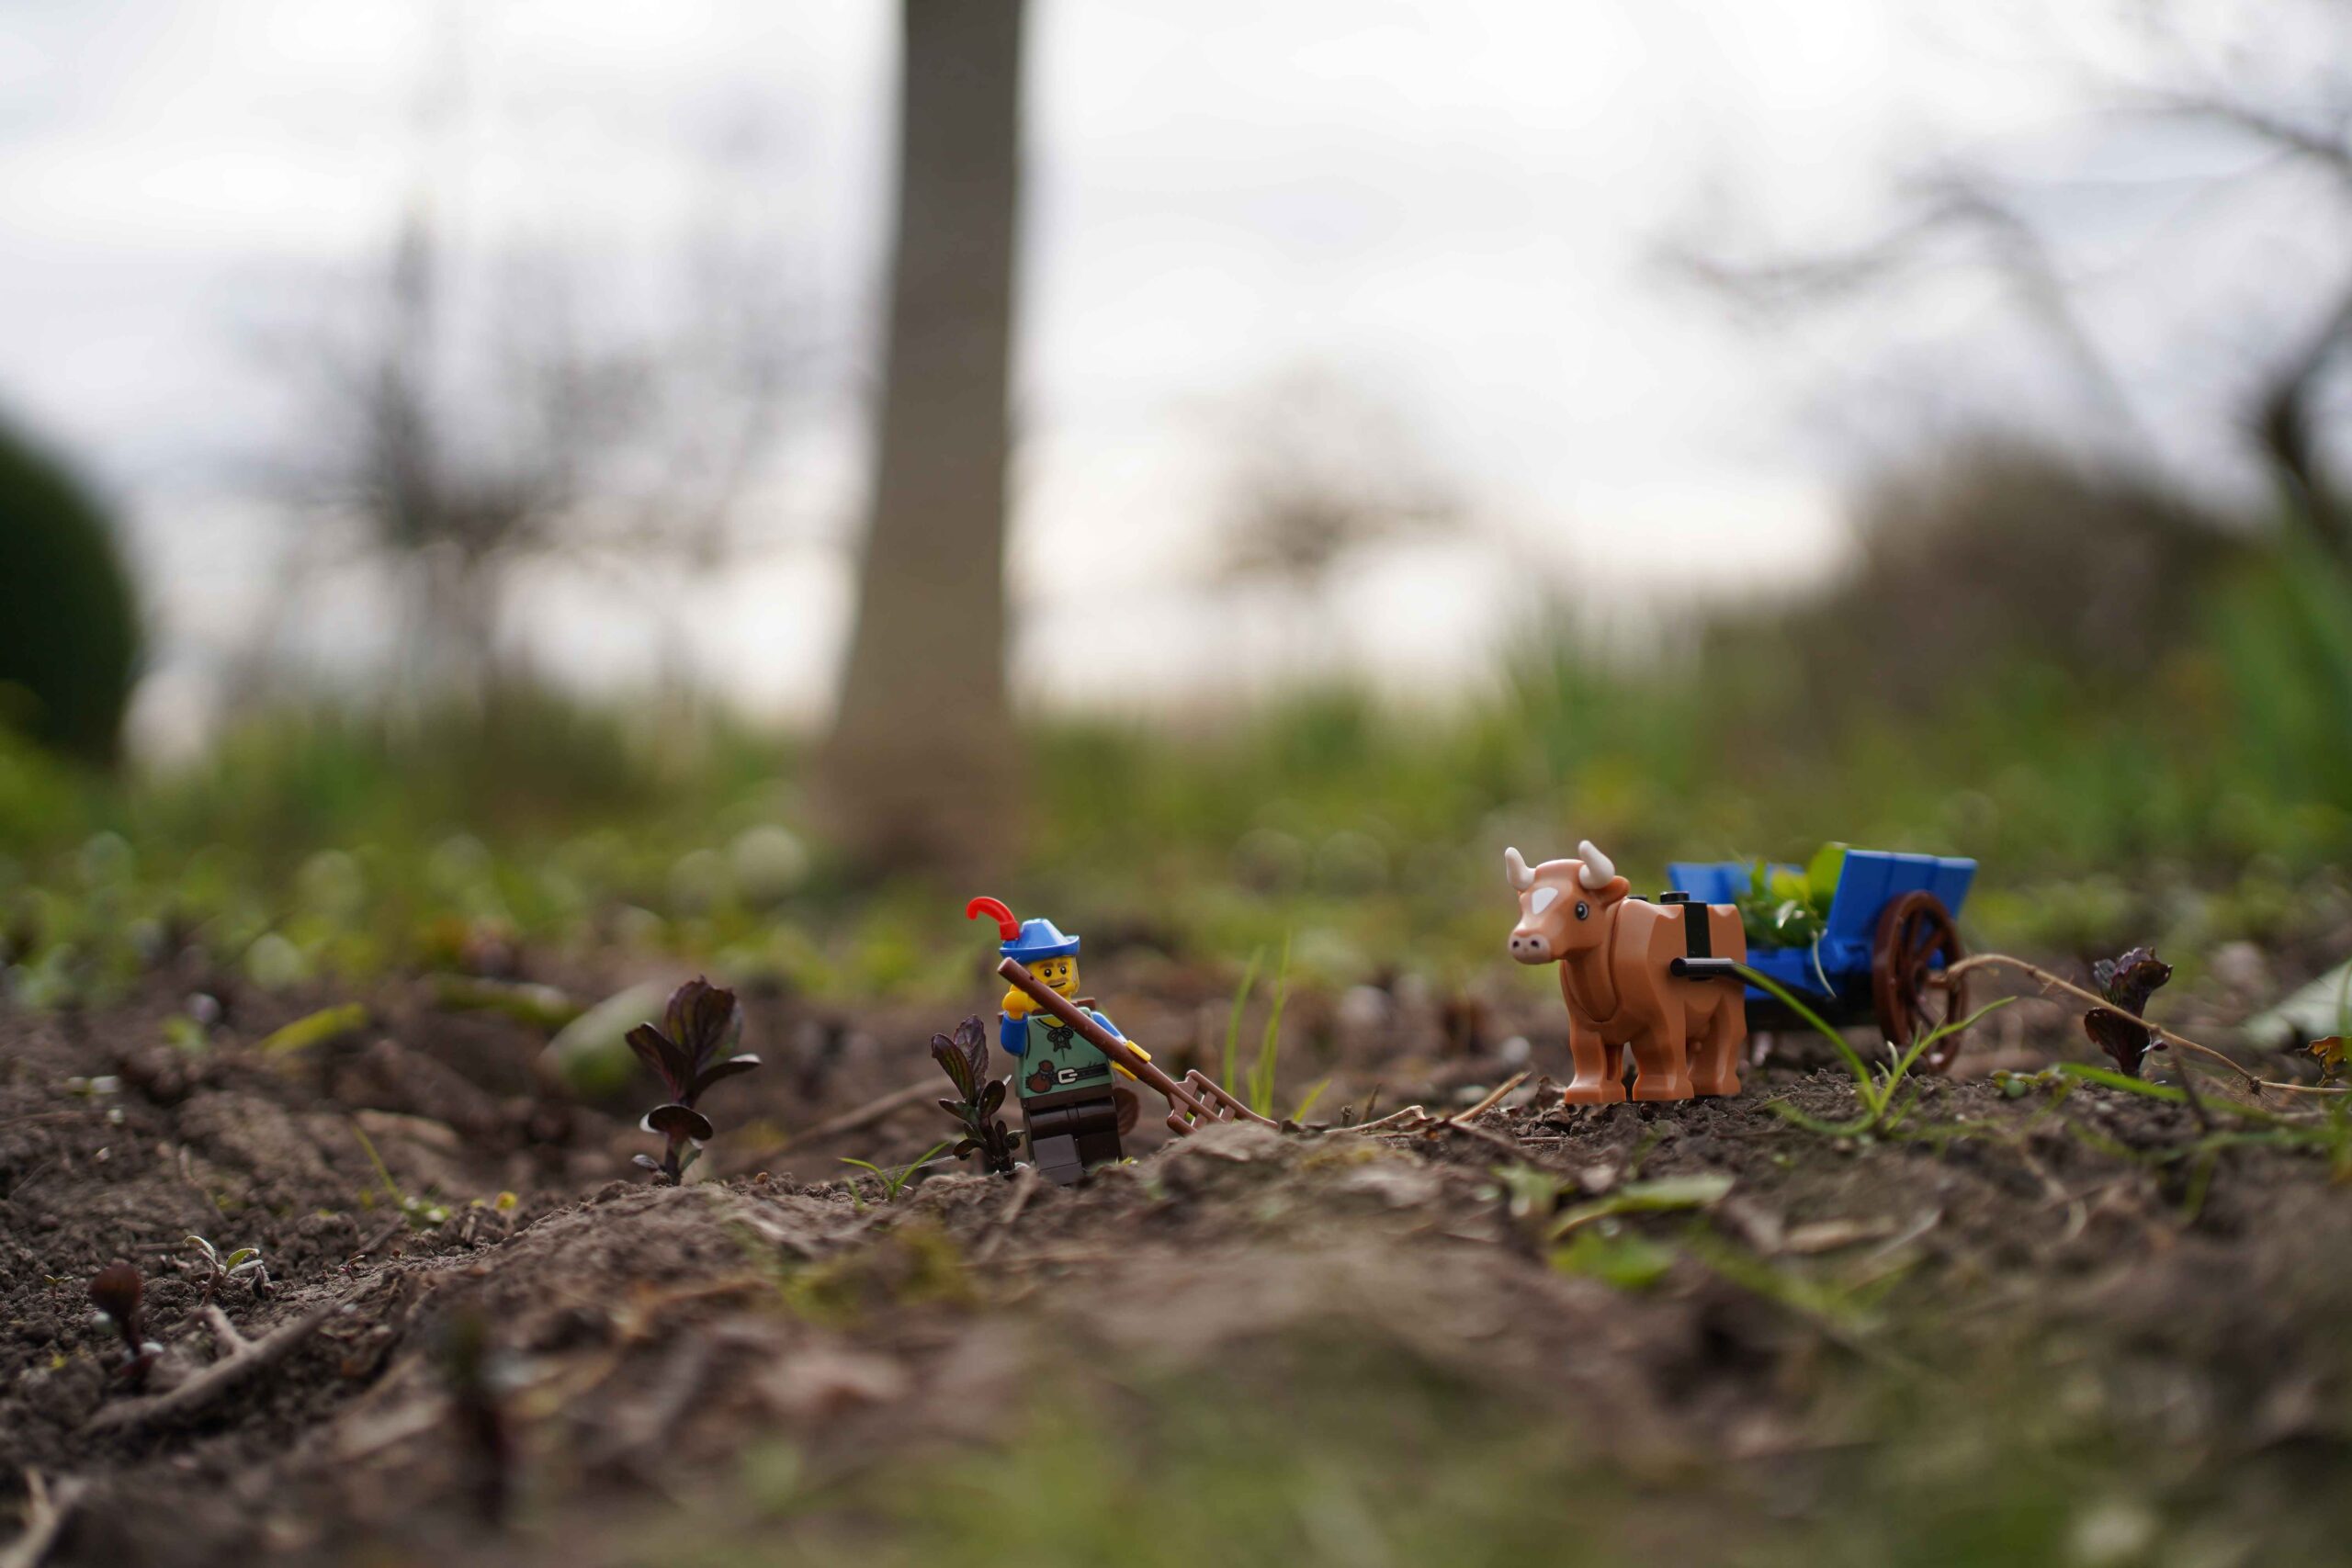
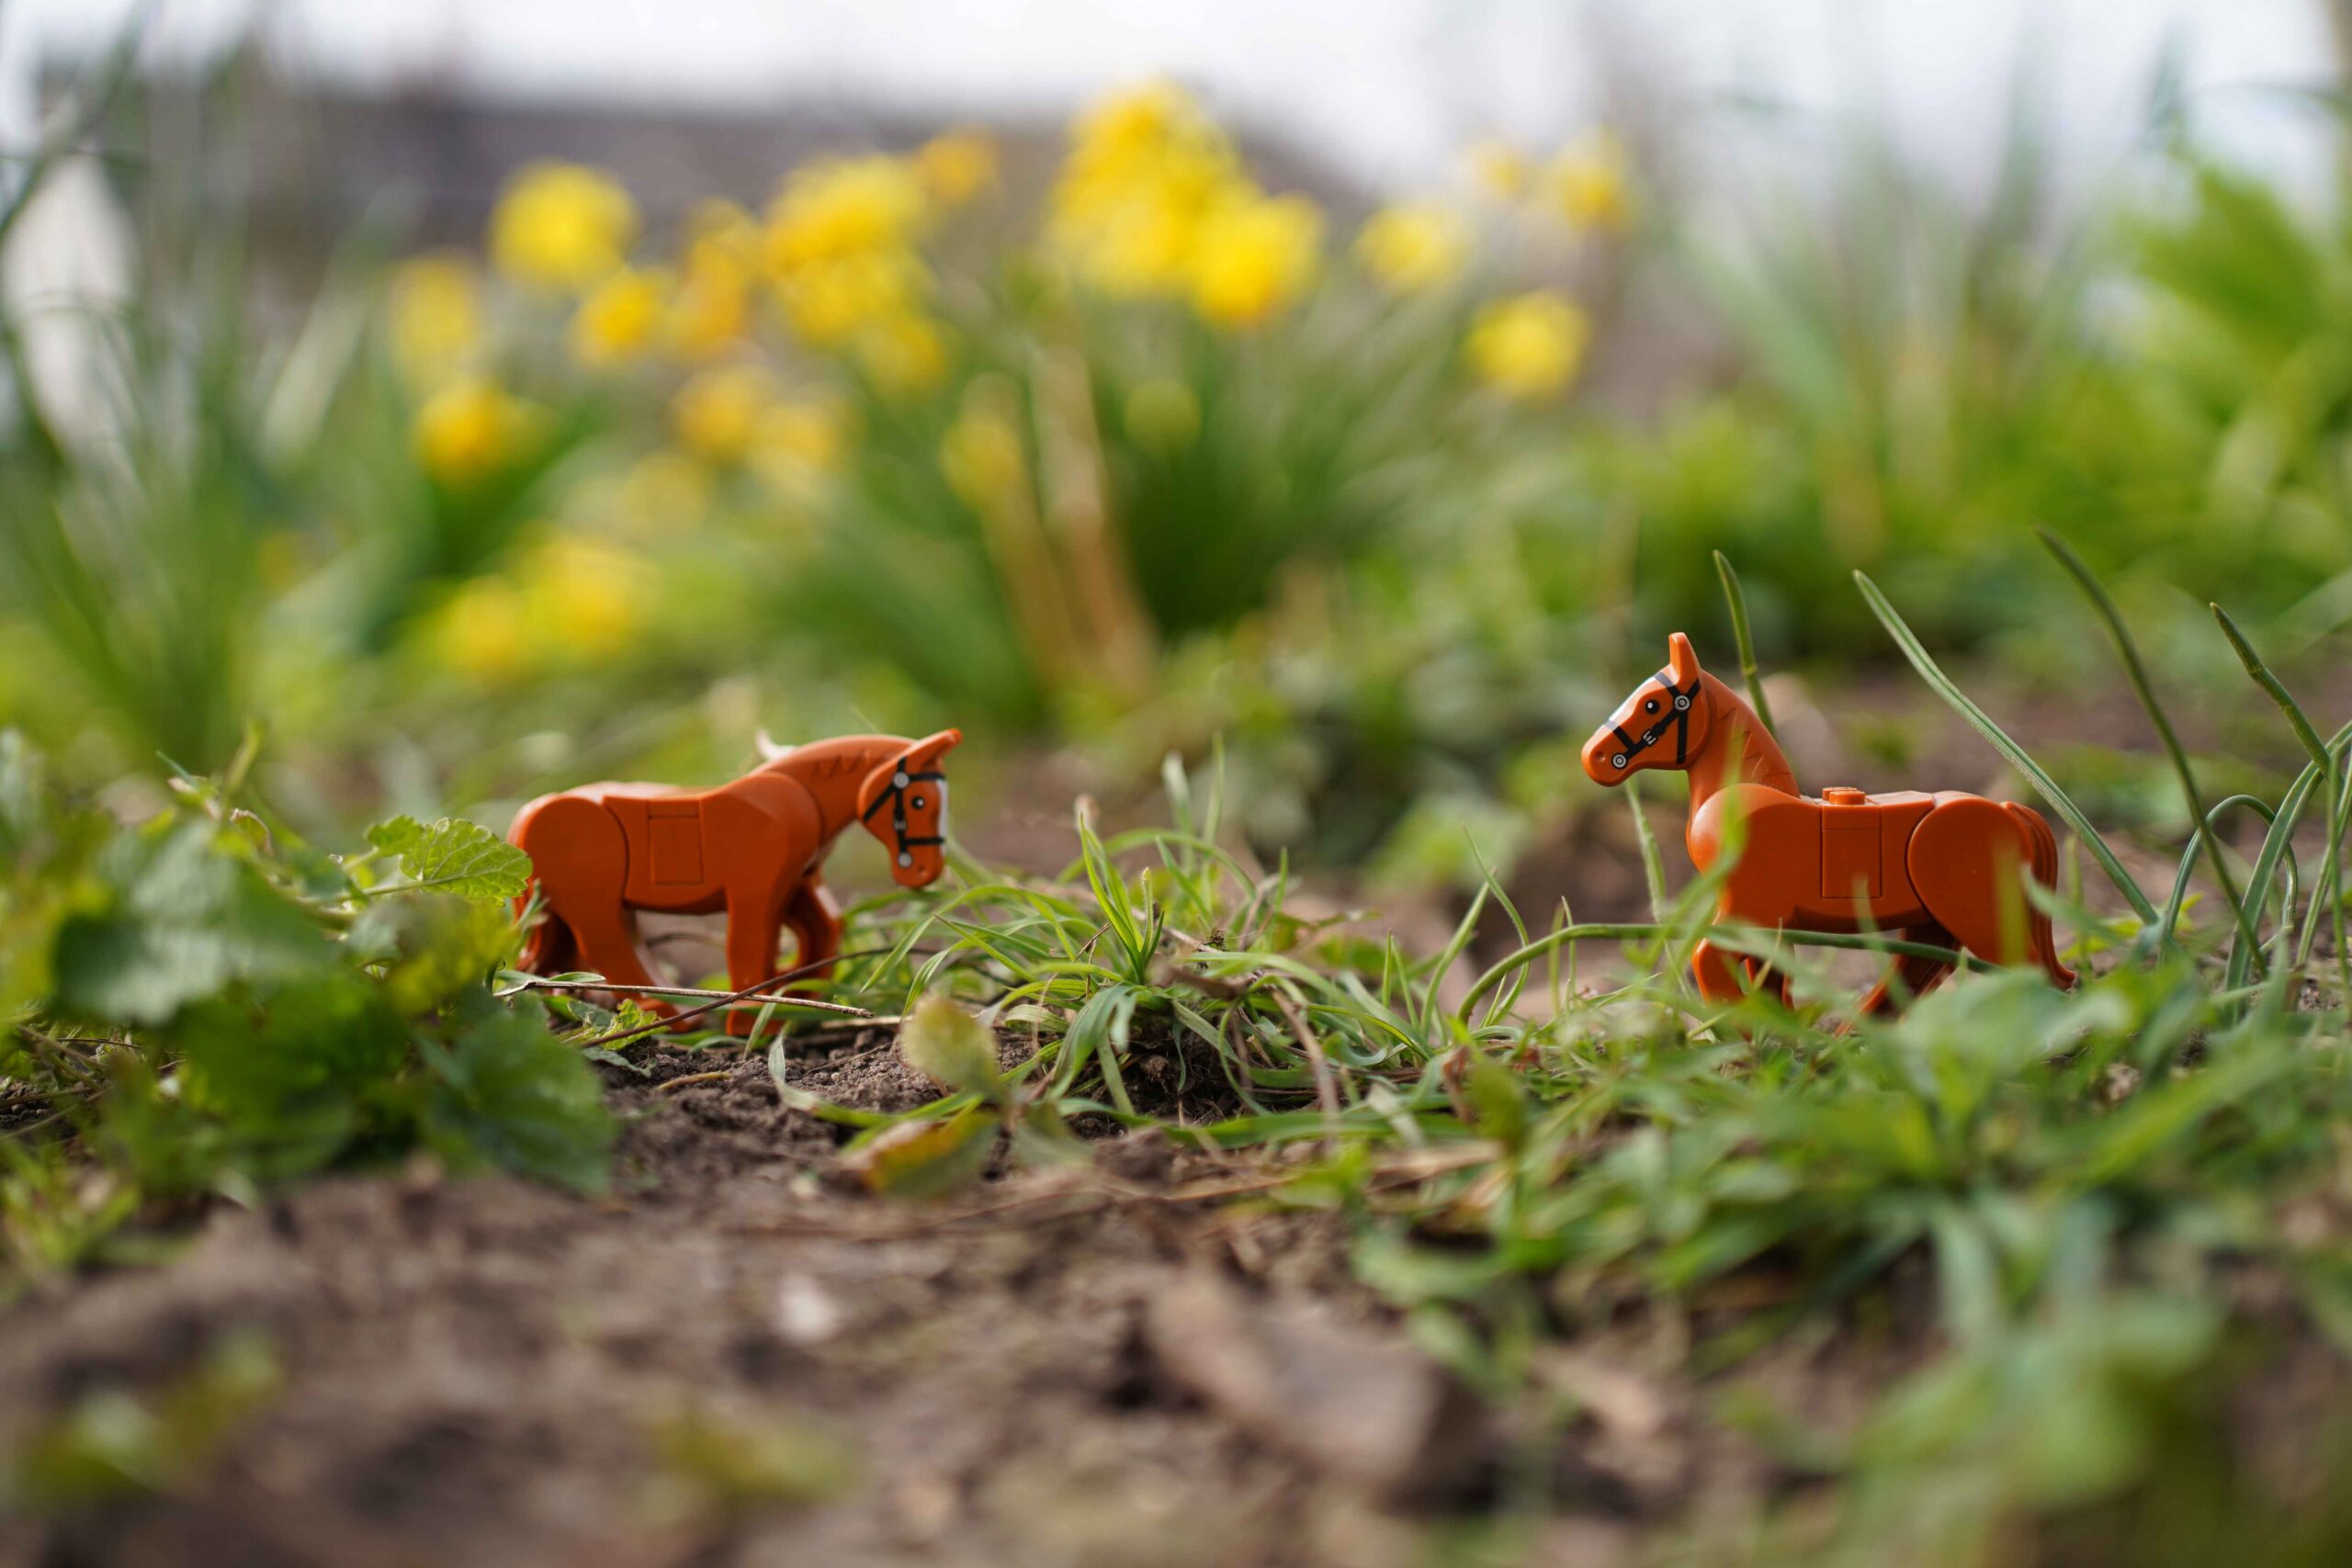
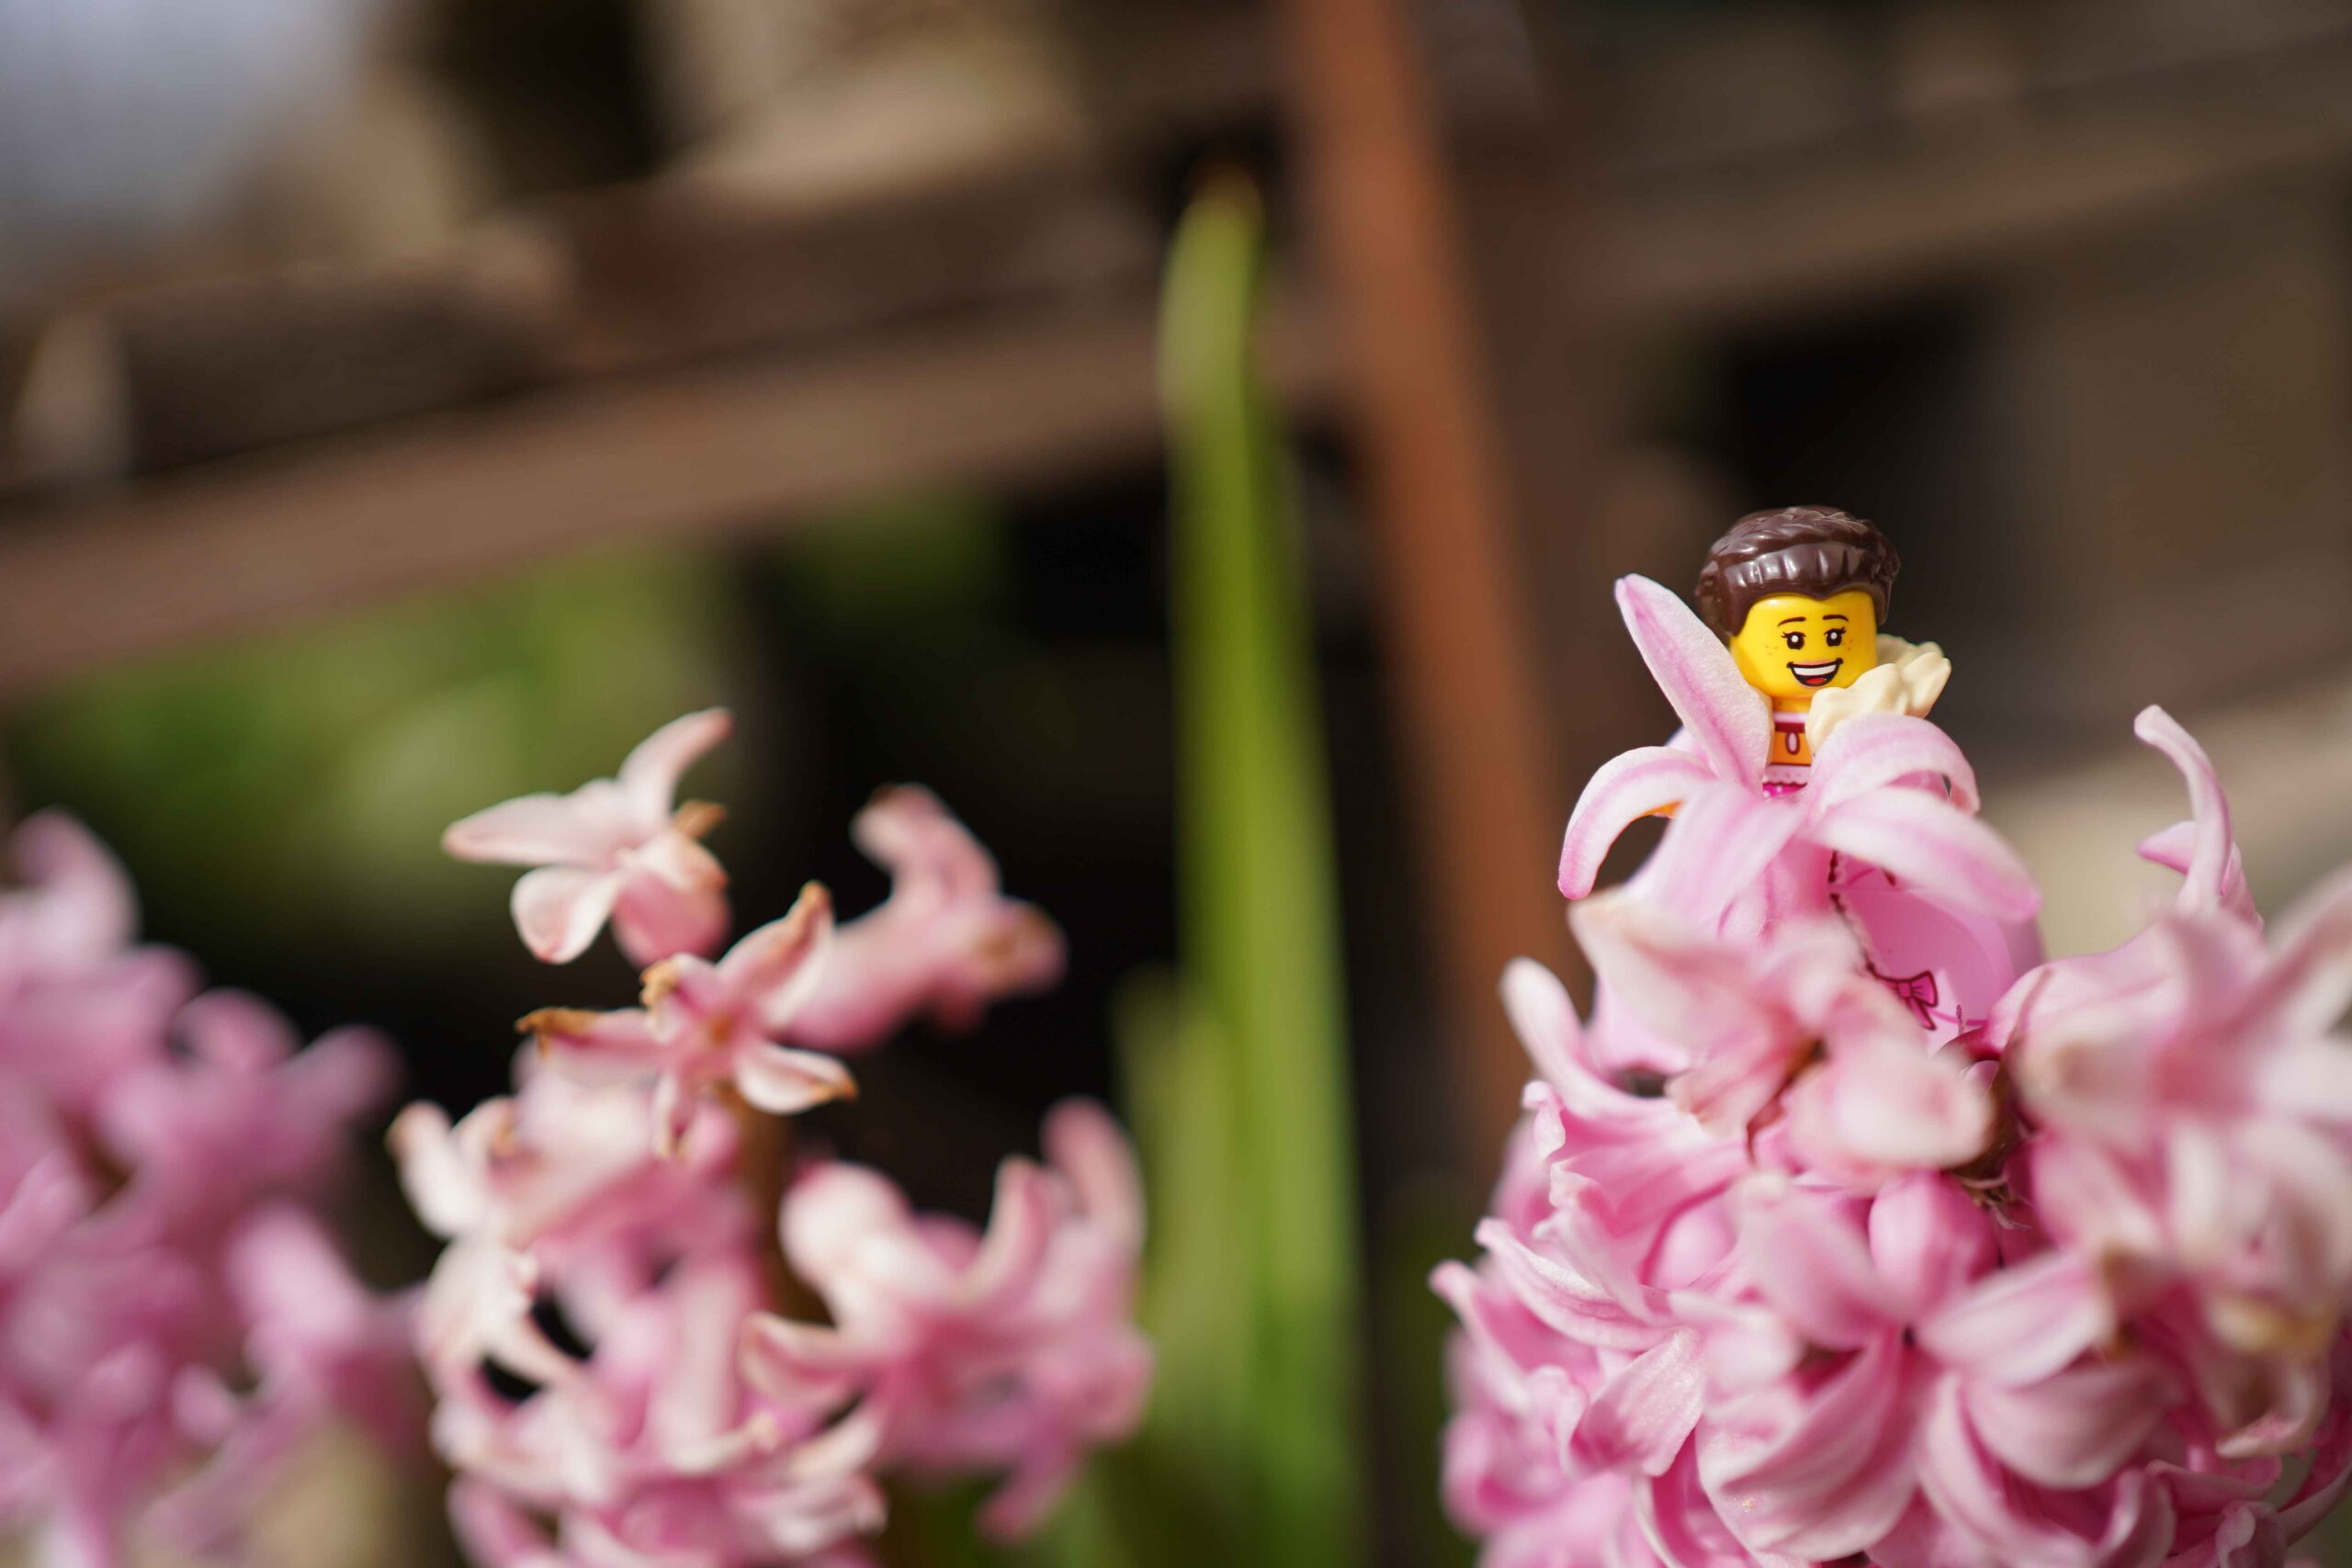
LEGO OUTDOOR
Take lego out and play 🙂
QUEST FOR HEARTS
Try slowing down even more during your nature walks and focus on the details
SPRING FRAGRANCE
Catch the scent in a cup
THE UNBREAKABLE EGG
Easter physics

PAINTING WITH CLAY
Clay offers countless shades
MUD DECORATED EGG
Create with clay during spring celebrations
RAIN GRAFFITI
Paint with rain

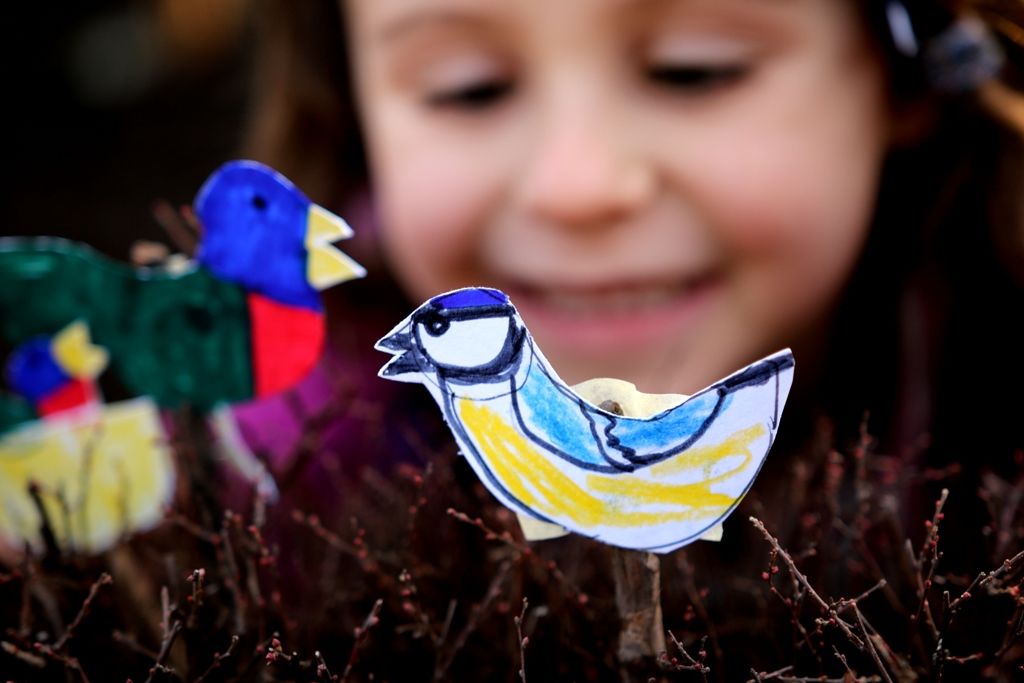
BIRD THEATRE
Create puppets and scenery outdoors
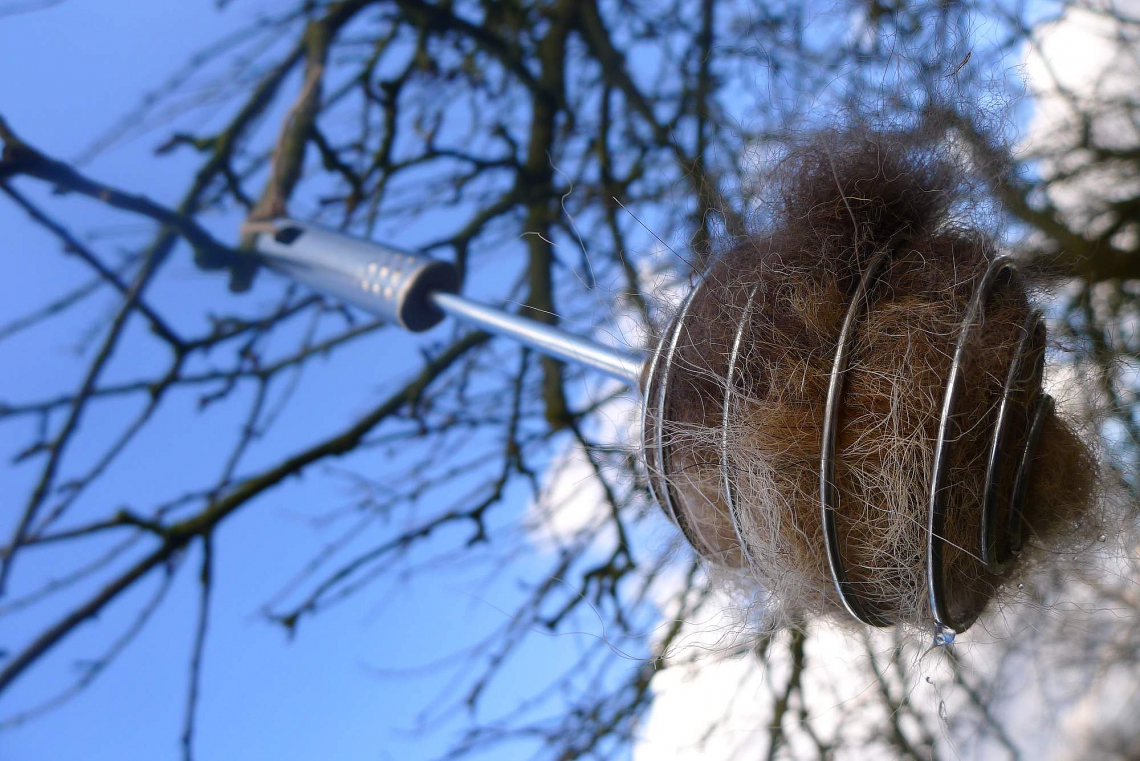
NESTING FEEDER
Let’s support bird nesting.
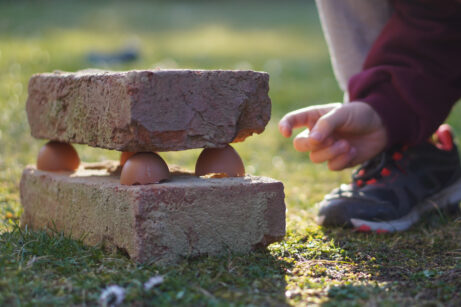
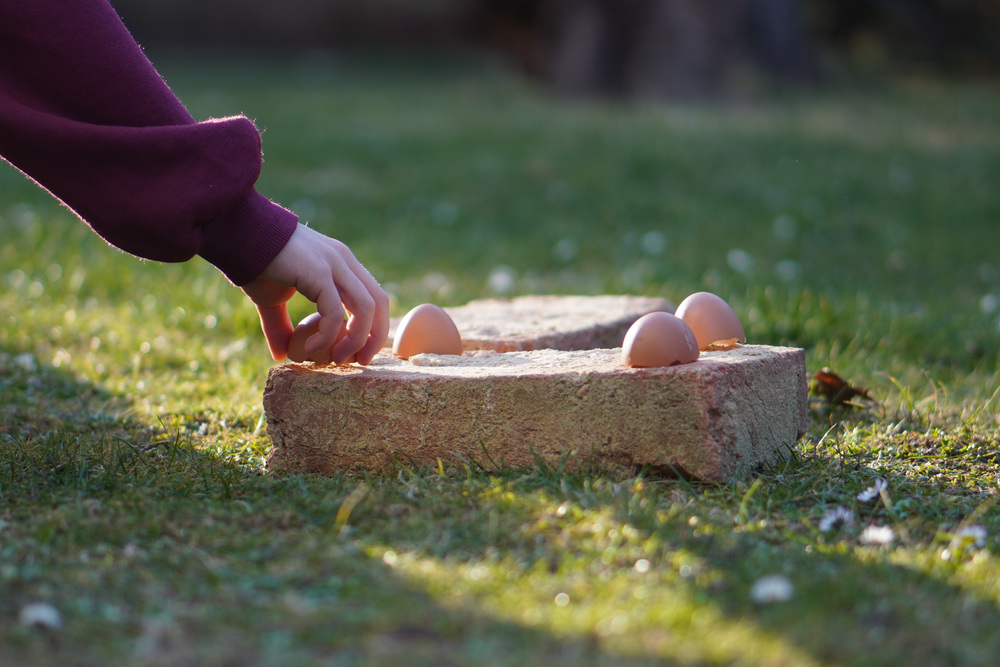
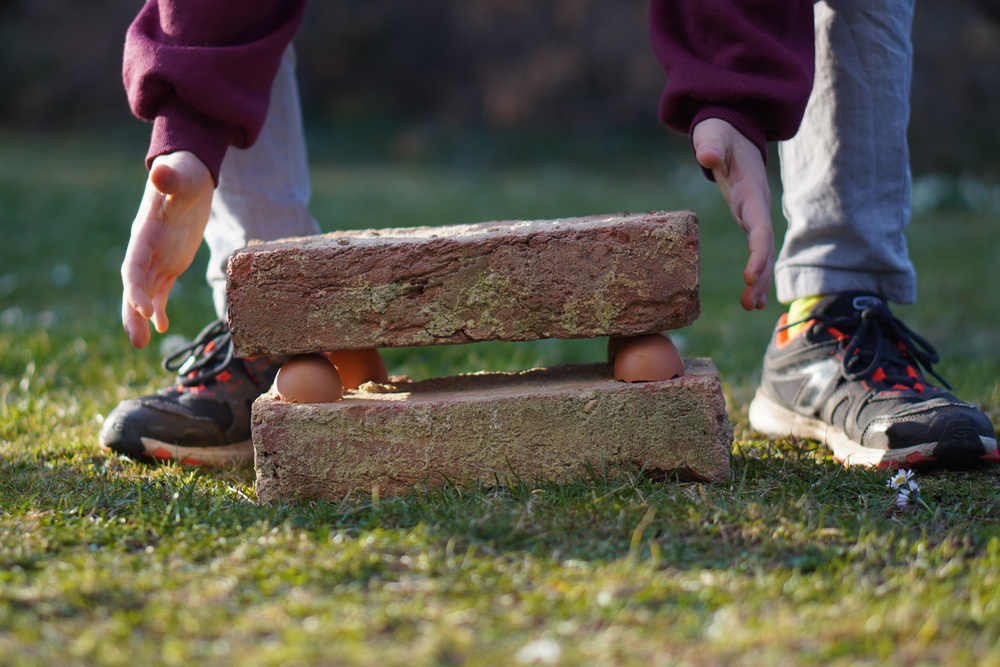
The Unbreakable Egg
Easter physics
Is an egg strong or fragile? Can you crush it? And how does a tiny chick manage to break through the shell?
You’ll need:
a flat, hard surface (flat ground, a second brick, a tile…)
a brick or any similarly heavy object with a flat surface
8 egg-shell halves (or more)
How to do it:
1. Preparation
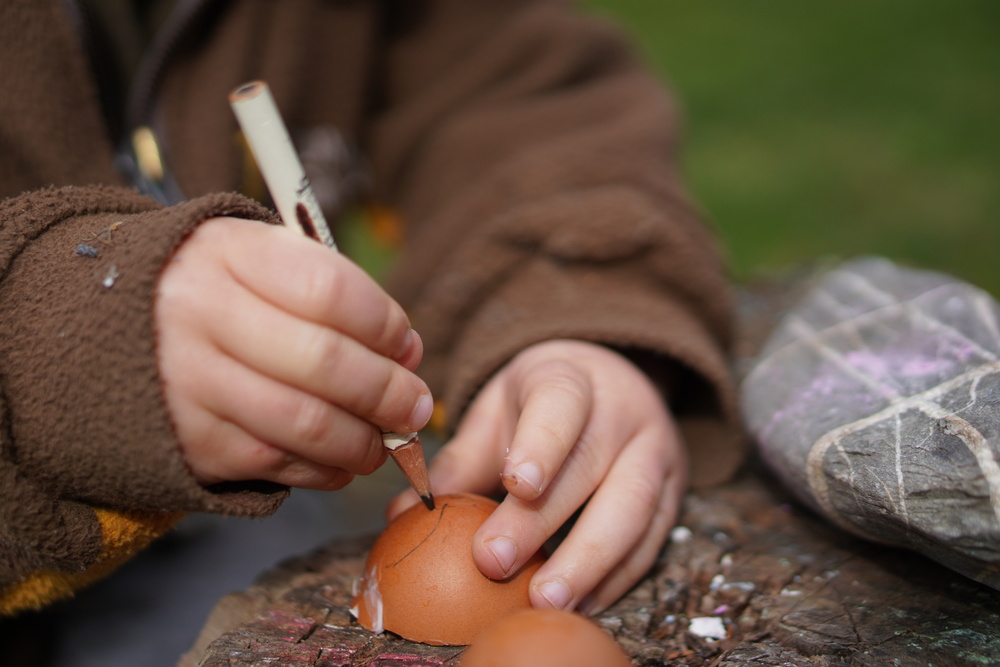
Eggshell halves are easy to make: while cooking, crack the shell cleanly in the middle with a sharp knife, wash the halves, let them dry, and set them aside. It’s good if the edges are as even as possible. You can carefully trim them with small scissors.
2. Hypothesis
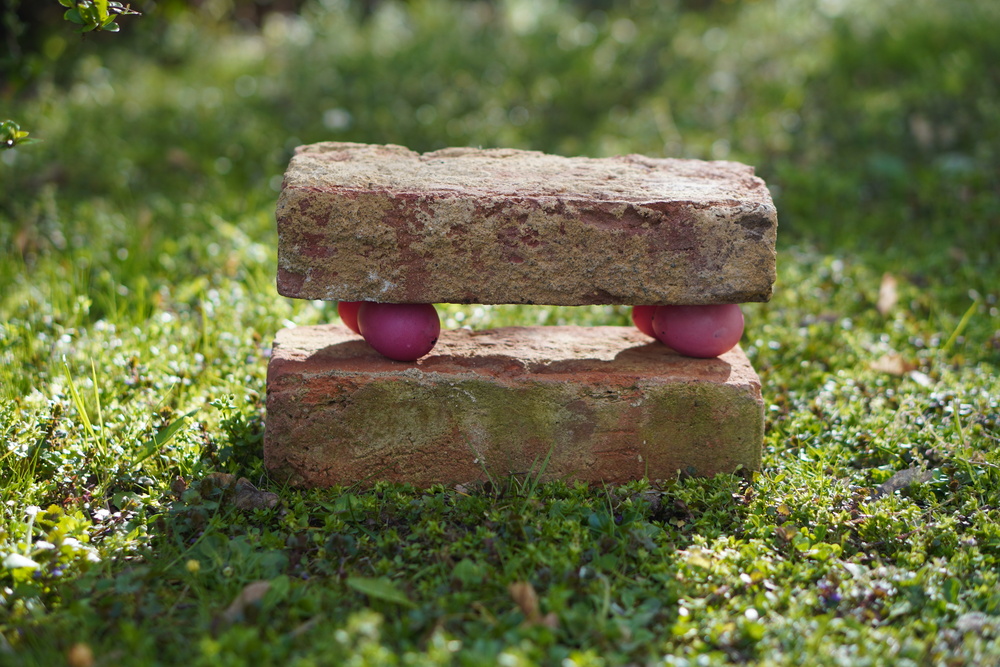
Ask the children if they know how much the brick (or other heavy object) weighs. Then explain the experiment: place four eggshell halves on a flat surface, rounded side up. Then place the brick on top of them. Will the shells hold, or will they crack? Let the children guess and explain their predictions — why yes, why no.
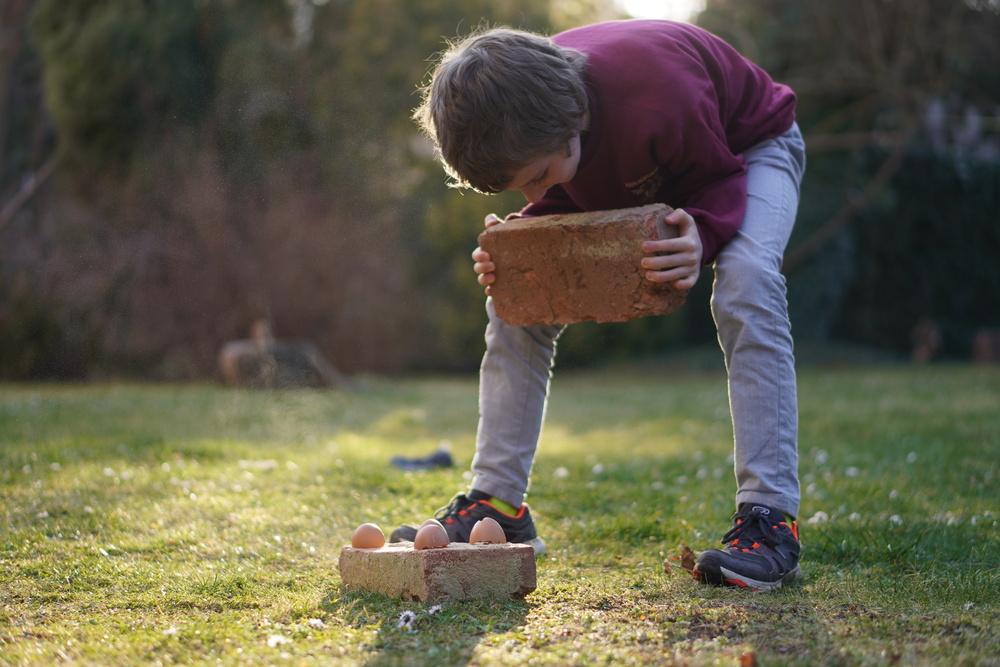
3. Will They Hold the Brick?
Now perform the experiment. Be careful — the edges of the shells must be as even as possible; if they are cracked or noticeably uneven, the experiment won’t work.
What happened? Were the predictions correct?
4. The Egg in a Fist & the Chick’s Beak
You can try another version of the experiment: take an intact raw egg in your hand and place your hand in a plastic bag. Try to crush the egg in your fist. Most of the time, it won’t break.
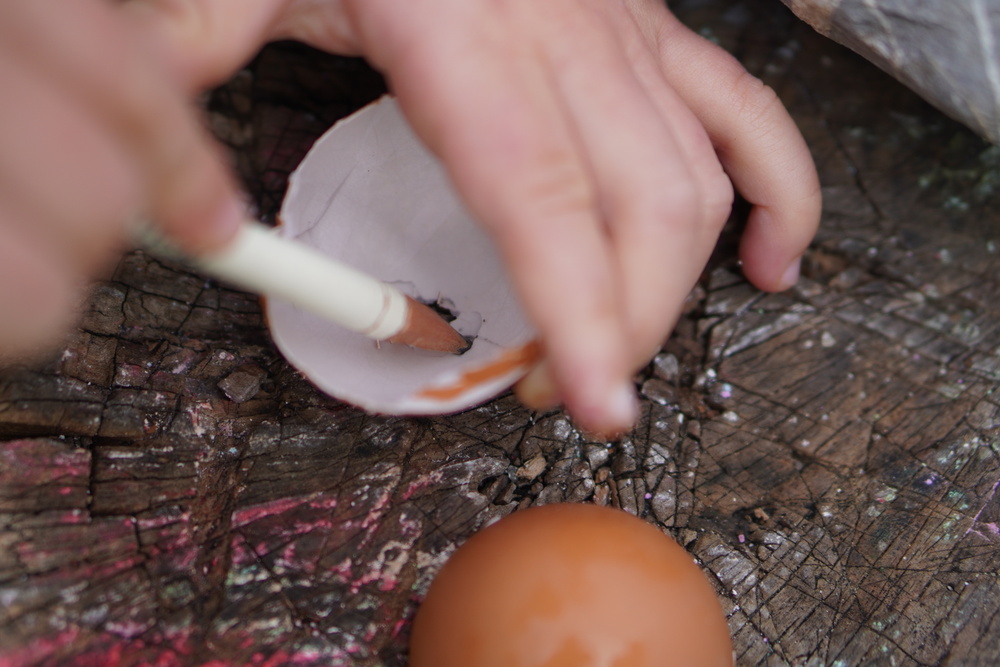
But how can a tiny chick get out of such a strong egg? Try tapping on the shell with the tip of a pencil, first from the outside. The shell is surprisingly strong, even though it’s so thin. But when you tap from the inside, it breaks quickly — all it takes is a small chick’s beak.
5. Physics Corner
Thanks to the shape of the egg, the force acting on it is distributed evenly across its surface. The eggshell halves (the brick experiment) demonstrate the principle of an arch (imagine, for example, the dome of a chapel) — the force spreads through the curve down into the ground. This only works if the “walls” through which the egg touches the surface are vertical. Similarly, an eggshell turned tip-down does not function as an arch at all. Do the children know any examples of arches?

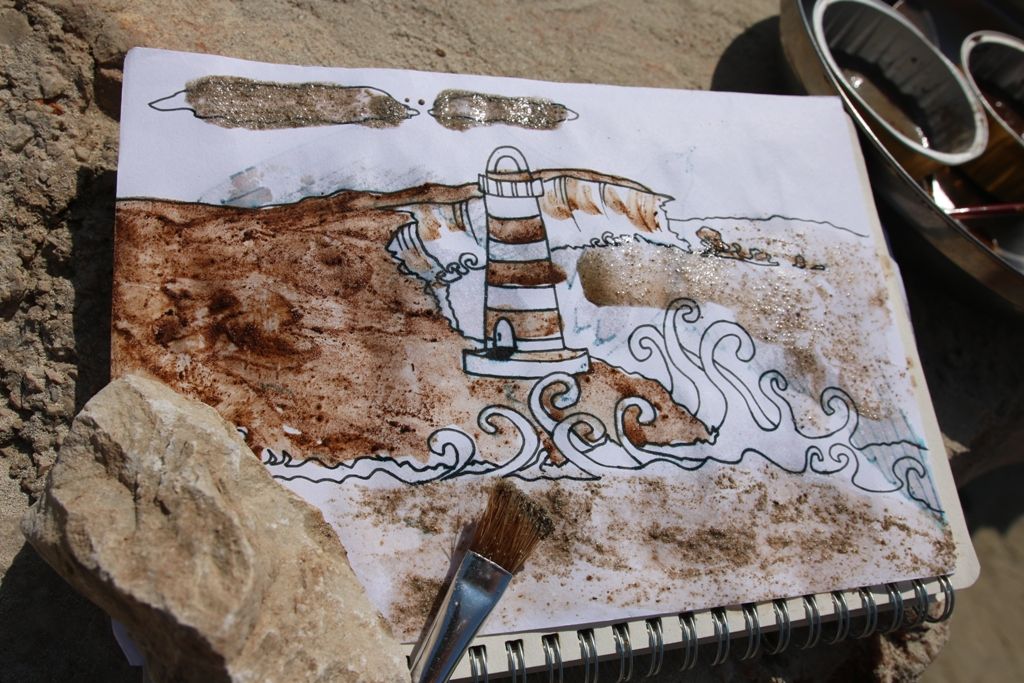
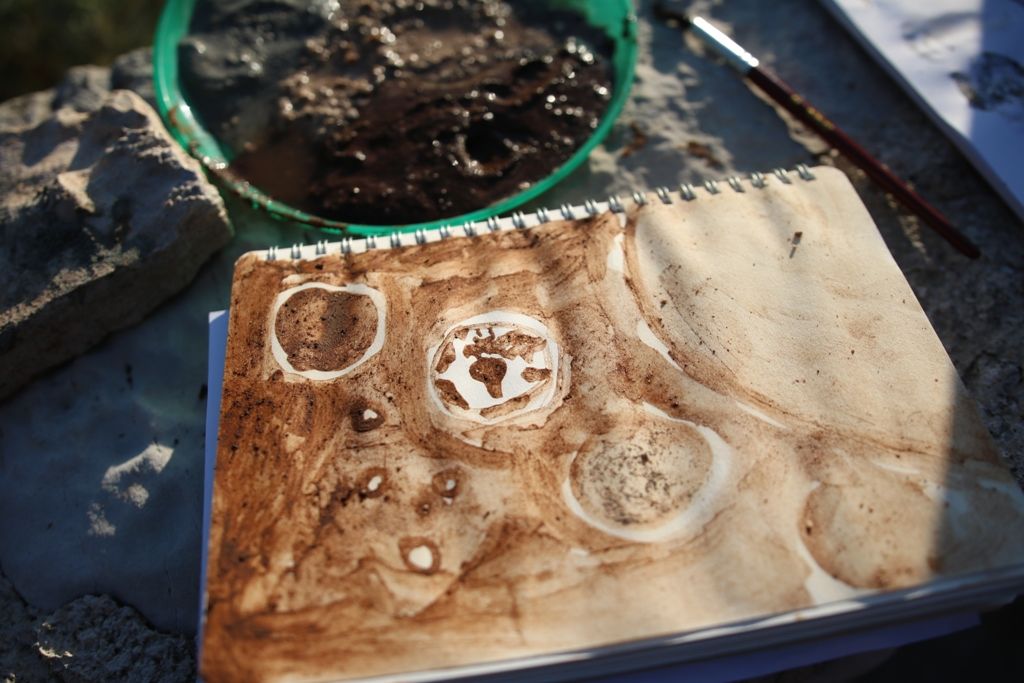
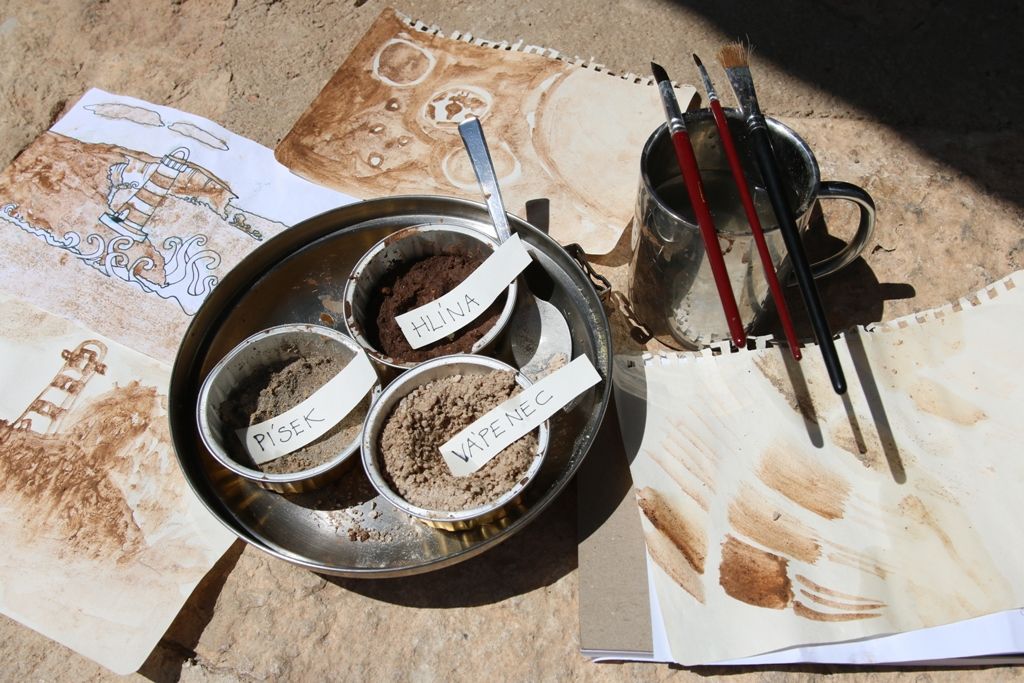
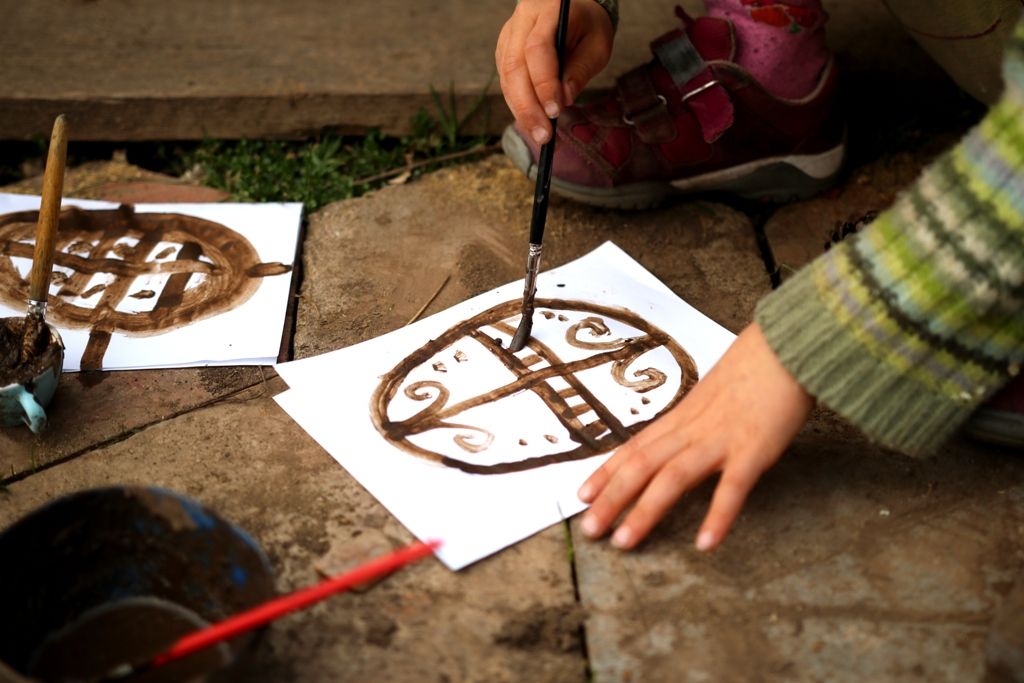
Painting with Clay
Create with clay during spring celebrations
Discover how beautiful images you can paint with something as seemingly ordinary as clay. Compare soils from different places. What shades do they create?
You’ll need:
paper
pencils
paintbrushes
small bowls
water boards or mats to work on
optional: printed coloring outlines
clothespins for displaying artworks
How to do it:
1. SOIL SAMPLES
Painting starts in an unusual way — by exploring the surroundings and collecting samples from the ground (where allowed). You only need to take a small amount of local soil, sand, or crushed stones. Put the samples into bowls and add a little water. It’s really important not to add too much water — you want a very thick paste, not tinted water. For painting, try not only different soils, but also sand, crushed bricks, and other natural brown-red shades available in the area.
2. COLOR CHART
Children can work in groups and test what shades they can create. Groups can share or lend shades they don’t have. Once the colors are ready, all that’s left is to choose a good place to paint. Those who need it can use the coloring outlines in the worksheets. Some paint clay pictures directly, others sketch them first with a pencil. When someone is finished, they place their artwork somewhere safe to dry and can start another picture or switch to another activity the place offers (stone sculptures, stone mosaics, etc.).
3. AN EXHIBITION FULL OF CLAY
It’s valuable to end the activity by creating a shared gallery — simply by clipping pictures onto tree branches or weighing them down with stones. Together you can see all the shades collected from nature and the different motifs everyone painted.

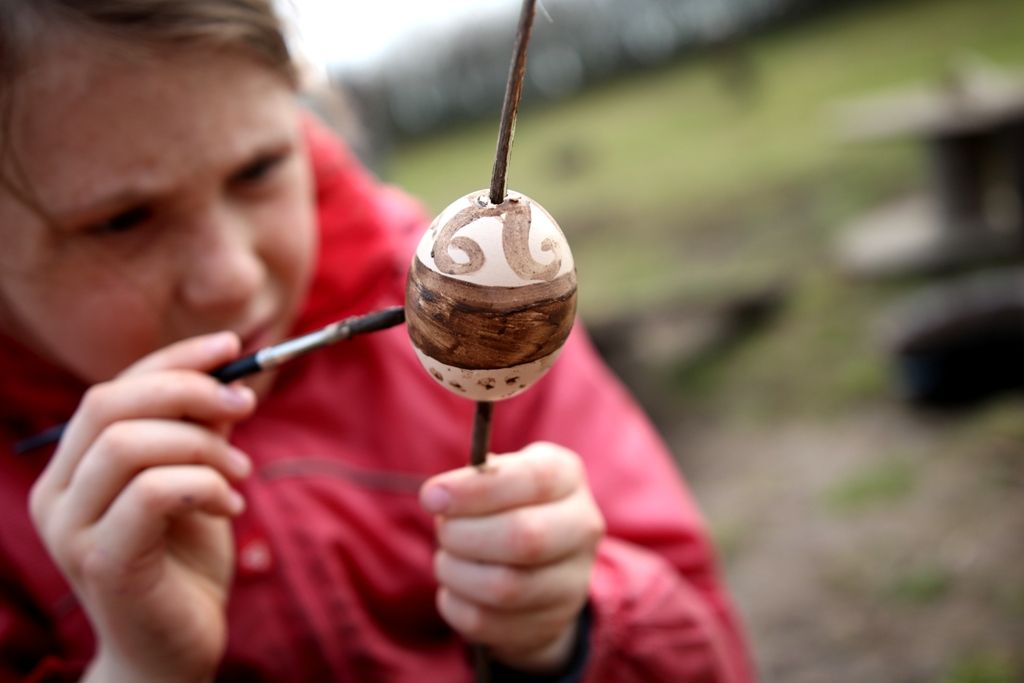
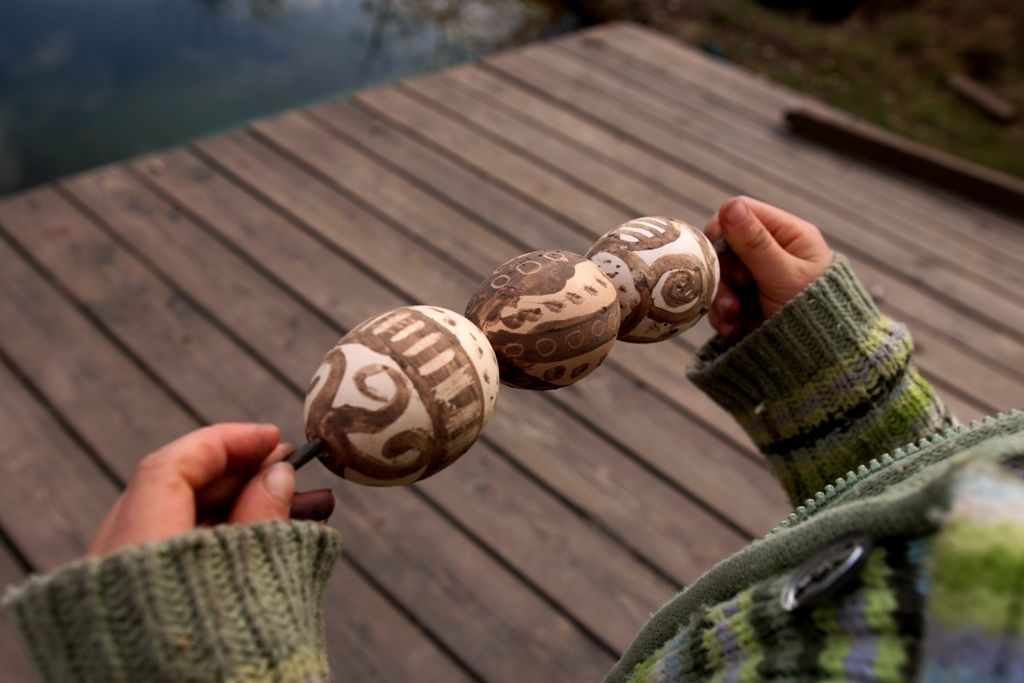
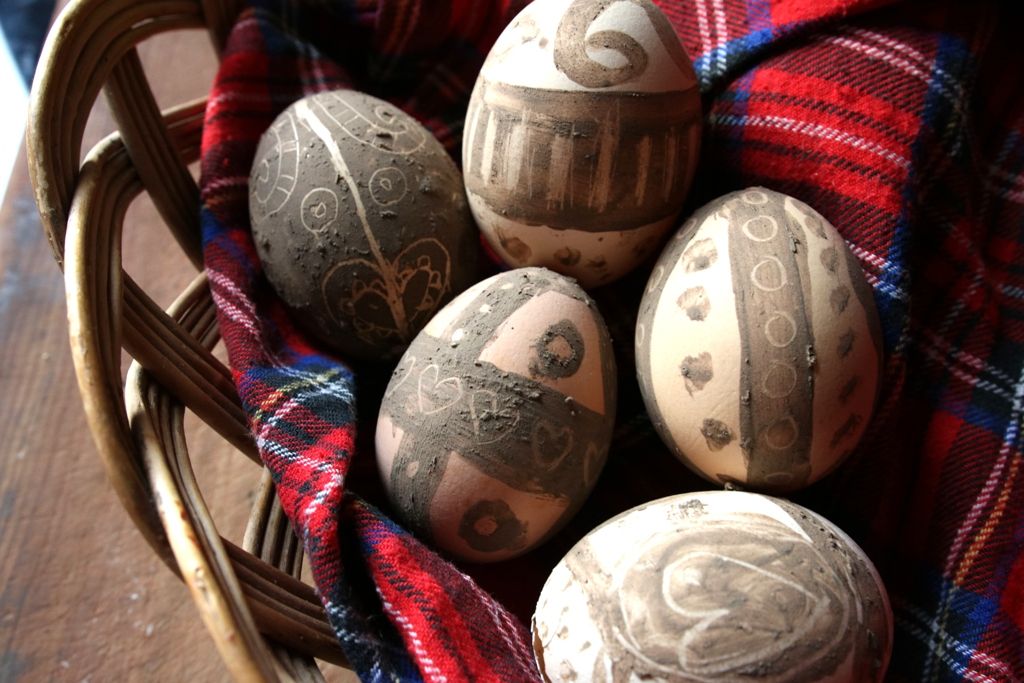
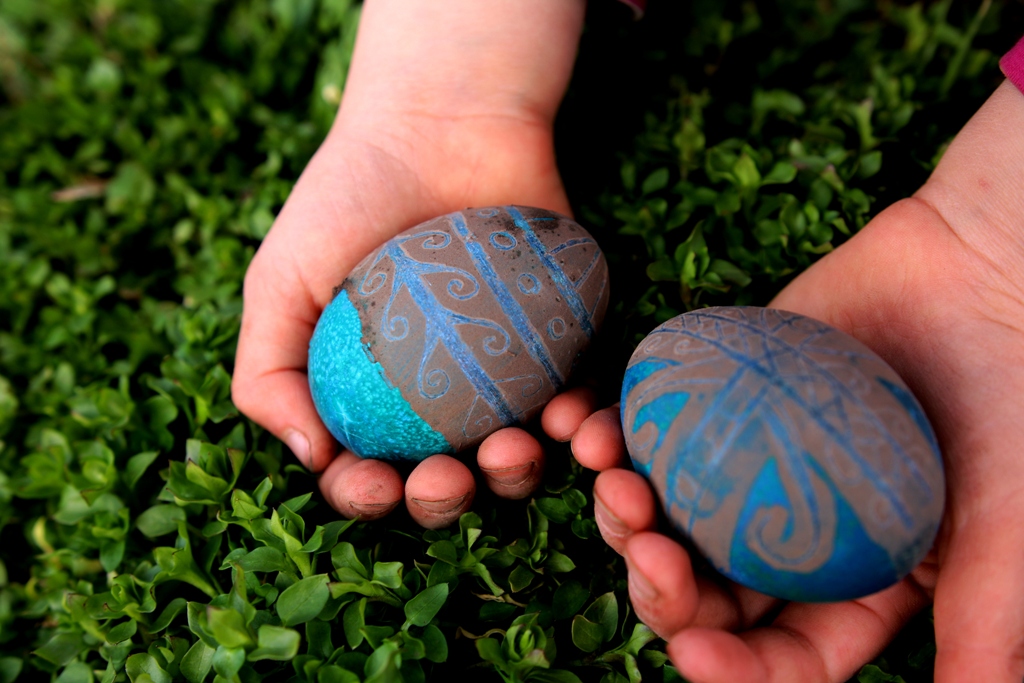
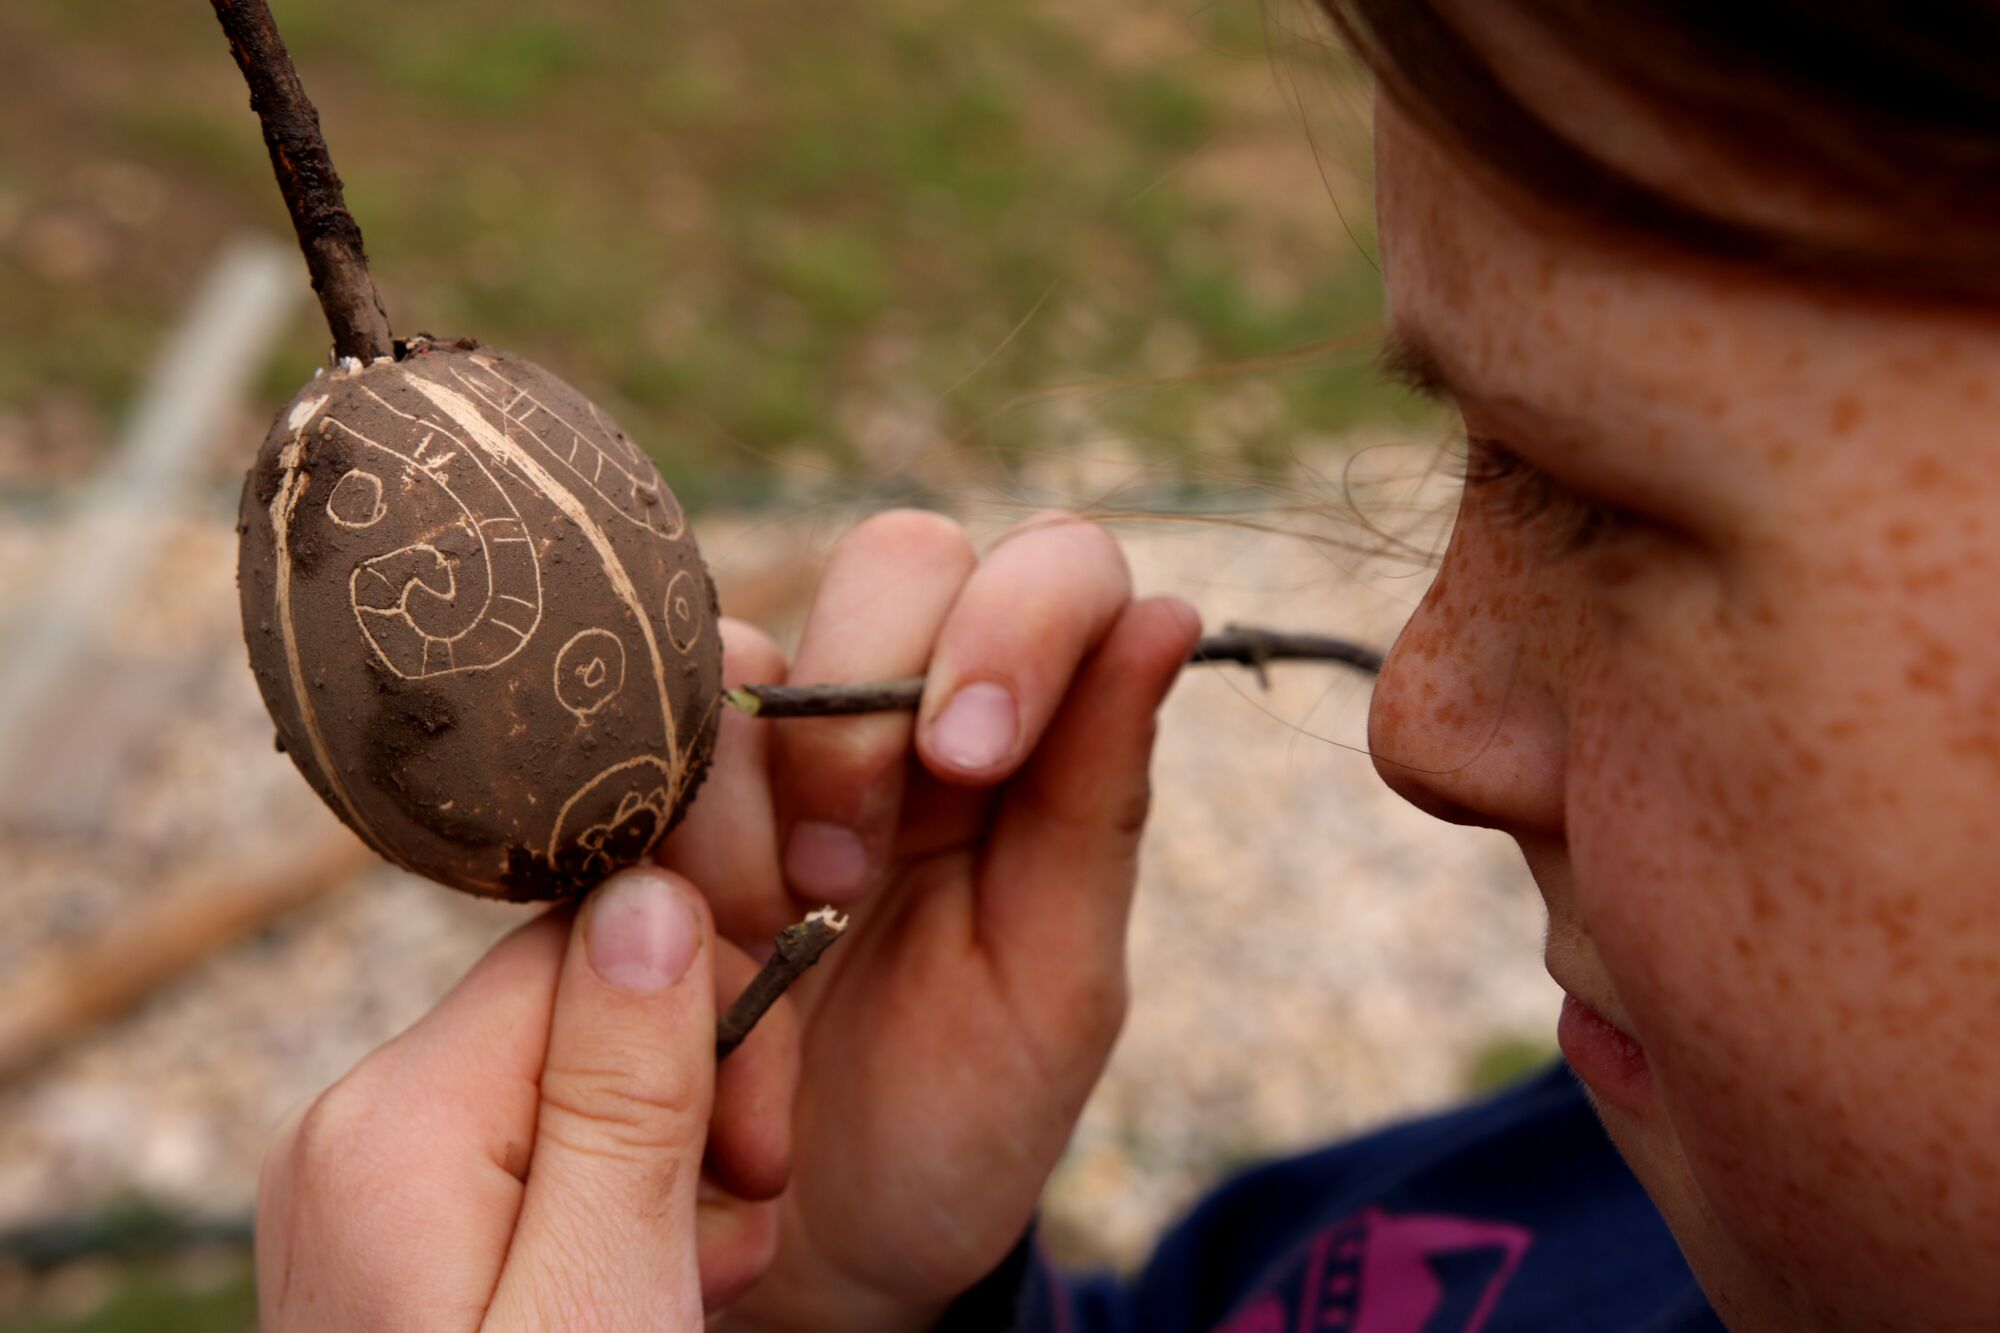
Mud Decorated Eggs
Try some unusual decorations
Decorating with clay is a wonderful technique for both big and small artists.
What you’ll need:
blown-out eggs
fine paintbrushes
small bowls
water
wooden skewers or small sticks for holding the eggs
pencils for sketching the design
optional: paper for preliminary drawings
How to do it:
The first task is simple: collect different shades of clay in your surroundings (dark brown, creamy clay, sandy soil, etc.).
The second step is to mix the collected clays into a thick, paint-like paste. Just add water.
Are your colors ready? Then you can start painting!
If you want, try decorating eggs on paper first. If you’re brave enough, you can paint directly on the eggs. We worked with blown-out eggs fixed onto small branches. Apply the clay with a brush — a thin layer works best. Once it dries, you can scratch patterns and shapes into the eggs using the sharper end of a twig.
Finished eggs can remain on the branches, or you can thread them together on a flexible twig and hang them as a decoration, for example in a window.
TIP: Clay painting and scratching also work beautifully on eggs that have already been dyed (ideally with natural dyes).


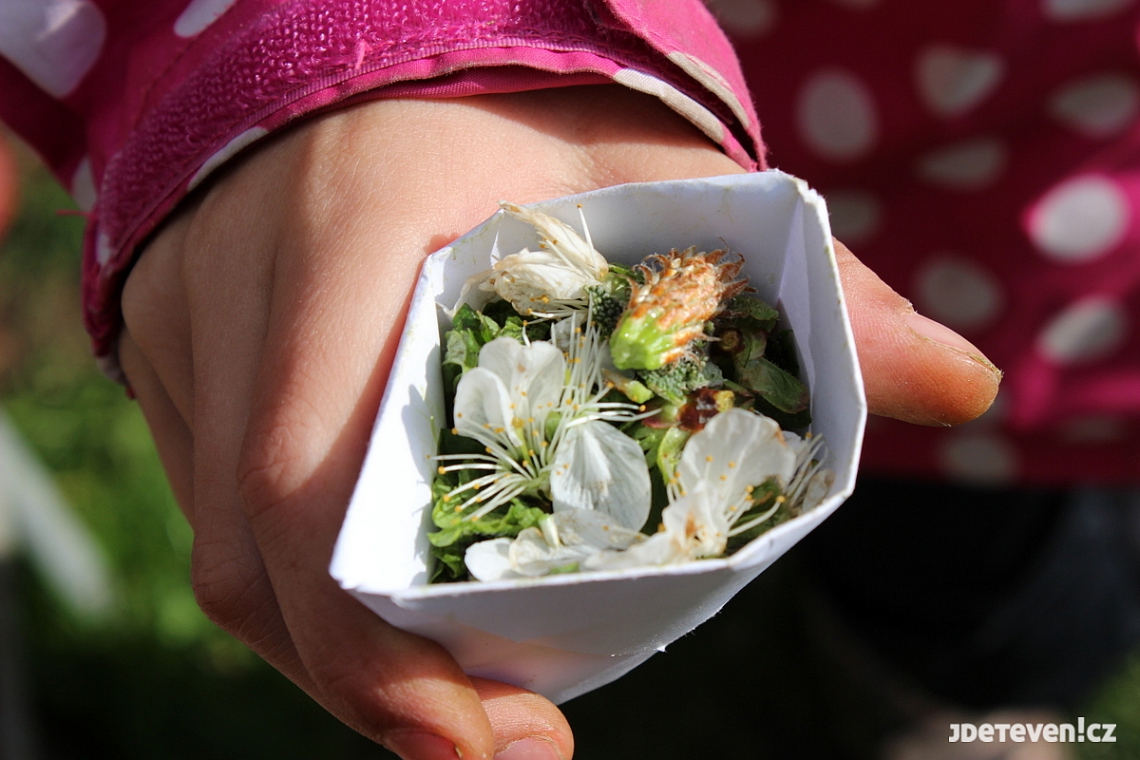
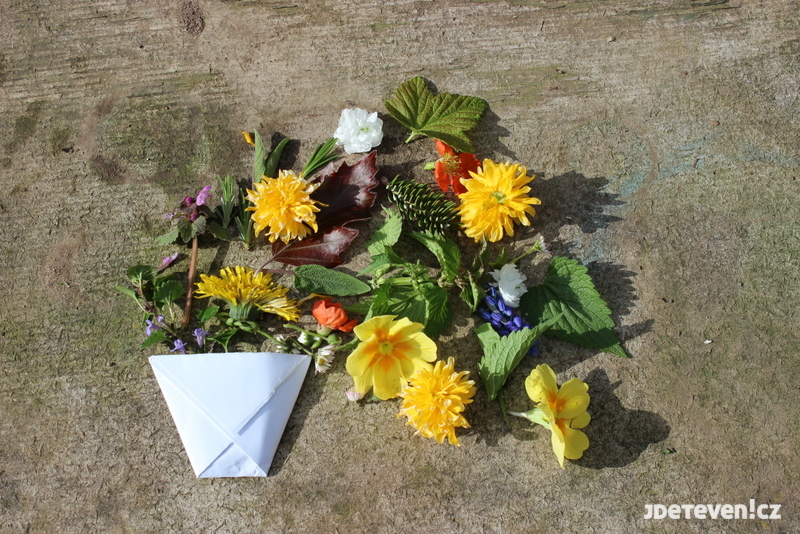
Spring Fragrance
Catch the scent in a cup
What does nature smell like right now? Does lemon balm smell stronger, or pine needles? And why do some plants have no scent at all, while others smell very unpleasant? Try capturing the scents of your garden, park, or forest in a cup and create your own original natural perfume. Your sense of smell will enjoy a good workout.
You’ll need:
a sheet of paper (to fold a cup)
optionally, paper and a pencil for notes
How to do it:
First, fold a paper cup for mixing your perfume (you can find a simple video tutorial HERE). Don’t feel like folding? A paper bag or an ordinary paper or plastic cup works just as well.
In your garden, park, or forest, collect samples of natural materials with interesting scents (e.g., herb leaves, petals of blooming plants or shrubs, twigs from coniferous trees). Always pick only a small piece.
Mix everything together in your cup or bag and take a sniff. What does the scent remind you of? What could your perfume be called? Come up with a name, add a description, and write down a secret list of ingredients — shhh, don’t show anyone.
Invite your family or friends to make perfumes too, and then you can guess which ingredients each person used.
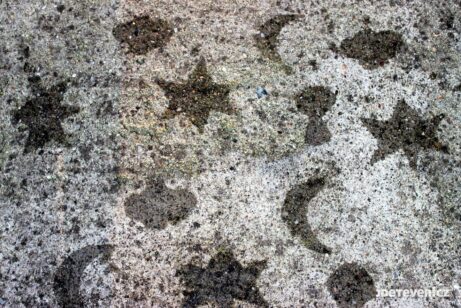
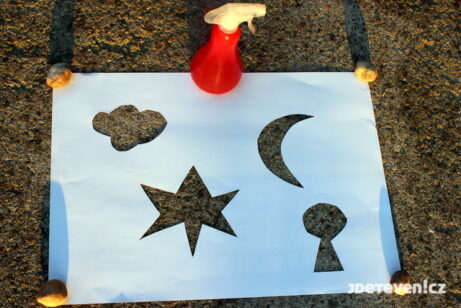
Rain Graffiti
Paint with rain
Painting with water is an activity that can absorb children for an endlessly long time. It may seem that it works just like watercolors, but children are usually far more creative and bolder when painting with plain water. It often ends with your whole patio “painted,” which doesn’t matter at all — the sun will take care of the cleanup. One of the best things is that the supplies cost you nothing. You only need water, a dry surface, and a brush. For older or more experienced young artists, offer rain graffiti. With paper stencils, you can create wonderful artwork on the sidewalk.
You’ll need:
- brushes, a cup
- a large sheet of paper
- crayons, scissors
- a spray bottle filled with water
- rain
How to do it:
There is no set instruction for painting with water — give the children brushes, fill a container with water, and let them work freely. You’ll be amazed by their creativity. If you feel they’re unsure, show them different “painting” techniques such as splashing, flicking, dripping, spraying… Hold a splashing competition: who can send a drop of water the farthest? Look for different places that are fun to paint on. In sunny weather, time how long it takes the sun to dry the water from the surface. The possibilities are endless.
Try rain graffiti “dry” first. On a large sheet of sturdier paper, draw simple shapes and carefully cut them out with scissors or a craft knife. Place the stencil on a dry, smooth surface (a concrete patio, sidewalk, or asphalt spot in front of your house); it’s a good idea to weigh down the corners with stones.
Fill the spray bottle with water and start spraying. Once you have tested the stencil, try it out in the rain. As soon as rain is approaching, run outside and place the stencil on the chosen spot — the rain will do the spraying for you.
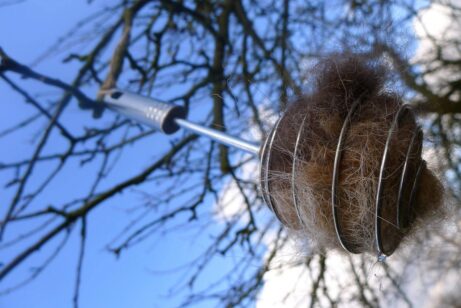
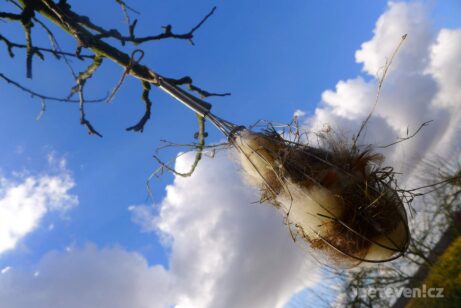

Nesting Feeder
Let’s support bird nesting.
Prepare a pleasant surprise for the birds and help them gather building materials for their nests.
You’ll need:
Materials for the “nesting dispensers”:
old whisk, wire basket, small box, wire, pipe cleaners, a pine cone…
Materials for nesting — see below
Are you sad that with spring approaching, bird feeding is coming to an end? Don’t worry — our feathered friends still need you in spring. The nesting season begins, and these professional builders need plenty of construction supplies. Look around in nature: what would you like to lie down on? What would you build a nest from? In spring, everything outside is rather hard and damp. Birds will appreciate something softer and dry.
Preparation
Materials for the feeder:
a net from lemons, an old whisk, a wire basket, a small box, wire, pipe cleaners, a pine cone
Materials for nesting:
pieces of wool, fabric scraps, dog fur, sheep fleece, hair, feathers, dry grass, and similar materials
How to do it
First, think about what you’ll use to make the dispenser for everything you want to offer your flying friends. A very simple option is an empty net from a used-up suet ball. You will surely find a spare net from lemons or other citrus fruit at home. An old whisk or other kitchen tool can serve as a “wire house.” Crafty hands can create their own version of a dispenser from wire.
Children usually don’t settle for just one type of dispenser — they immediately start inventing more: a pine cone wrapped in wool, a coconut shell (where you stored seeds in winter), or pipe-cleaner constructions for the youngest ones. You can browse our ideas in the photo gallery at the end of the activity.
The creative adventure continues when filling the dispensers with nesting material. Think together about what you can collect in nature and what you can gather at home. Kids usually love searching for and testing what could be useful. If you have pets, get ready for a hunt for animal fur!
Get inspired:
dry grass
sheep wool (bought or directly from sheep)
dog fur (reportedly very popular)
feathers (as soft as possible)
hair
cut wool yarn (CAUTION — always very short pieces, 3–5 cm; long strings could strangle birds)
moss, pine needles, hay
Fill the prepared dispensers and hang them in sheltered places where birds can safely come and go.
Tip:
We tied our “nesting dispensers” in the same places where we had hung suet balls and sunflower-seed feeders. Birds soon came to inspect them, but at the beginning of March they still weren’t interested.

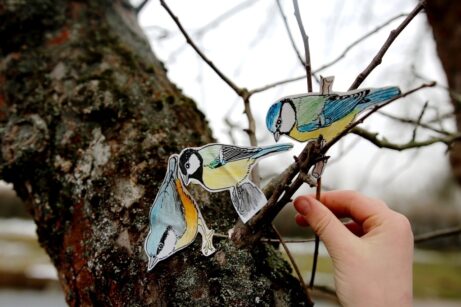
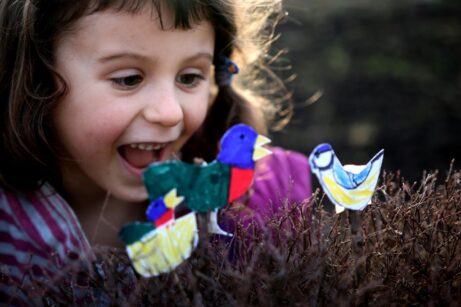
Bird Theatre
Create puppets and scenery outdoors.
Let’s make a small bird theatre. All you need is to choose your actors and start the play. When inventing the storyline, children can draw inspiration from the real lives of birds — what do birds deal with, what do they encounter? But anyone who wants to can include an April Fools–style absurd comedy in the theatre program…
You’ll need:
black-and-white bird pictures printed on sturdier paper
crayons, watercolors, pencils…
scissors
glue or tape
small branches
binoculars for observing real birds or bird guides for identifying species
How to do it:
Draw your own bird pictures or cut out the black-and-white ones from the worksheet. We recommend using black-and-white images so children can color them in and look closely again at the real colors of each species.
Once the birds are colored, simply glue or tape them onto small branches found outside — and rehearsal can begin. Nature itself provides the scenery.
Children often enjoy the rehearsing and playing with the bird puppets more than the final performance. It may even happen that the theatre play never actually takes place — and that’s perfectly fine. What truly matters is the role-playing process, reenacting stories they have seen in nature or ones they invent themselves.
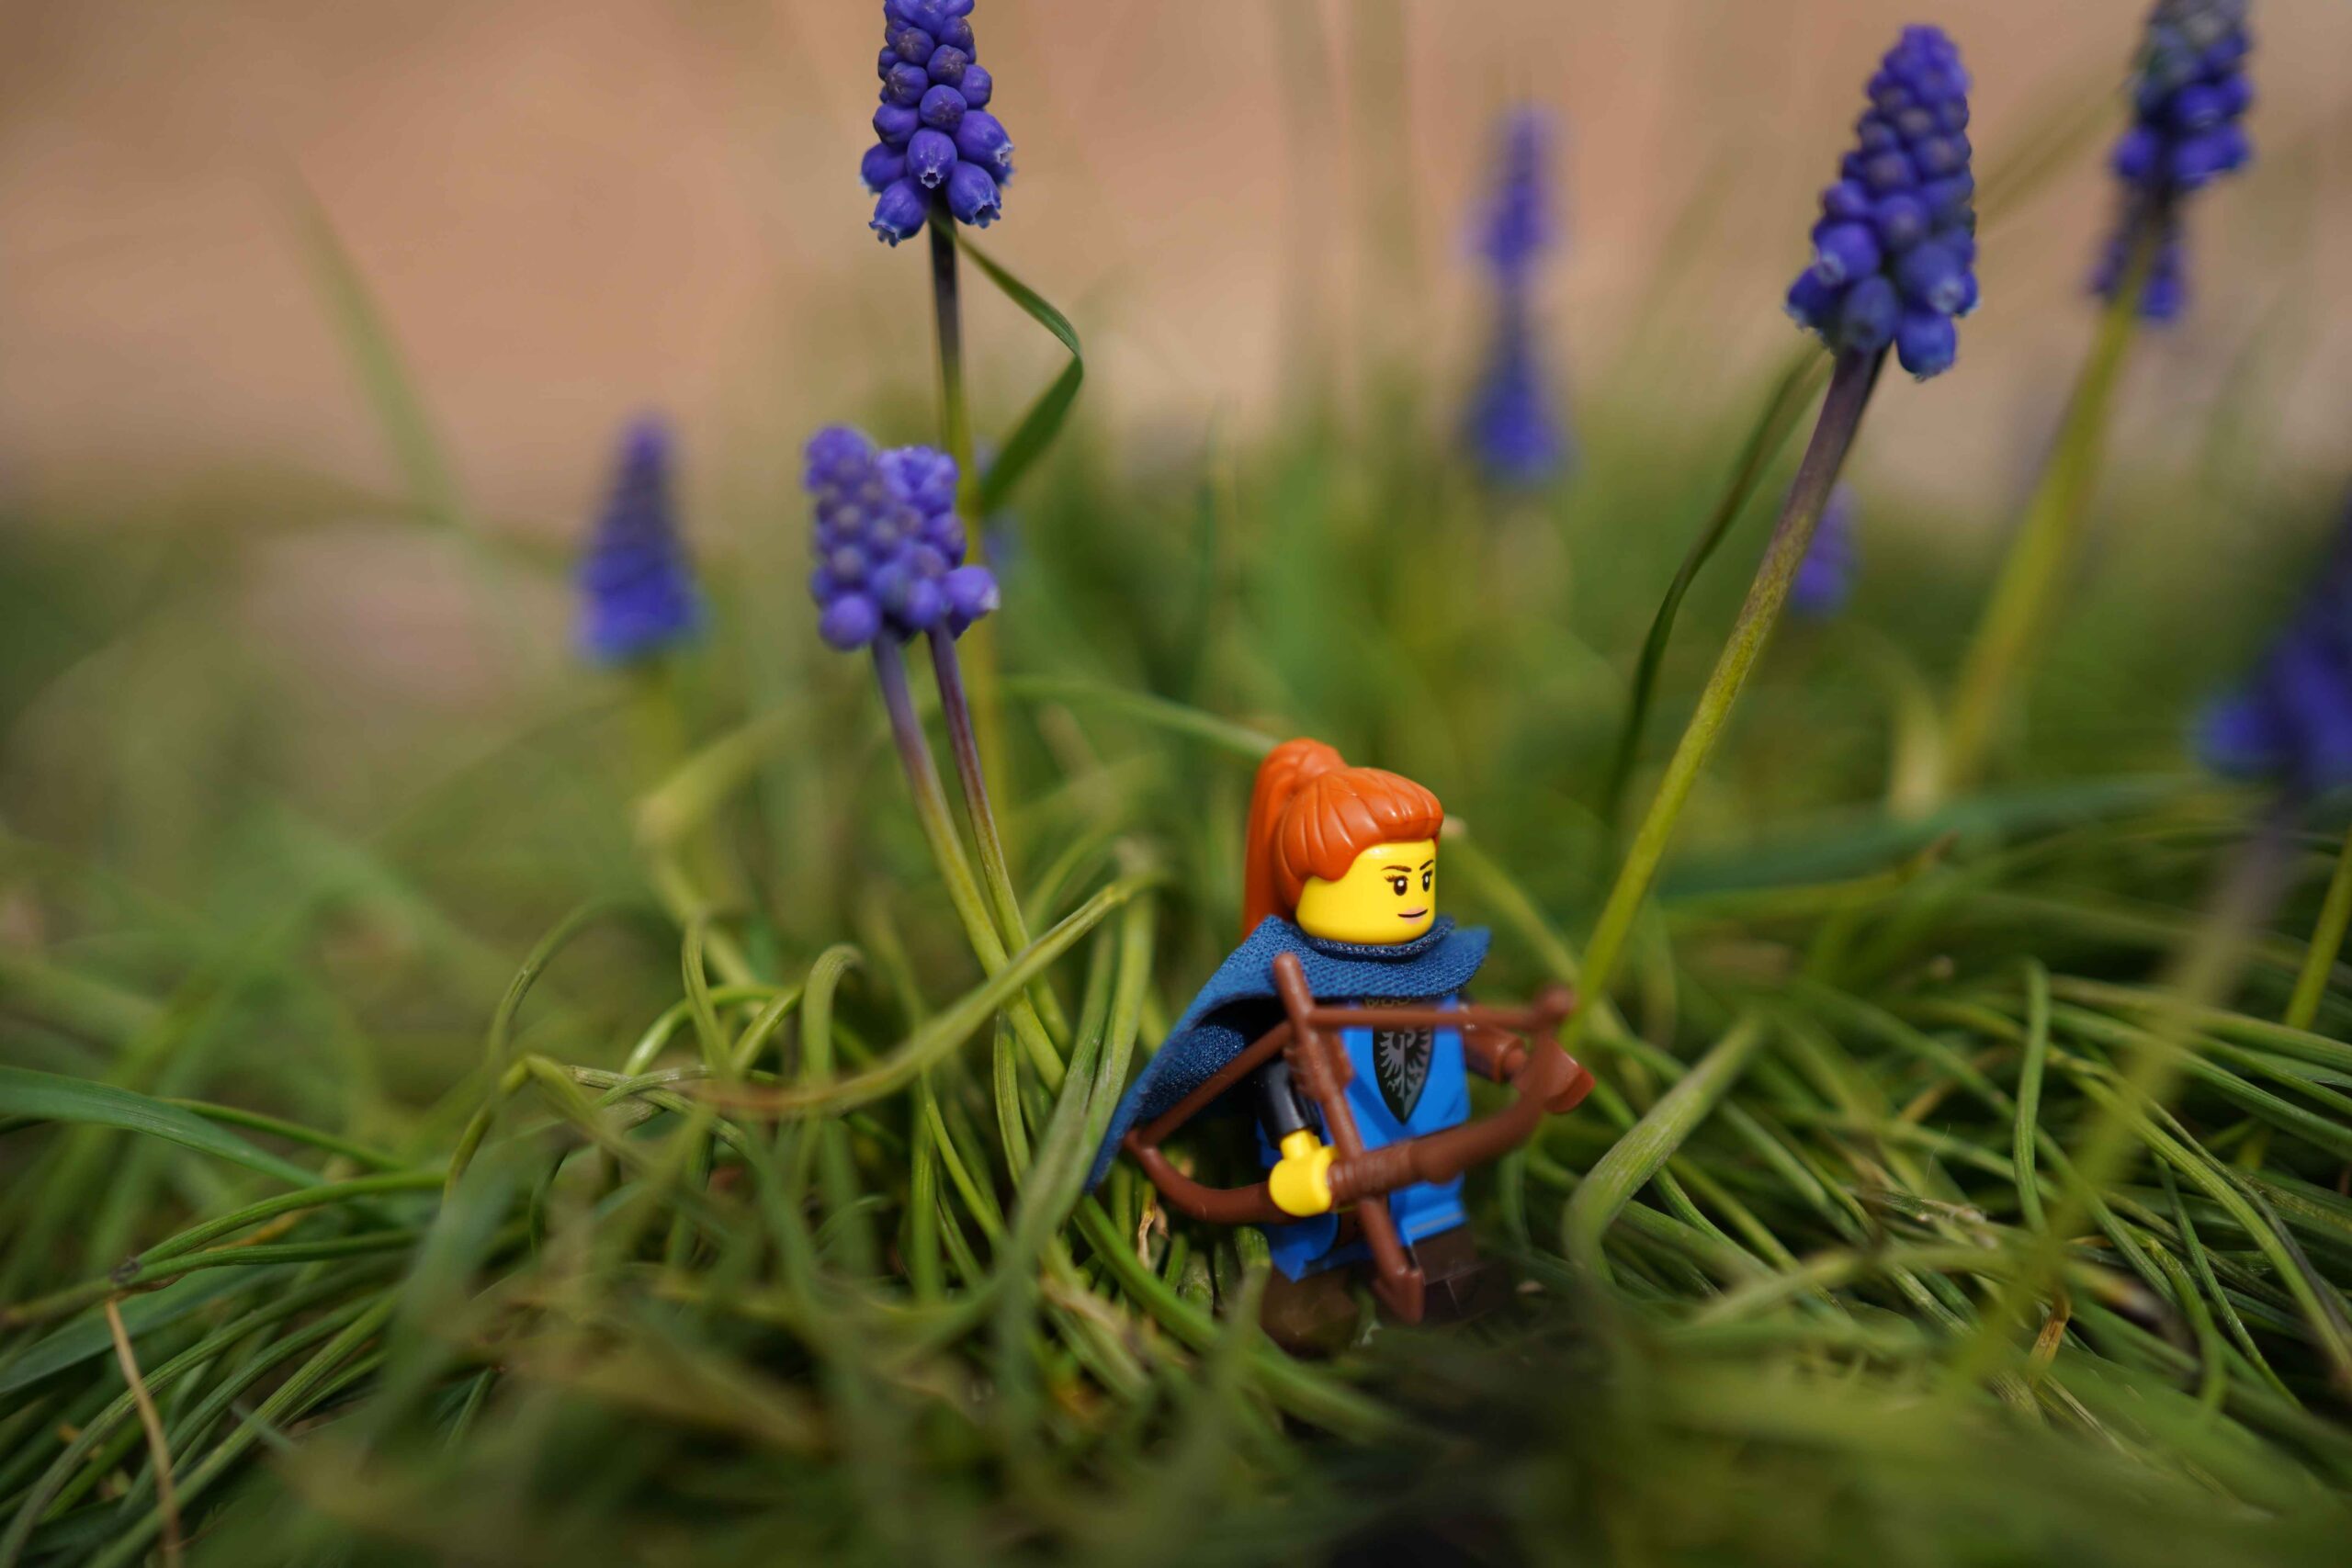
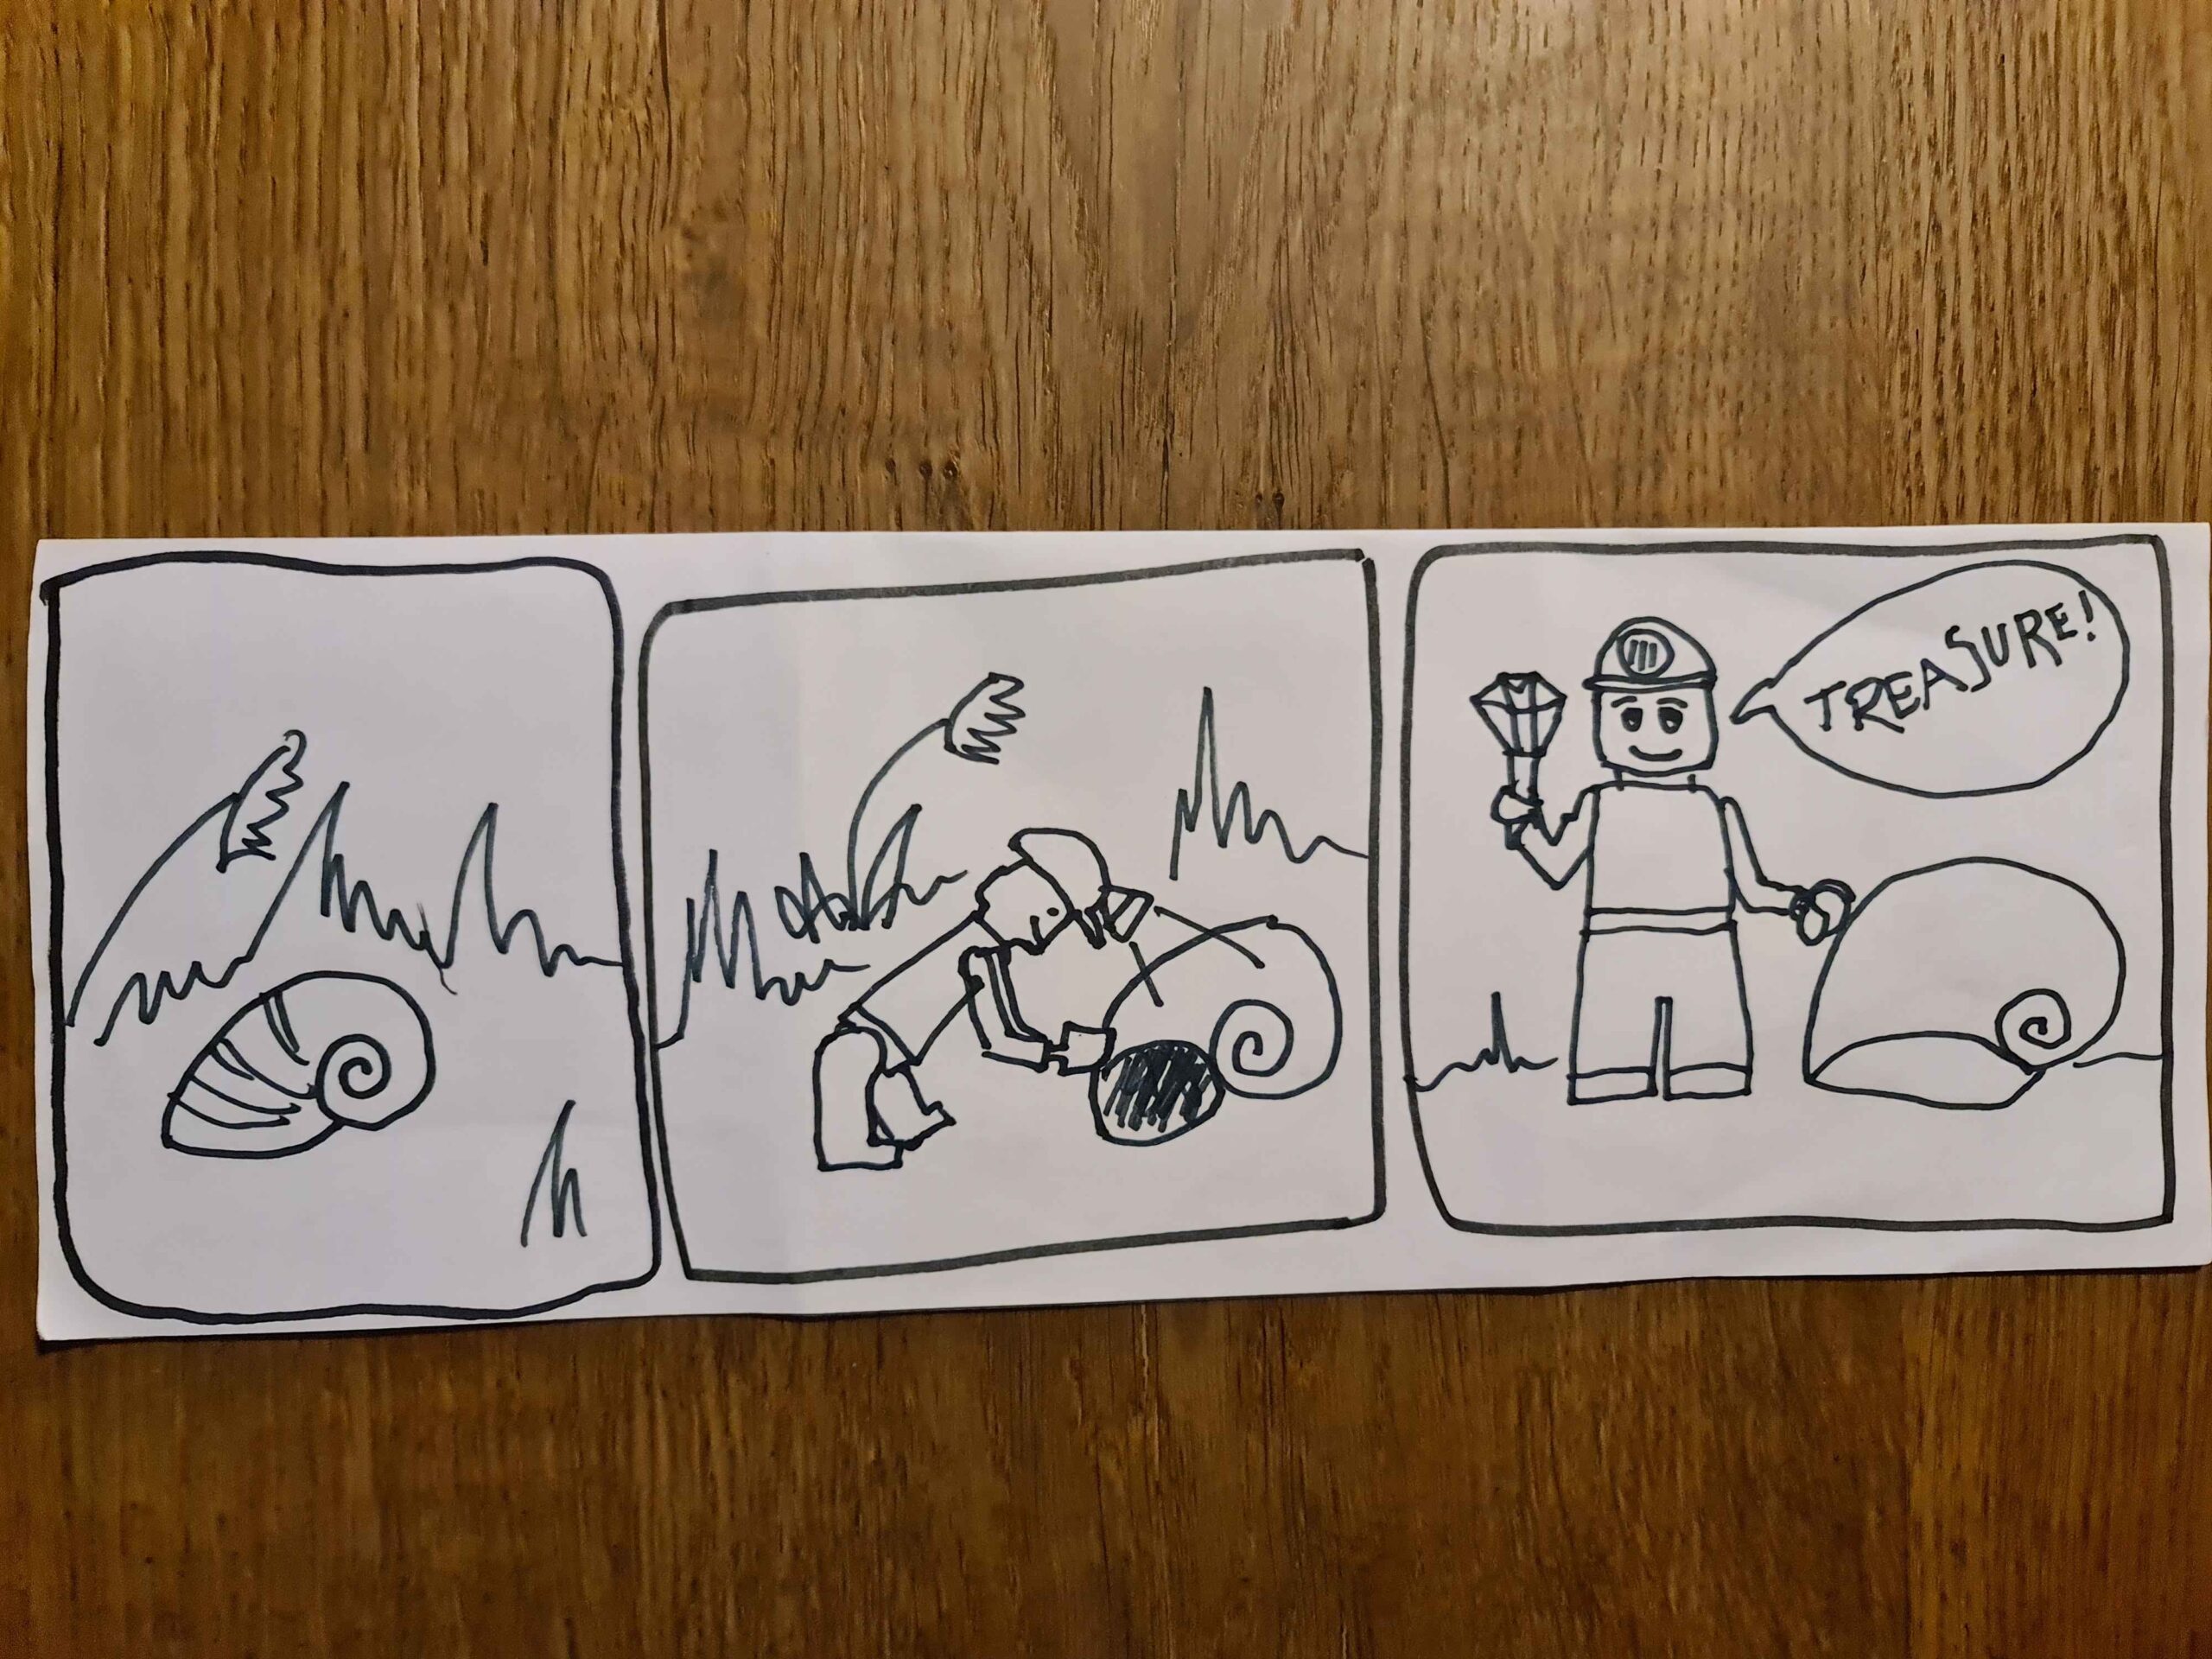
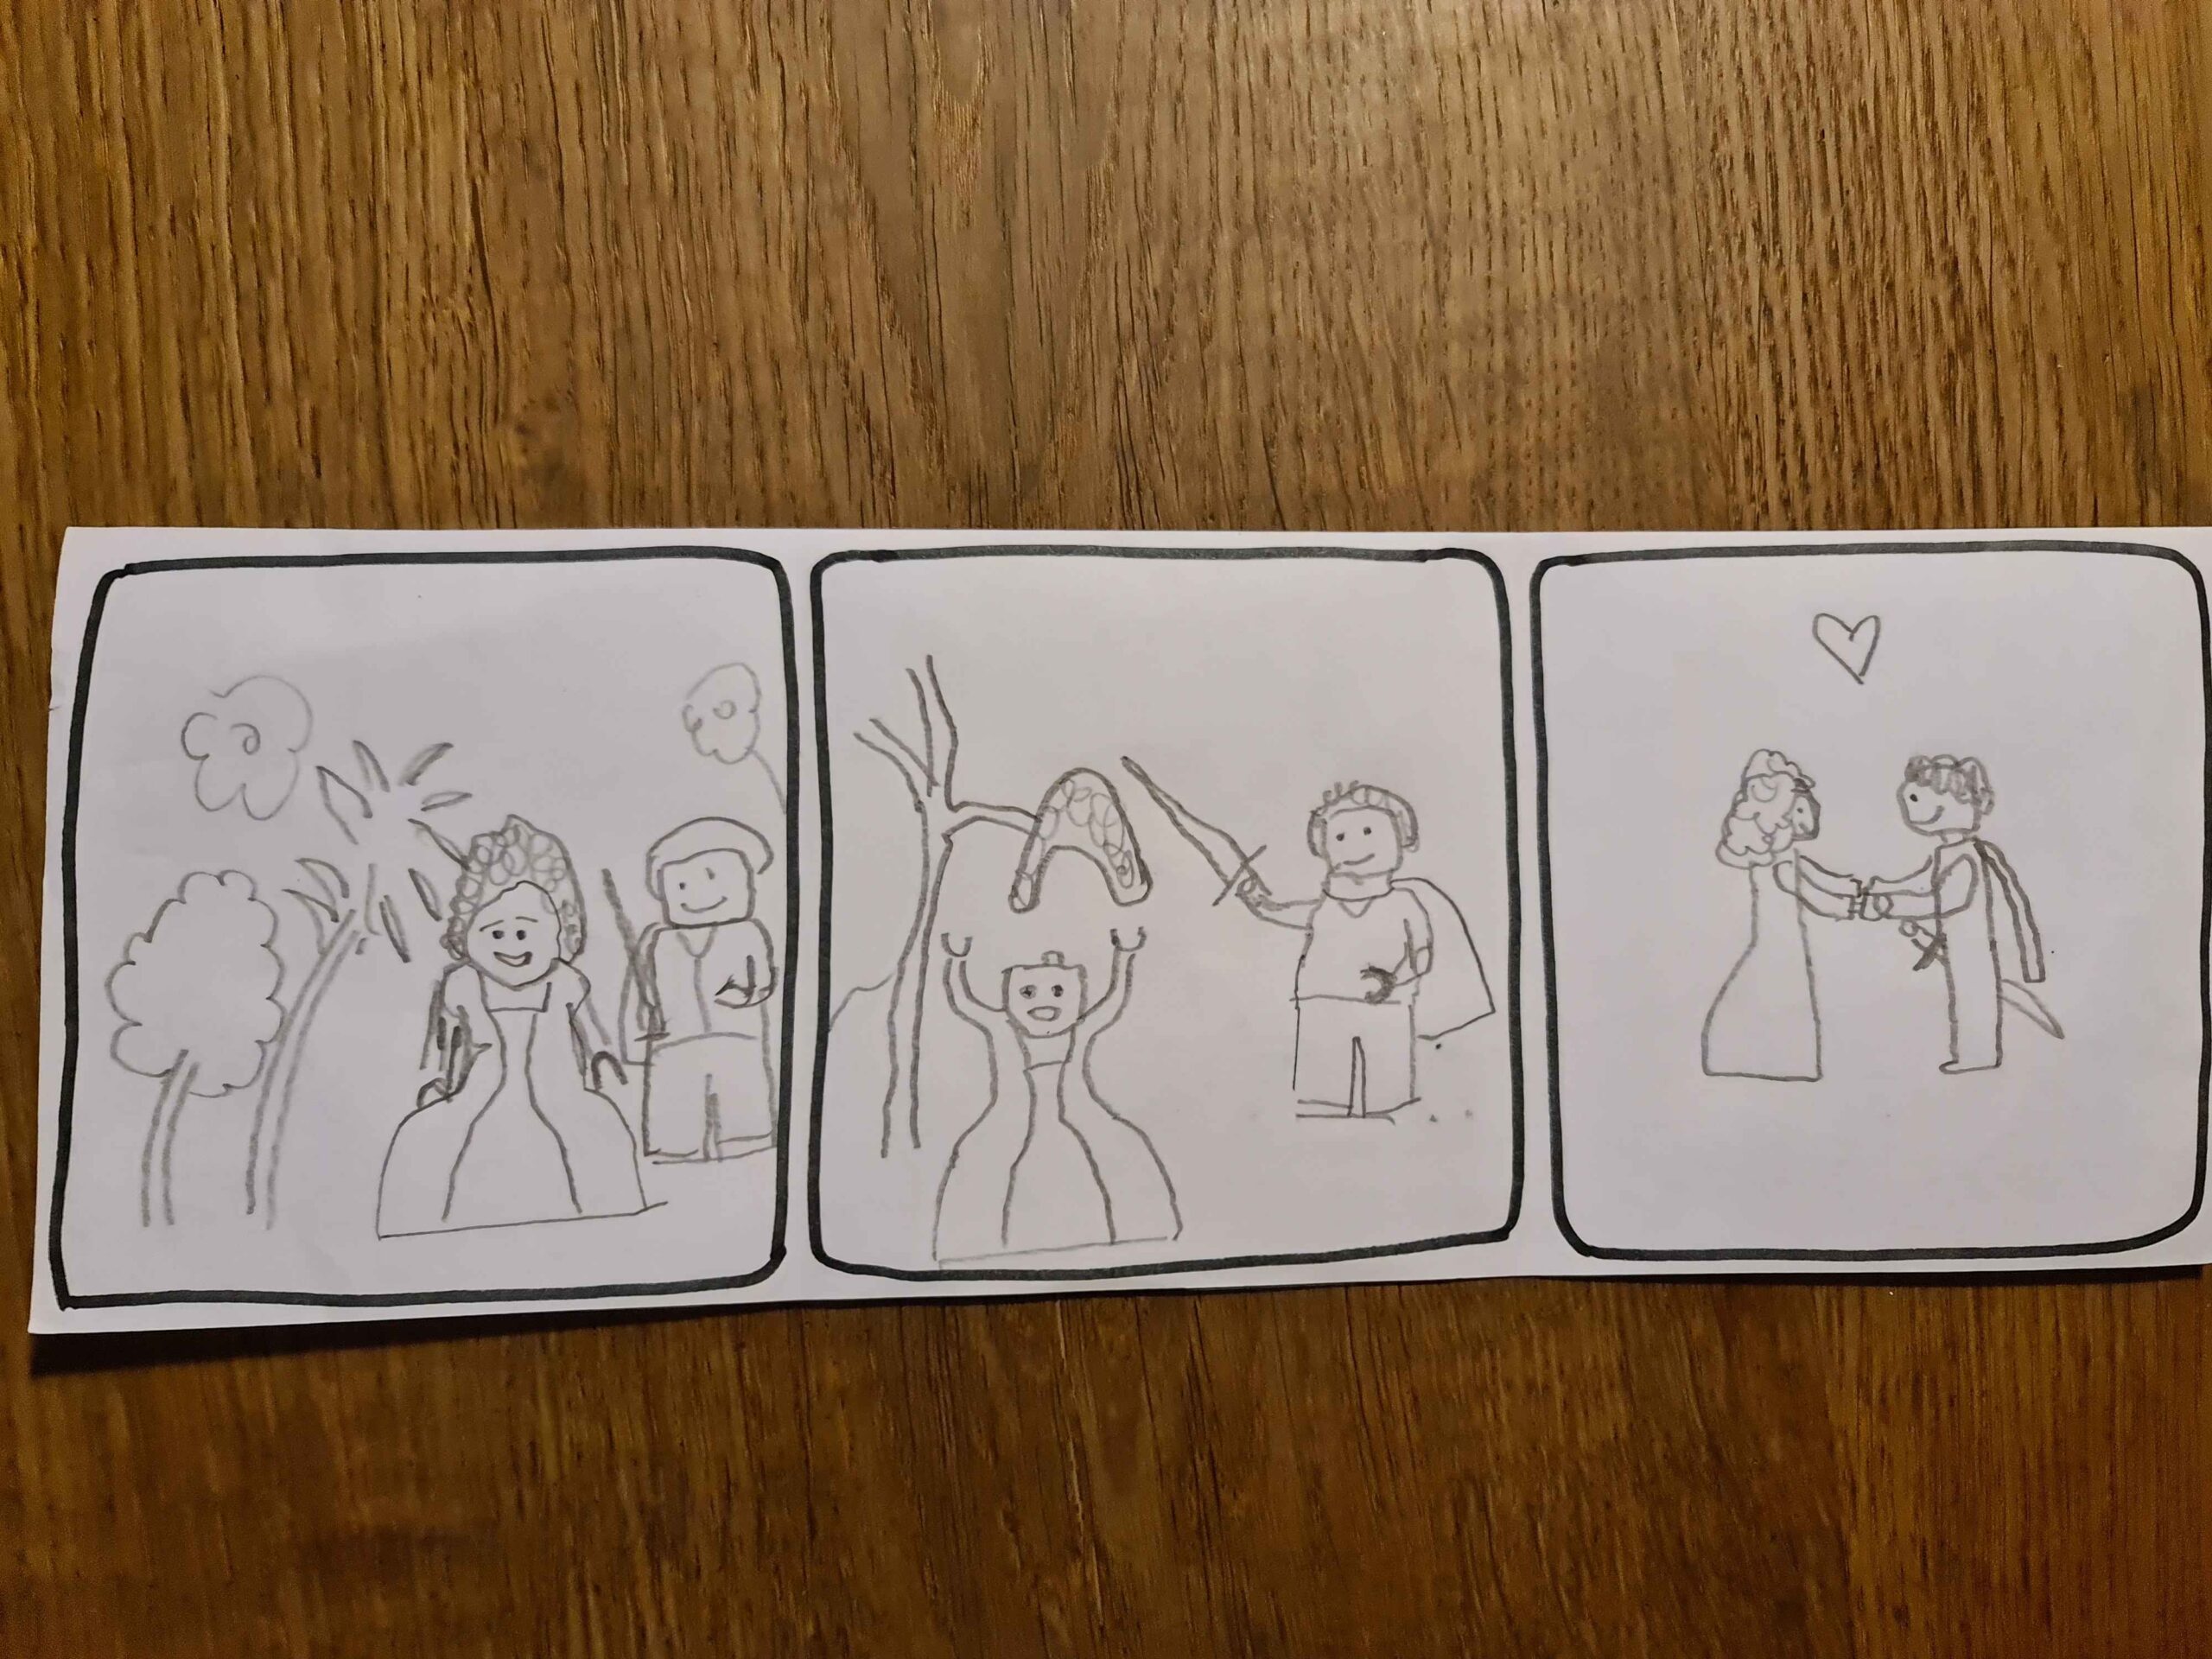
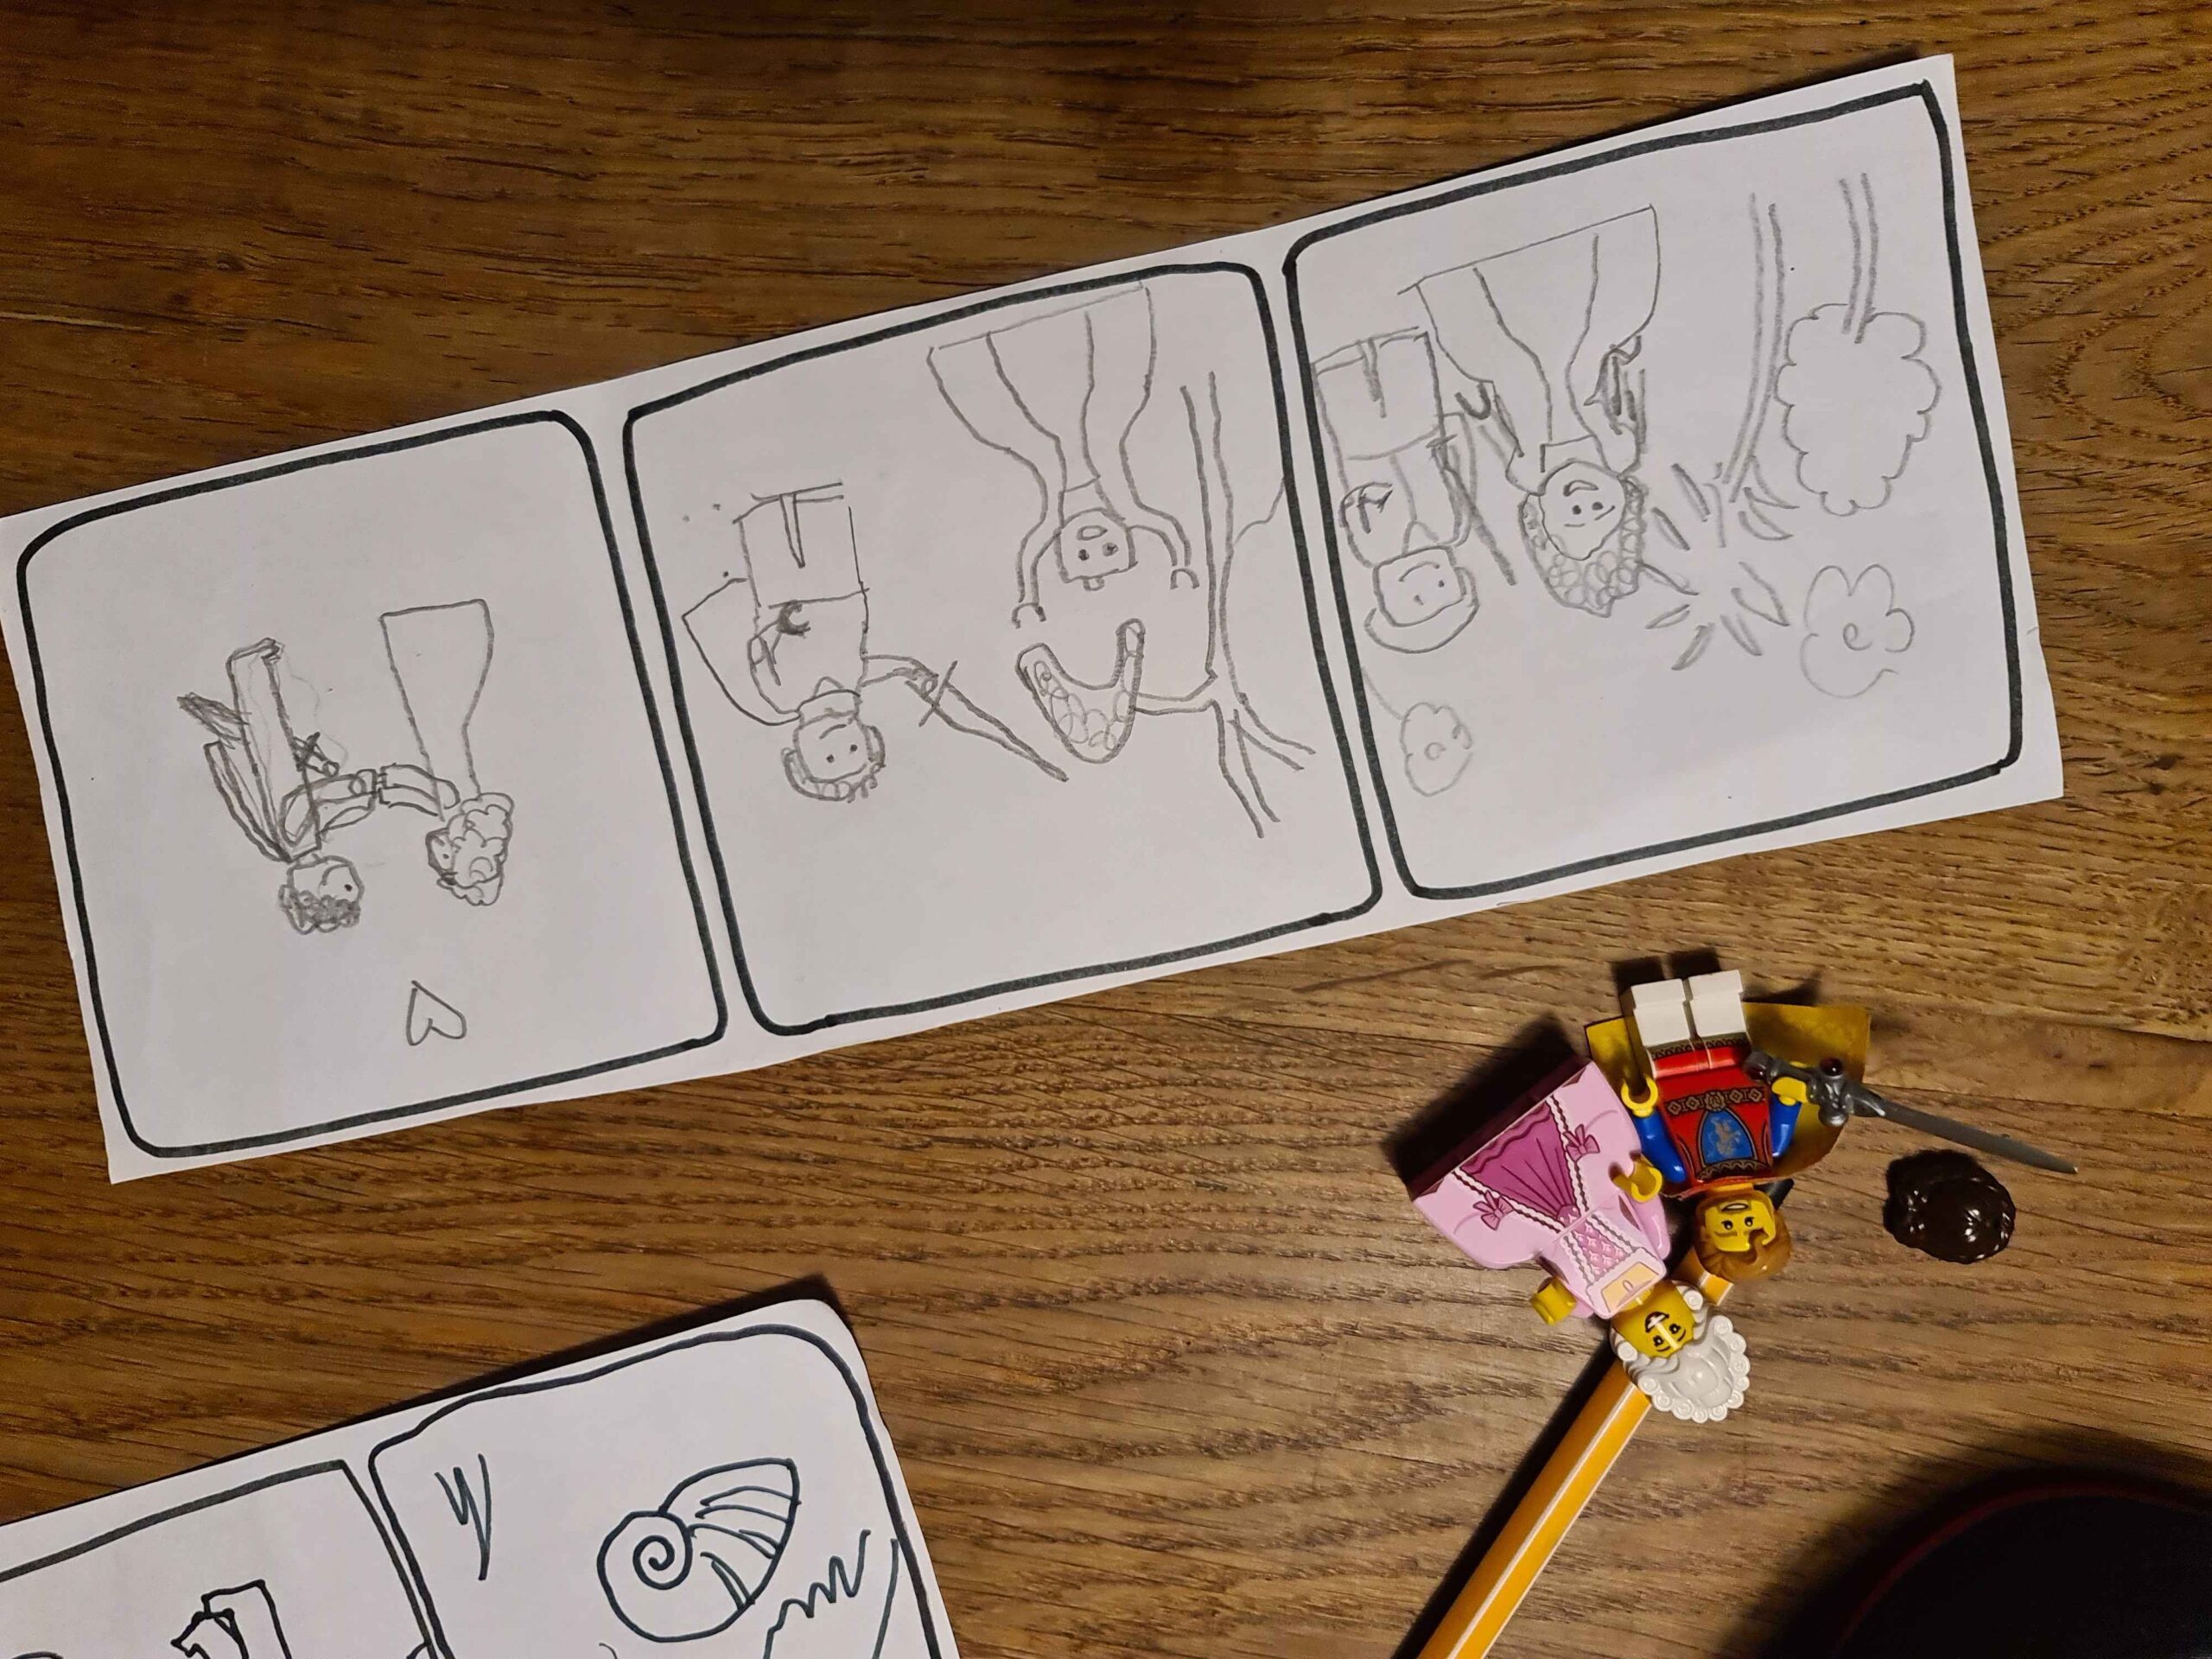

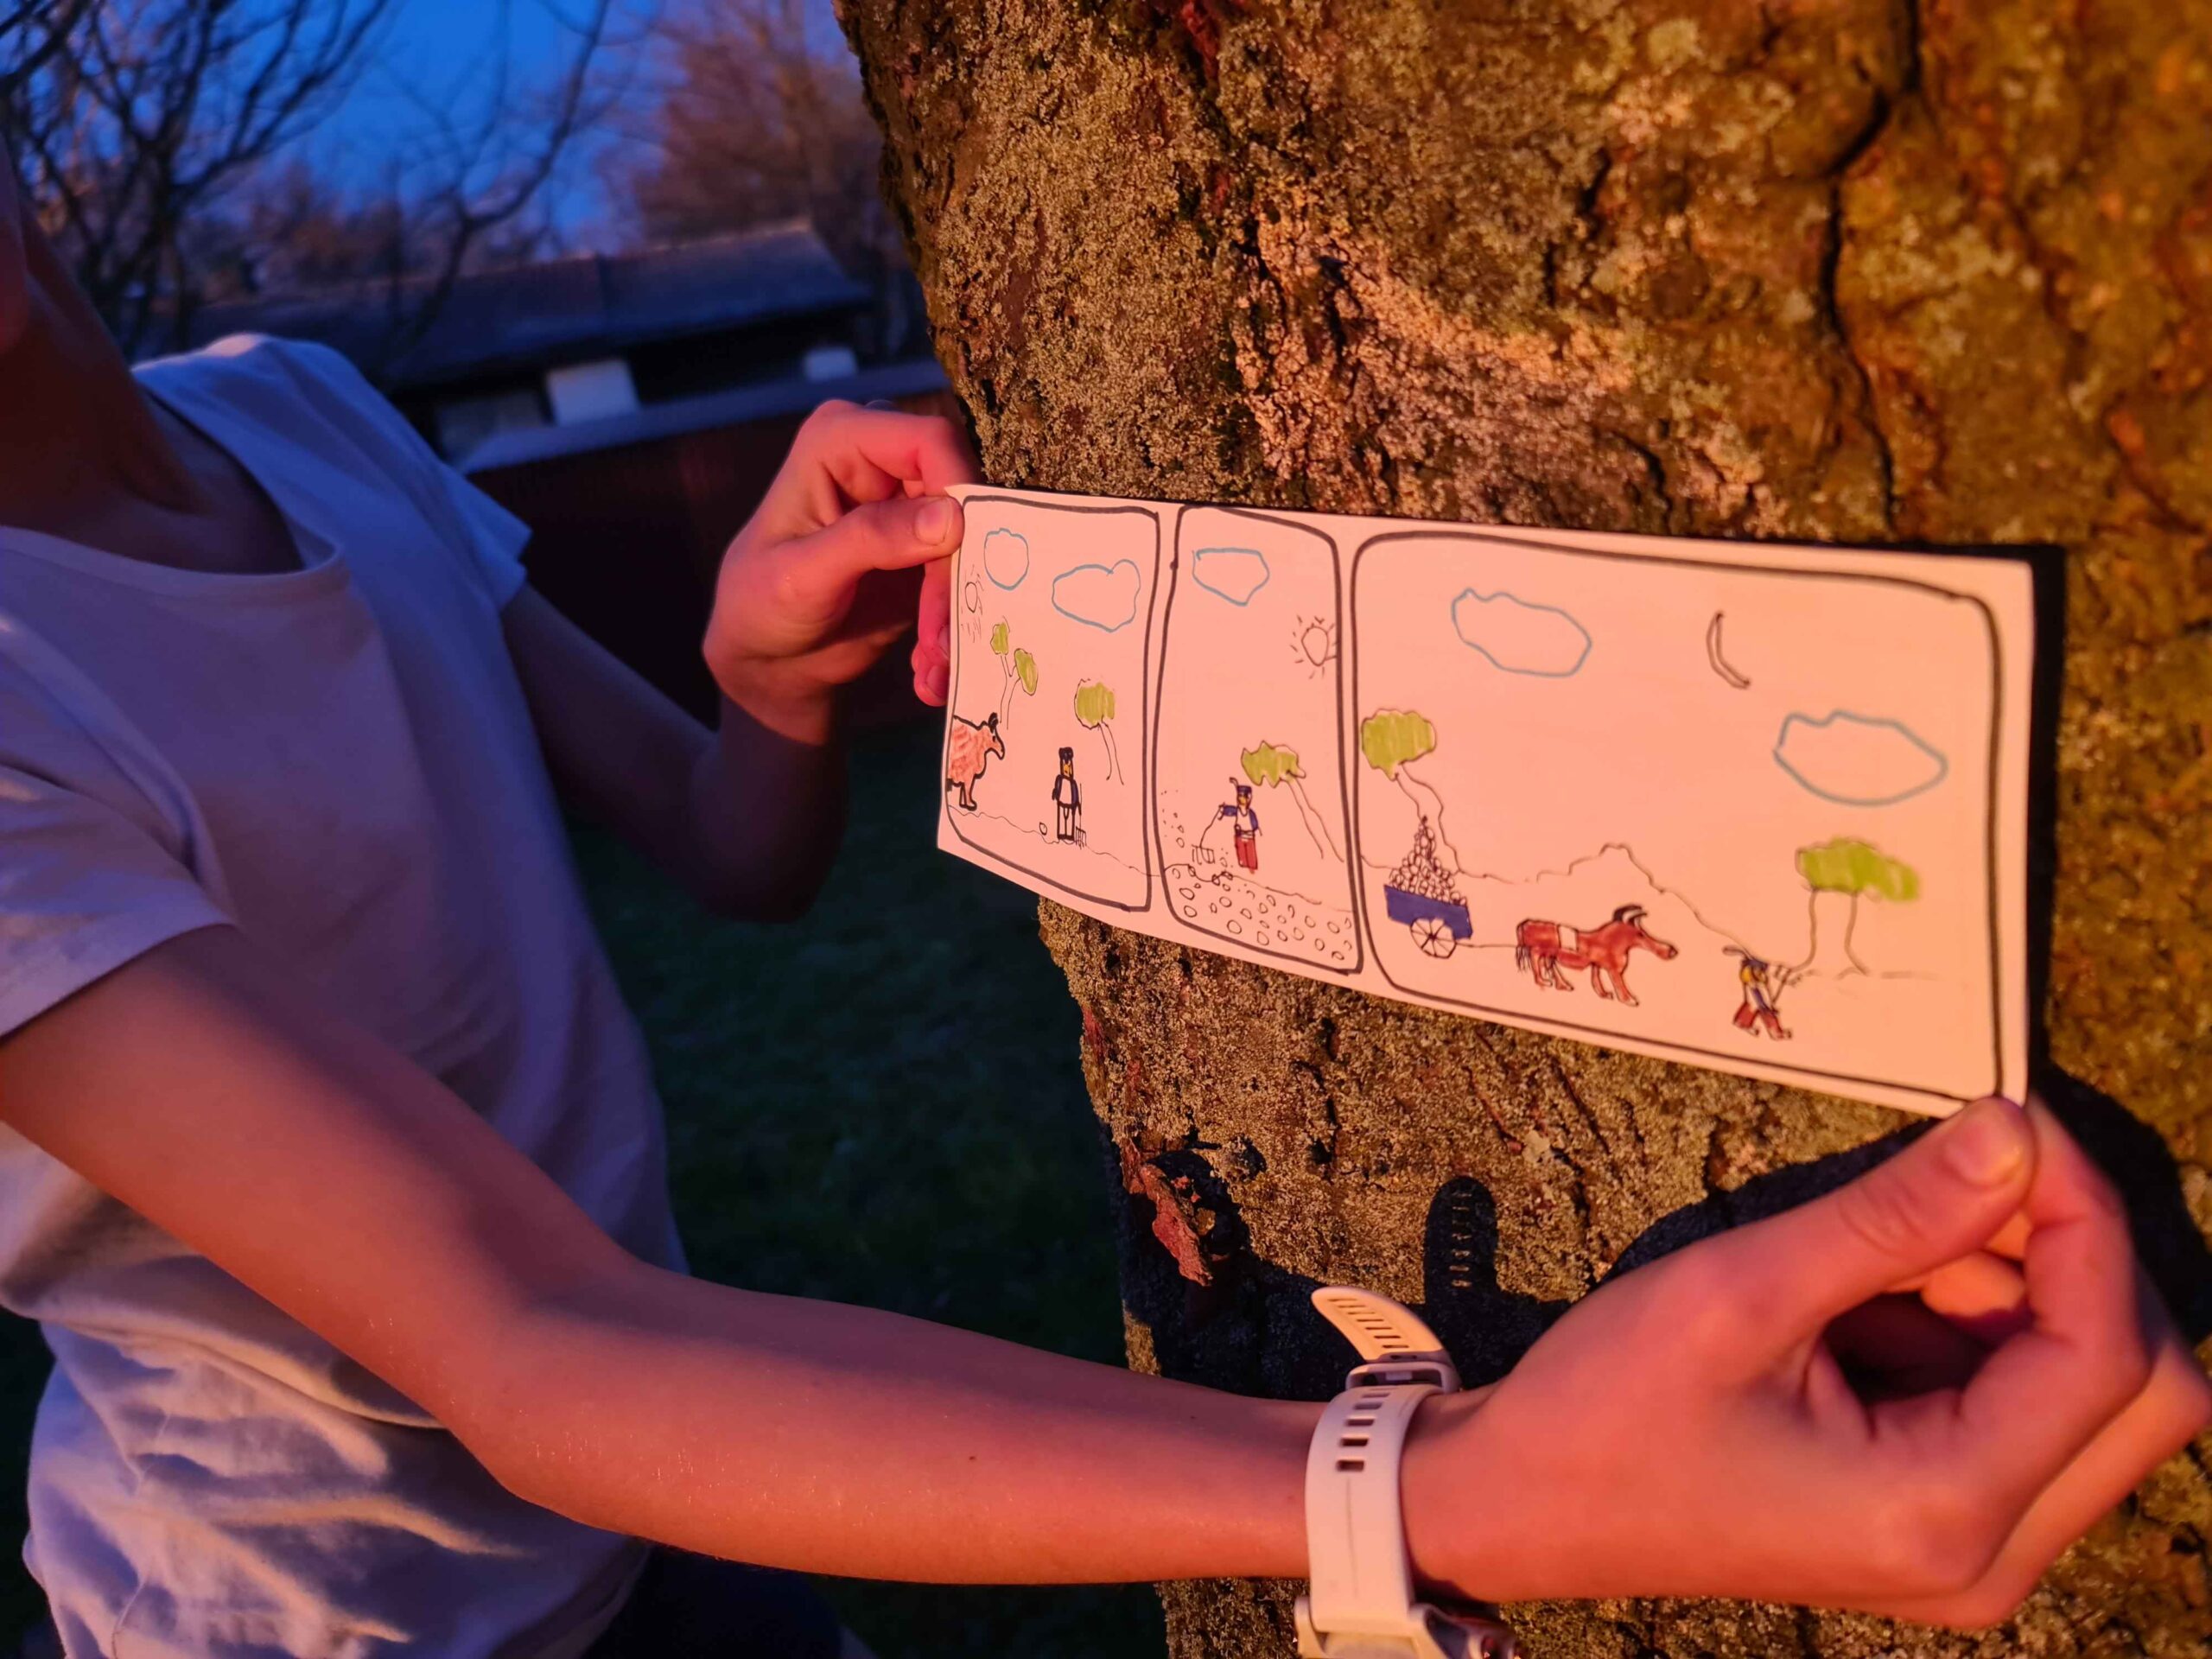
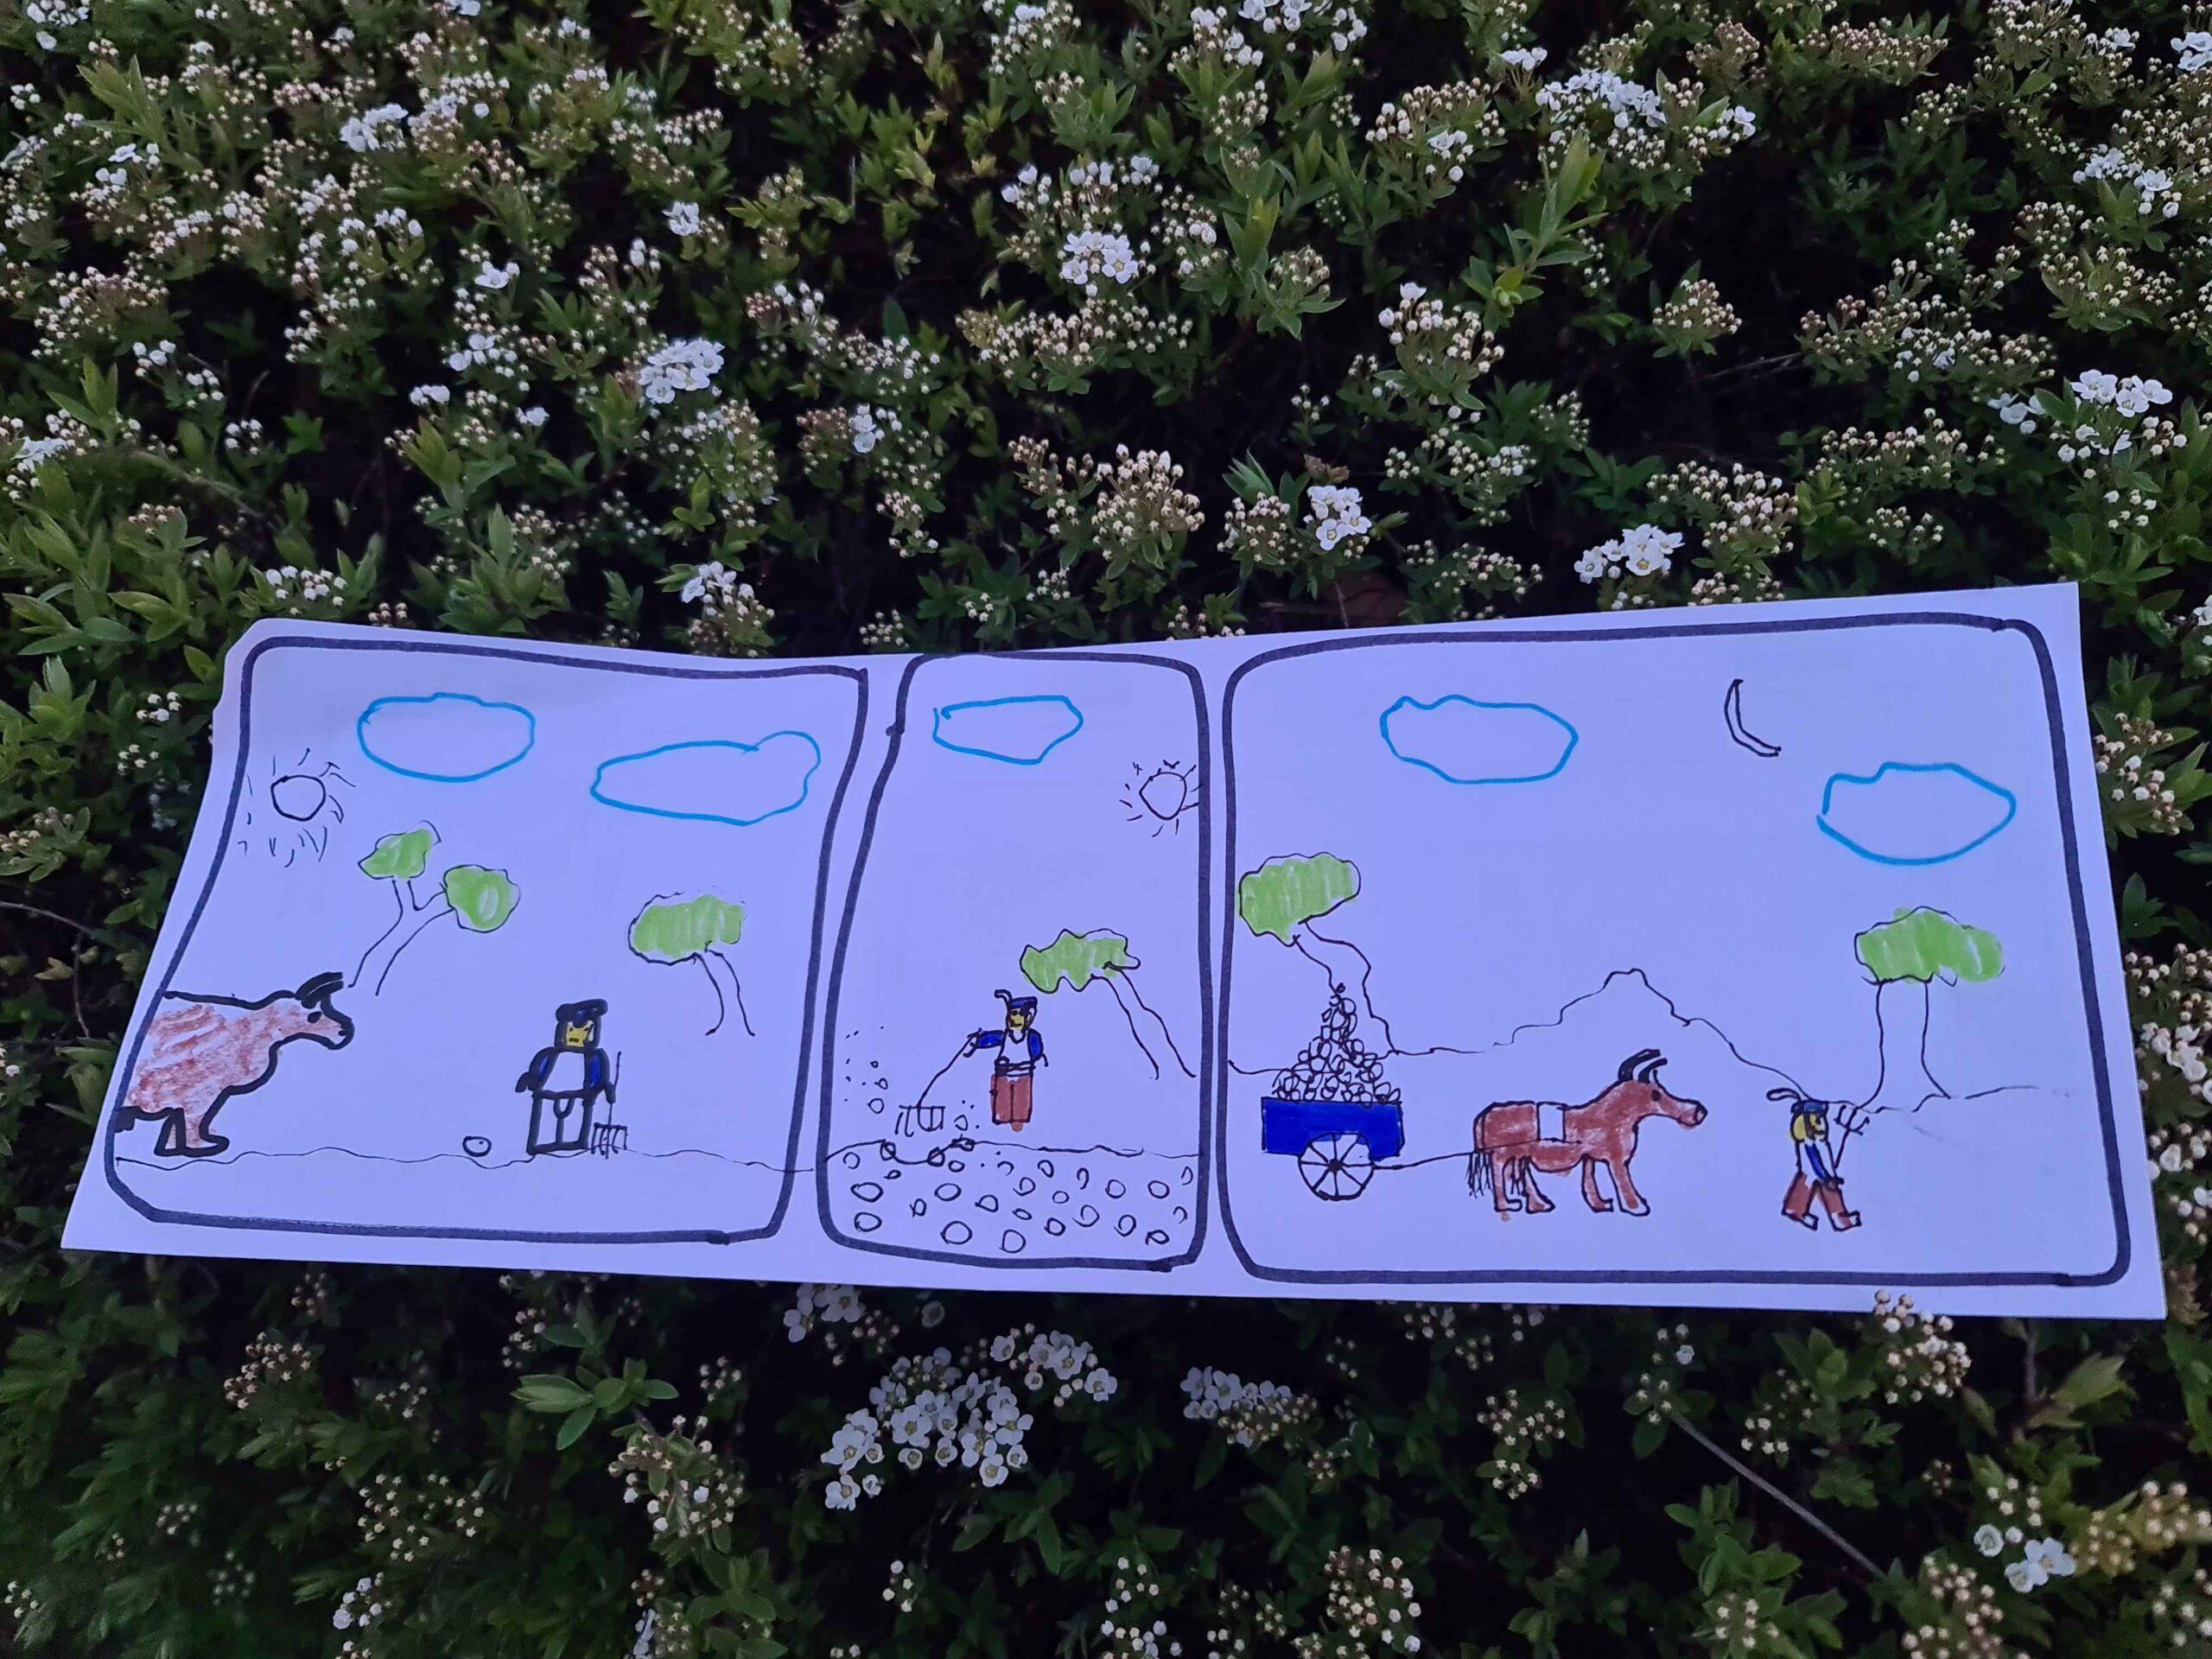
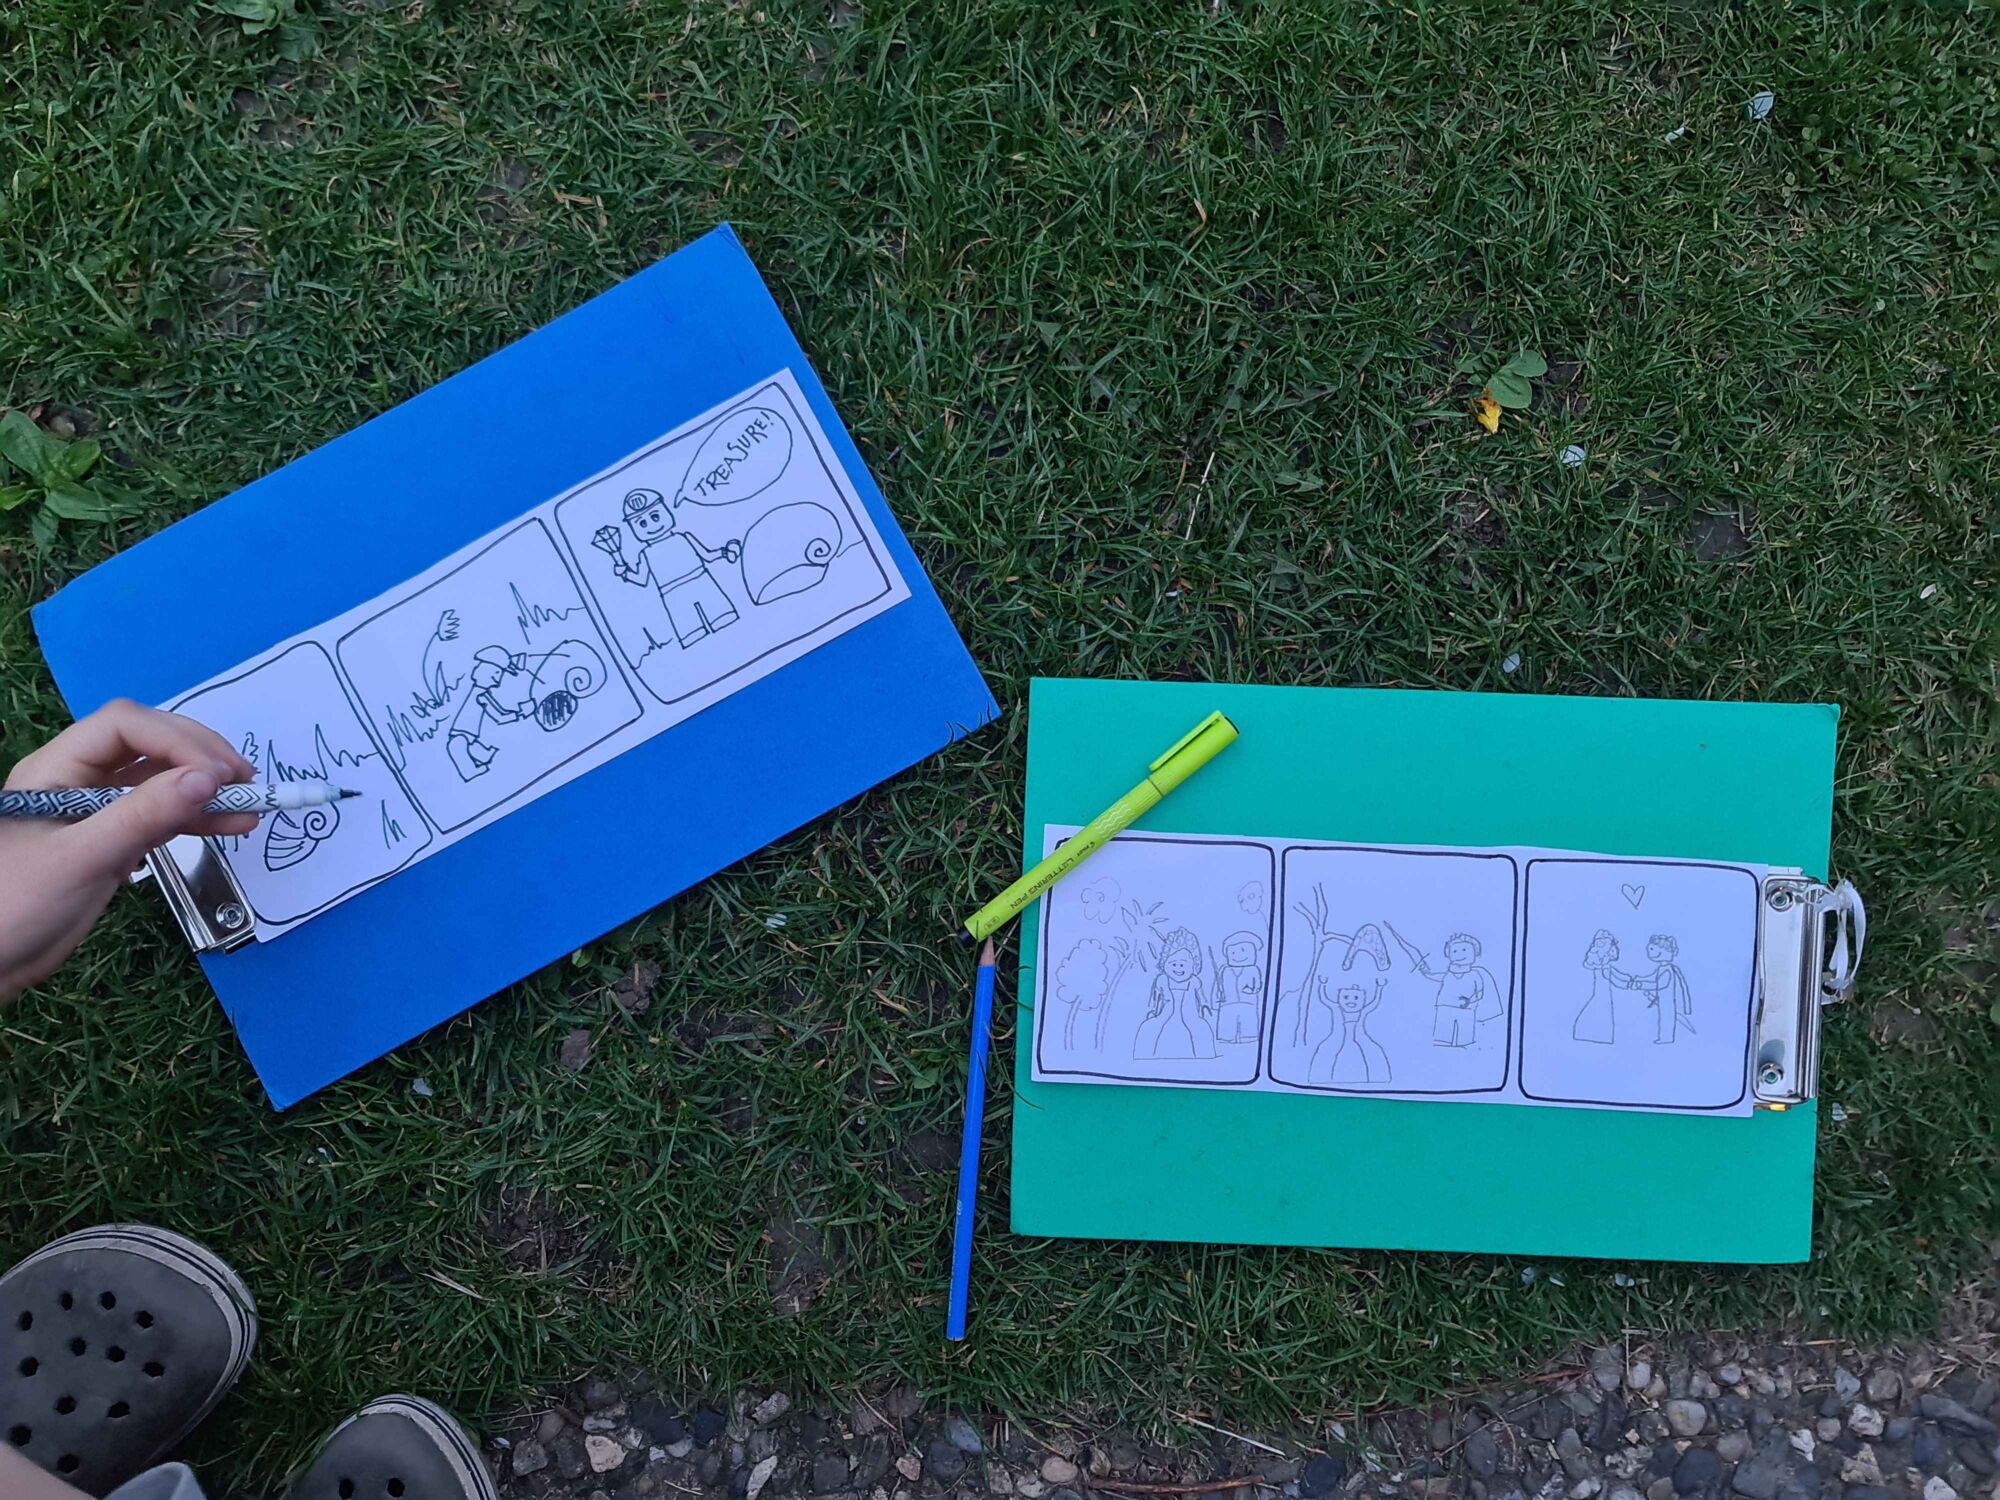

Lego outdoor comic or short film
Create an OUTDOOR COMIC or SHORT FILM with children
The theme is A story from the grass.
1. Speak with children about how films or comics are made.
2. Divide your roles - it's up to you how many roles you choose - screenwriter, artist, director, cameraman, sound engineer, costume designer, producer...
3. Create working sketches, scenarios, characters, costumes, locations outside.
4. Look for suitable places, light, natural materials, actors, and props.
5. Create a comic or make a short film.
6. Share your outputs with others
7. Reflect = give supportive feedback for each comic or movie.
a) find what makes the film/comics unique and what award it would receive at the Oscars.
b) offer an idea, (not an improvement), that the creators can make even better.
(8.) Share with us on FB, IG, or by email.

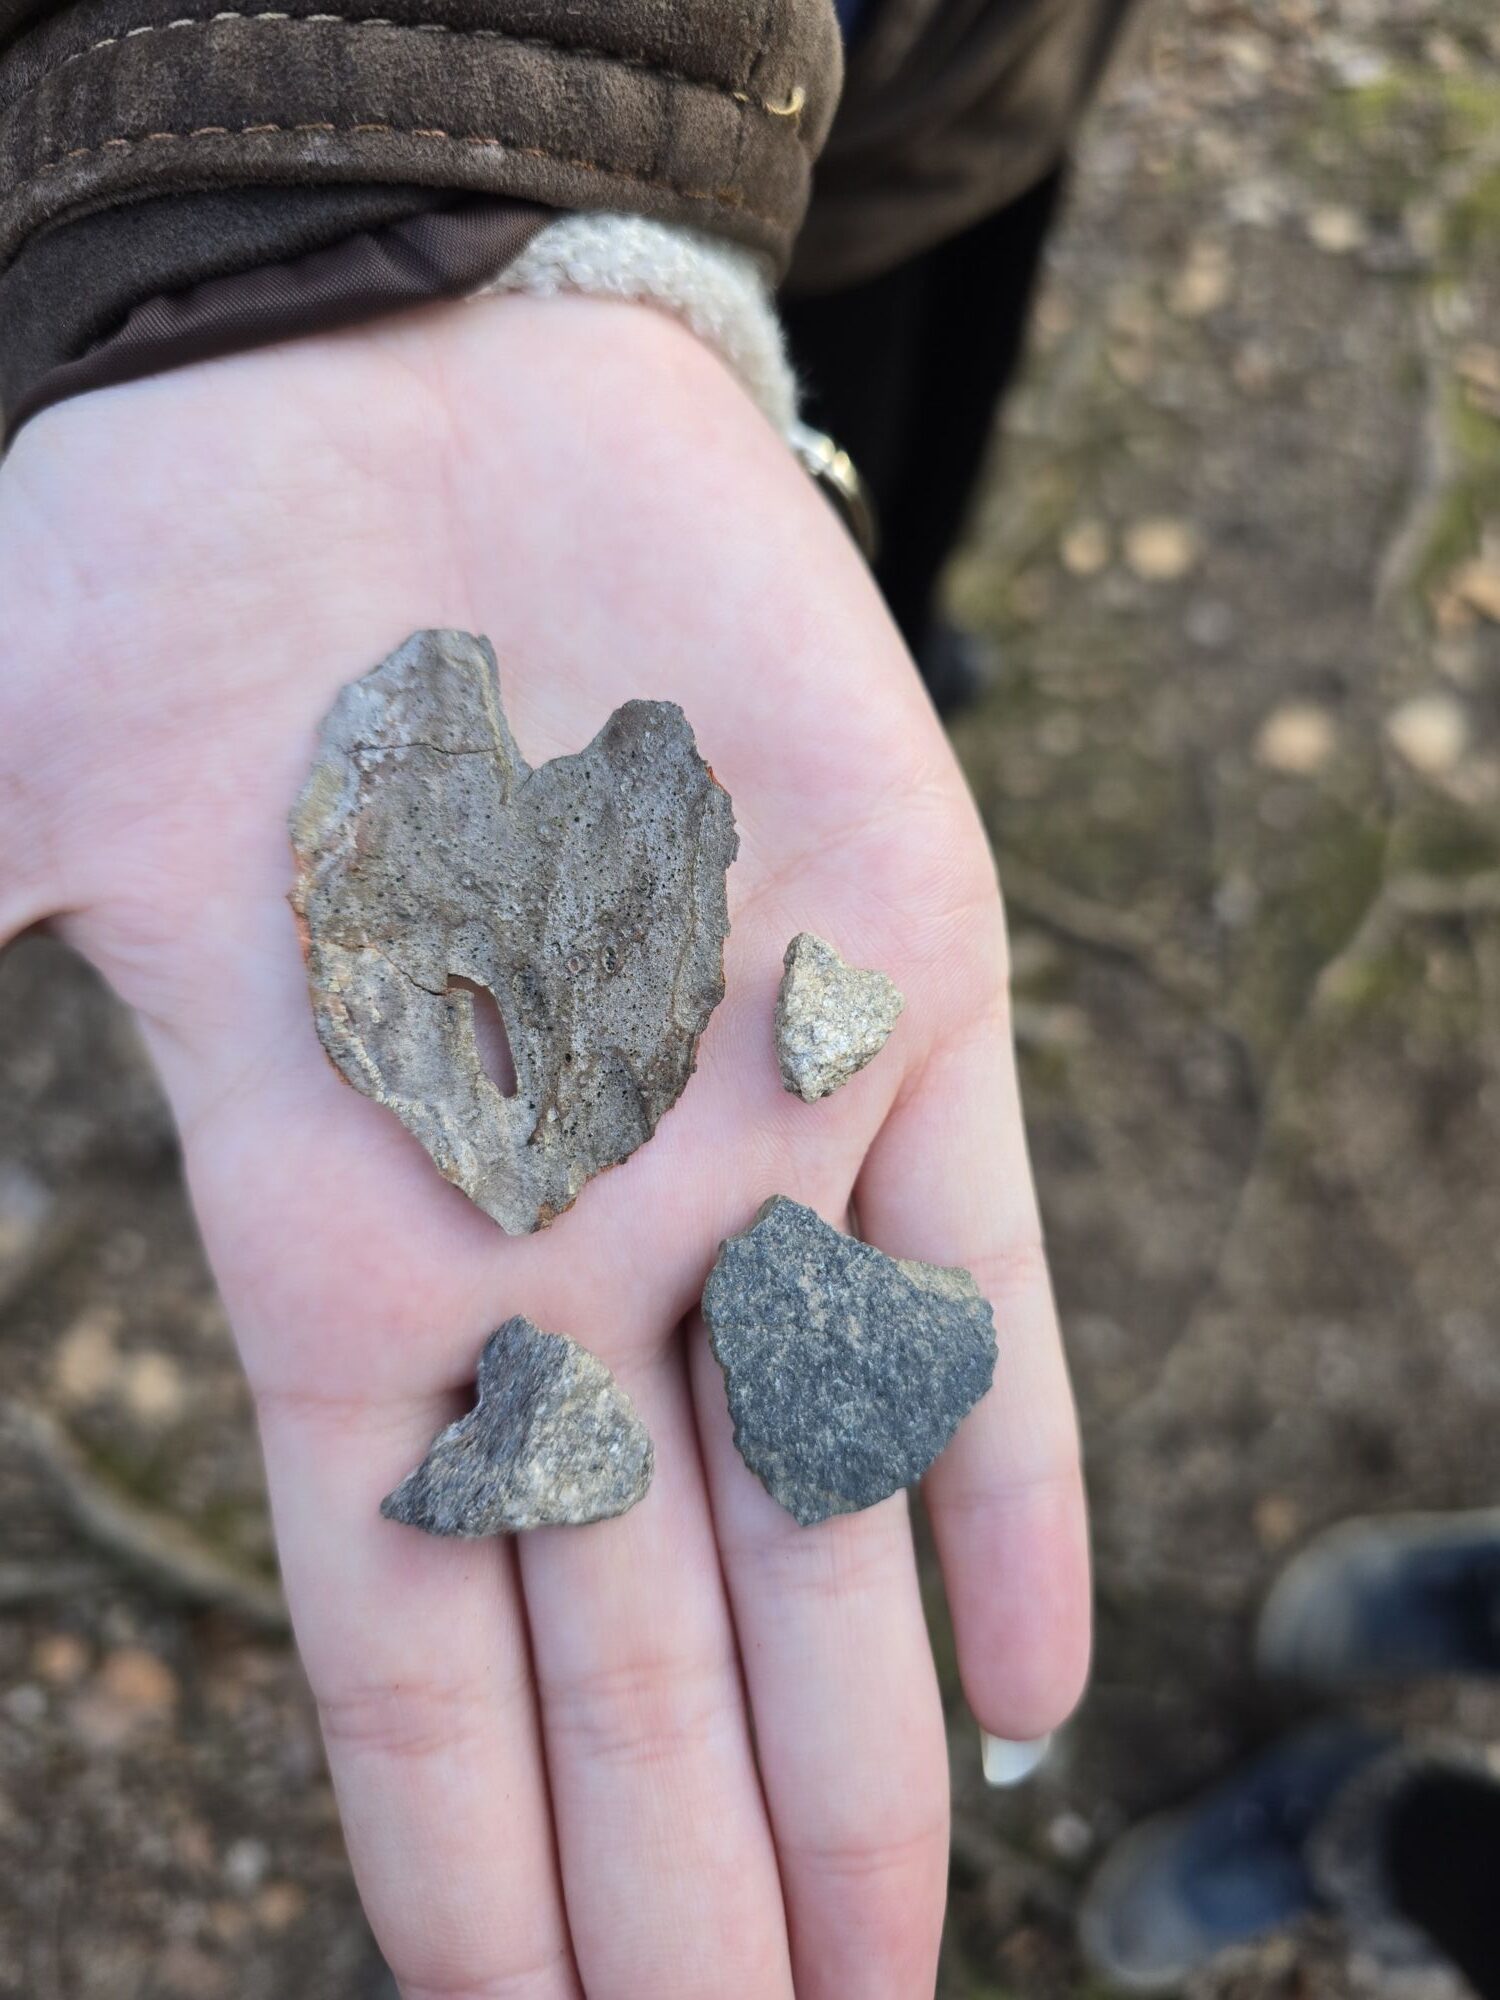
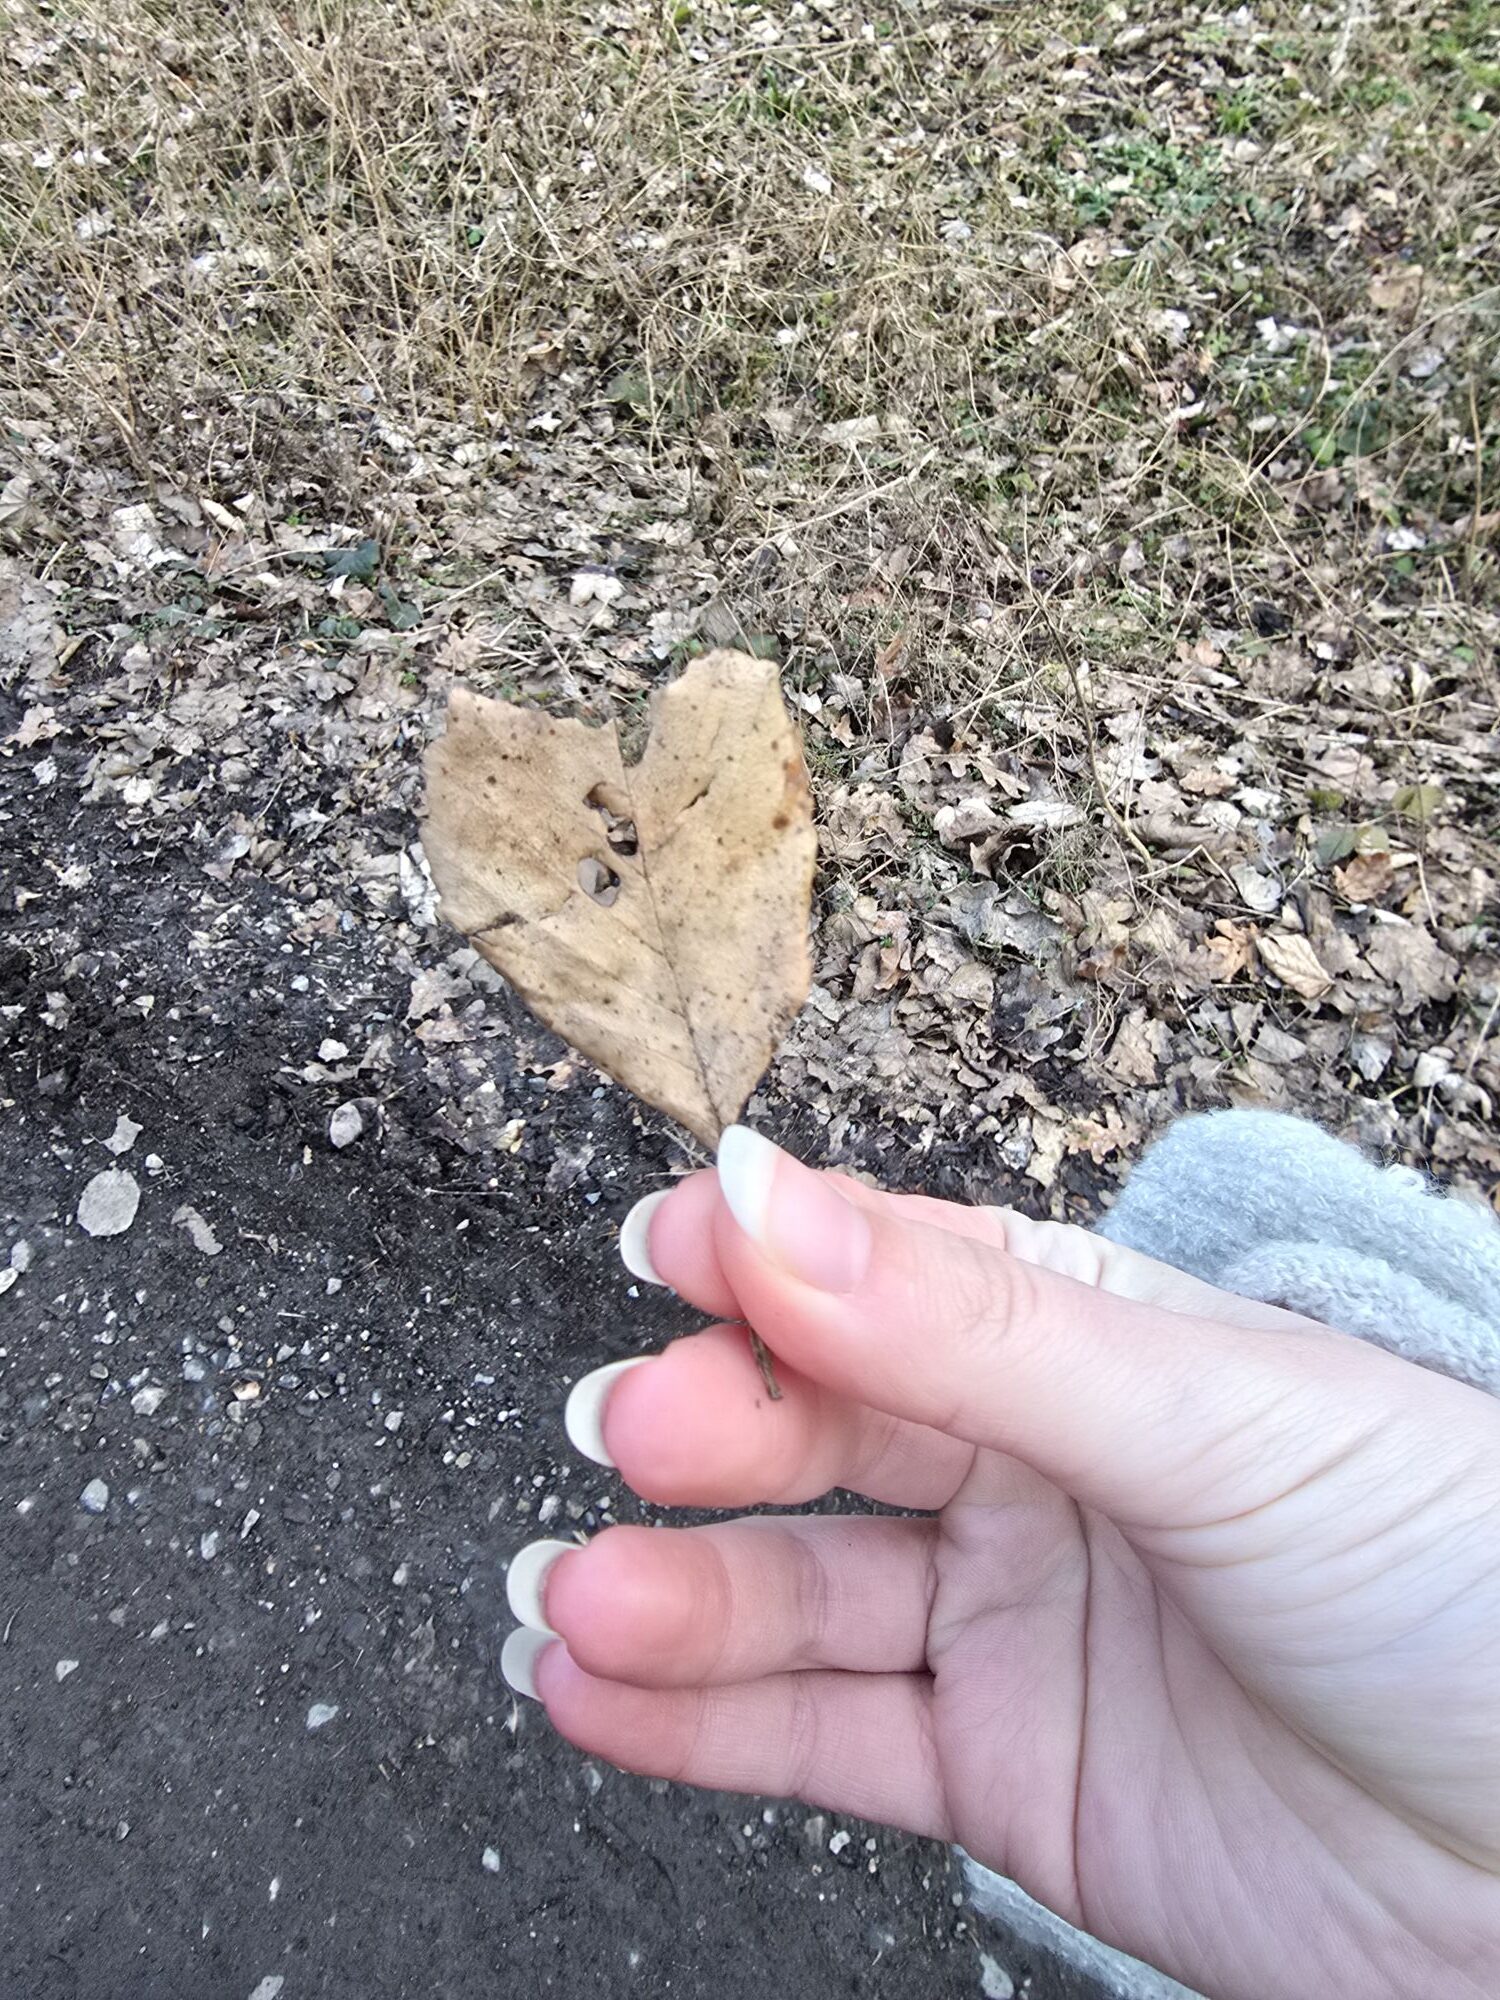
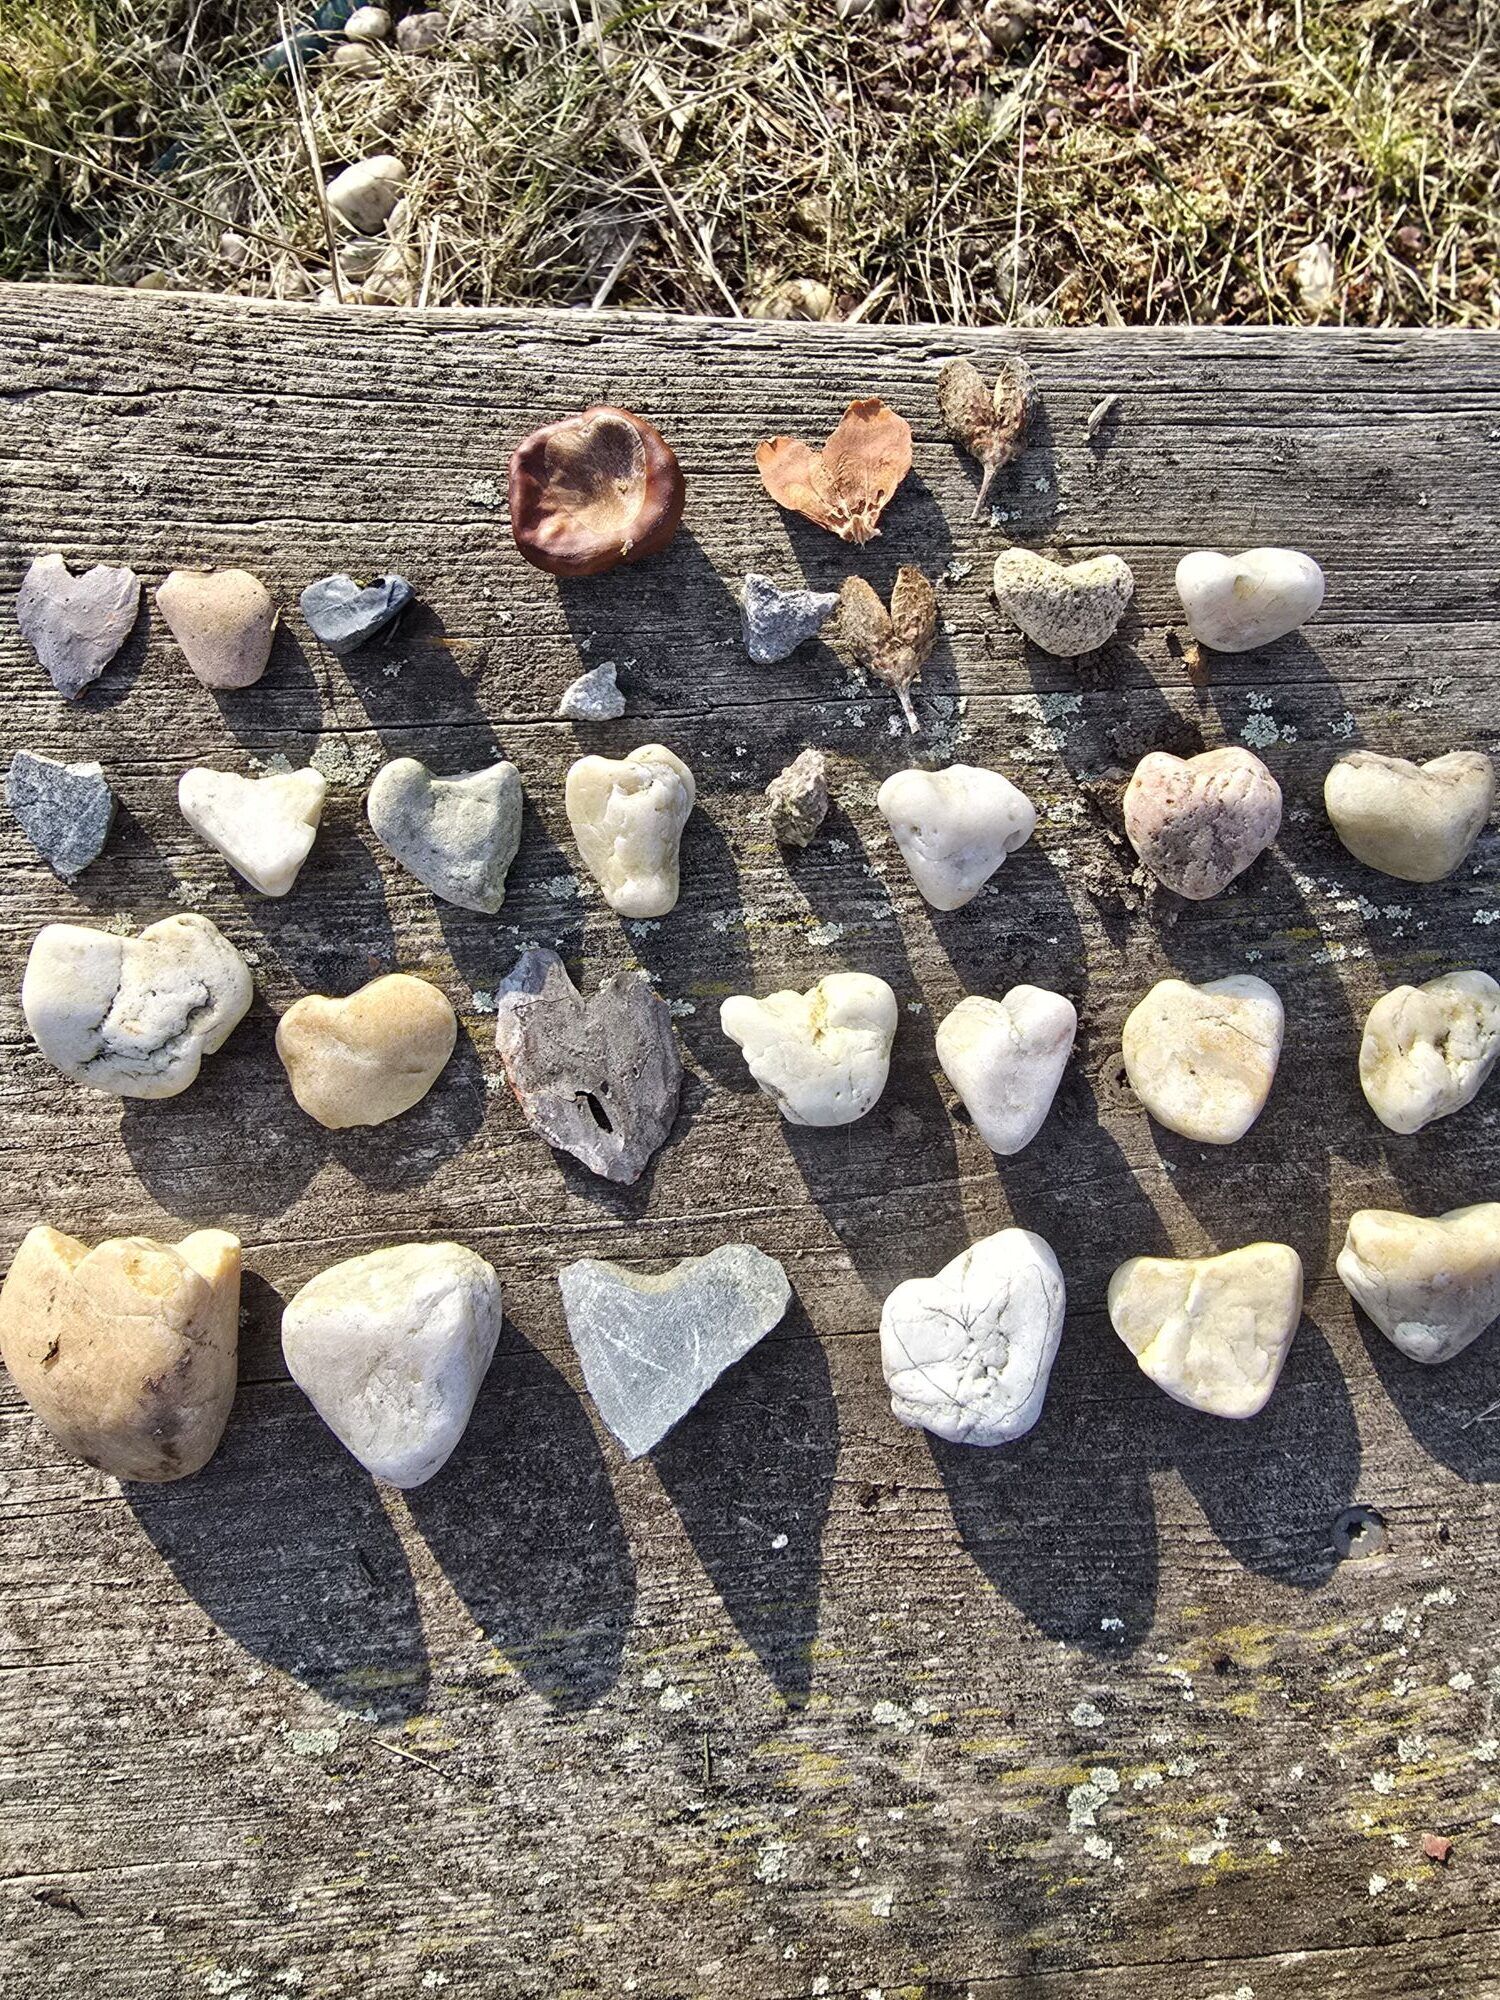
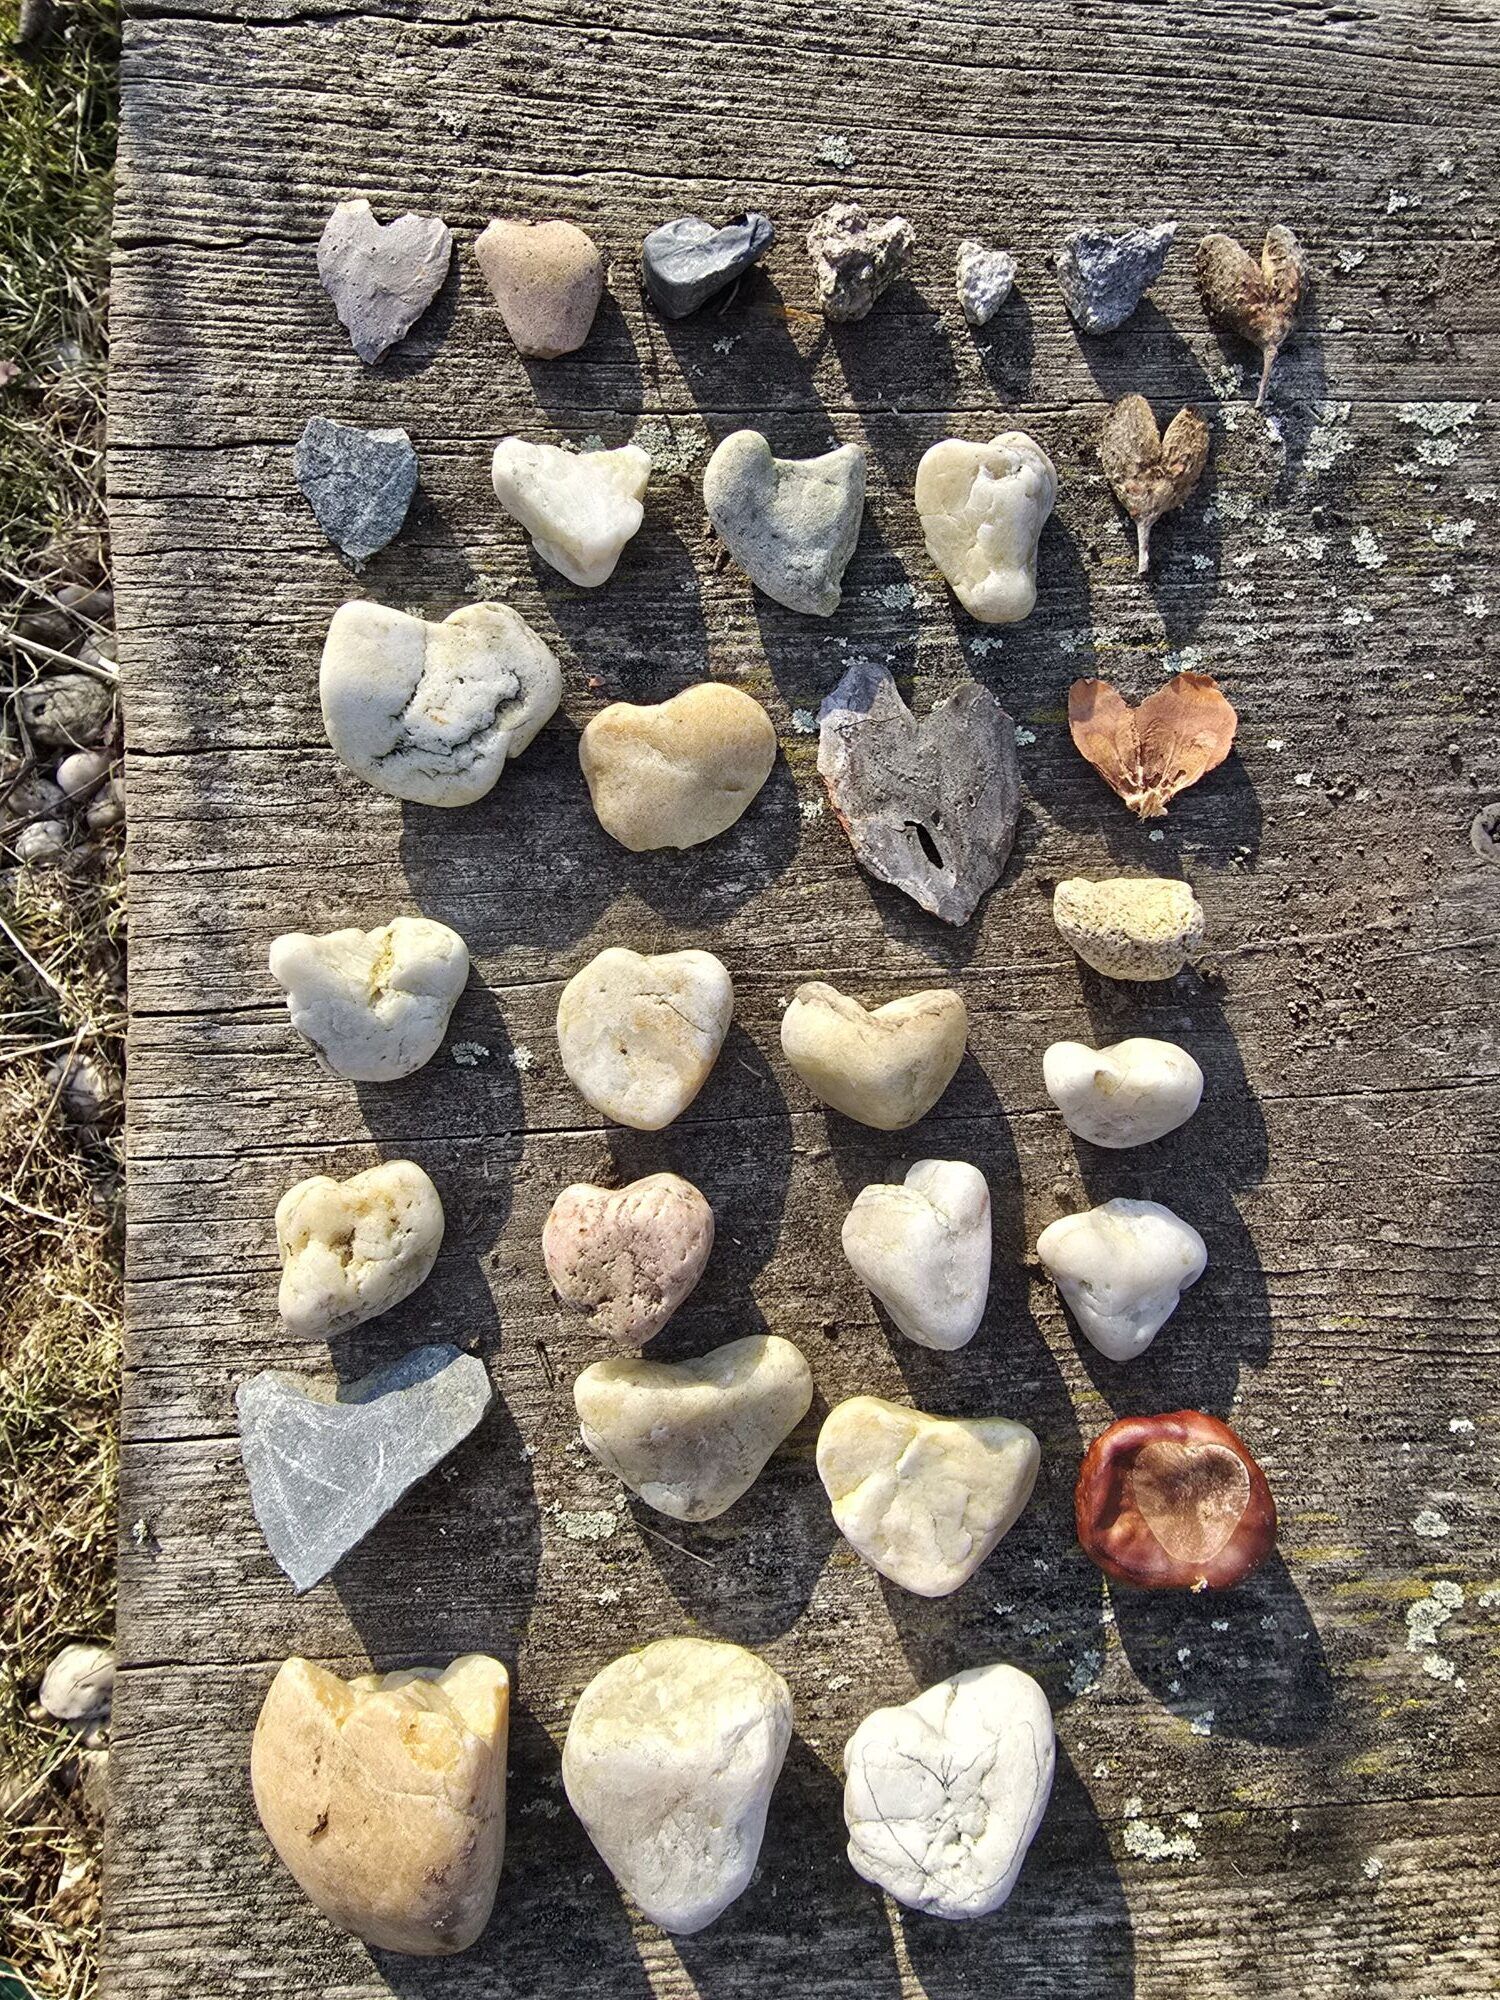
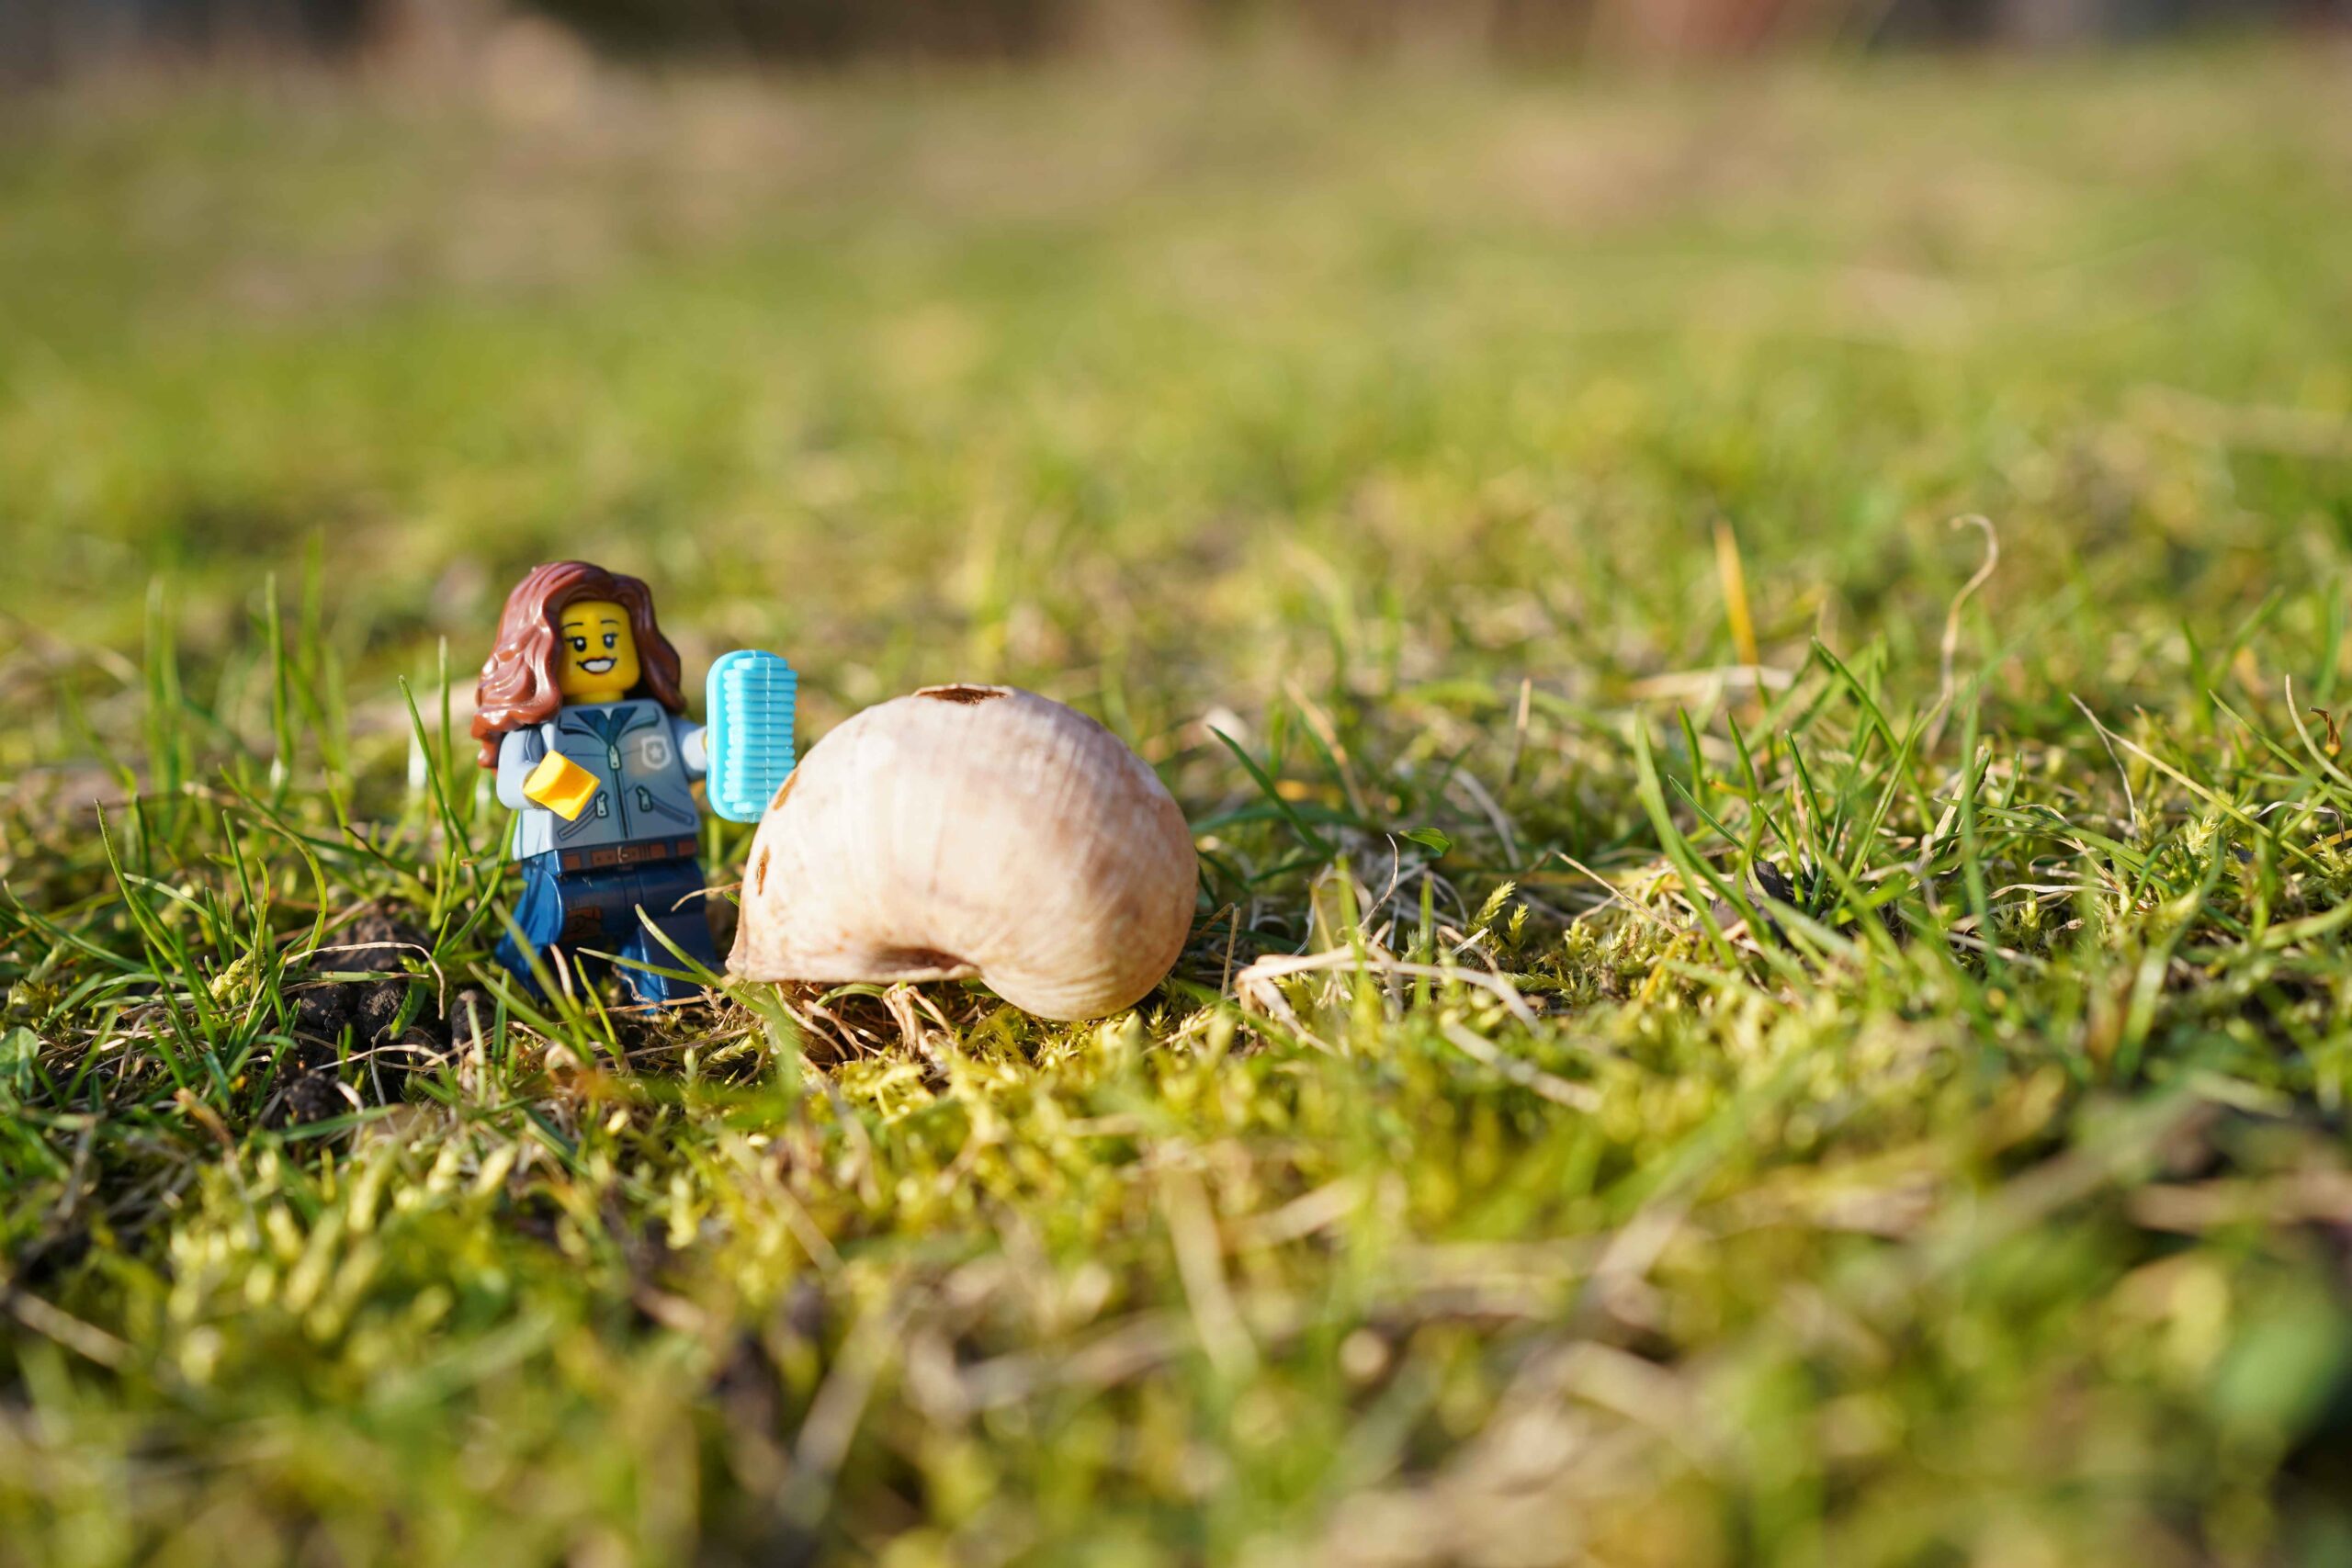
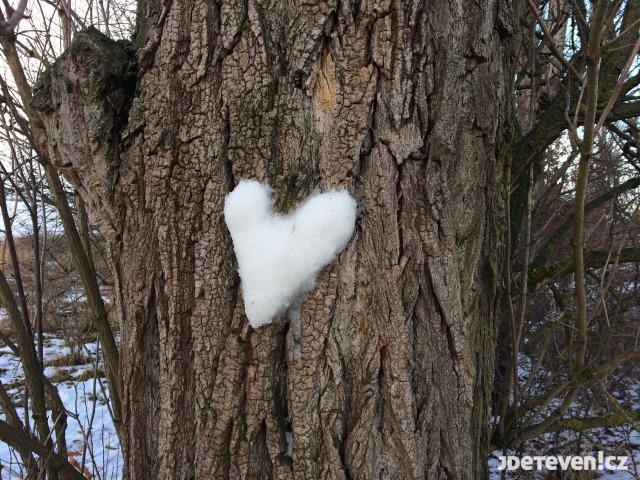
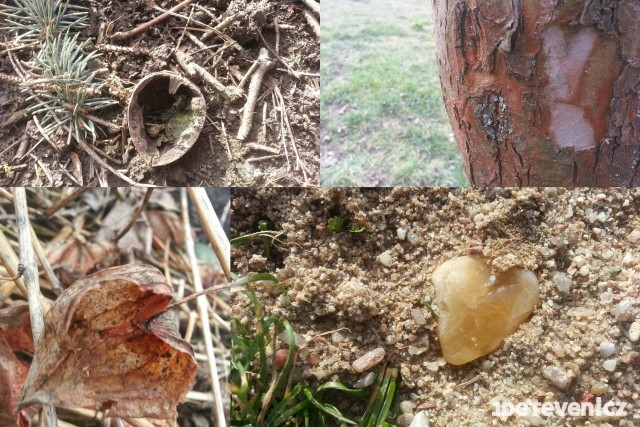
Quest for Hearts
Try slowing down even more during your nature walks (not only around Valentine’s Day) and focus on the details. Test your eyes and your imagination: where can you find the shape of a heart?
What you’ll need:
- a slower pace
- sharp eyes
- a pinch of imagination
How to do it:
Feel free to set out on your favorite walk — somewhere you know well. Or head out into the wild. A park, a garden, or trees along the street work just as well.
The challenge is simple: find natural objects that remind you of the shape of a heart. These can be stones, sticks, leaves, tracks, shapes on tree bark, beechnuts, walnuts, shells, and so on. You can take photos, record videos, or draw what you find. You may borrow a few heart shapes and take them home to enjoy. Then return them to nature as the treasures they are.
Don’t forget to invite the people around you to join in on a similar heart-shaped hunt.
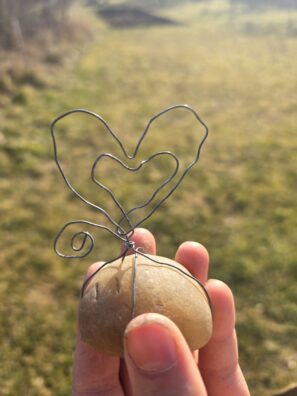
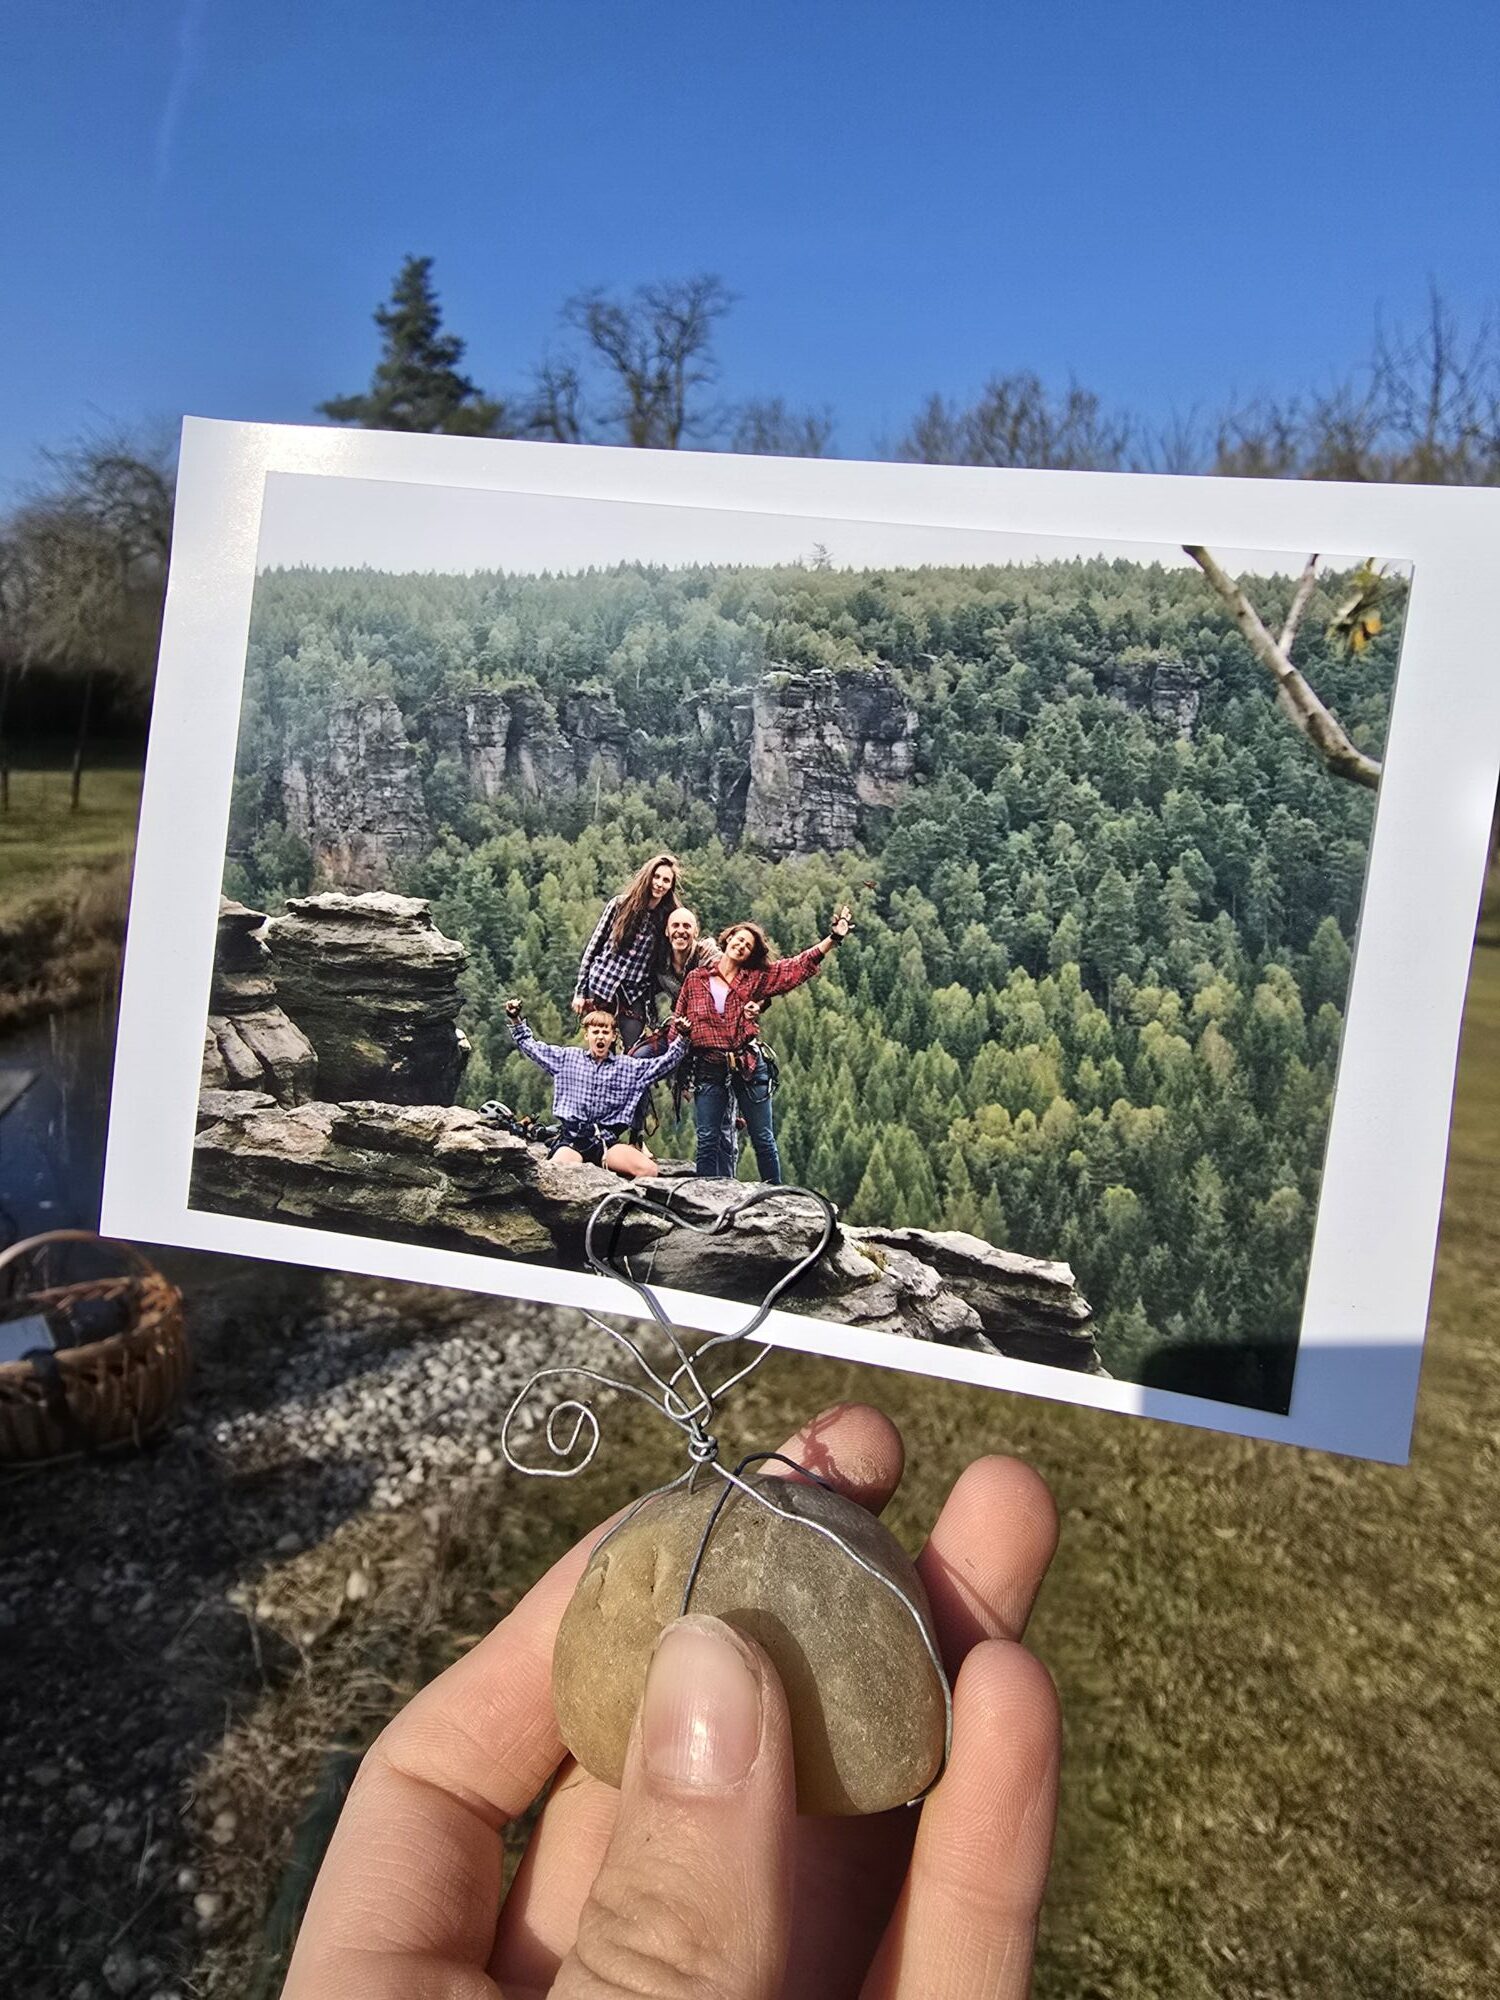
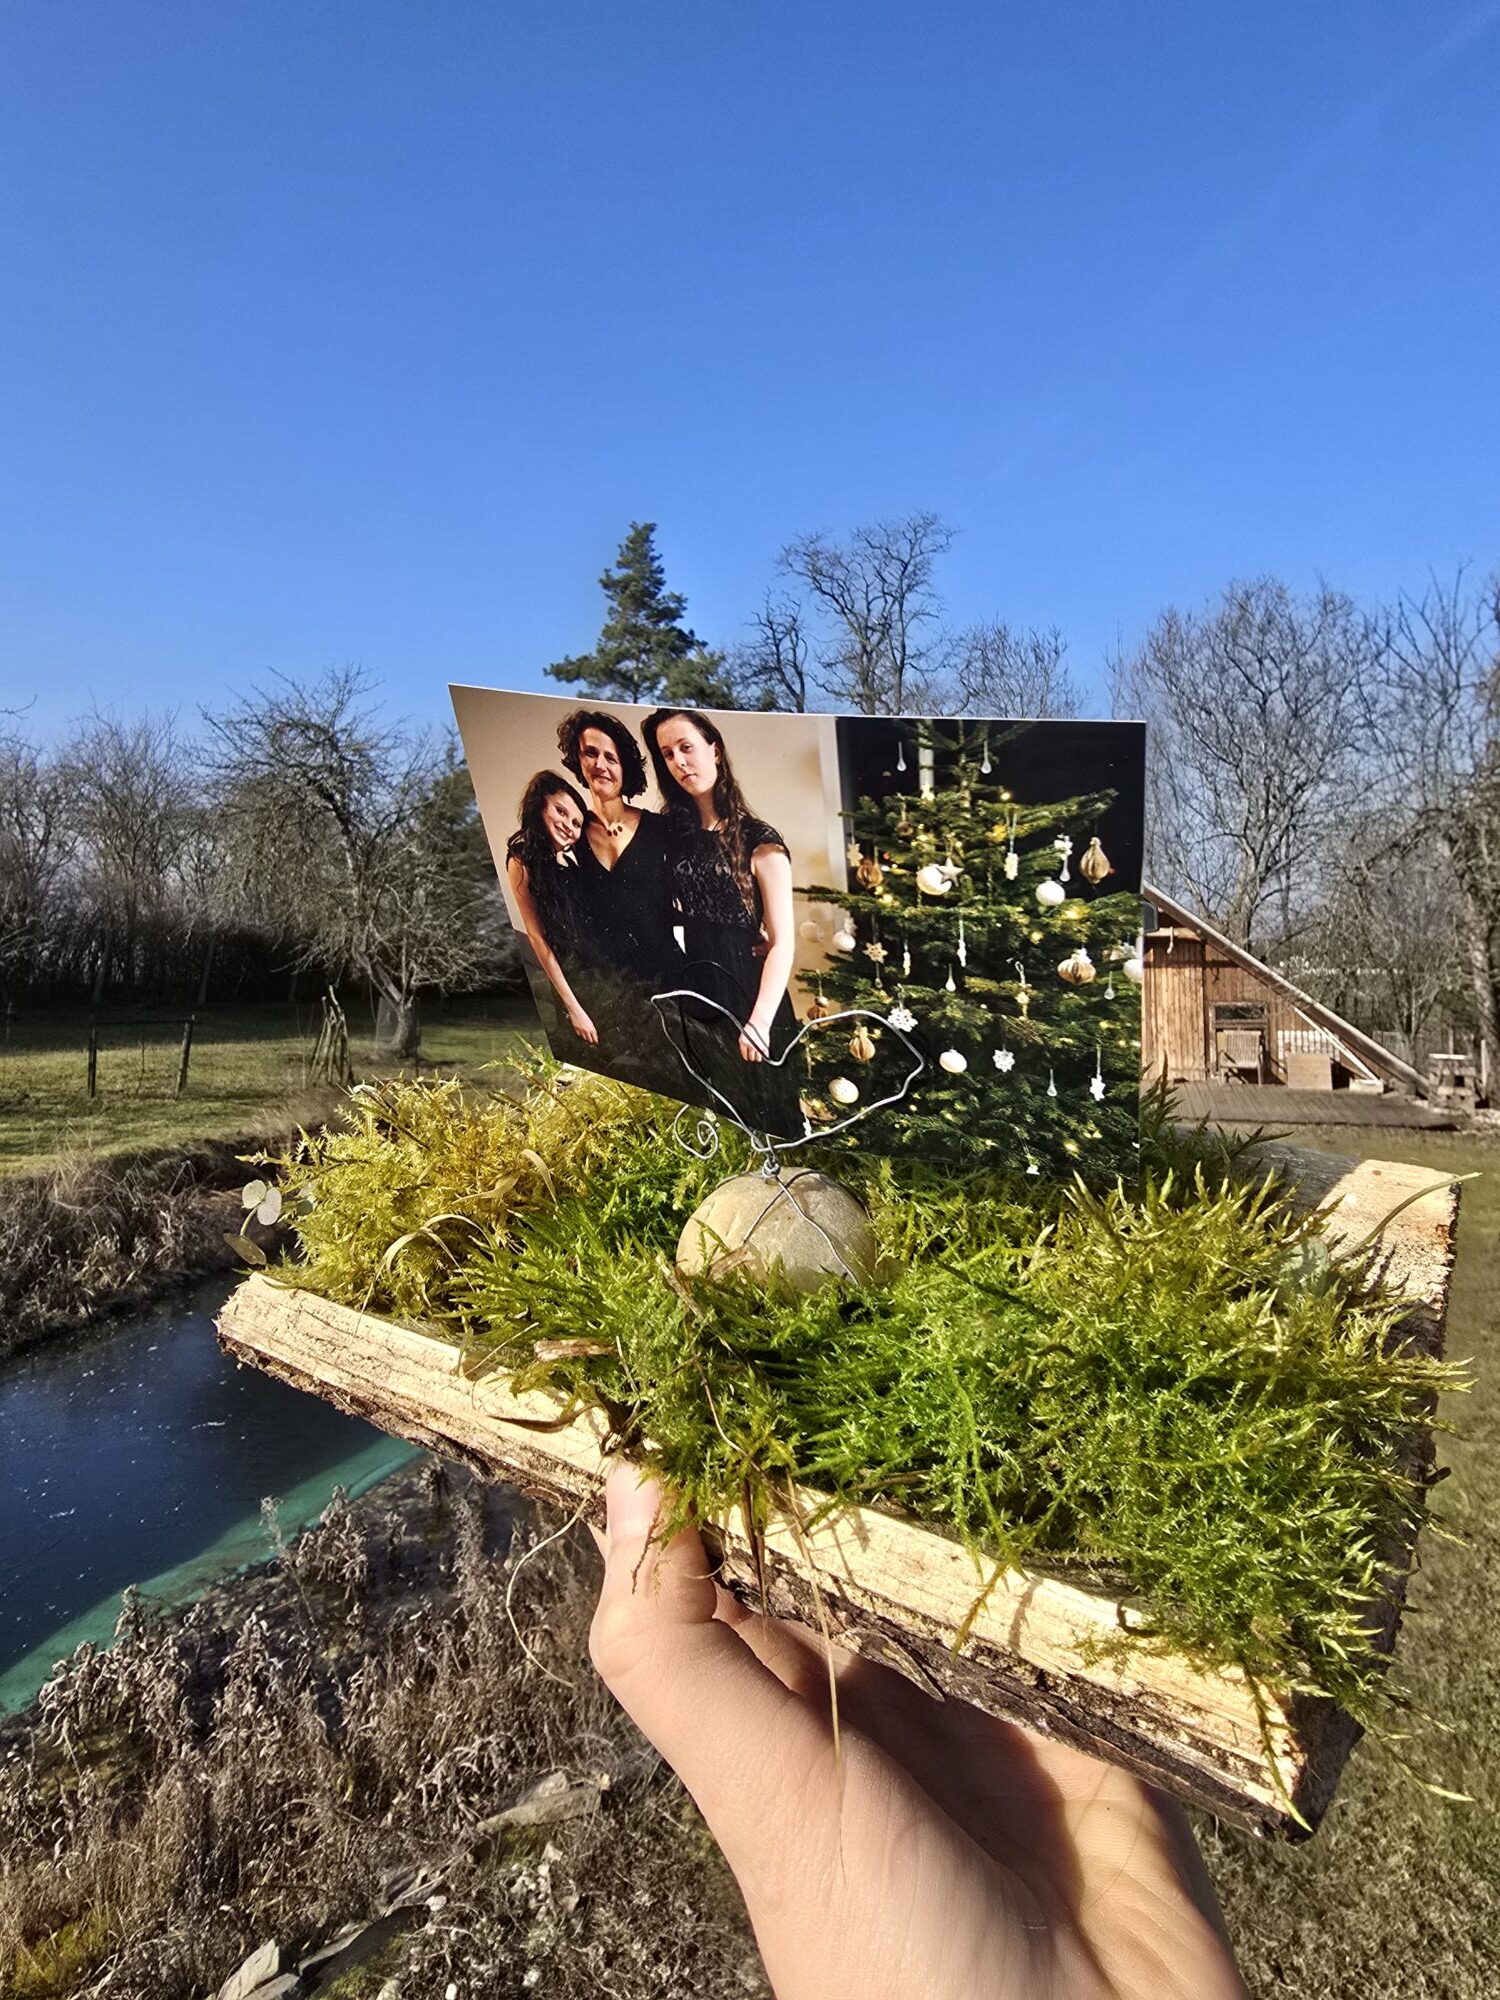
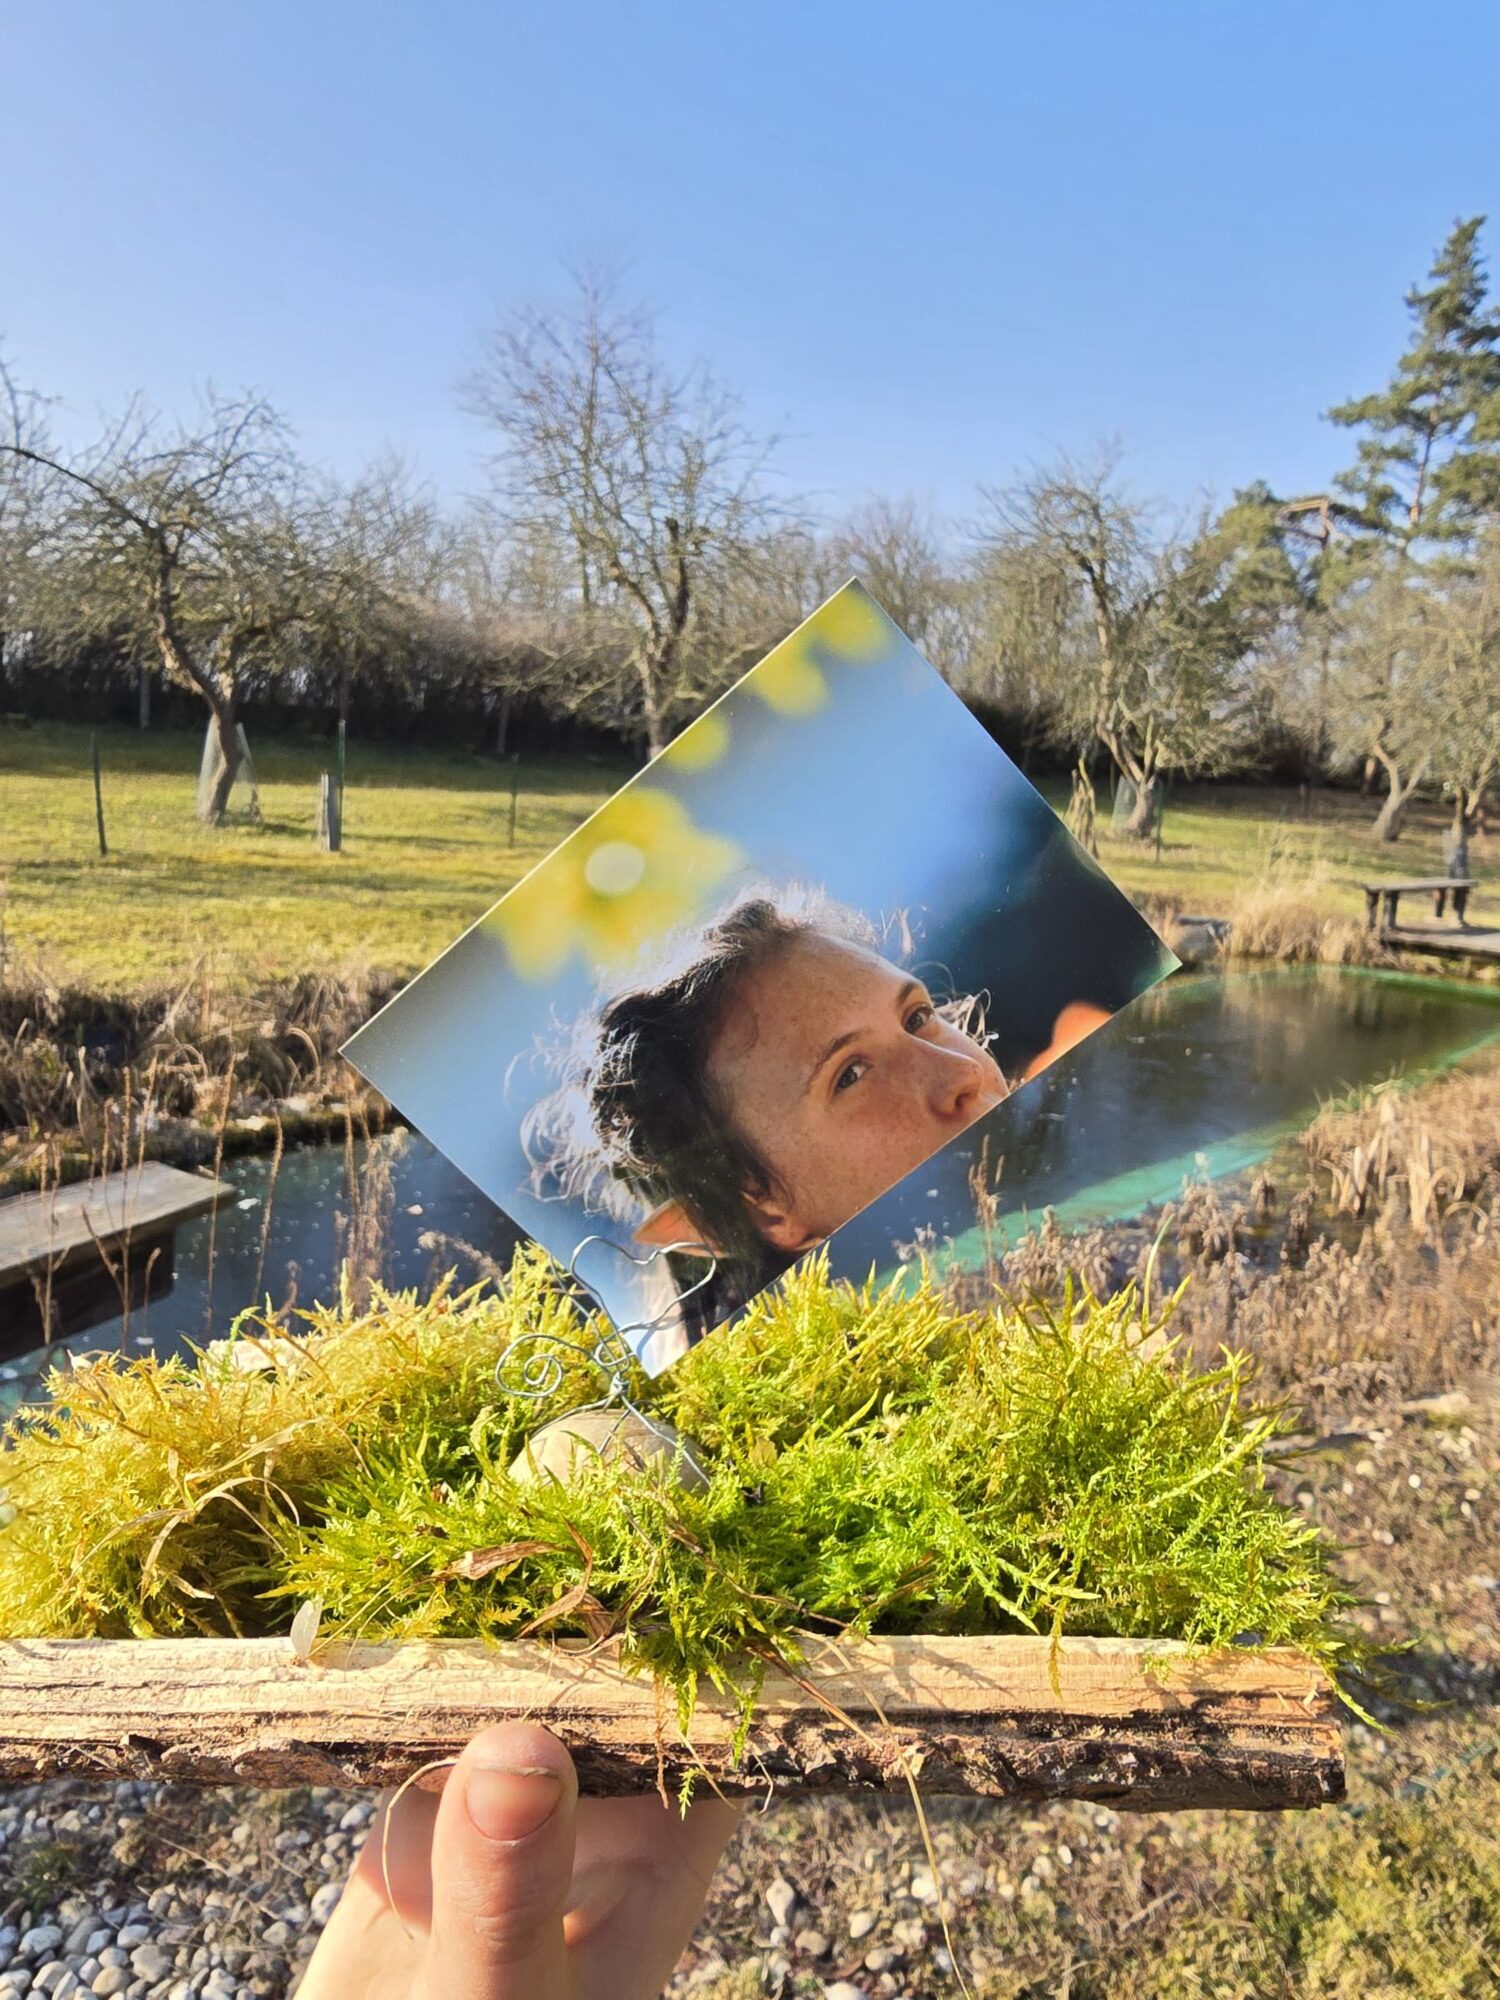
Stones in Love
Have you found a beautiful or interesting stone? And would you like to give it to someone — maybe even to yourself? All you need is a small piece of wire and a message, photo, or picture.
What you’ll need:
a medium or larger stone
wire for wrapping
How to do it:
Take a look at the stone you found and try out which side looks the nicest and which side is the most stable. Find the position in which it stands best without tipping or falling.
Then wrap the wire around the stone — once, or preferably several times. Twist the end of the wire above the stone. You can form a spiral or one or more little hearts. The wires should be able to hold a small message, photo, or natural object.
TIP: If you like, you can place the stone or stones on a plate, in a bowl, or on a piece of wood. Line it with moss and present the whole piece as a beautiful little oasis of nature — a perfect invitation to go outside. After about a week or a month, you can return it back to nature.
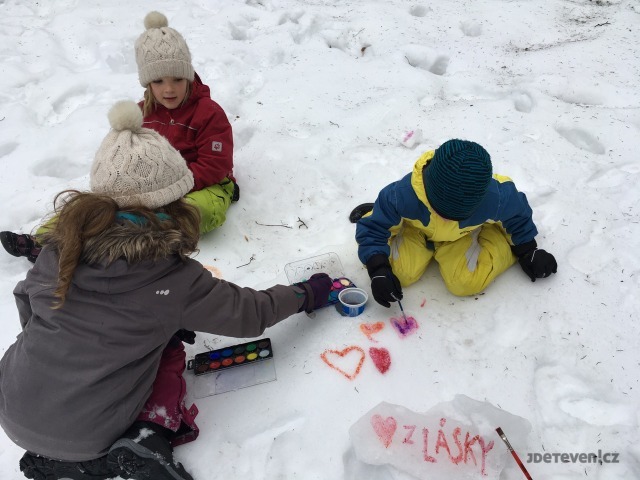
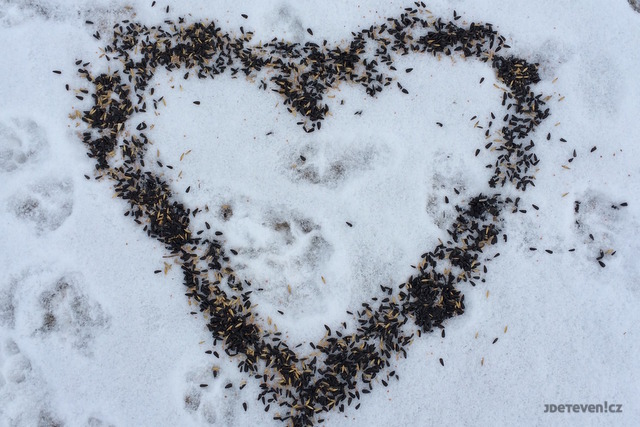
Nature in Love
Let’s celebrate love playfully outdoors, not just on Valentine's Day
Celebrate love with joy, play with the heart symbol, and warm yourself, your loved ones, and the February landscape with a pinch of affection. Over the past few years, we’ve tried different ways to create hearts outdoors. Try some of our simple tips for enjoying the celebration of love outside. And feel free to dive in anytime — it doesn’t have to be on Valentine’s Day.
1. HEART-SHAPED WALK
During a walk or a trip, focus your attention on the shape of a heart. Look among stones, in tree bark, in moss, on plants… You’ll be surprised how many hearts you suddenly spot around you.
2. LOVE NOTES
Create snow messages on tree trunks in a park, along an alley, or anywhere in nature. Maybe your idea will catch on and inspire others. Imagine what a whole forest full of little hearts would look like.
3. PAINTINGS WITH LOVE
Take out your watercolors and try painting on snow and ice — hearts, messages, stories, coloring pictures.
4. SNOW MAZE
Find a large enough area with untouched snow and stomp out a huge heart.
5. A HEART FOR THE BIRDS
Do you have silicone muffin molds shaped like hearts? Make edible decorations for birds — it’s super quick. Fill the molds with birdseed, add a string for hanging, and pour in melted coconut fat or beef tallow. Or skip the molds altogether and simply sprinkle the seed straight into the snow.
6. DRIED-HEART DECOR
Tired of your Christmas wreath on the door? Replace it with a quick, easy, recycled decoration. Use dried plants, weeds, or the remains of garden flowers and decorate your home with dried hearts.
7. A PLACE YOU LOVE
Celebrate the holiday of love with a trip to your favorite spot in nature. Don’t have one yet? Try finding it today. It should be a place where you feel good — interesting and pleasant in some way. It might be close to home so you can visit often. Or choose a spot farther away to motivate regular outings.

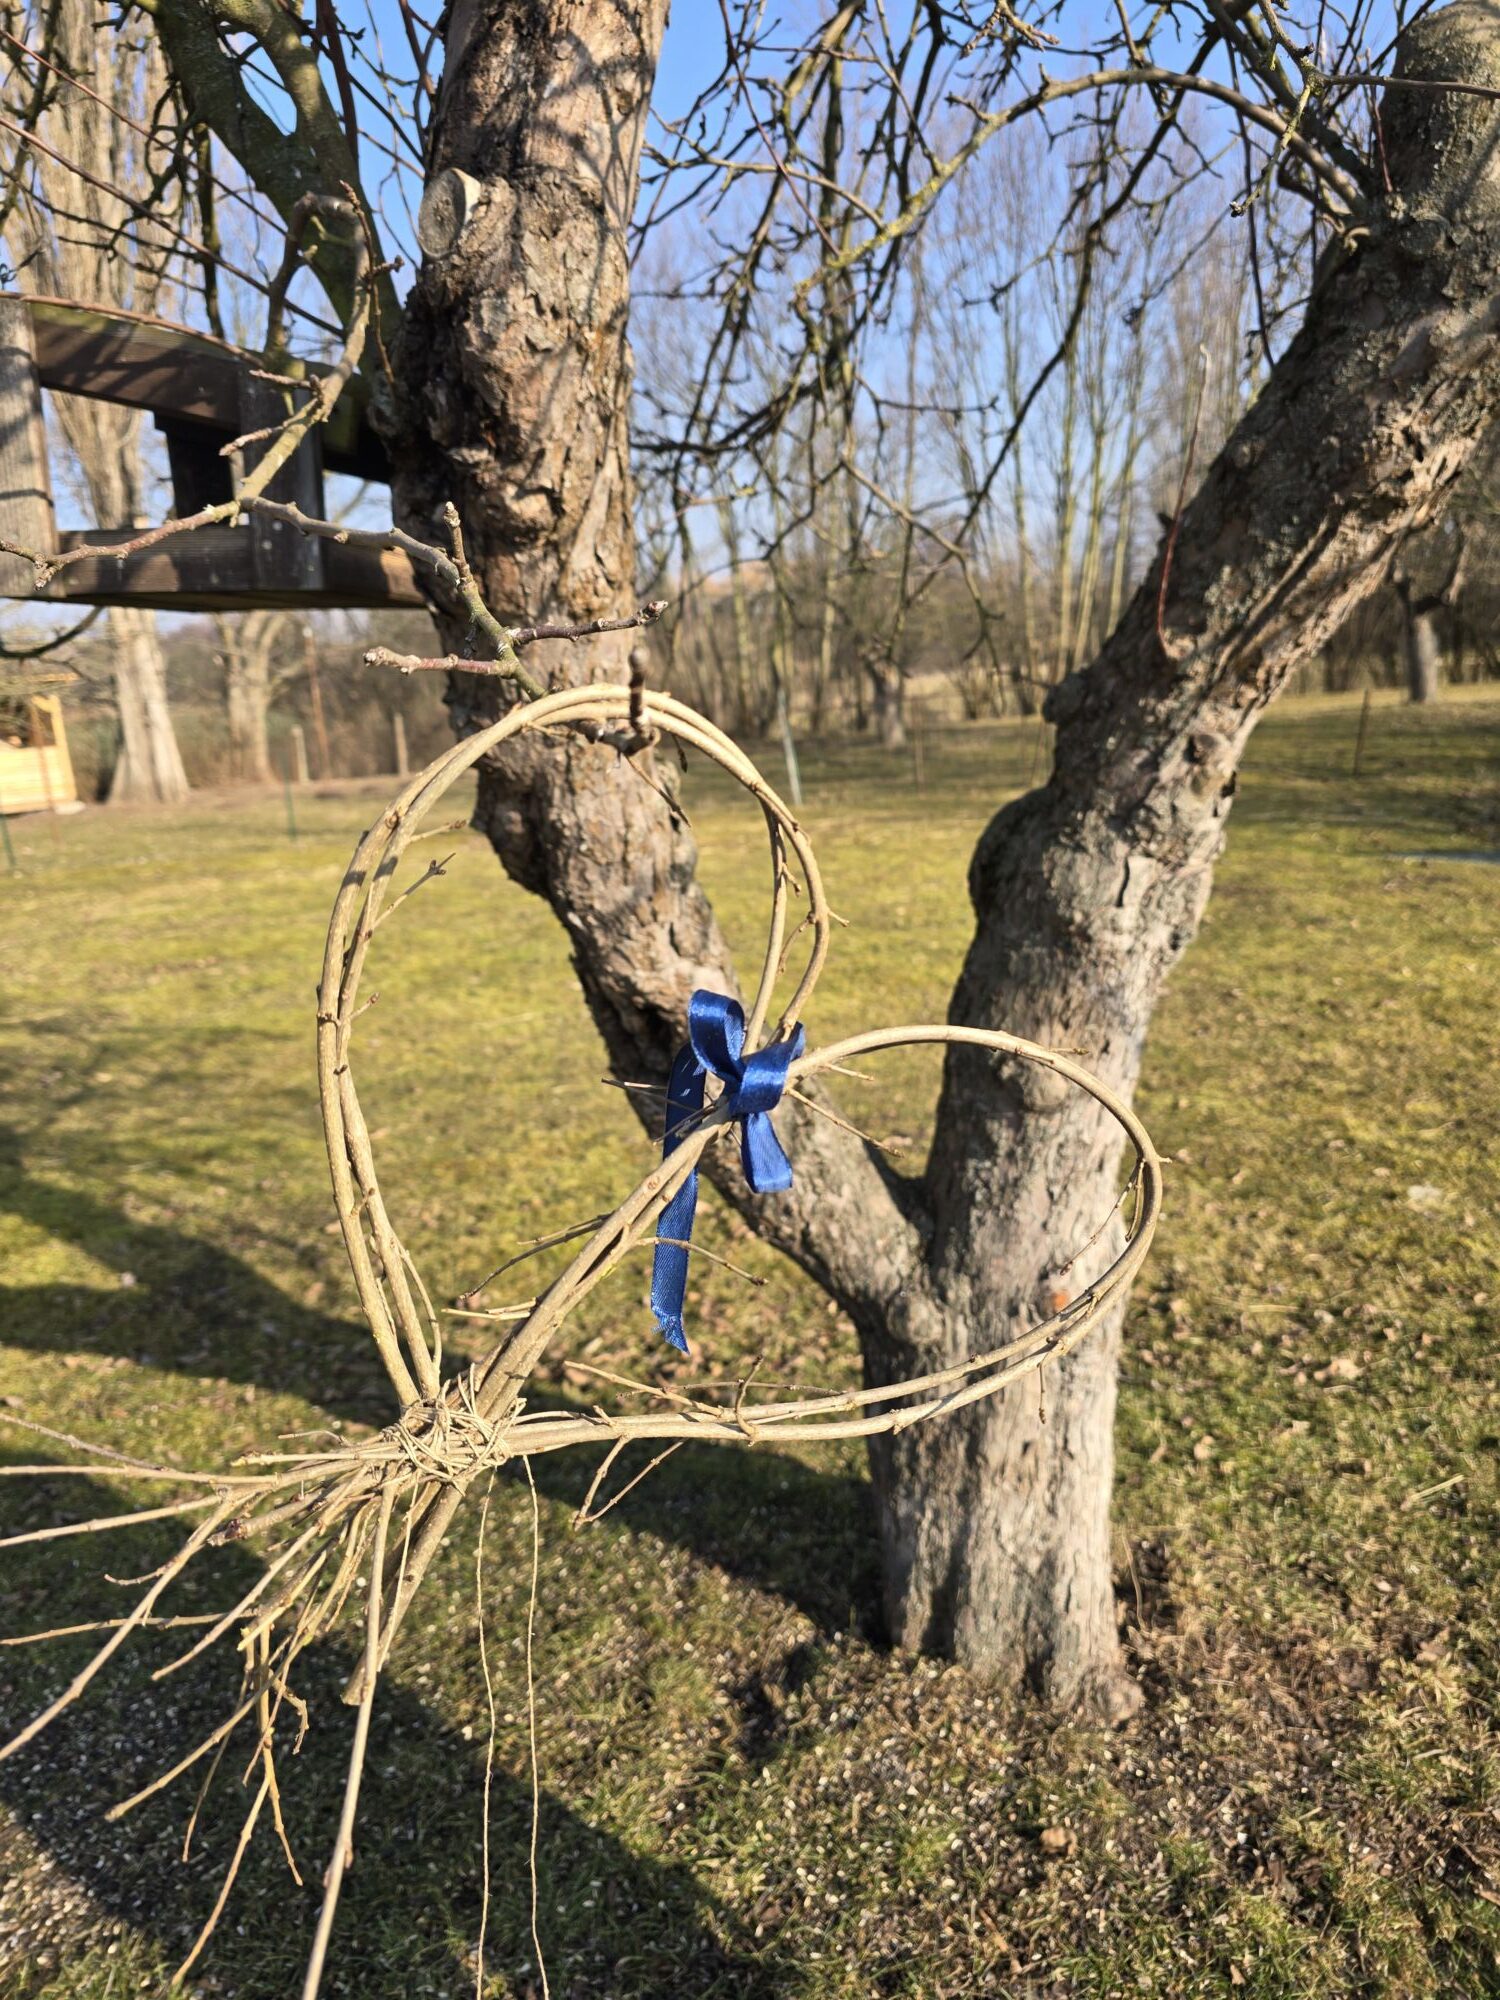
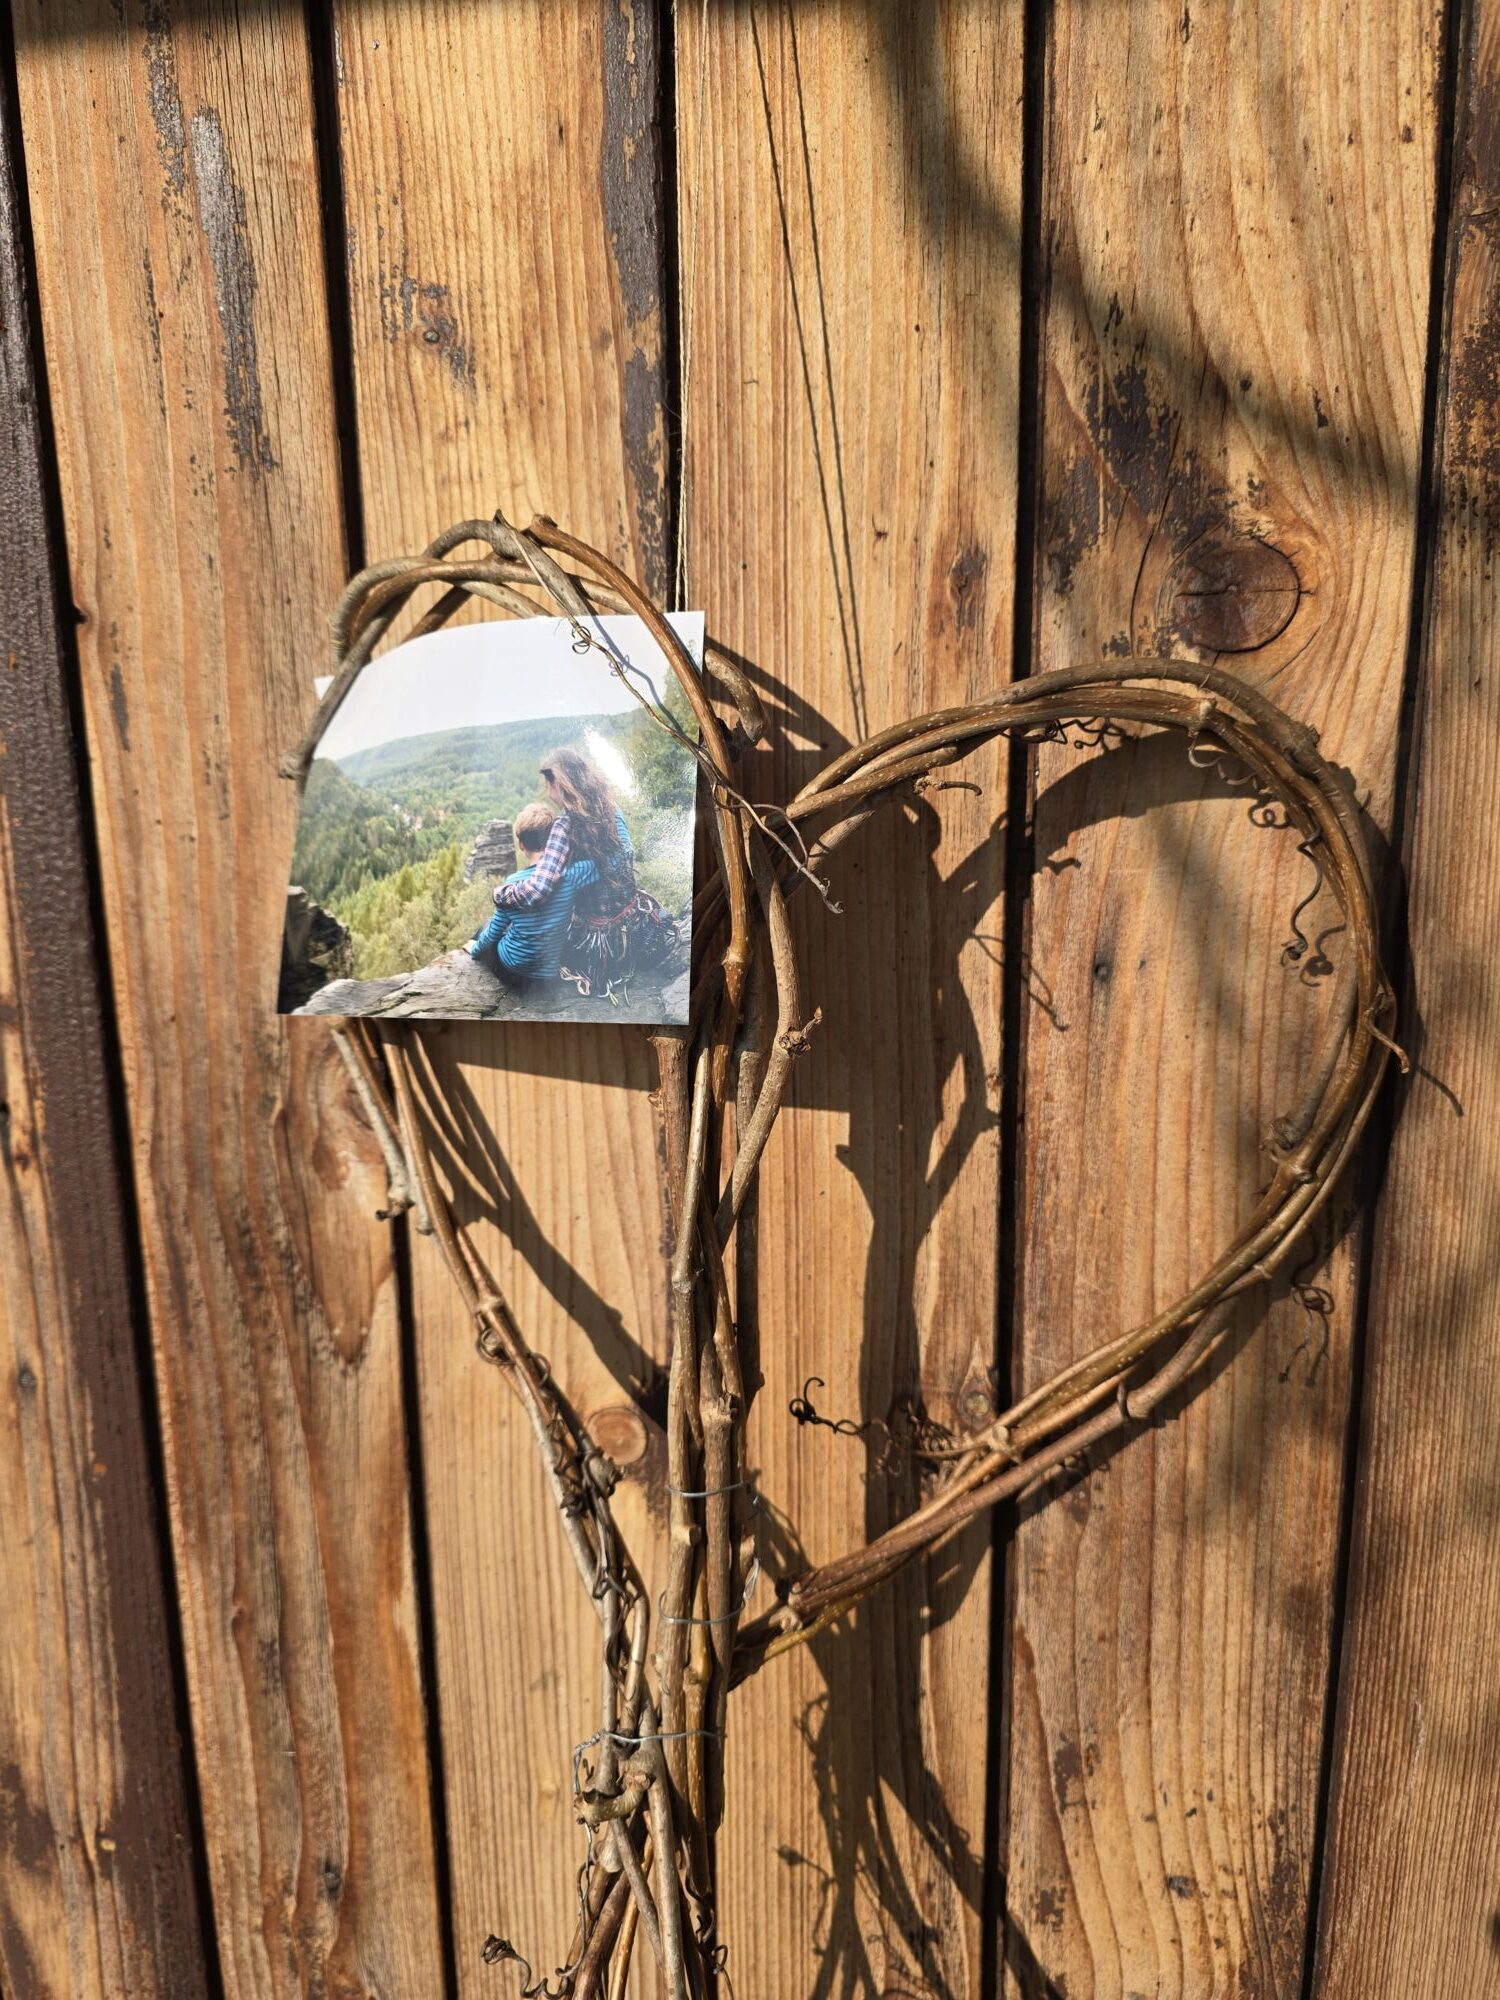
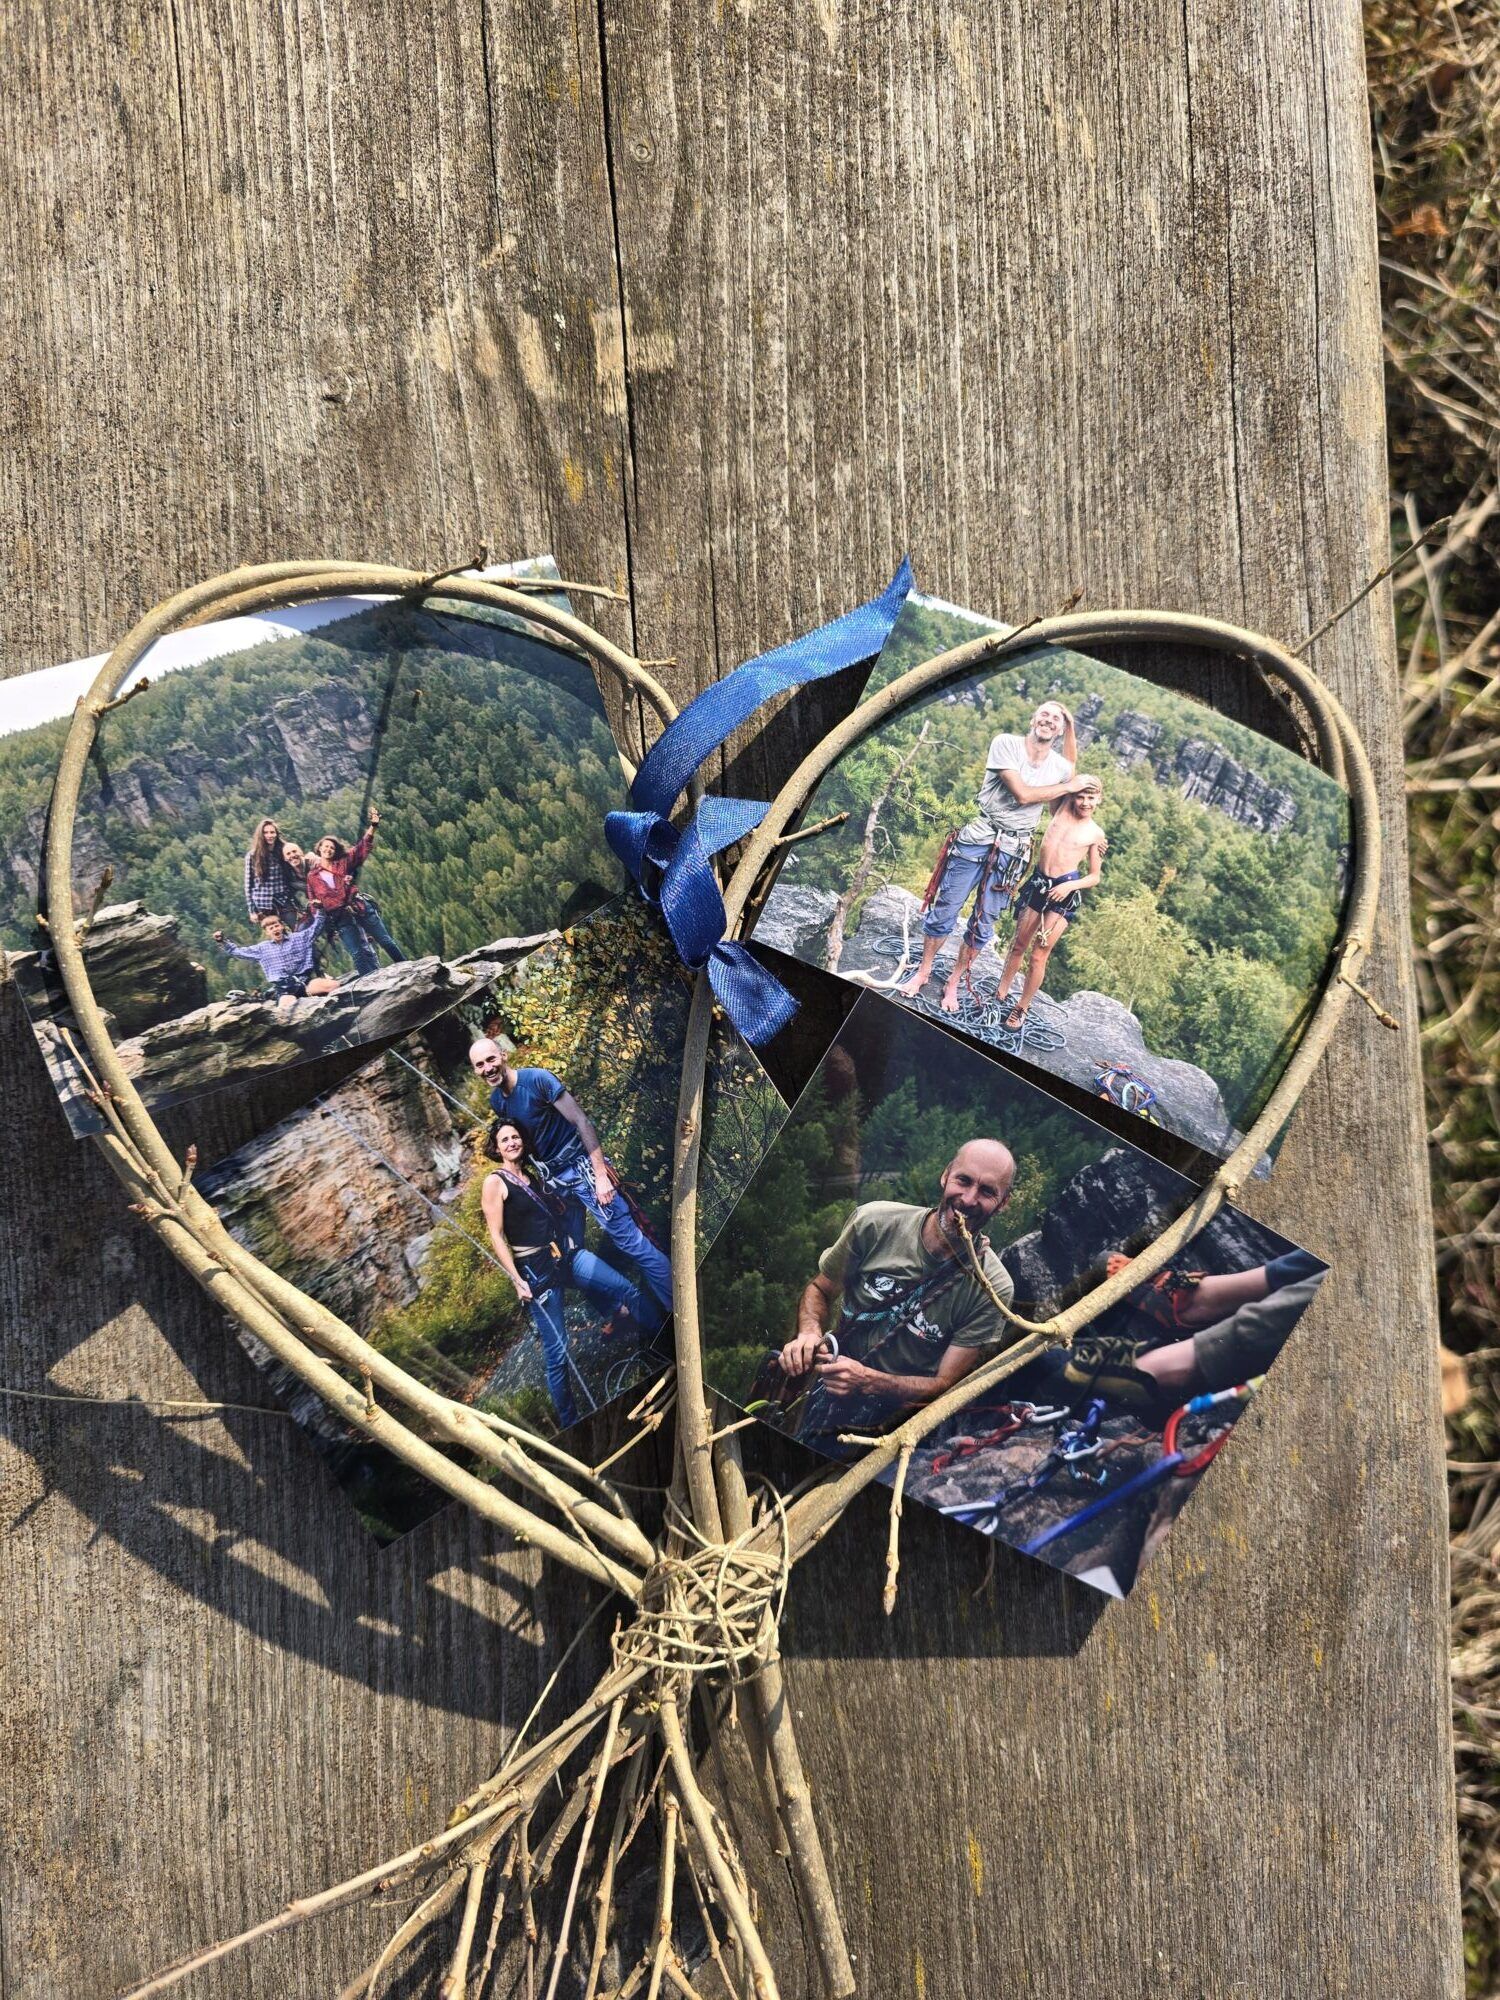
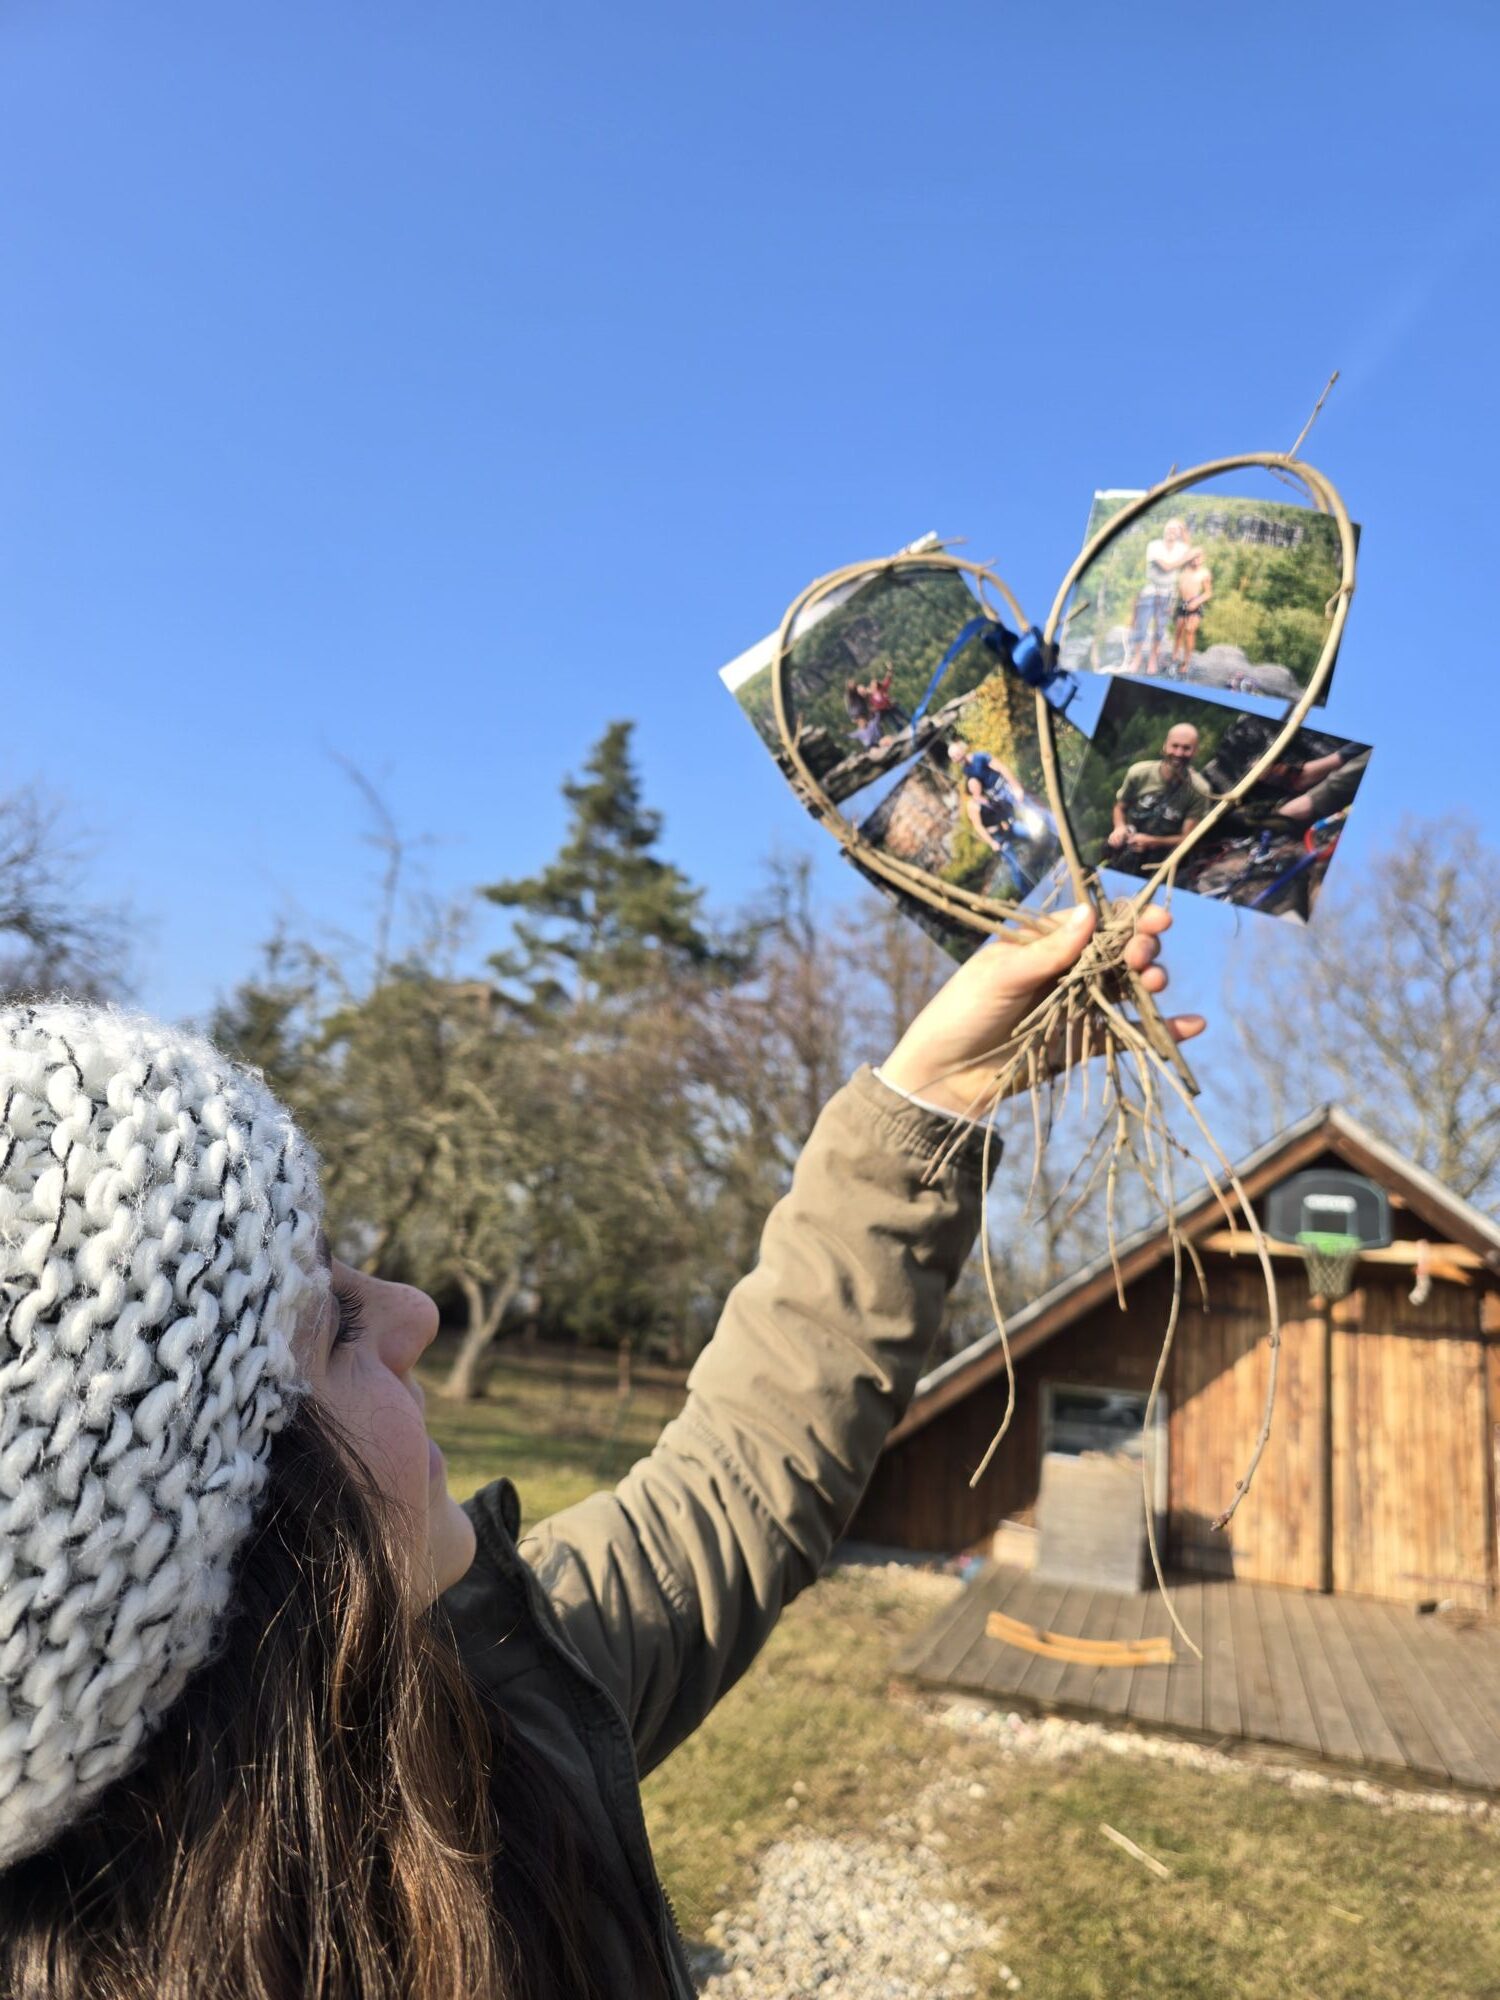
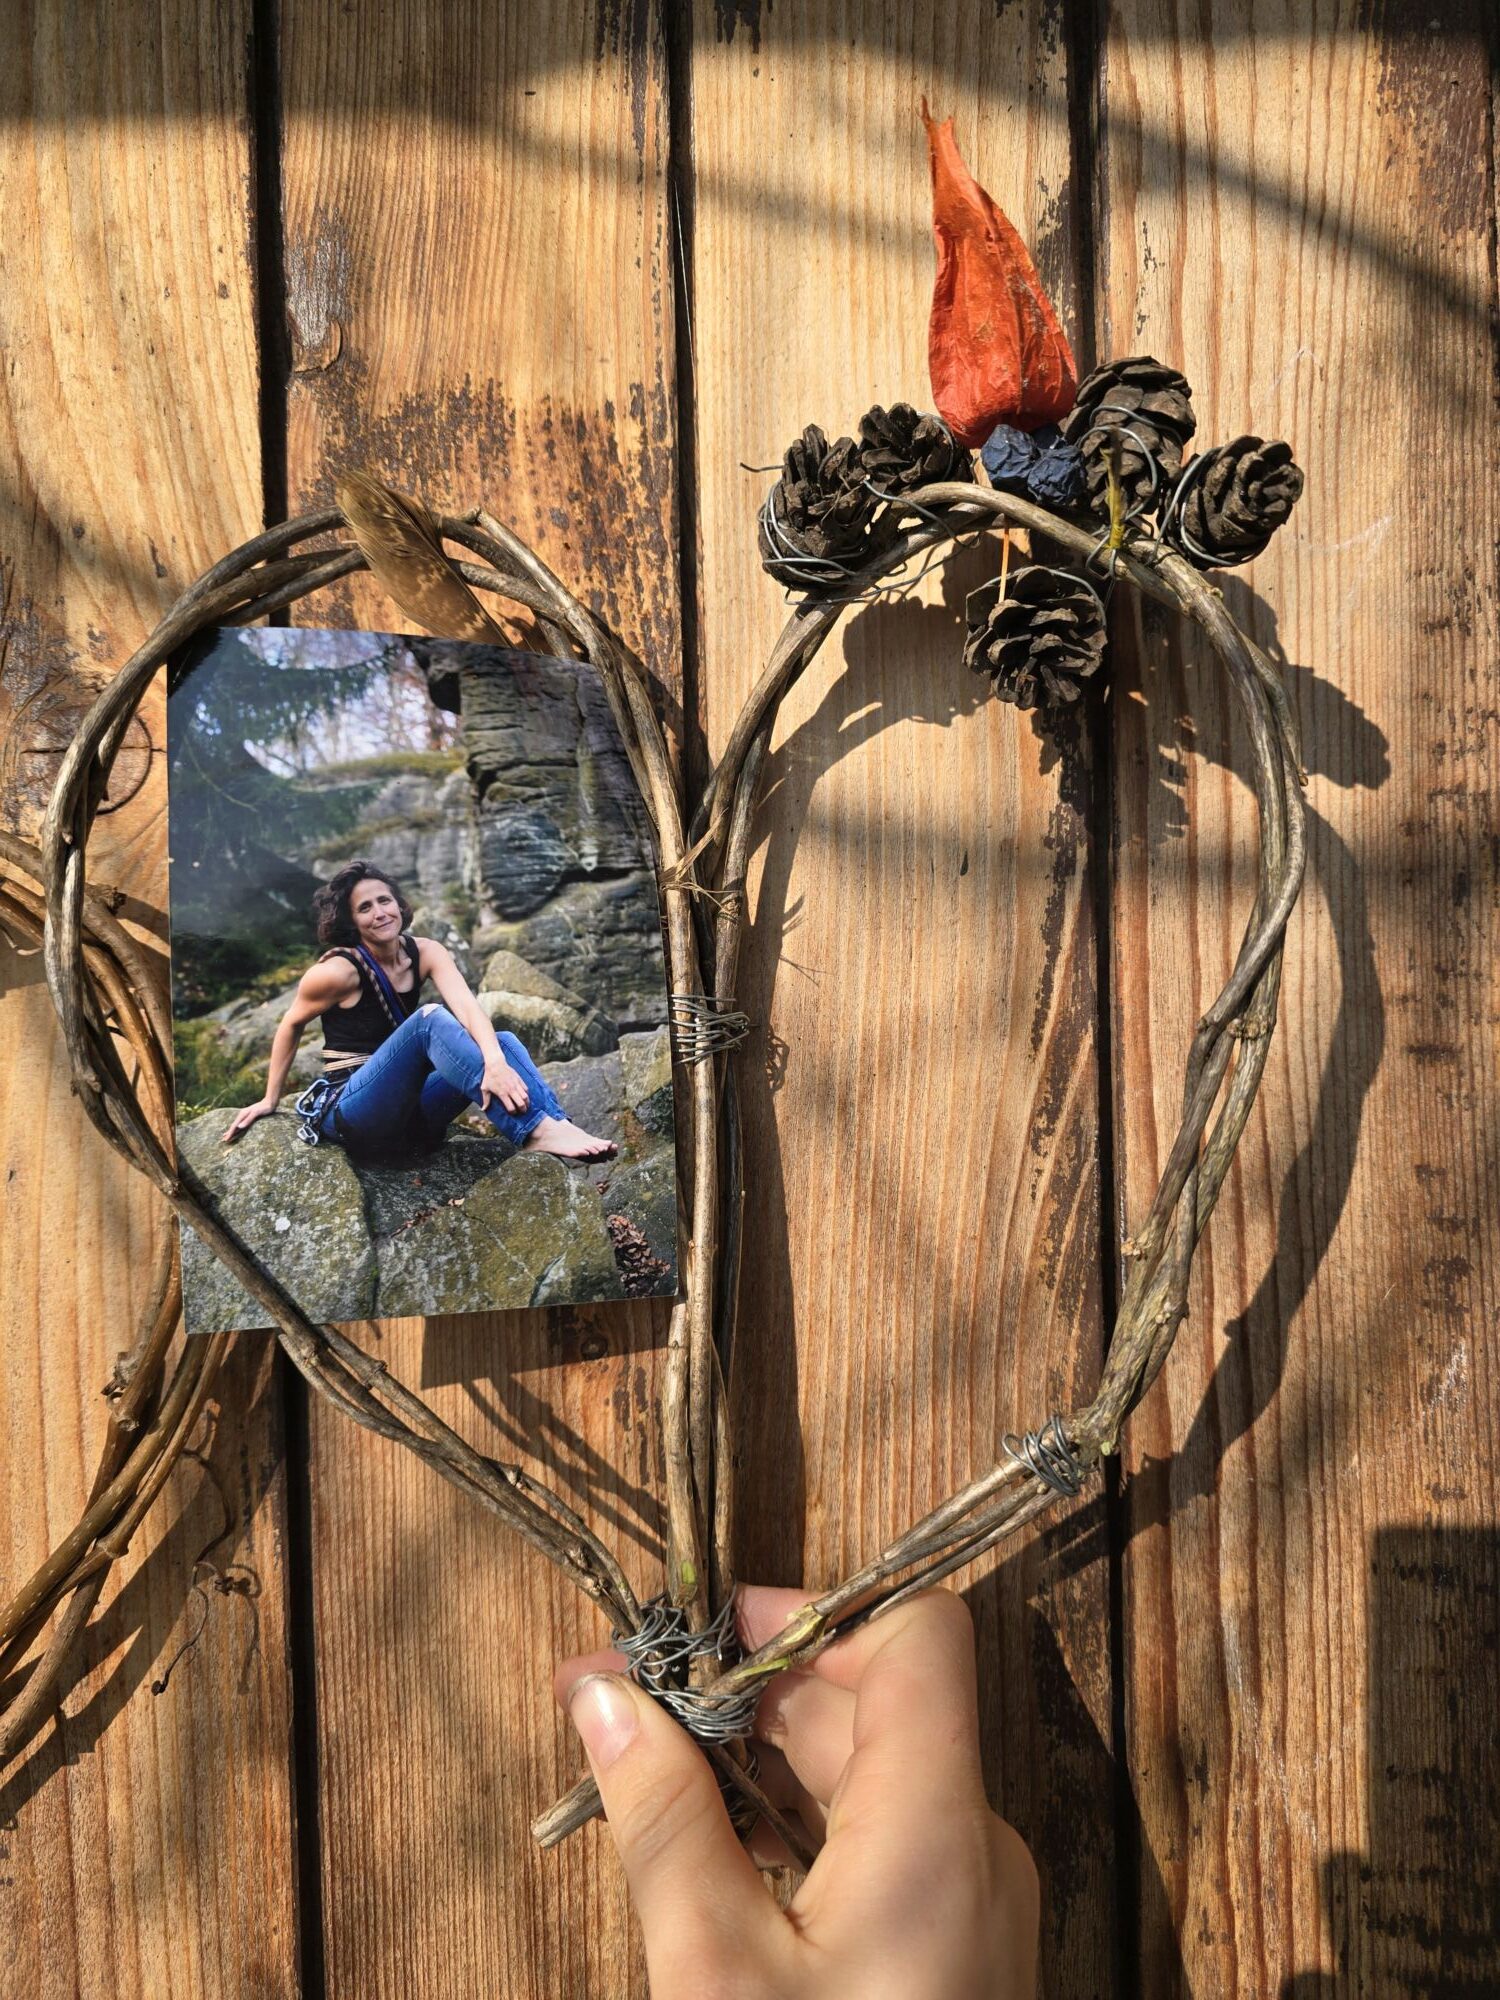
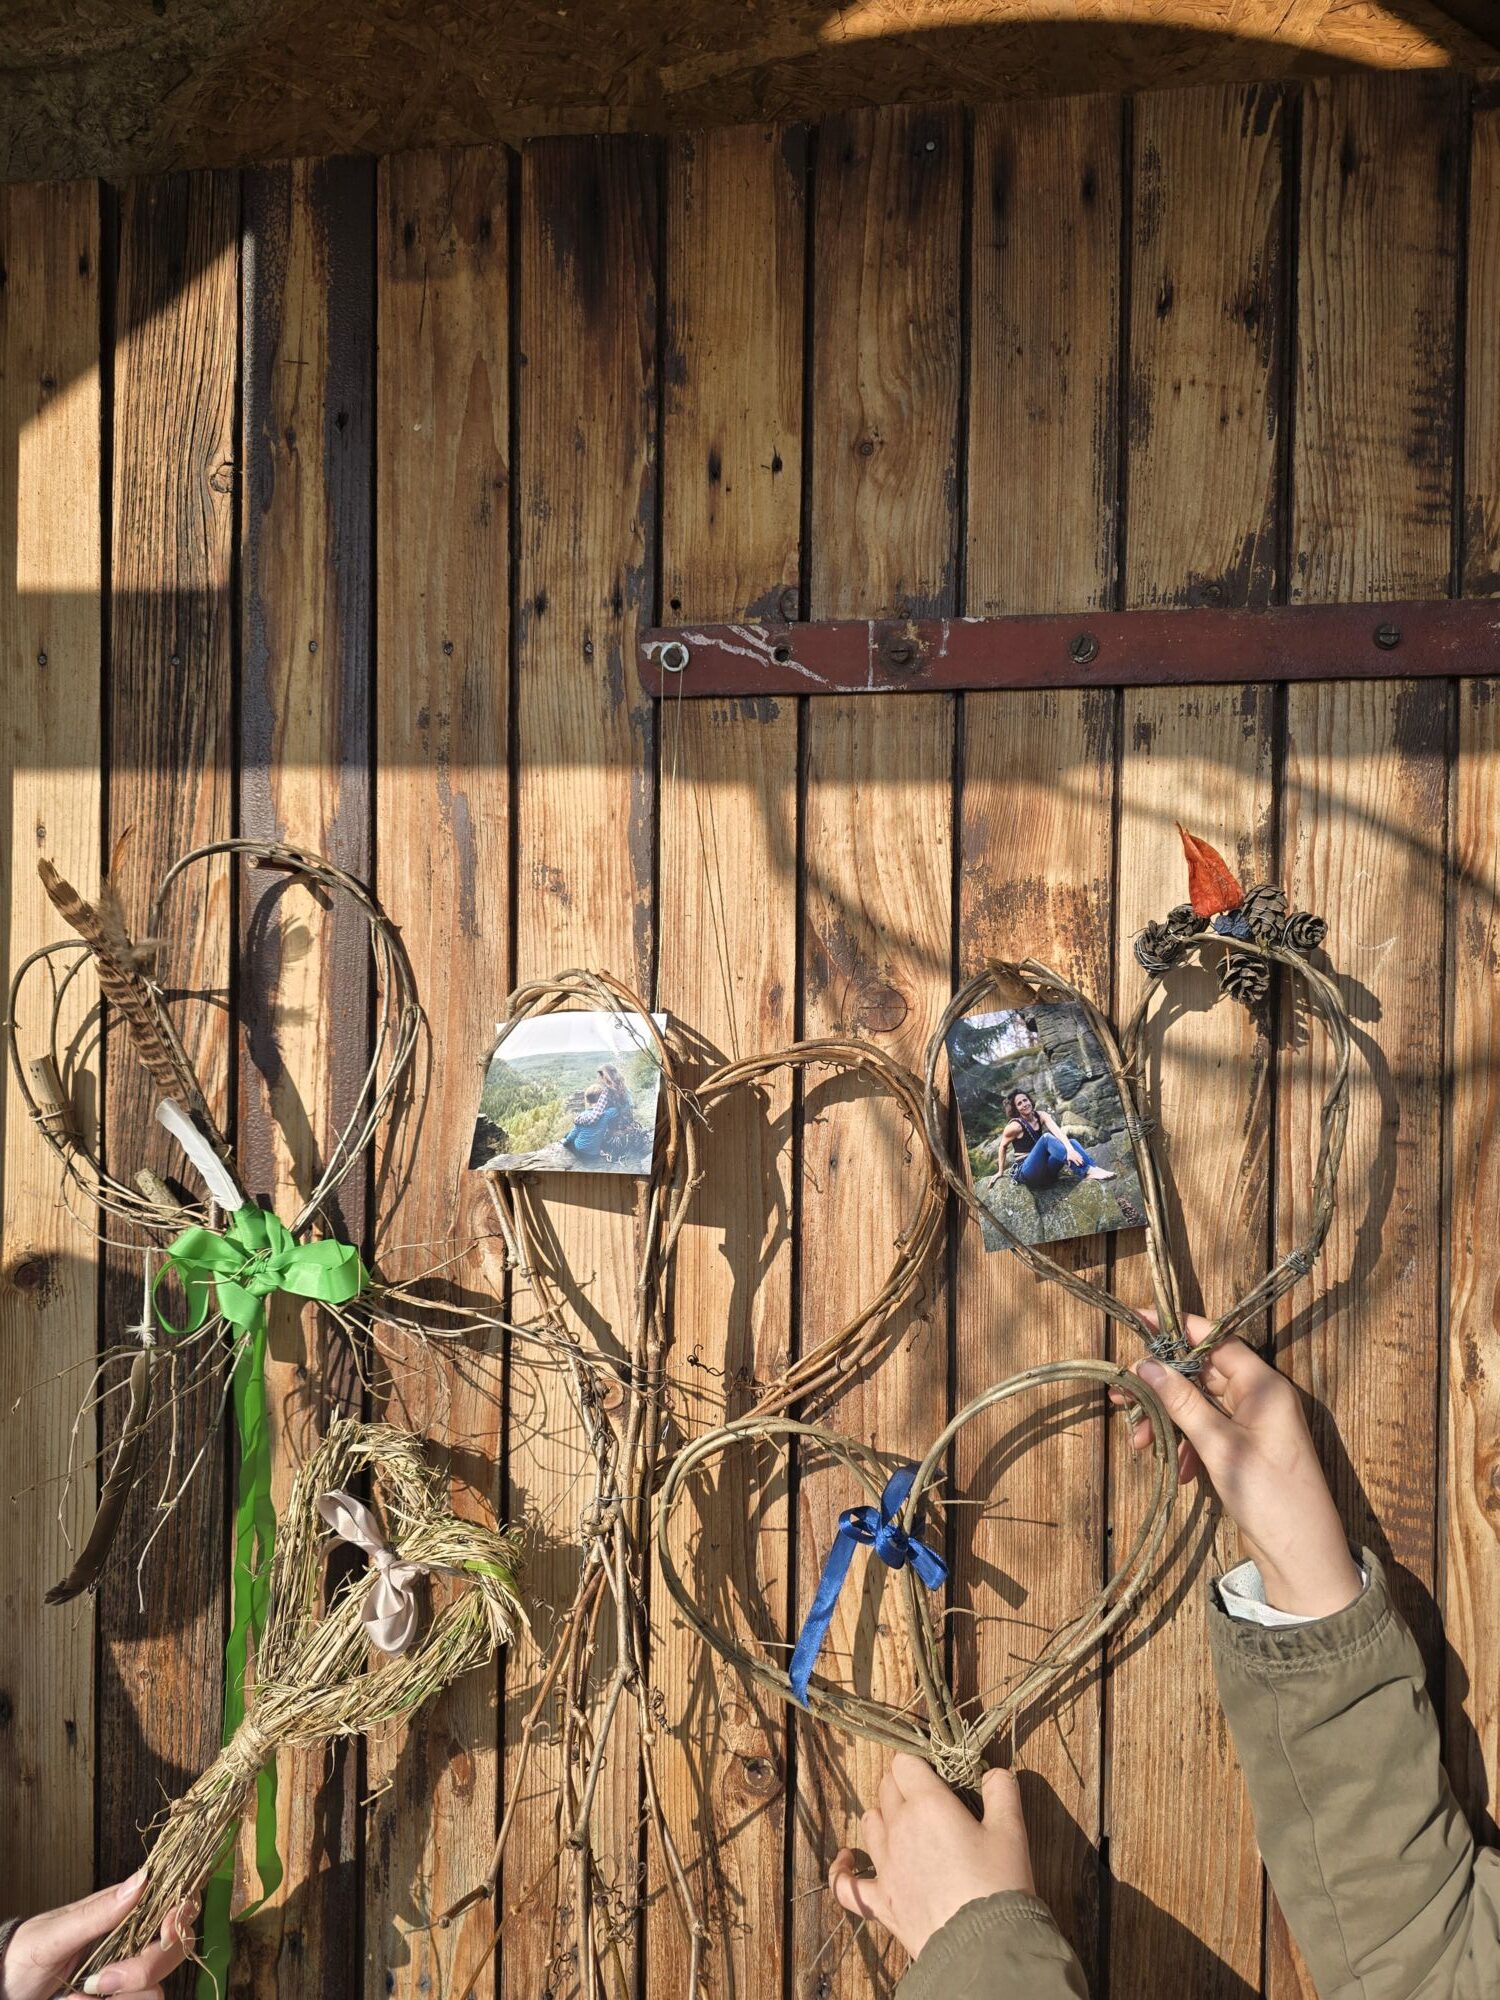
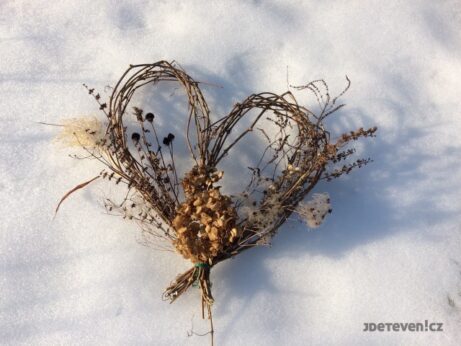
Twigs in Love
Create your own gifts of love using natural materials
You can decorate your home, your garden, or simply bring joy to people passing by in nature.
What you’ll need:
flexible twigs, branches, or “vines”
string or thin wire for tying
How to do it:
Find fallen branches in nature. Birch, for example, is wonderful to craft with all year round, and pieces of its long branches can be found even among city apartment blocks. Or choose a place where you’re allowed to trim small branches from a shrub, tree, or climbing plant. We always choose a large, older, sturdy tree or shrub, and we trim in places where people walk or where the branches are very dense. It’s always good to think about the needs of the plants: in spring, young trees need every bud, and therefore every leaf.
Once you have a few twigs, bend them straight into the shape of a heart. If it doesn’t work, try making two “teardrops” and tying them together.
Then just hang your creation up and decorate it if you like.
TIP: You can add a favorite photo, a message, or drawing. Let your imagination decide!
TIP: If you don’t have any twigs, try picking long, dried grass stems instead. Take a whole bunch, twist them together, and then bend the bundle into a heart. Enjoy your crafting!


how to build sensitivity to nature
We are here to help you with that task. Just choose one of our e-books - children will be playing and learning at the same time!
The Playful Herbarium
Laboratory Spring/Summer
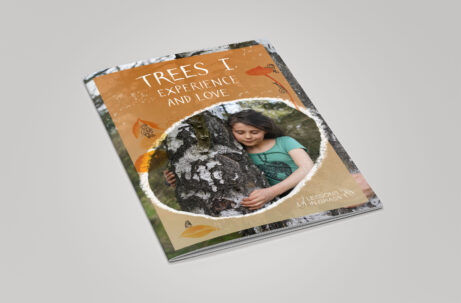
Trees I: Experience and Love
SHARE YOUR EXPERIENCE
Inspire people around you by videos, photographs, results, advice and questions:
on Facebook
by e-mail at team@lessonsingrass.com
WE WANT TO GET CHILDREN OUT
We can help you on the way out too