ARTS OUTDOORS
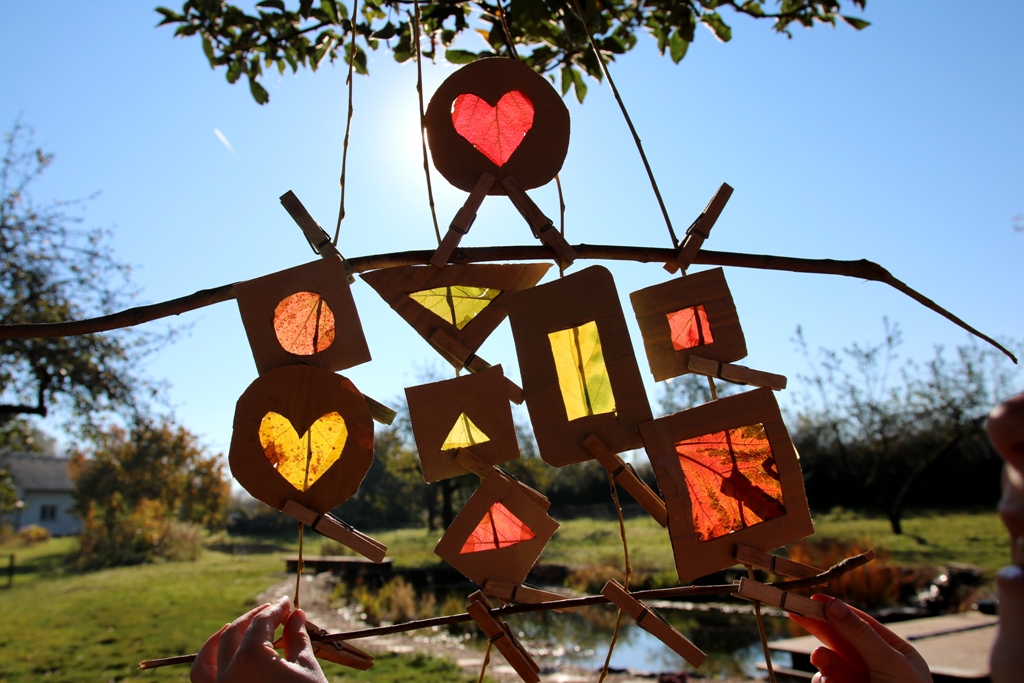
Autumn leaf suncatchers
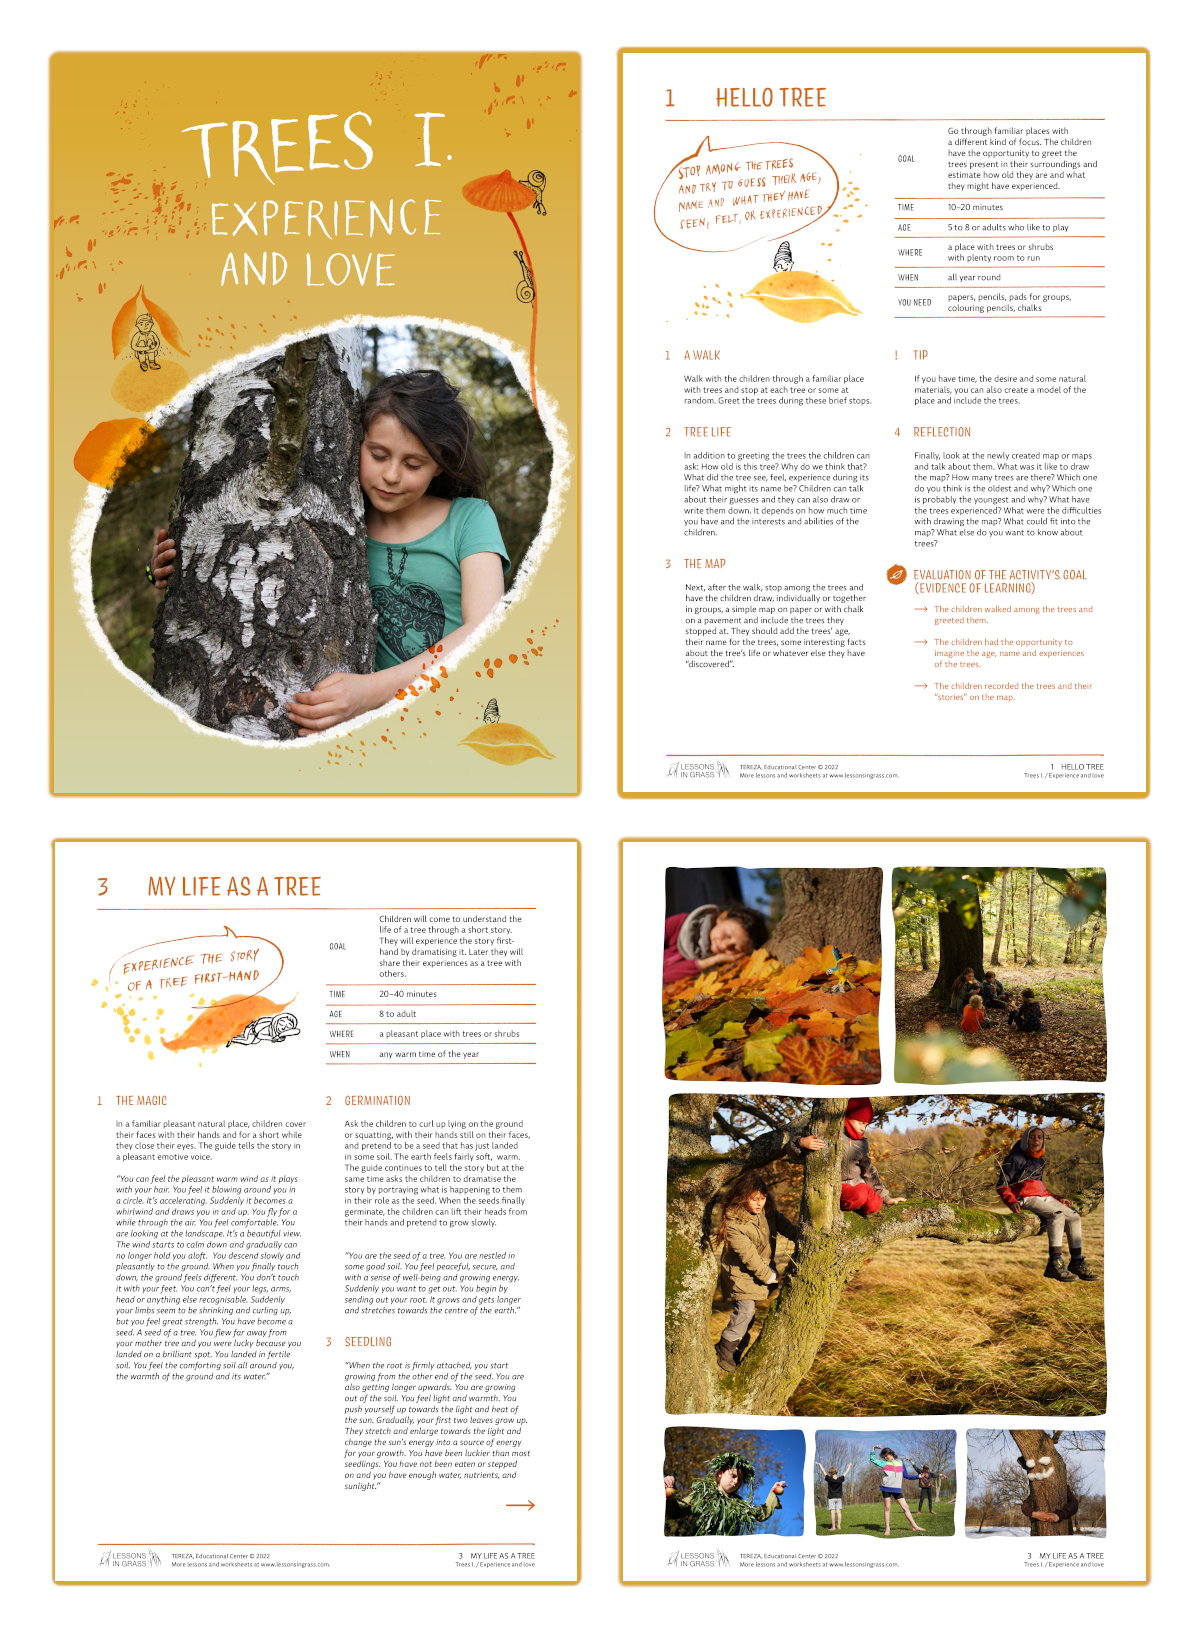
An outdoor art lesson making use of autumn leaves.
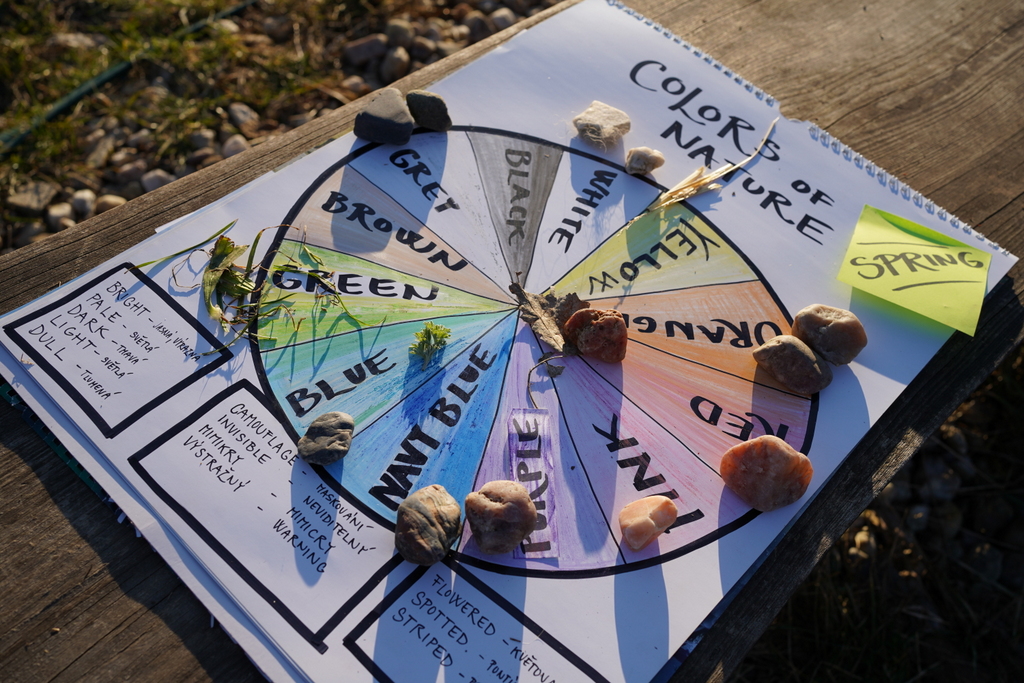
COLOURS OF NATURE
How many colours can we find in nature? Do they change throughout the year?
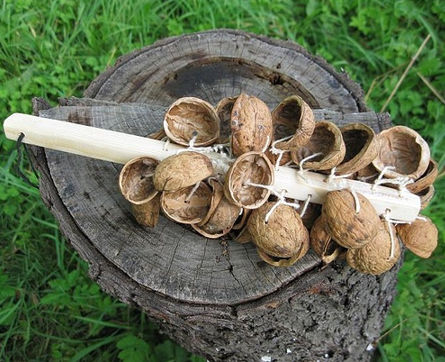
MUSICAL INSTRUMENTS
Let's play some outdoor music! Create your own musical instruments.
EXPLORE OUR OTHER OUTDOOR LESSONS:


AUTUMN LEAF SUNCATCHERS

Goal: An outdoor art lesson making use of autumn leaves and other natural materials together with sunlight.
TIME: 20 to 40 minutes
AGE: 4 to 15 years
WHERE: convenient school surroundings
WHEN: autumn is the best but this activity can be done throughout the whole year though the choice of colours and materials should be taken into consideration
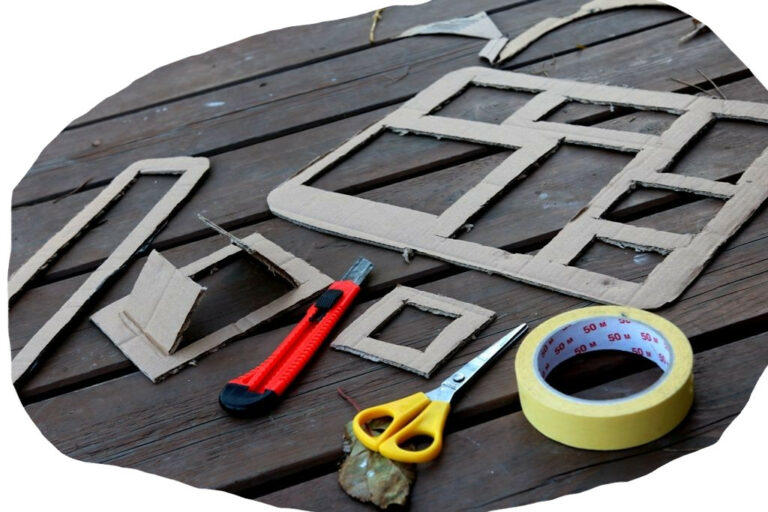
YOU NEED: sturdy paper, cardboard or double ply of common printer paper, scissors, paper adhesive tape, clothes pegs
1 ILLUSTRATIVE EXHIBITION
Make a collection of sample leaf pictures for the children to see how the leaf technique works. You can prepare an illustrative exhibition before the start of the lesson. It may help inspire the children to understand the theme.
2 THEME AND MATERIALS
Once the children choose the theme, shape and colours of their picture, they have to collect leaves and other suitable materials (in groups or individually) in the given area.
3 CUTTING OUT SHAPES
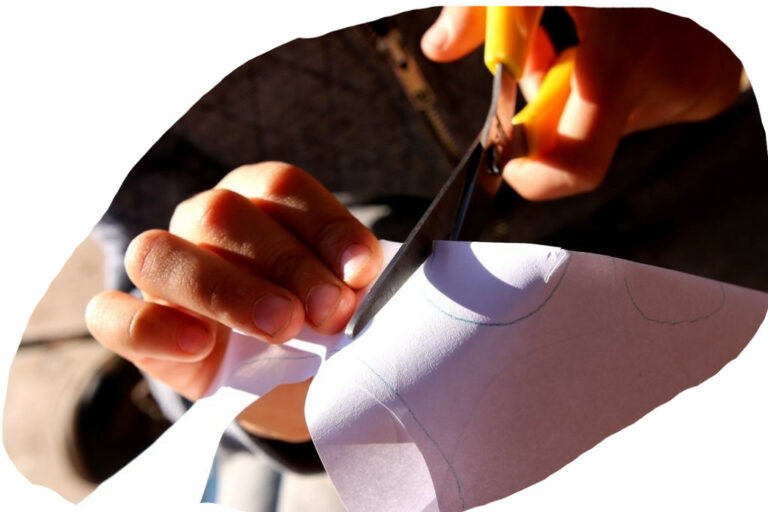
At the beginning of making the suncatcher, the children have to cut out shapes from the card or paper where the sunshine will shine through the leaves.
Begin by folding the paper then sketch shapes on the paper and cut them out.
Common printer paper is the easiest to cut, however, the tape might show through. To avoid this, use two layers of paper or it might be better to use sturdier paper or cardboard.
TIPS:
Young children can have a difficult time cutting cardboard and so we recommend using common printer paper or sturdy paper when working with them.
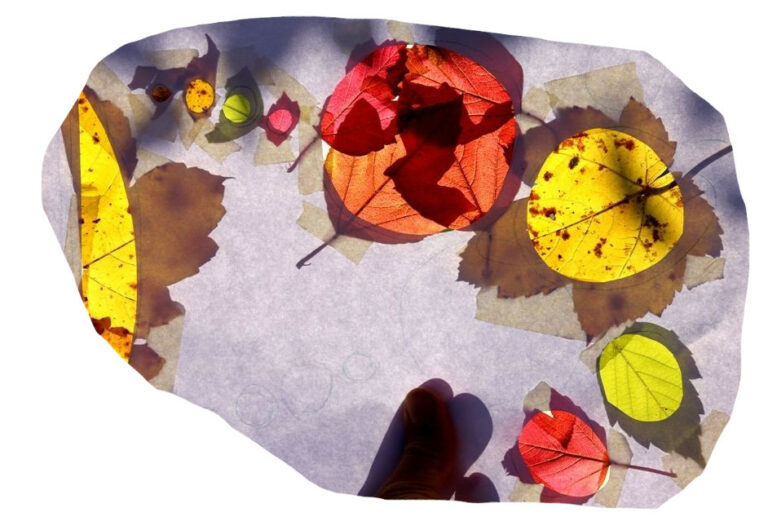
4 COLOURS
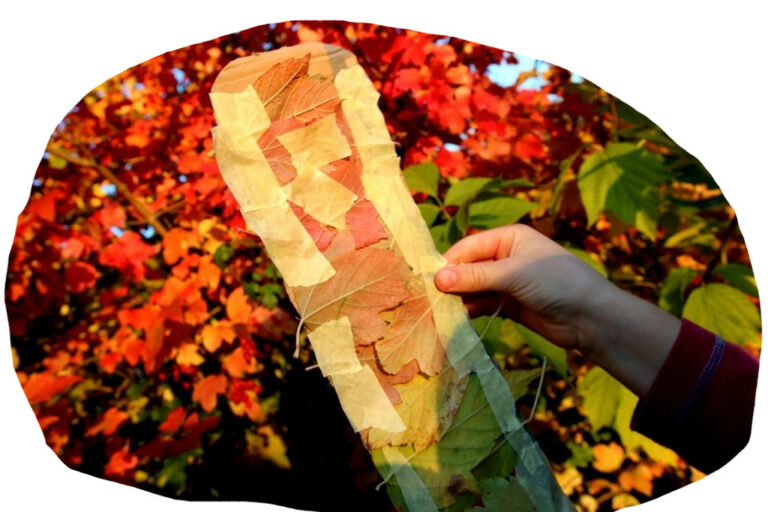
Fill out the cut-out shapes with colourful leaves. Attach them to the paper frame with the adhesive tape. Larger empty spaces can be filled easily by using the adhesive tape to stick the leaves together as well.
5 GALLERY
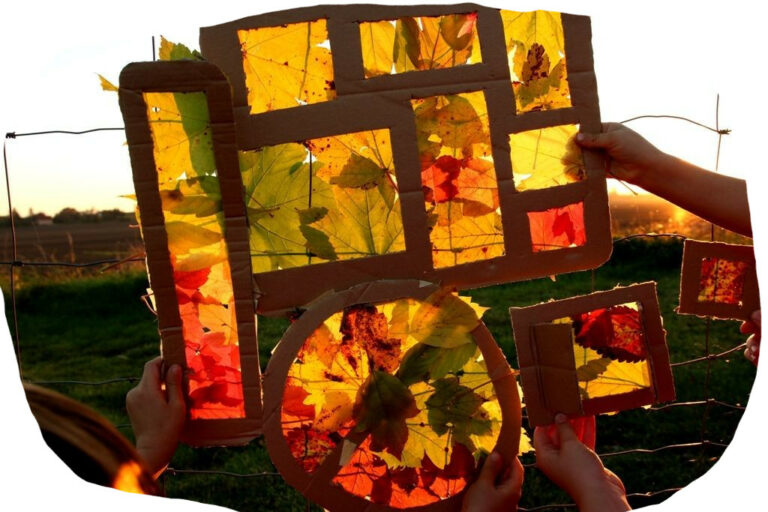
The children can display their pictures on a tree (using a clothes peg) or at any other place that was previously agreed on when they are finished.
Now you can walk around the “gallery“ and admire the suncatchers as they brighten up in the sunlight and observe the changing intensity of colours at different angles.
6 SHARING
After visiting the gallery it is time to look back and talk about the project with the group. You can start with simple questions such as: How did you enjoy walking around the gallery? What impressions did the suncatchers make on you? How did you enjoy making them? Which trees have the most colourful leaves? What was easy / difficult for you? How did the sunlight change the pictures? Would it make any difference to do this project indoors? What would be the difference?
VARIATIONS:
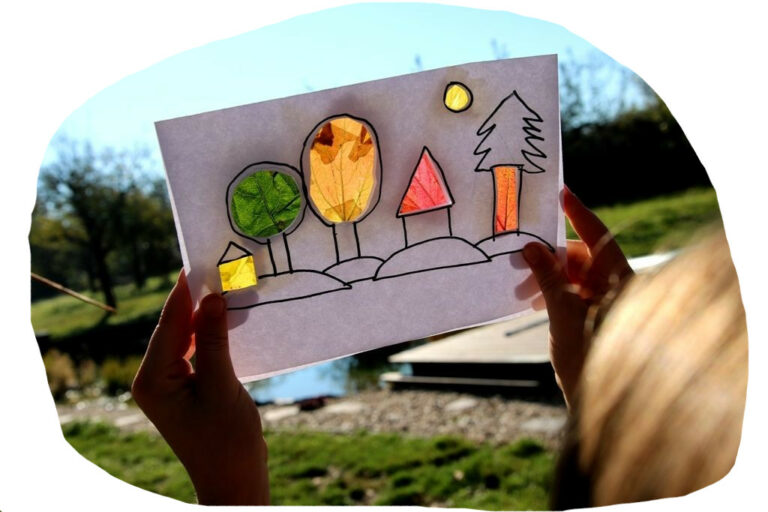
SHAPES
It is best to start with basic shapes that allow the children to try the new technique out. You can also do other activities, such as sorting out the shapes (a rectangle, a square, a circle etc.) This can be done with younger children in their mother tongue or in a foreign language with the older ones.
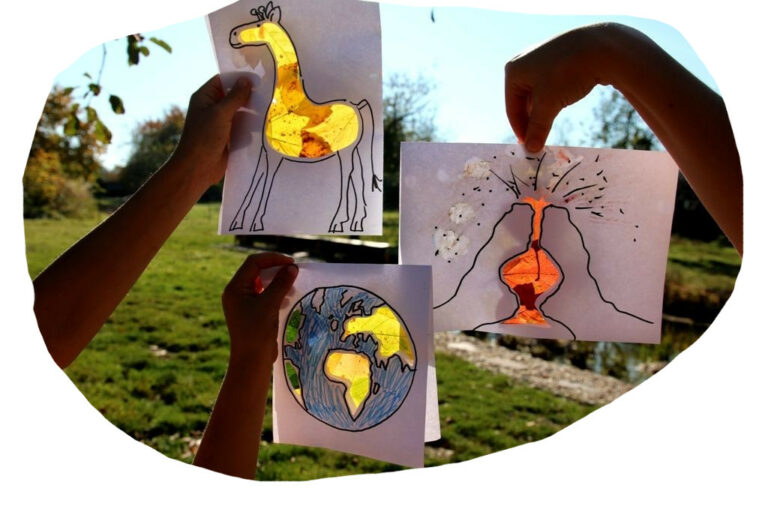
ANIMALS AND ACTIVITIES
Let the children draw their favourite animal or activity. They then cut out the part which is going to be colourful and go out to collect and tape the leaves. This variation allows you to talk about the topics that were interesting for the group again and again.
Such pictures can be used for decorating the classroom, children’s notebooks or lapbooks.
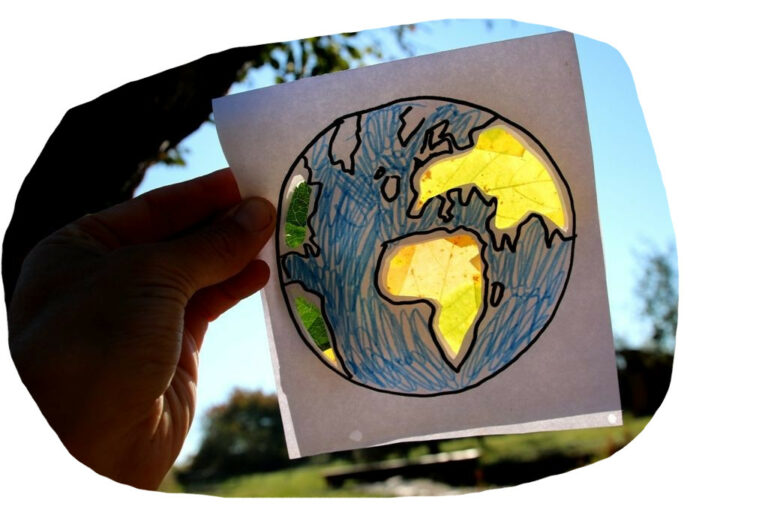
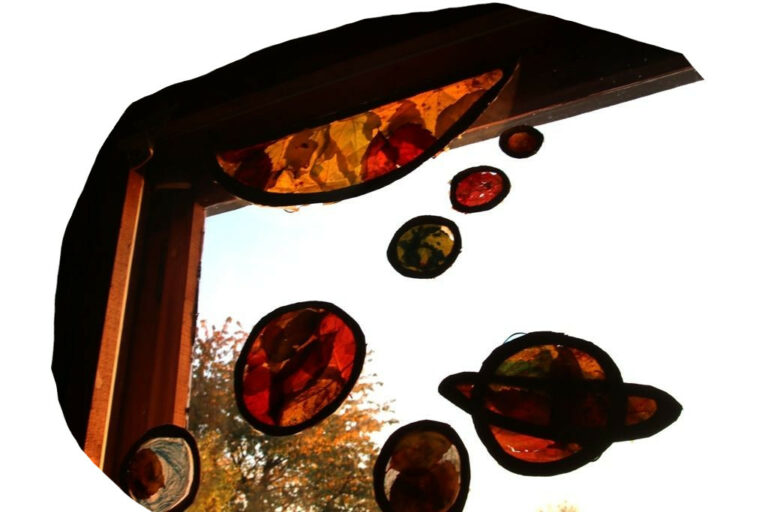
MAPS AND PLANETS
Making maps and planets is a huge challenge but it is worth trying. Children are incredibly creative and make beautiful pictures. On top of that they reuse and apply previously gained knowledge.

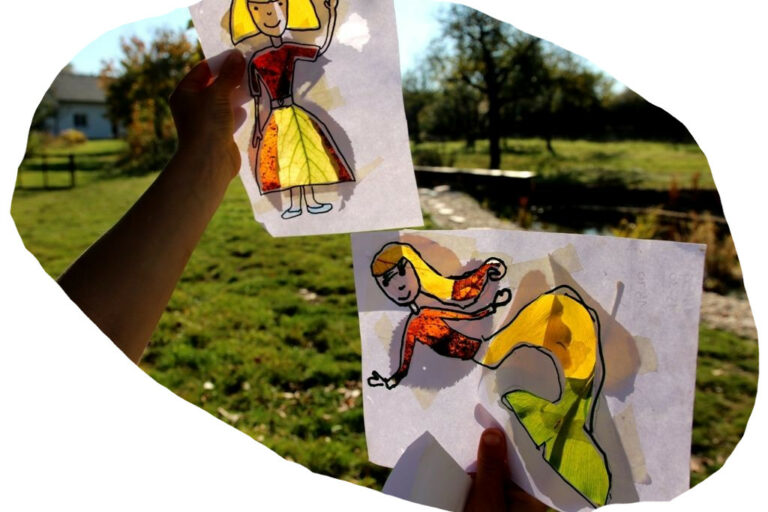
CHARACTERS AND STORIES
This is great if you have enough time (e.g. at the school’s club, on a trip etc.)
First, children sketch their favourite character. Then they cut out some parts and dress their character in a leaf outfit.
You can make up stories about the characters during their creation. Children can take turns adding to the story. It is great fun!
For young children, this activity is great for developing their speech skills in their mother tongue. With older children this can be done to practise their conversational skills in a foreign language.
TIPS FOR SAVING:
PRESSING – if you want to save the pictures or use them as presents, sandwich the leaves between sheets of newspaper and place them in a heavy book.
The suncatchers can also be made with leaves that had already been pressed. These are, however, fragile and one has to be very careful when working with them.
DISPLAY – once the pictures are pressed you can hang them in a window to enjoy the colours.