winter activities
january
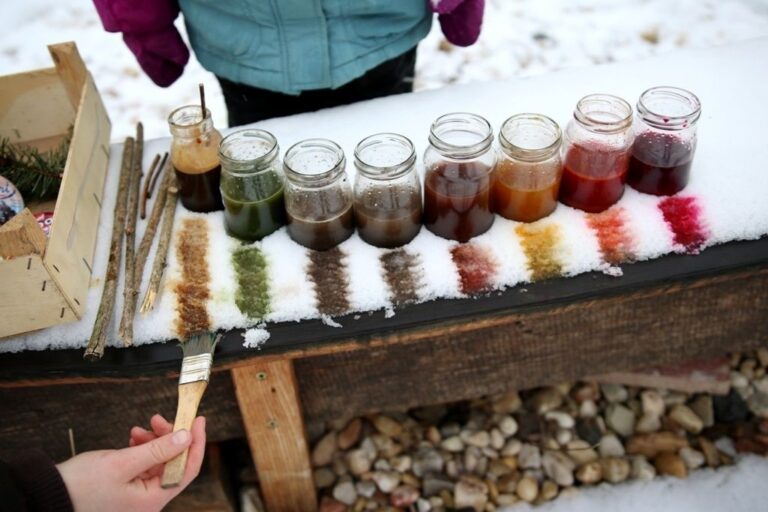
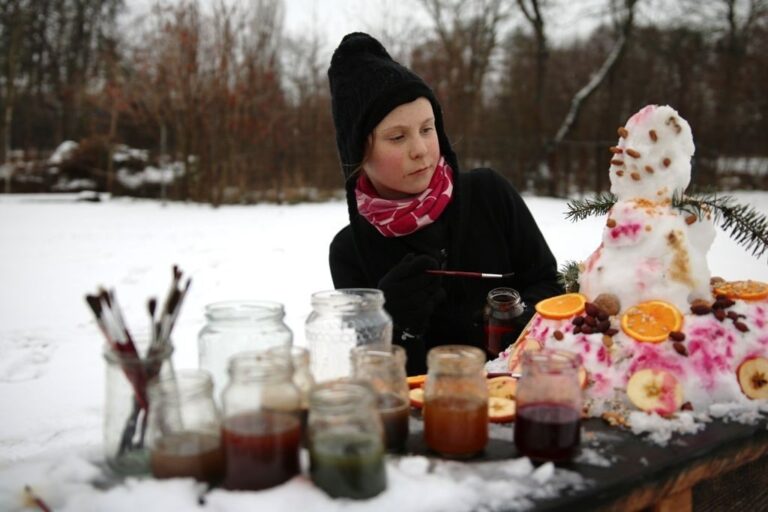
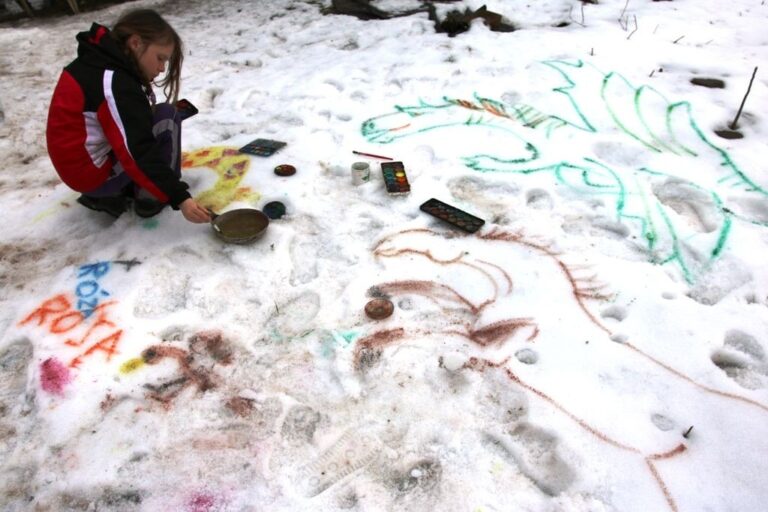
Making your own natural colours for painting is an exciting activity. Moreover, if the winter is snowy, the white canvas is literary everywhere. Let's have an art class!
YOU WILL NEED: jars with a bit of water
HOW TO DO IT:
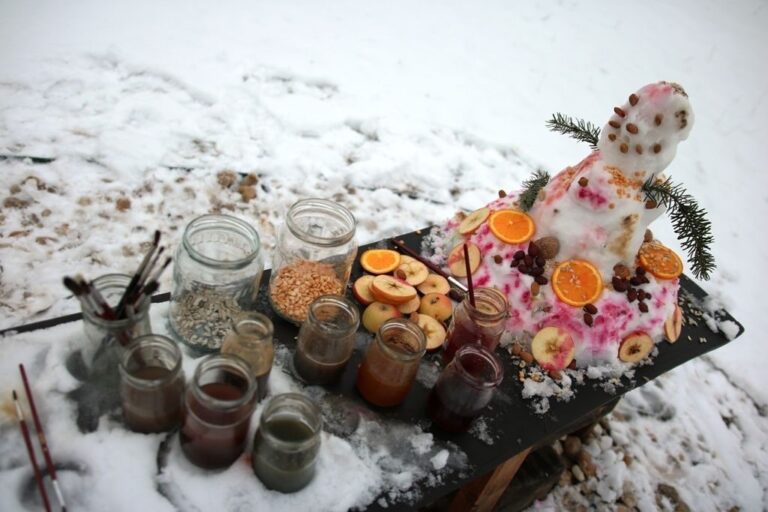
Try out making natural colours and painting with them. First, let children come up with ideas on what can be used as a natural dye. Then they choose what they want to try. We recommend these colours:
YELLOW – turmeric or curry spice
ORANGE – combine turmeric and beetroot juice
RED – fresh red beetroot juice or canned beetroot juice
DARK BROWN – soil, e.g. from a houseplant pot (if there is snow outside)
LIGHT BROWN – cocoa or carob
GRAY – ash or coffee
GREEN – a little powder from young barley, chlorella and other algae
BLUE/PURPLE – red cabbage juice
Prepare resealable glasses with a bit of water, dissolve the selected ingredients and mix well. Children can work in groups and each group will create their own set of colours. Encourage children to discover new combinations and test all the shades they can create. Then go and test it outdoors.
It is a much better option than using ordinary colours. It develops greater sensitivity, patience and creativity in children.
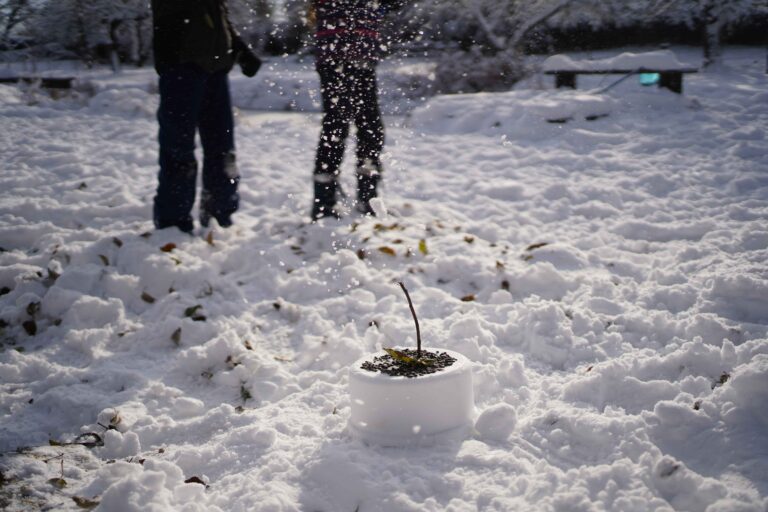
A feast not only for tummies but also for eyes.
YOU WILL NEED: seeds, nuts, apples and other materials for decorating, natural colours
HOW TO DO IT:
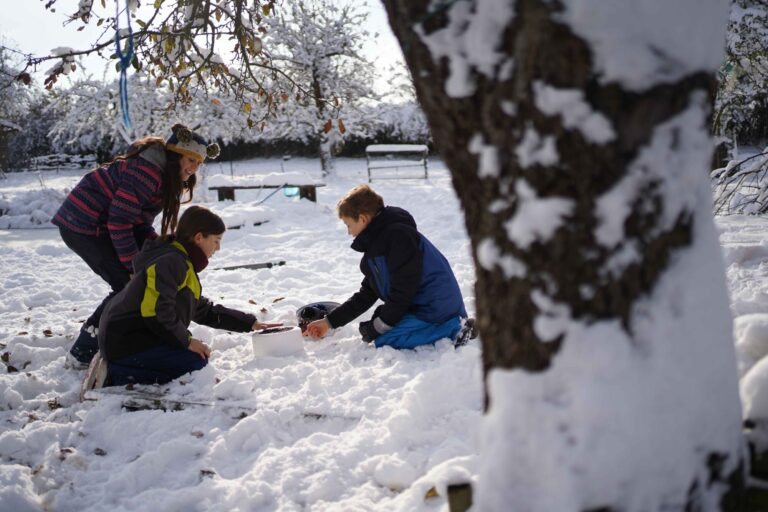
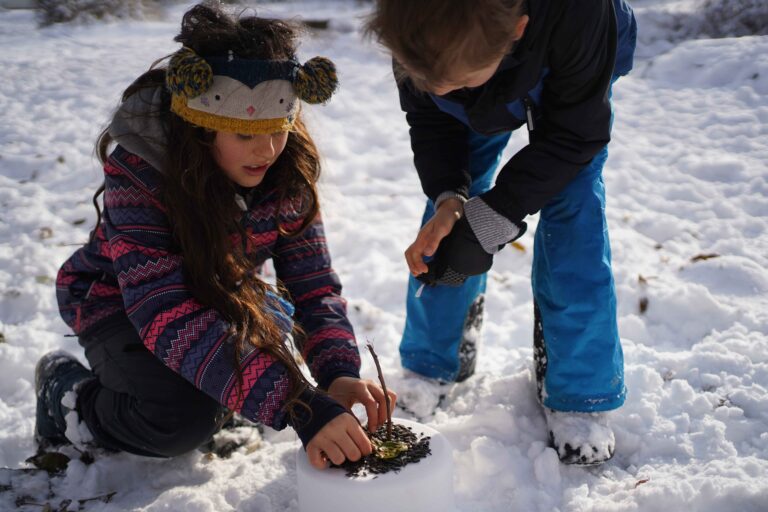
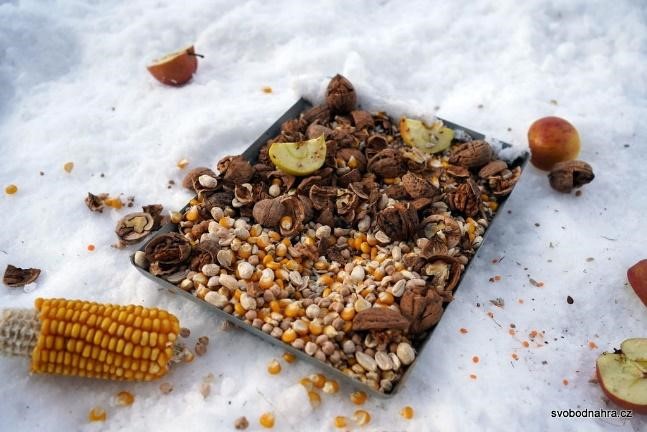
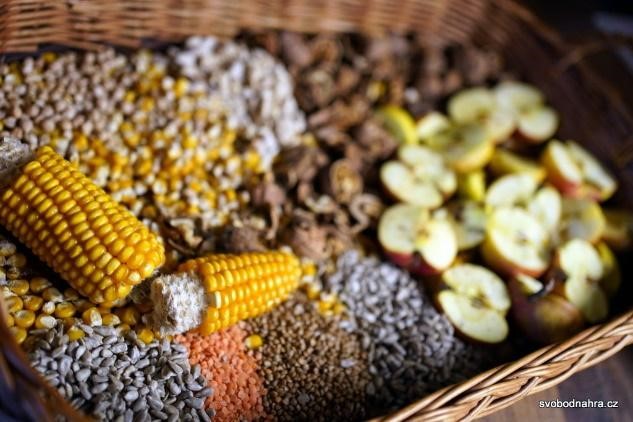
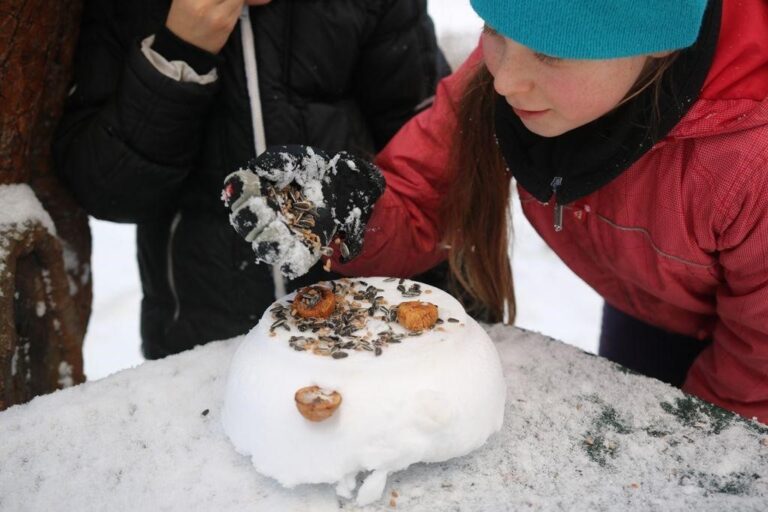
Natural colours can beautifully decorate a cake for our animal neighbours around the school or house. Take sunflower seeds, nuts, sliced apples, etc. Make a snow base for the cake and cheers to decorating.
Natural colours are great because they don't bother plants or animals.
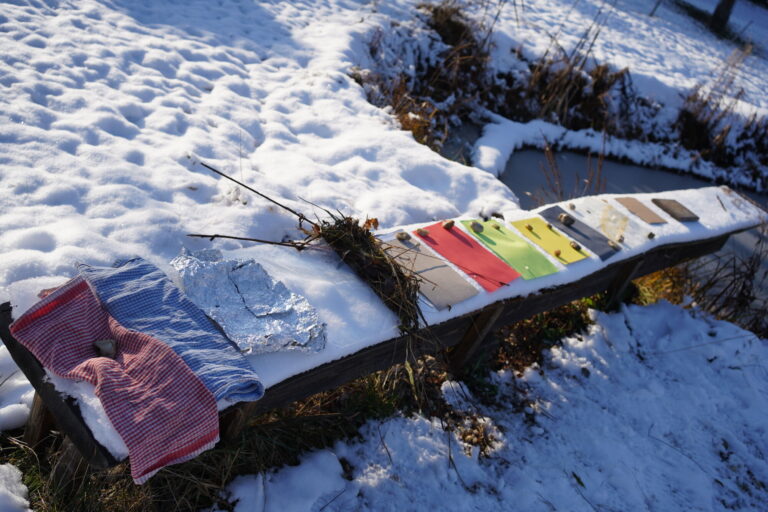
YOU WILL NEED: different materials for the testing - paper (of different colours), cardboard, fabric, wood, aluminium foil, bark, sitting mat, etc.
HOW TO DO IT:
On a sunny day, cover the snow with different materials (e.g. paper, cardboard, fabric, wood, foil, bark, etc.).
I'm sure you're also figuring out what to carry outside under your butt. In the snow, you have the perfect opportunity to test the insulating properties of different materials. The test can be a feel test (i.e. with your butt), but you can also do a test with cups of tea - at least your tea will not stay too hot!
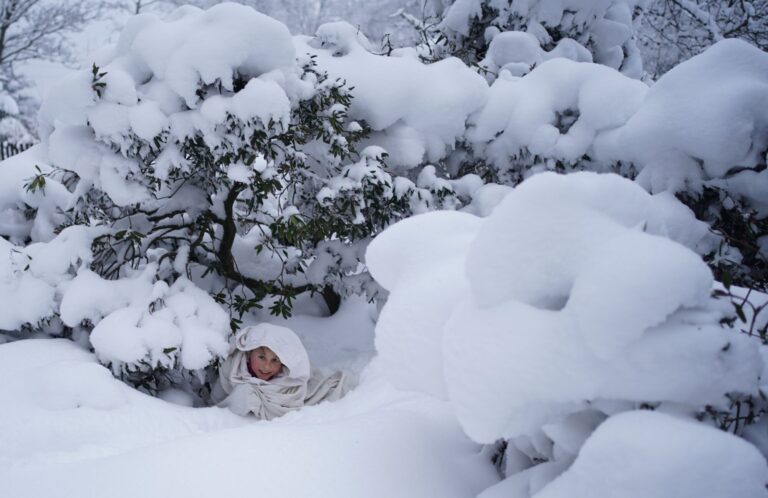
Discover the mystery of mimicry.
YOU WILL NEED: white bed sheets, blankets or any other white fabric
HOW TO DO IT:
Playing hide and seek in the snow is more of a challenge... unless you take the art of mimicry to help you.
Can you think of any animals that have mastered this art perfectly, and in winter, the white colour makes them disappear perfectly in the landscape?
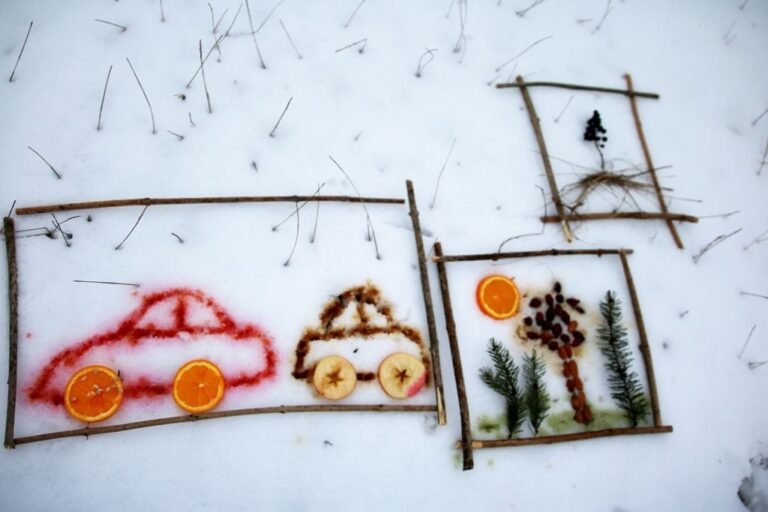
Easy and playful winter art.
YOU WILL NEED: natural materials, natural dyes, chalks
HOW TO DO IT:
Using natural materials and natural colours, children can individually or in groups arrange and colour unusual pictures in a snow gallery.
If the children need it, you can come up with a theme for the pictures together. When everyone is finished, we go through the snow gallery together and look at all the pictures. Each artist can come up with a title for their picture and the class can then guess the name of each picture.
When we return to the classroom, we recommend following up by writing a short story about the snow picture - e.g. a description of the main character, telling a story, describing the workflow, etc.
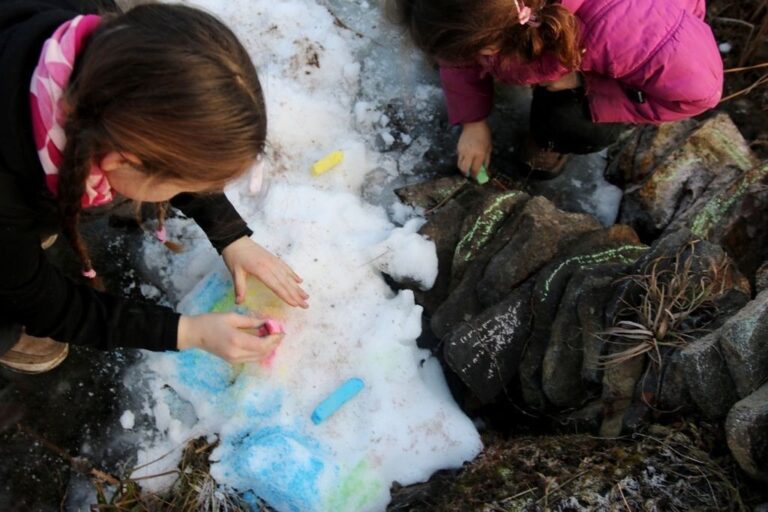
TIP: Try also painting with chalk. Which snow is good and which snow is/isn't good yet?
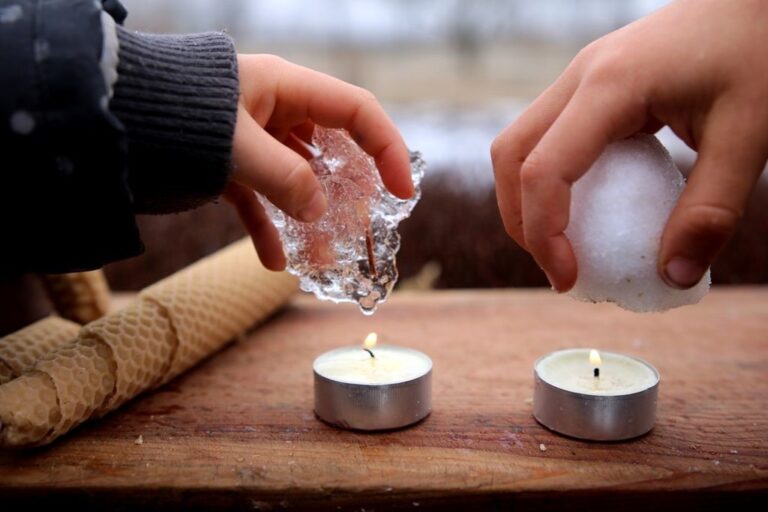
Is there snow outside? A wonderful opportunity for a little science experiment with a snowball and a piece of ice.
YOU WILL NEED: a snowball and a piece of ice, two candles
HOW TO DO IT:
Children place a snowball and a piece of ice over two candles and observe which will drip first. (Snowflakes create a lot of space around them in the snow, so ice, which has no such spaces to bind dissolved water, starts dripping first).
YOU WILL NEED: warm gloves, natural materials, eventually watercolours or natural colours
HOW TO DO IT:
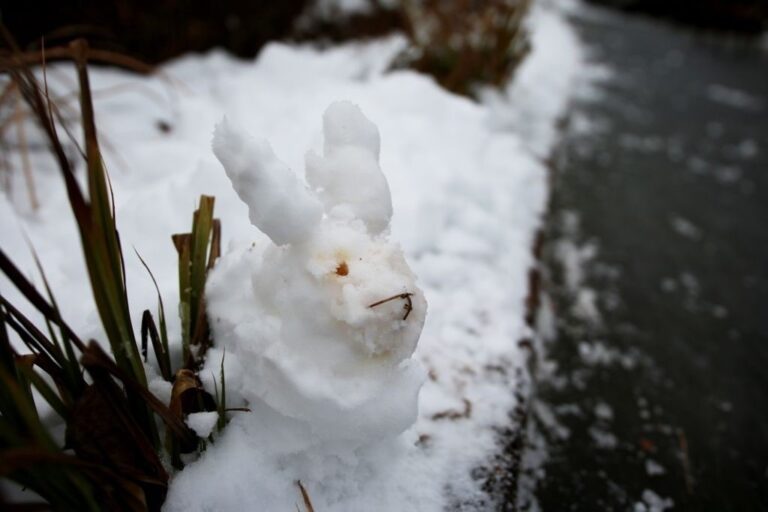
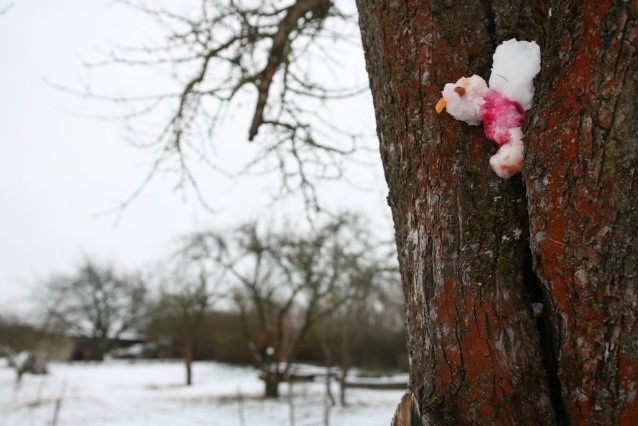
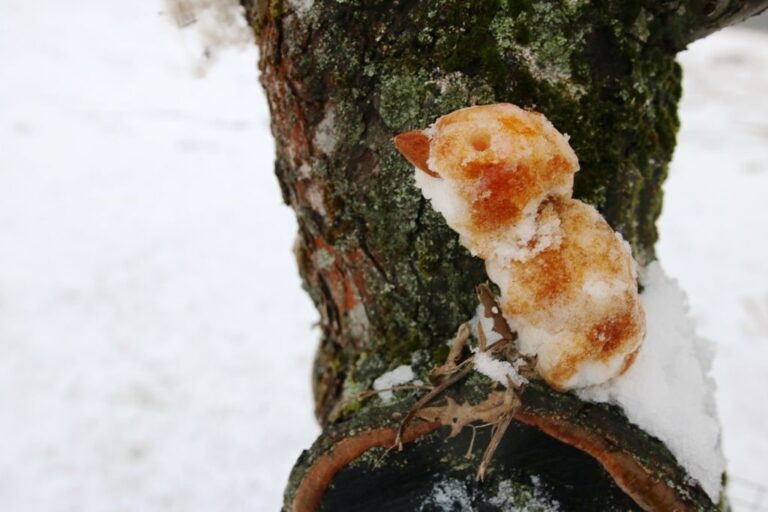
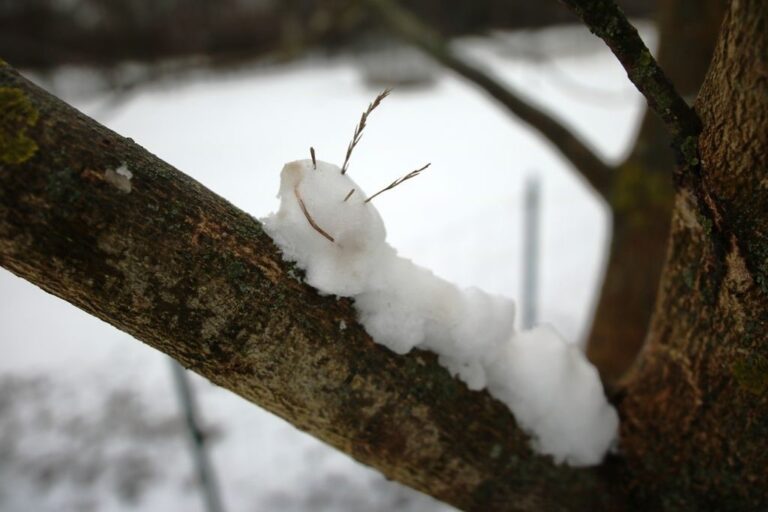
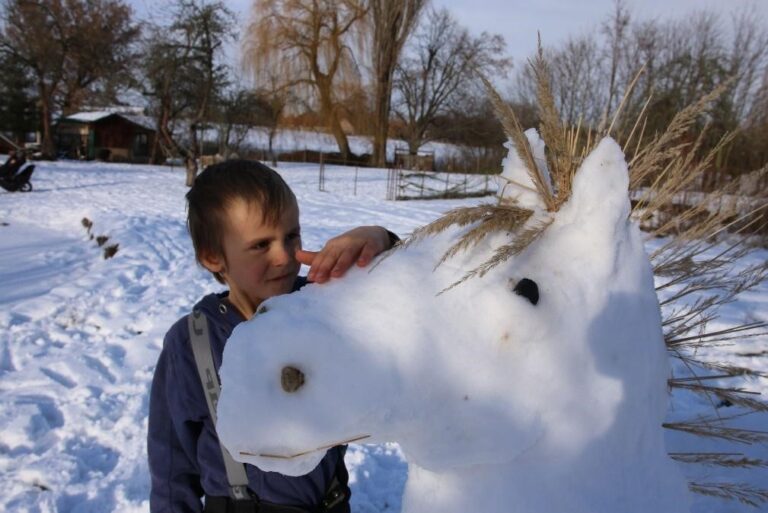
Each child creates a snow animal statue. They place it somewhere in the agreed area and then we can guess together what kind of animal it is and whether it hibernates or is active in winter.
In our snow gallery, we had a caterpillar (which accidentally woke up), a parrot (which flew away), a finch (which spends the winter with us) and a rabbit (which looks for food also in winter).
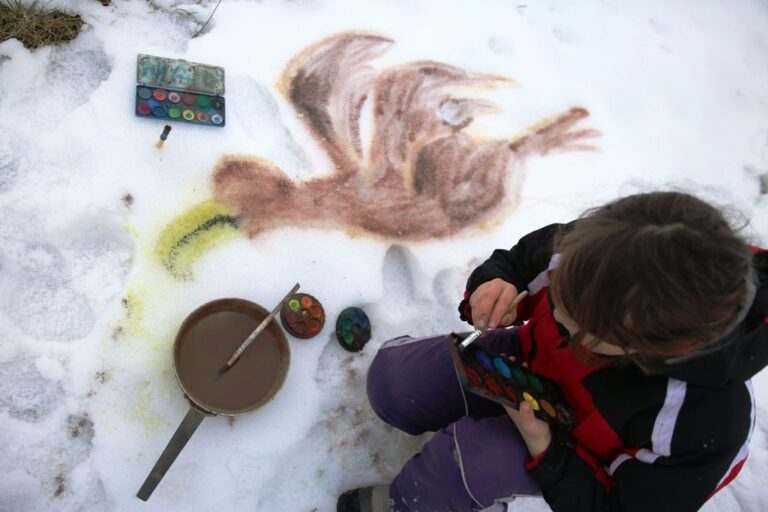
YOU WILL NEED: natural dyes, bowls, watercolours, paintbrushes, thick markers
HOW TO DO IT:
You can paint directly on the snow with naturally coloured water (in a spray bottle) or with paintbrushes when a more solid crust forms on the surface.
We recommend food colouring or better yet, using natural dyes directly to colour the water:
- soil (many shades of brown)
- coffee grounds (shades of black to grey)
- turmeric or curry powder (for yellow)
- beet juice (for burgundy to pink, depending on concentration).
If you don't have enough bowls for naturally coloured dyes, you can use watercolours.
If you firm up the snow, you can try thicker markers for small details.
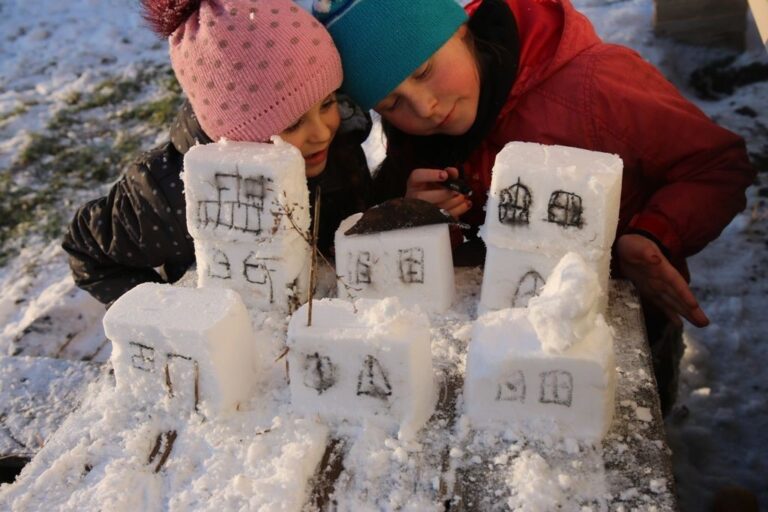
Almost all children enjoy building gnome houses. Why not invite elves and fairies for a winter holiday?
YOU WILL NEED: plastic containers of different sizes, thick markers, natural materials
HOW TO DO IT:
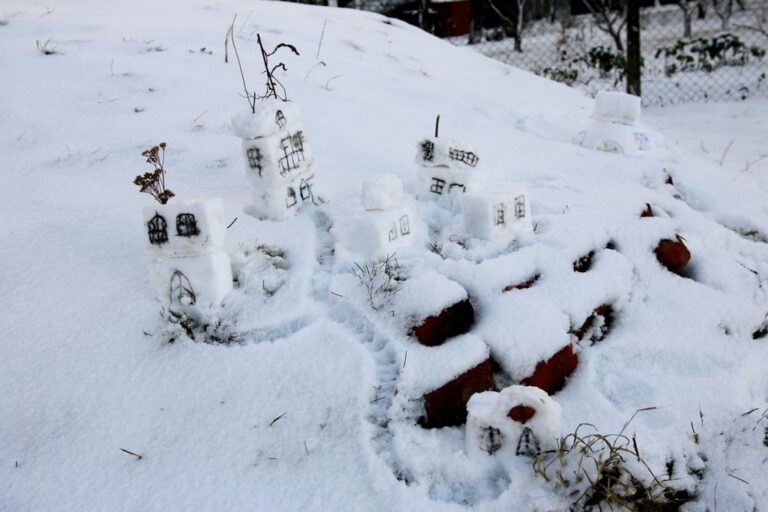
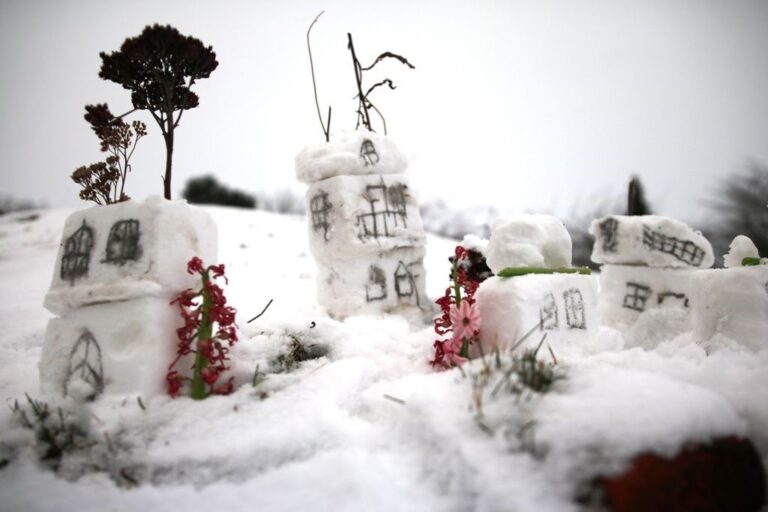
We can create snow villages anywhere so it doesn't matter whether you are a short walk from the house or in the woods.
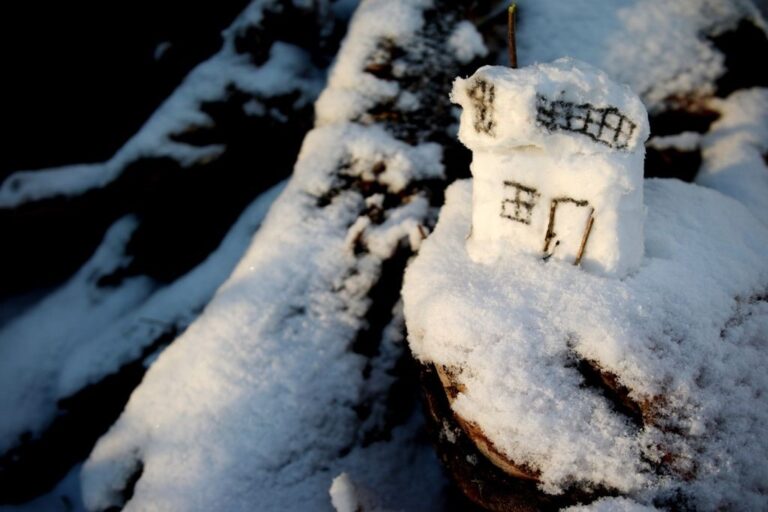
Children use their imagination to make snow elf houses. They can create irregular houses with their hands or they can use plastic containers to make regular bricks and shapes on which they can paint details with a thick marker or add natural materials.
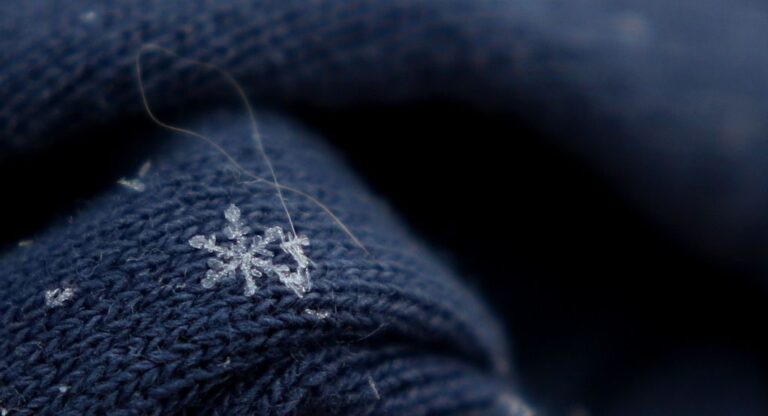
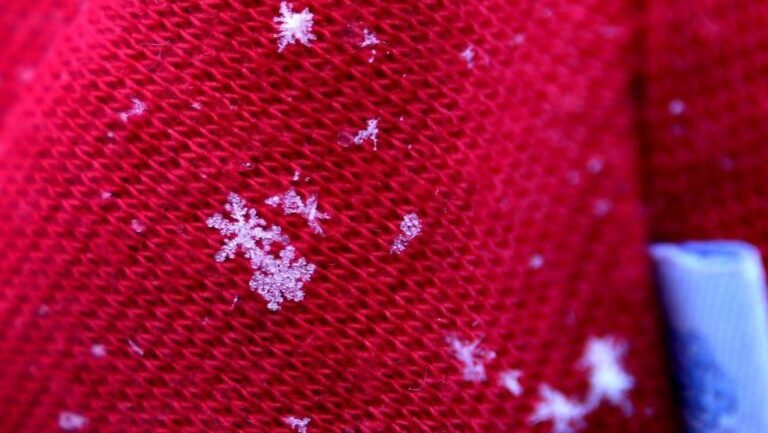
Winter gives us a great opportunity to discover the beauty and wide variety of snowflakes.
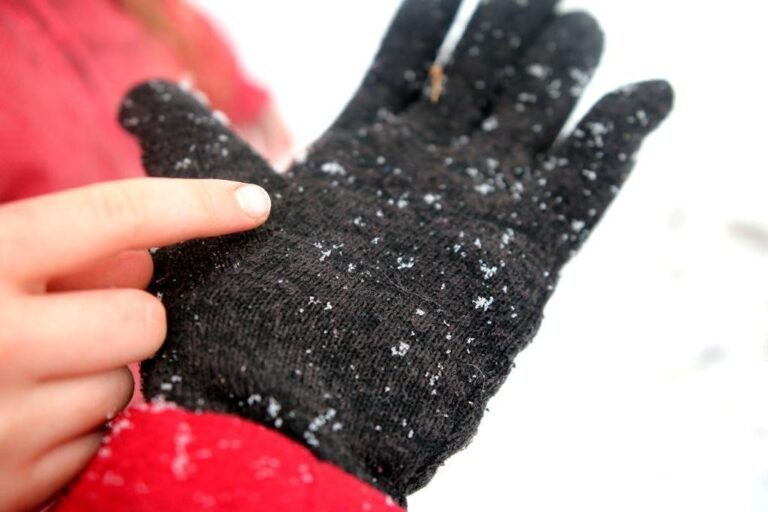
YOU WILL NEED: different types of magnifying glasses, pocket microscopes (if you have them), mobile phones (you can take pictures and enlarge them to see the snowflakes nicely), black surface for observation (baking tray, writing pads or black paper)
HOW TO DO IT:
Take a magnifying glass with you the next time you go outside. The shape of the snowflakes can be seen easier on a dark surface. It is good to repeat the observation in diffrent teperatures.
What shape do the snowflakes have? Do we always draw them correctly?
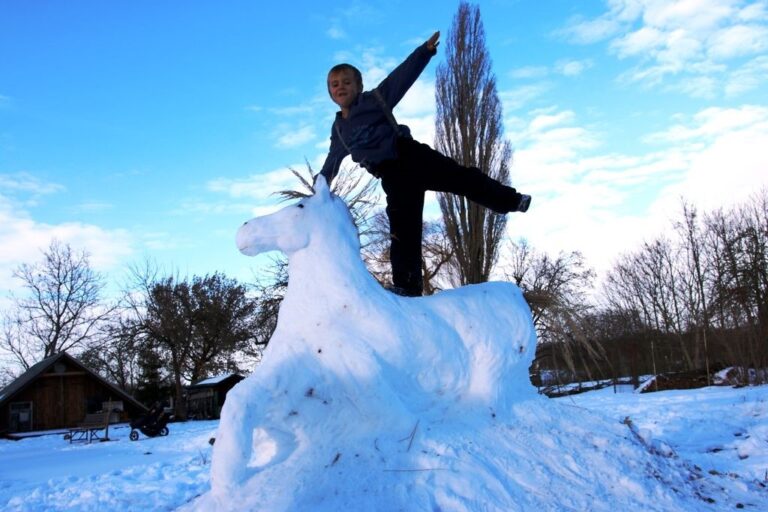
Snow can be used to build more than just ordinary snowmen.
YOU WILL NEED: warm clothes and gloves, a shovel may come in also handy
HOW TO DO IT:
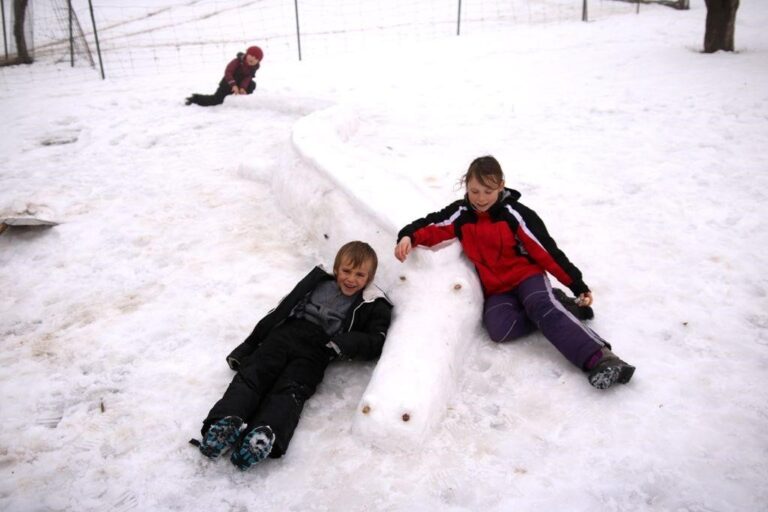
Test your sculpting skills by building sculptures large and small.
Children love to build their own farm or rescue station for injured animals. This kind of creating and playing might take a really long time.
When children are sad that the snow is melting, it's a good time to talk about the water cycle. Explain how the animals they have made turn into invisible “water creatures” that will travel around a large part of the world and may return to them next winter.
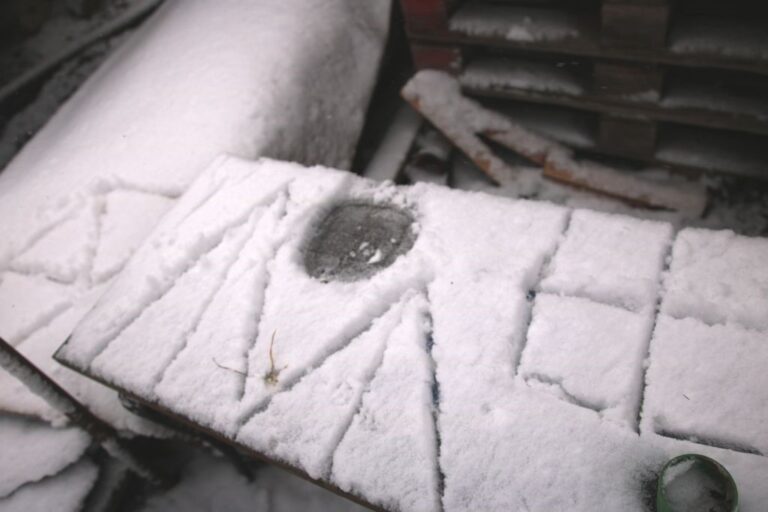
Use the outdoor whiteboard for geoetry and fractions revision.
YOU WILL NEED: natural materials
HOW TO DO IT:
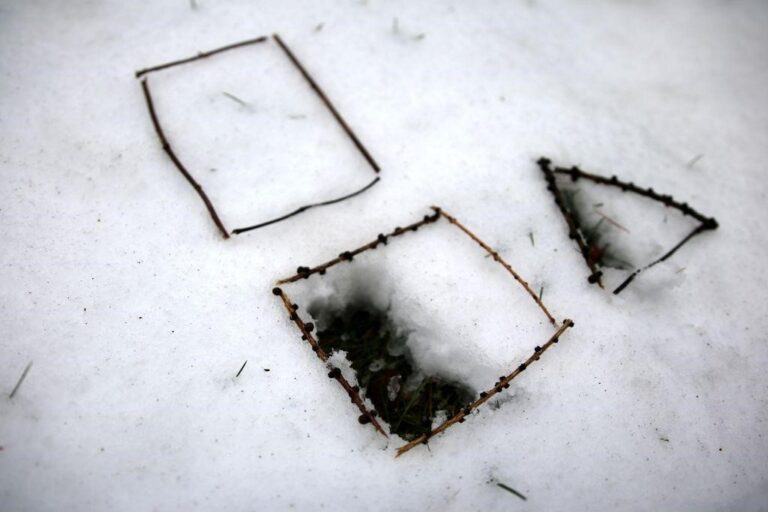
Children should draw as many geometric shapes as they can name in the snow. Do some geometry revision together (How do equilateral and isosceles triangles differ? etc.).
Then you can divide the shapes into smaller shapes (halves, thirds, quarters, etc.) and practise fractions in a natural way.
Create geometric shapes and touch geometry.
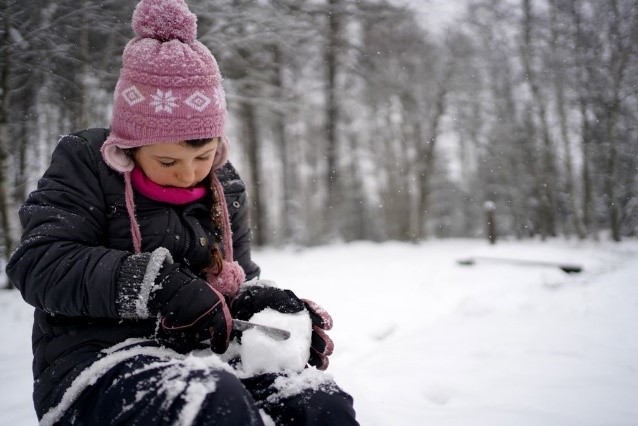
YOU WILL NEED: sticks, knife
HOW TO DO IT:
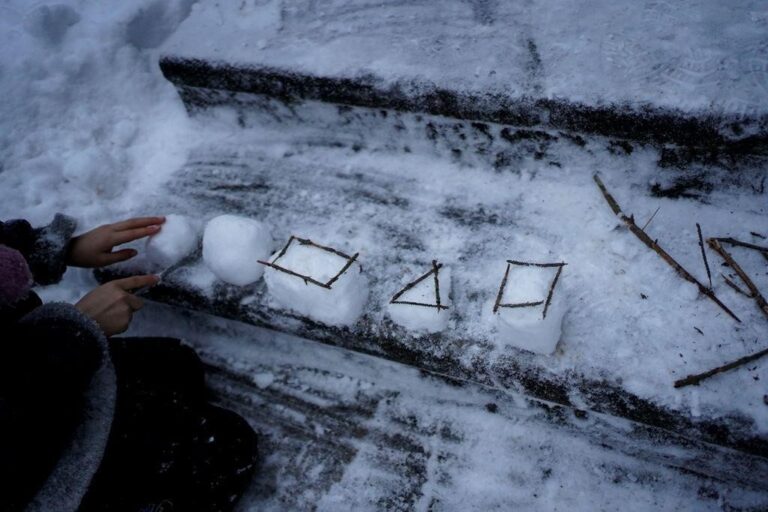
If the snow sticks well, the children can use it to create great three-dimensional models of geometric shapes.
Then you can use sticks to outline the 2D shapes.
A quick creative activity which also teaches the children to share.
YOU WILL NEED: suitable food that we can share with our animal neighbours - apples, carrots, corn, beetroot, seeds and nuts, hay, etc.
HOW TO DO IT:
Pack a larger than normal snack for the walk, the size depending on which animal neighbours you want to present it to.
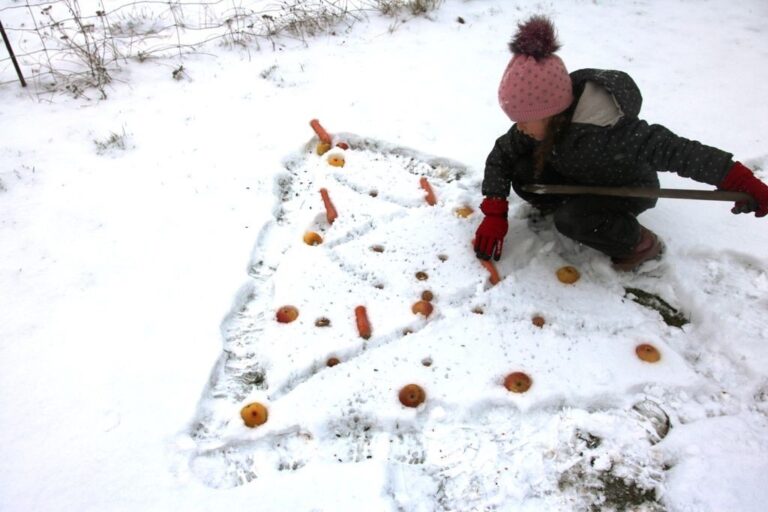
The timing is ideal during Advent when we help those in need, and whenever there is a big frost or a lot of snow outside. Find a suitable place and have the children make triangles in the snow with their steps. These shapes will become simple Christmas trees. The children can then decorate the trees with goodies for animals.
The children can also try making a cake for birds. They stuff snow into a suitable container and turn it out to make the cake which they can decorate with goodies for small birds.
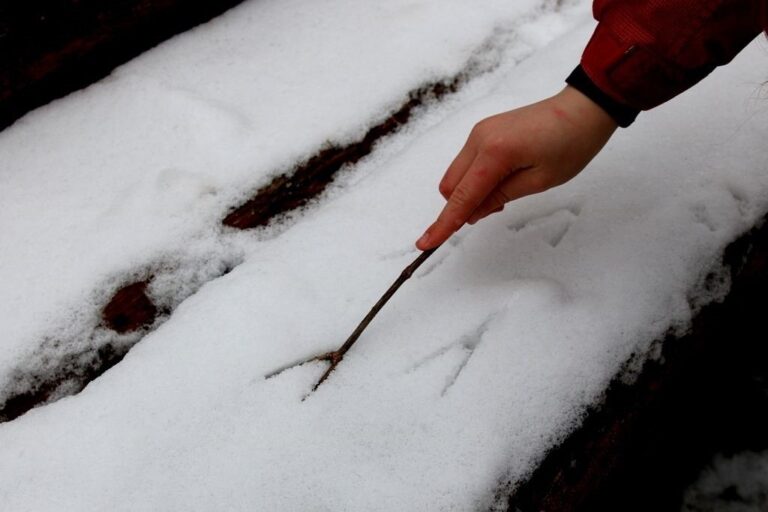
An activity that develops the imagination and storytelling.
YOU WILL NEED: your imagination
HOW TO DO IT:
Snow is like a new interactive whiteboard. You can follow what is happening around the school and where. Who lives, runs and jumps around? Go somewhere further into the wilderness (even the urban wilderness) if you have already mapped out the area around your school.
On the way back, you can create new tracks and invent the animals who made them.
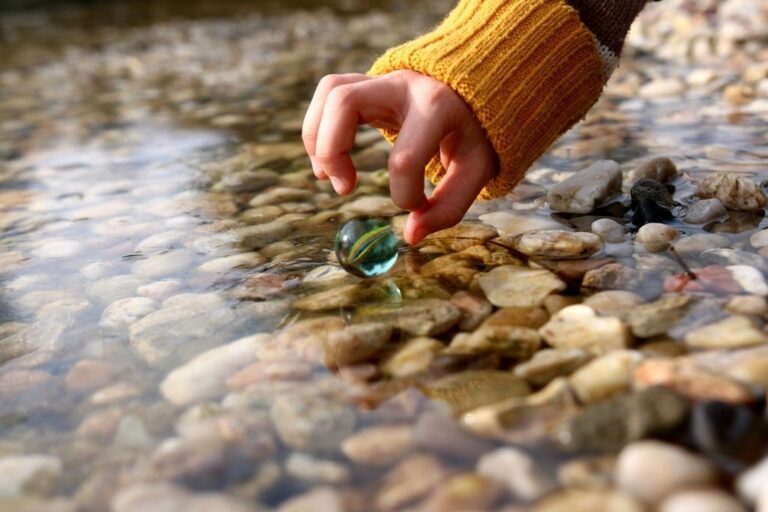
Let's explore friction in our physic laboratory on ice.
YOU WILL NEED: marbles and ice
HOW TO DO IT:
A bit of ice physics. Pack a few marbles in your pocket when you go exploring on ice. The children can test for differences between playing marbles on clay, sand, snow and ice. It is a good introduction to the subject of friction and its effects.
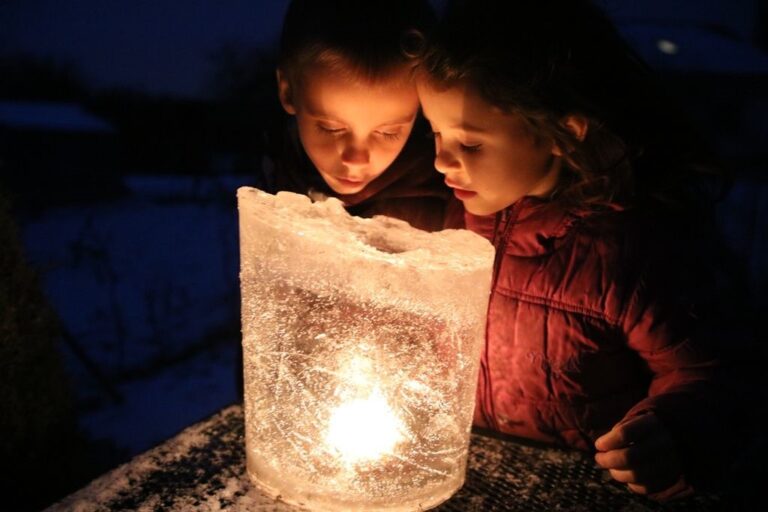
Make winter evenings a magical experience.
YOU WILL NEED: two containers with one fitting into the other, optionally natural materials
HOW TO DO IT:
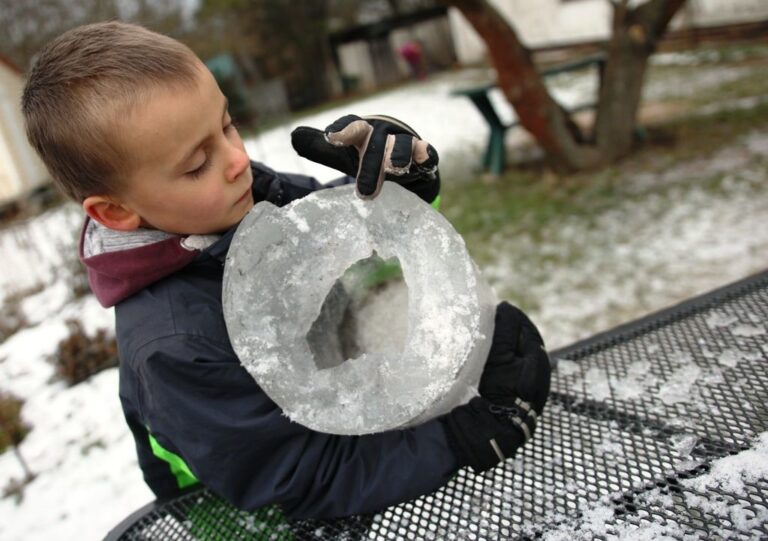
Make an ice lamp or two with the children if you have the opportunity. You will need two containers with one fitting into the other. A pair of smaller containers make lamps for one candle while larger containers will make large ice lamps with two or more candles.
Fill the larger container halfway with water then place the smaller container into it and weigh it down (with water or stones) so that it sinks almost to the bottom of the larger container. You can also arrange some leaves, twigs, dry grass or ferns in the water to decorate your lamps.
Set everything outside to freeze. When frozen, remove the smaller container and carefully slide the ice lamp itself out of the larger container (dip it in water if it doesn't come out easily).
It is best to light candles in the lamps after dark to really enjoy the beautiful light. The advantage to ice lamps is that the threat of fire is minimal on snow or the frozen ground.
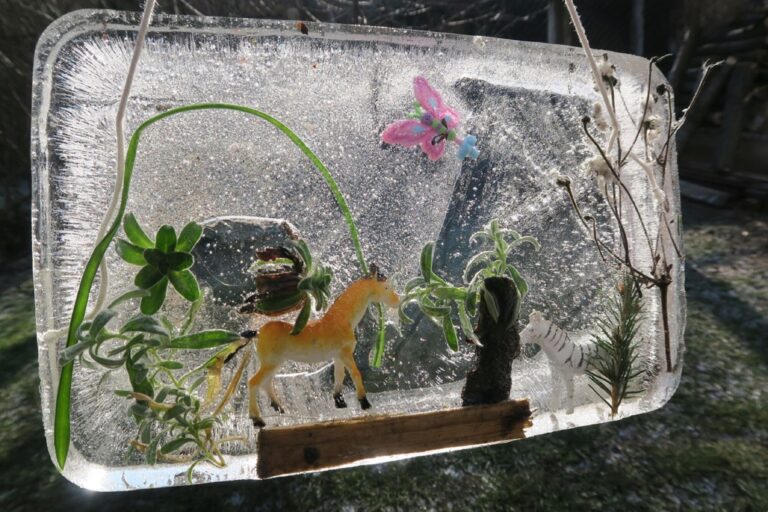
Leave your screens at home and go out to make your own frozen stories.
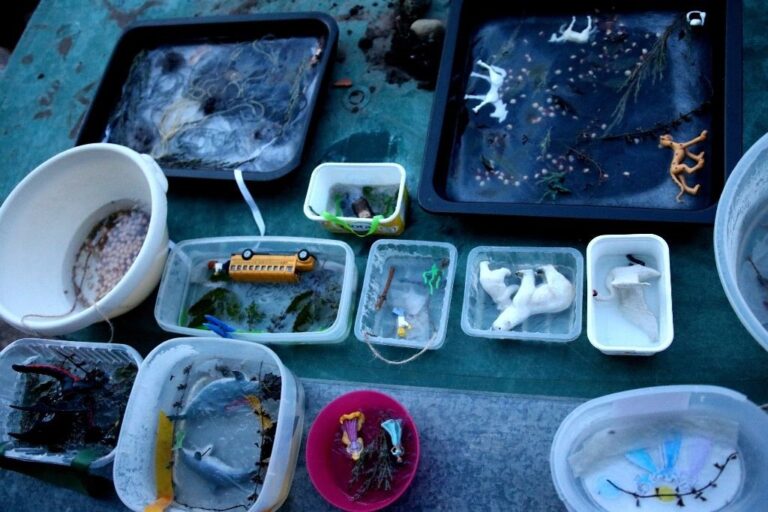
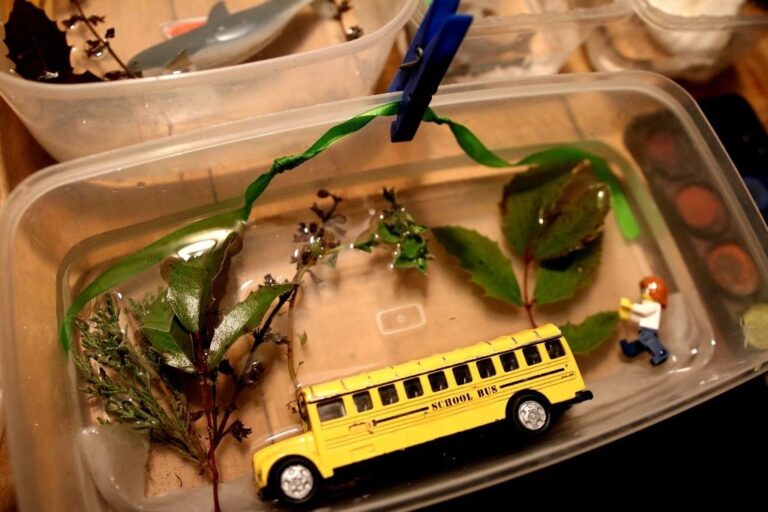
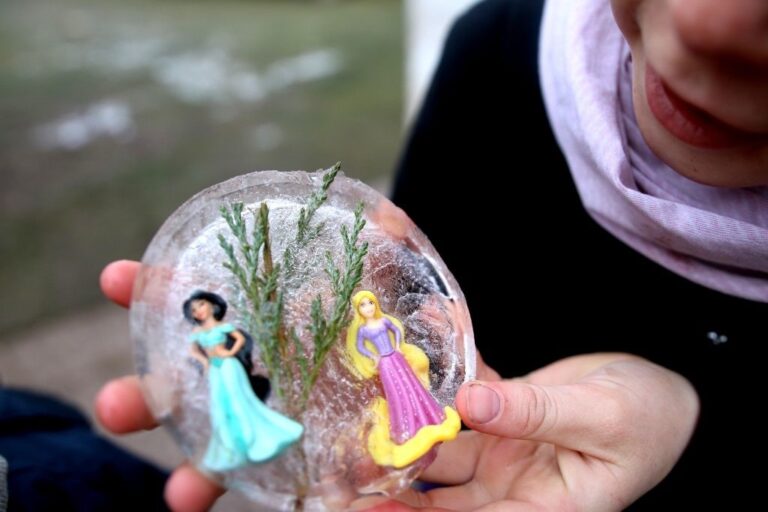
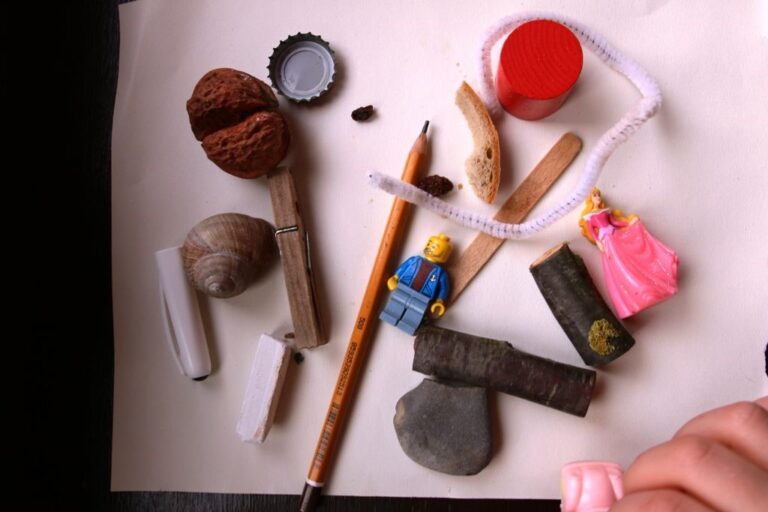
YOU WILL NEED: waterproof containers, any available natural materials, small toys (those that can get wet and frozen; made from wood, plastic, metal or fabric)
HOW TO DO IT:
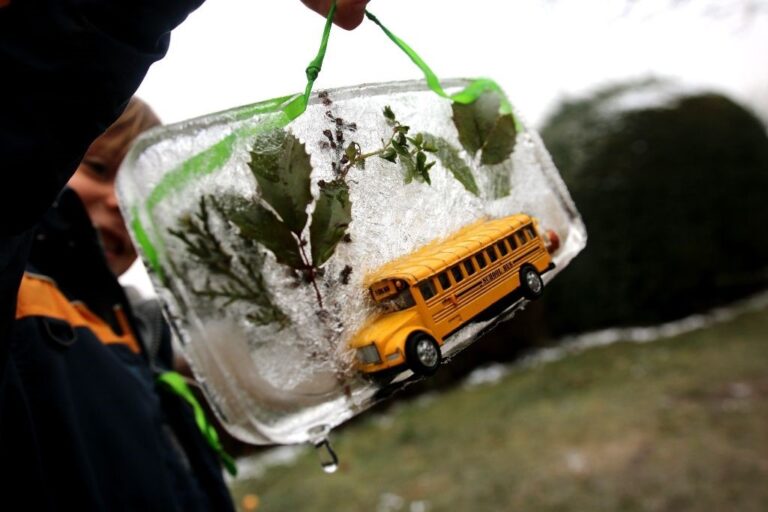
Today children and adults both find themselves indoors staring at screens all day. We recommend trying screen-free days with your children and if it's freezing it's a great opportunity to get out and try telling stories with frozen screens. Prepare some waterproof containers, any available natural materials and some favourite toys (those that can get wet and frozen; made from wood, plastic, metal or fabric).
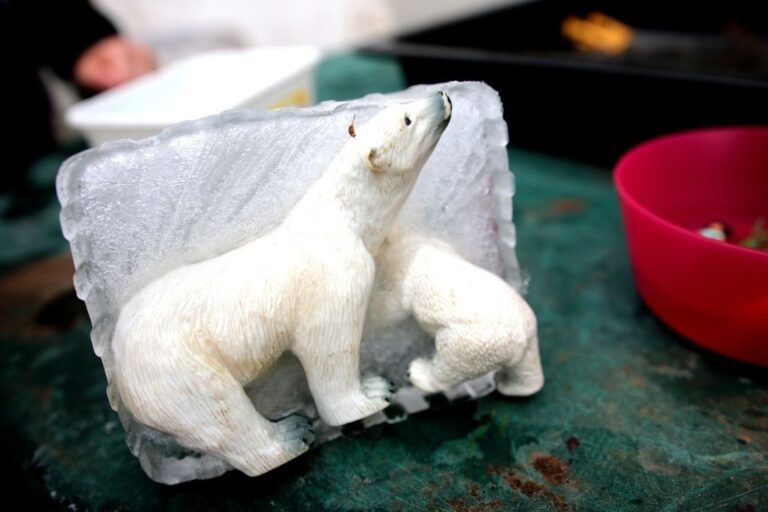
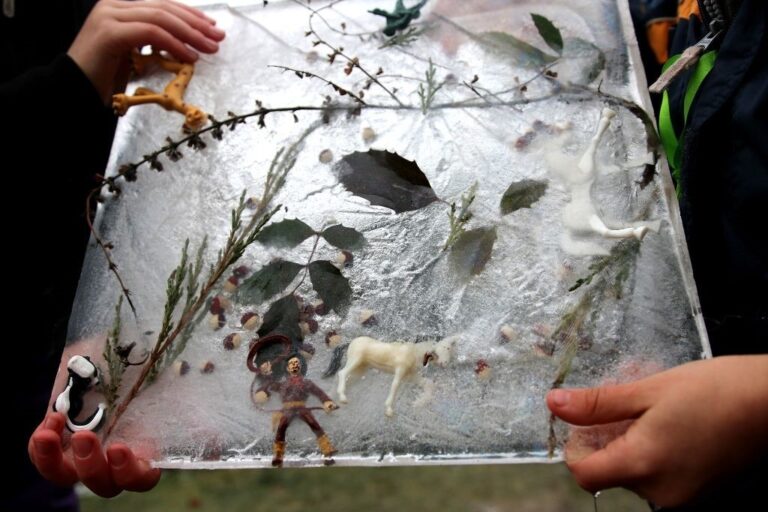
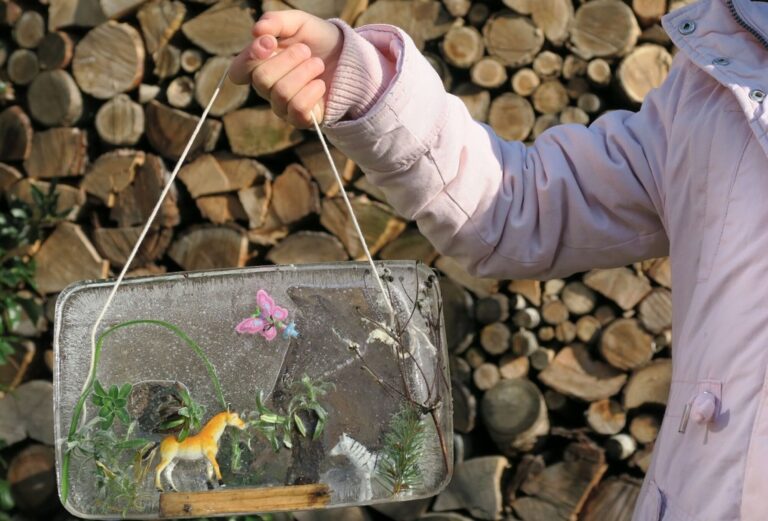
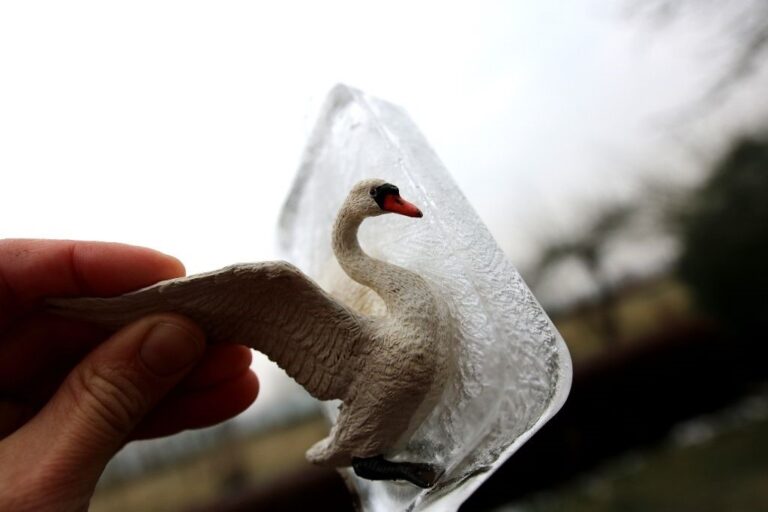
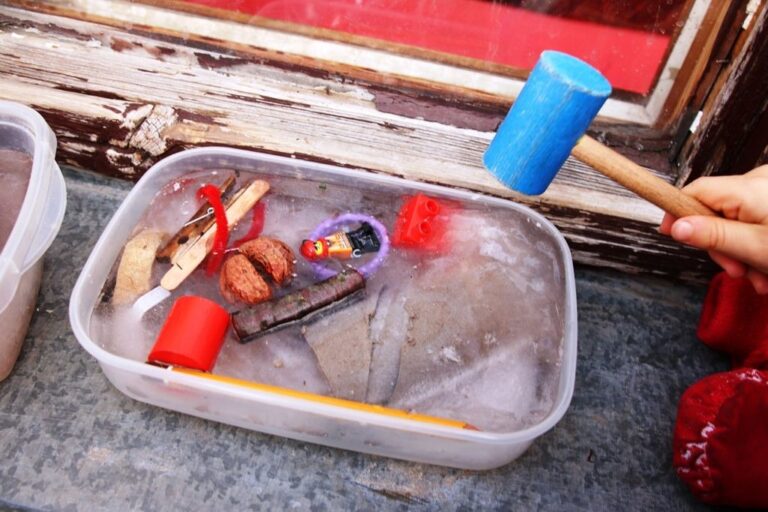
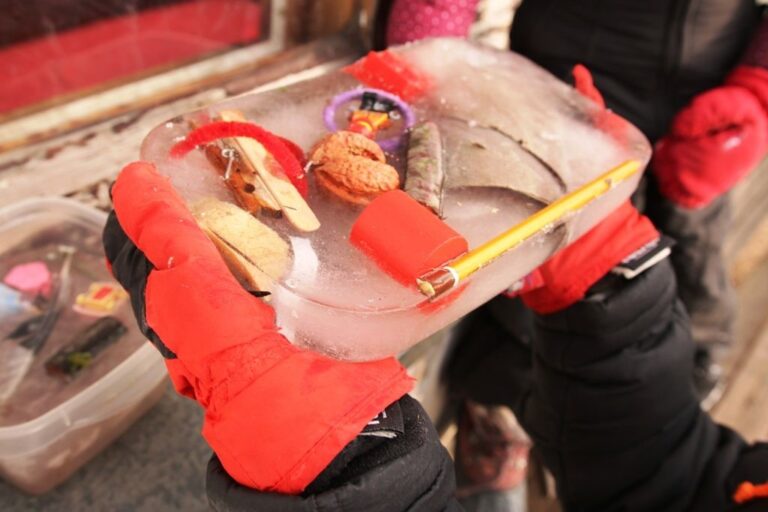
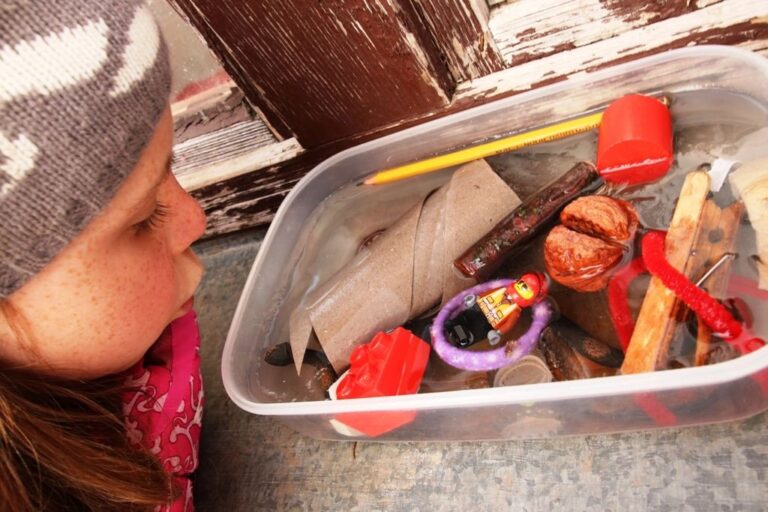
Have each child grab a container and try to create their own story using natural materials and their favourite figurines or characters. Finally, water is poured into the container to create a min. 1–2 cm thick layer (it can be deeper, it depends on how cold it is). You can insert a string that peeks out as a loop. Let everything freeze overnight outside the window in your own personal natural freezer. The next day, check that everything is frozen. Carefully remove the screens from the containers, look at them from both sides and tell one another the stories that have been captured in ice.
Frozen screens/ Gefrorene Bildschirme/ Écrans gelés
The activity can also be tried out for teaching foreign languages, just by not using your native language when giving instructions and storytelling.
A fruit snack as a lolipop? Children will love it!
YOU WILL NEED: fruits, clean twigs or skewers
HOW TO DO IT:
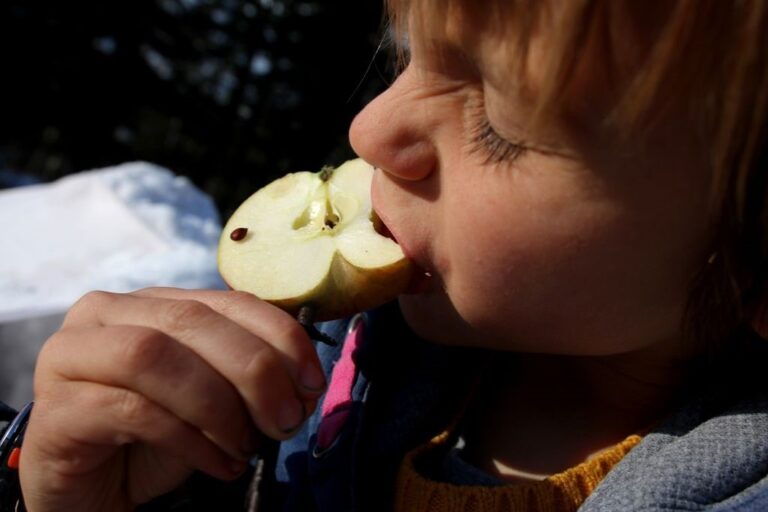
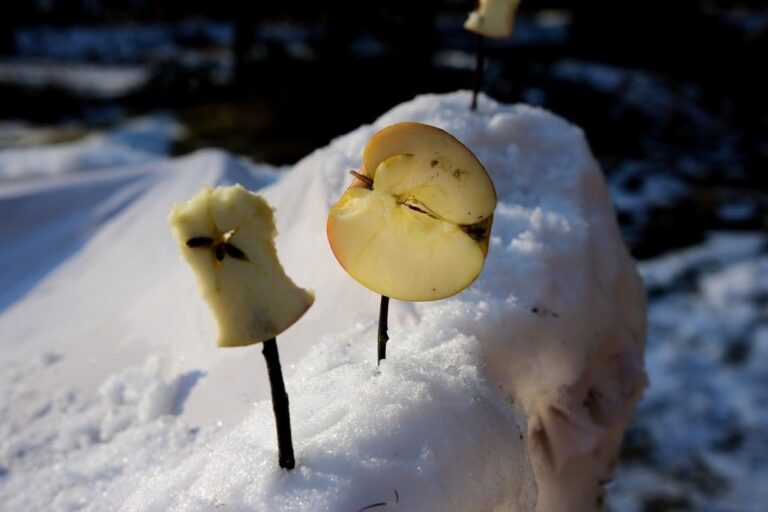
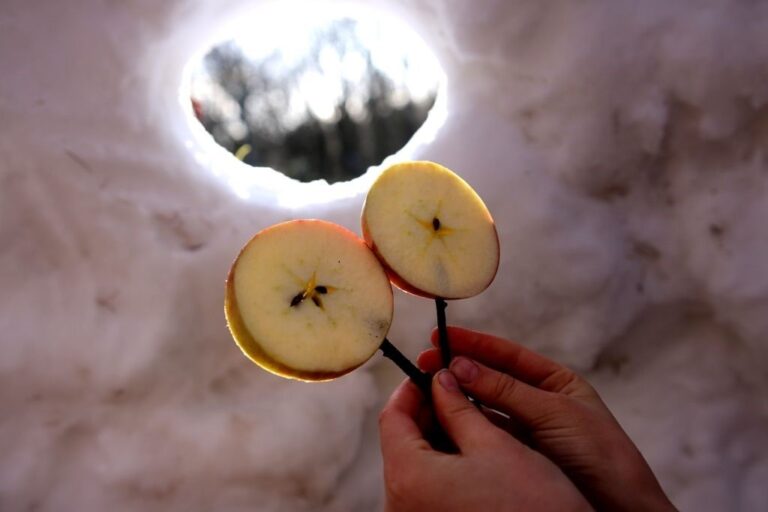
We recommend trying a frozen snack when it is freezing outside, especially during the day. Impale chopped fruit on clean twigs or skewers. Place everything outside to freeze slightly and then it's time for a snack.
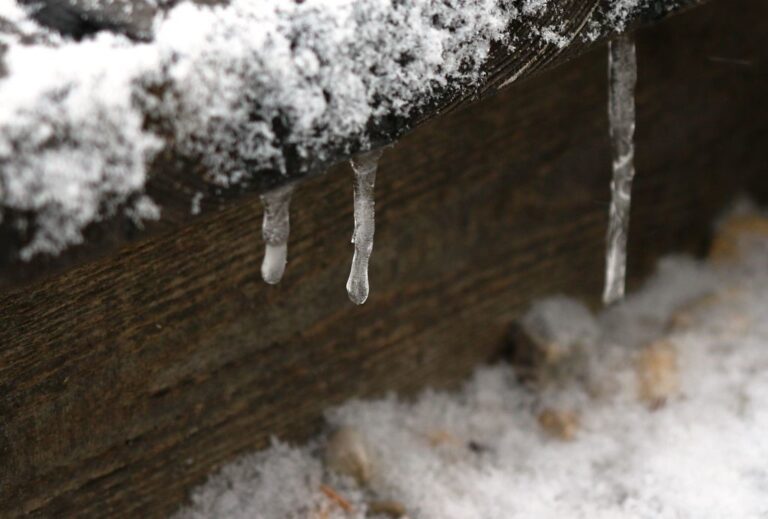
Reveal the mystery of icicles and learn more about how stalactites are formed.
YOU WILL NEED: a place with icicles
HOW TO DO IT:
The first task is to find icicles around the school (we recommend this activity when you know that there are icicles to be found nearby). The next task for the students is to deduce how icicles are formed. Why do they show up only in specific places?
Then ask the children to think of where in nature they can find a similar shape and phenomenon. What are they called (stalactites) and how are they formed (they are created by minerals dissolved in water and deposited during evaporation)? Can the children determine whether the icicle hanging off the eaves resembles a stalagmite, stalactite, or stalagnate?
Make winter colorful with these decorations.
YOU WILL NEED: natural materials, containers, strings
HOW TO DO IT:
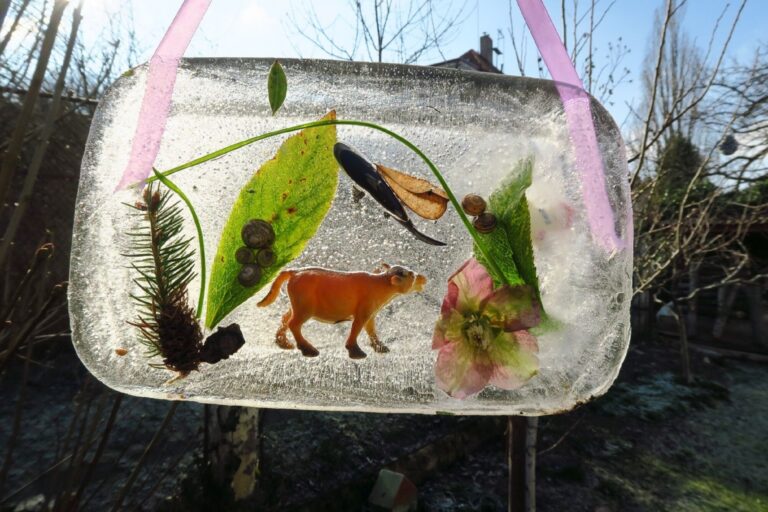
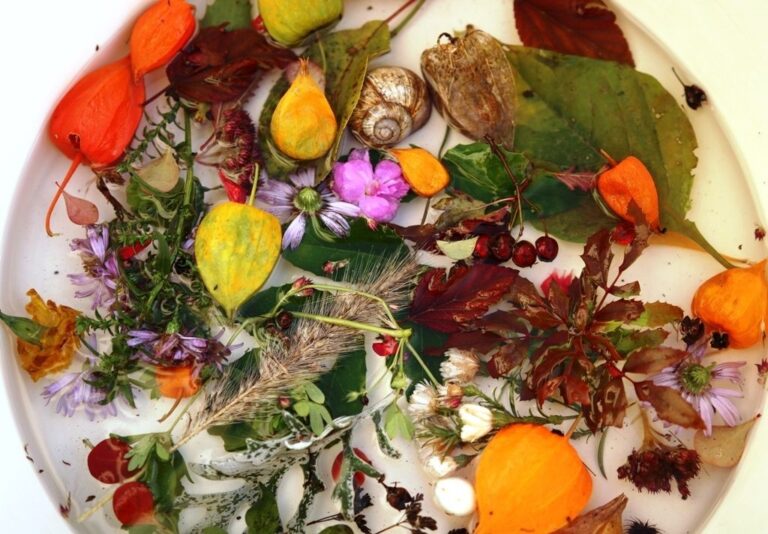
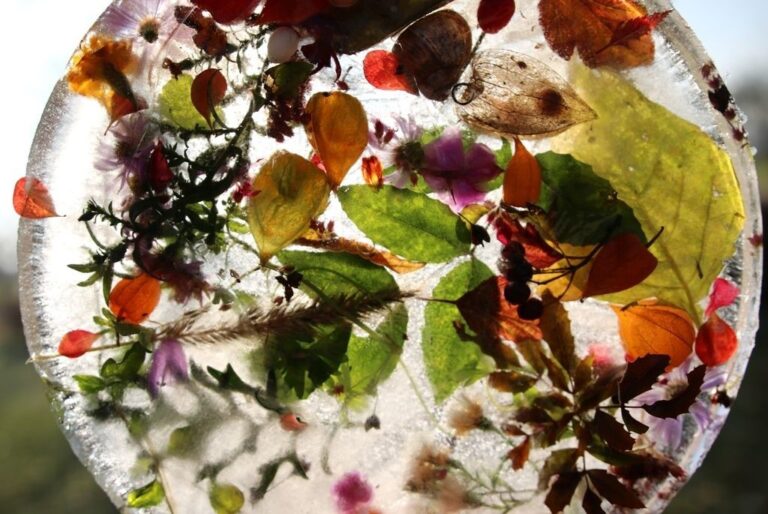
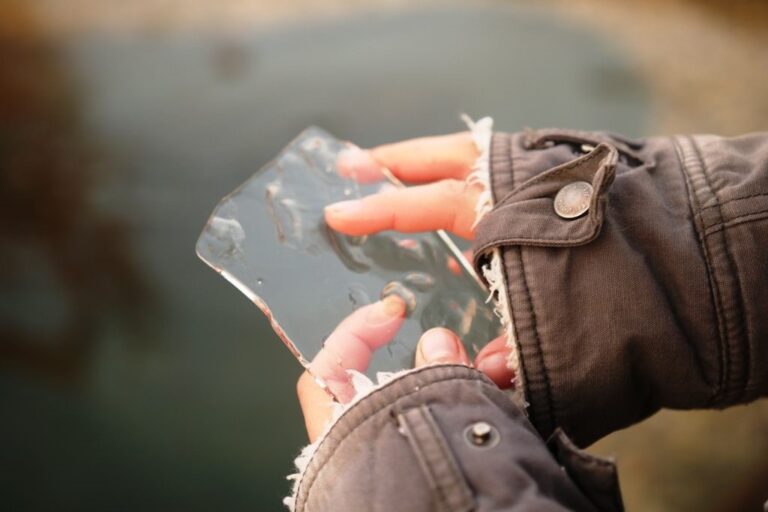
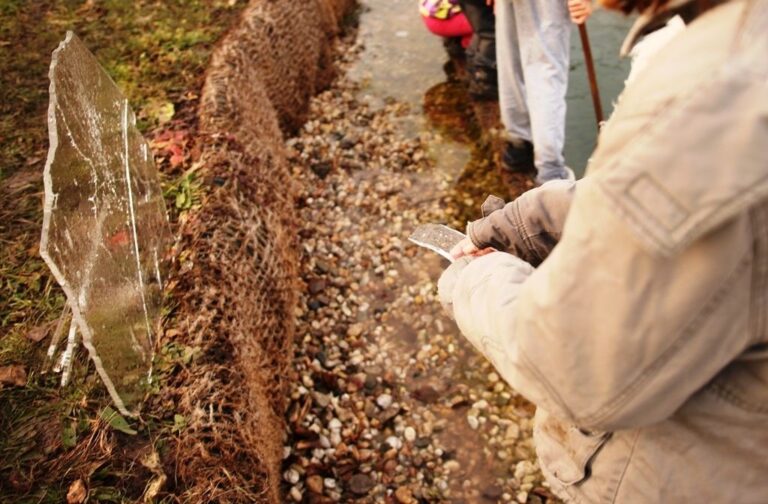
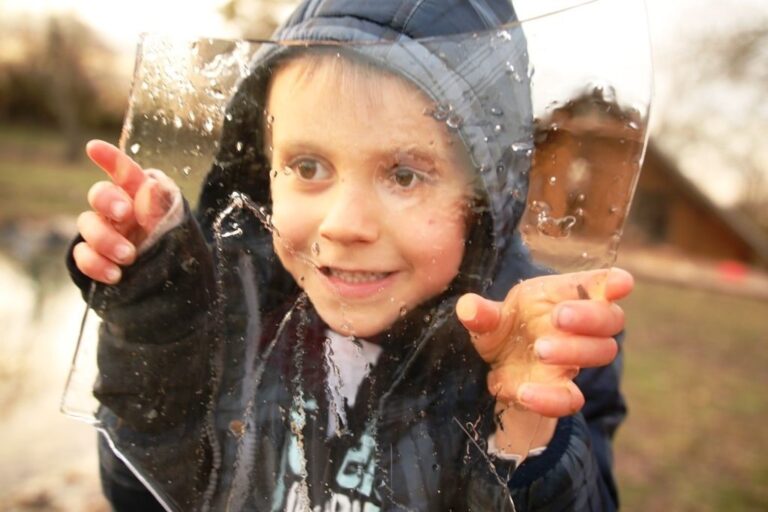
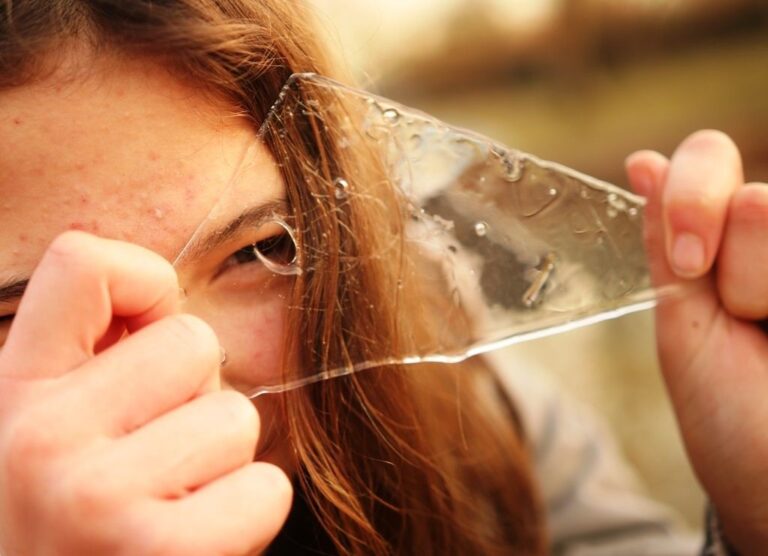
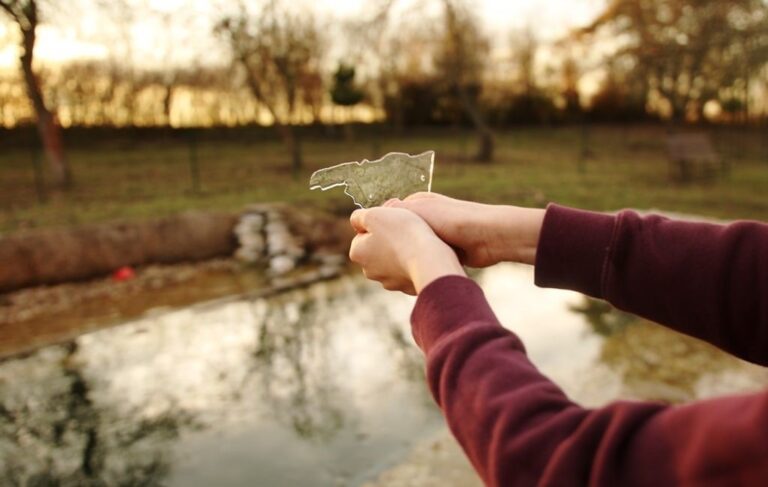
You can consider making small mirrors when it's cold enough outside. First thing to do is to collect some natural materials that you find outdoors or you have on hand dried and saved from before winter set in. Arrange everything in suitable containers and cover with water. You can insert a string or wire loop for hanging. Let your mirrors freeze outside overnight on the windowsill or anywhere they won't be disturbed.
The next day, carefully remove your "glass" from the containers and, preferably against the light, admire the beauty of your ice mirrors. You can hang the mirrors on trees as decorations or use them as windows in your snow house or ice structures.
Take out favourite characters and have kids practise storytelling.
YOU WILL NEED: favourite lego characters
HOW TO DO IT:
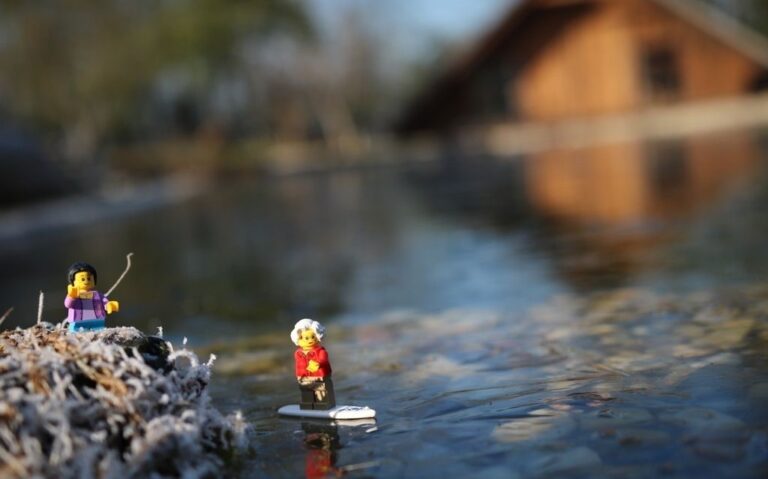
It is easy enough for children to invent and tell stories outdoors but if you also include some of their favourite characters then the stories will be created all the more quickly. We usually use lego characters. The children divide into groups, choose a spot in the designated area for a location for their story and prepare to perform a short story. Then the groups take turns telling each other their story (one or two of the group narrate while the others are the actors). You can repeat this activity outside often in the different seasons, even in winter. The stories are usually short but very funny.
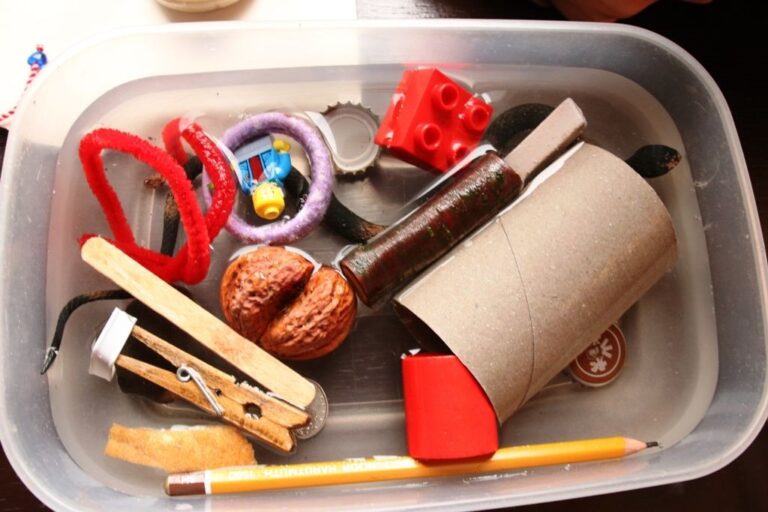
How different materials react to being frozen?
YOU WILL NEED: different types of materials (plastic, wood, chalk, solid, metal, etc.), plastic containers
HOW TO DO IT:
When the temperature is well below the freezing point, prepare different types of materials (plastic, wood, chalk, solid, metal, etc.) in plastic containers. Cover the samples with a layer of water and let them freeze overnight outside (in an area free from disturbance like a windowsill).
The next day observe what happened. How did each material react to being frozen? It is even more interesting to watch the subsequent stage – melting. Children can estimate how long it takes for water to change from a solid to a liquid. They can place various samples in different places (on the heater, on the table, on the ground, wrapped in a scarf, etc.) and note what happens. Apart from the differences in how fast the ice melts, it is good to discuss what happens to frozen objects (chalk usually dissolves for example).
You can find many other experiments with ice on the Internet. We recommend including them in the lesson when it's freezing outside, and thus make use of the large natural outdoor freezer.
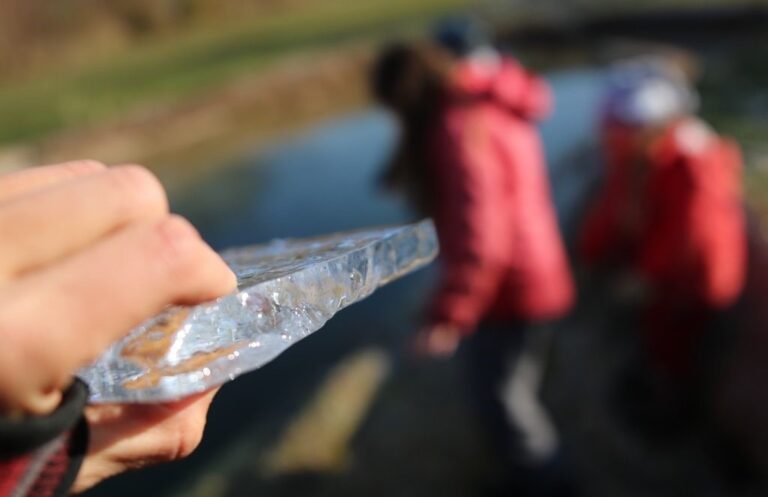
Monitor ice thickness on different days and in different places.
YOU WILL NEED: just the right weather and some containers for water (optionally)
HOW TO DO IT:
Monitoring ice thickness on different days and in different places opens up many questions and opportunities. It is also great for comparing the level of liquid water and frozen water. How does the water level vary? Why? (We recommend testing in an unsealed jar).
Even a disaster can be turned into a game 🙂
YOU WILL NEED: good gloves
HOW TO DO IT:
It doesn’t have to be a catastrophe when a large piece of ice for an activity is broken accidentally. You can declare “Ice Puzzle!” and try to reassemble what pieces you can of the ice block into their original shape.
Make a short scene or a sketch using ice props.
YOU WILL NEED: good gloves
HOW TO DO IT:
Each group prepares a short act for the class, using a backdrop or prop made of ice. The rest of the class guesses what the ice object is.
Casse-tête en glace / Eisrätsel
The activity described can also be done in a foreign language.
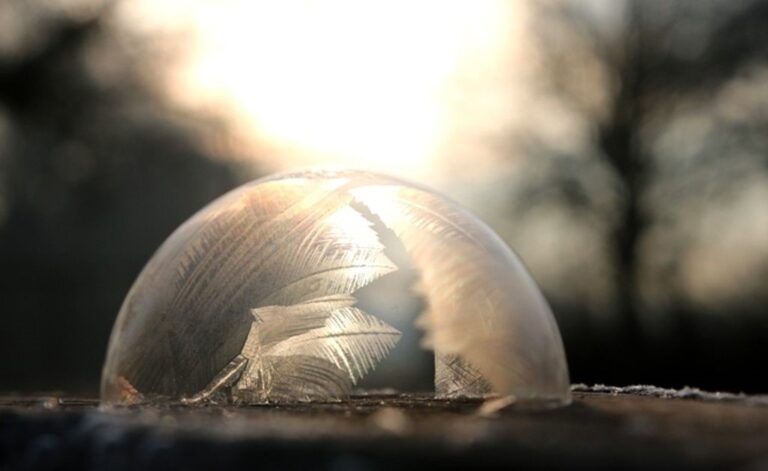
Seeing frost crystals grow is a great experience and you can grow this fragile beauty yourself!
YOU WILL NEED: bubble blower and the right weather conditions
HOW TO DO IT:
Is the temperature at least -5°C? And without a lot of wind? Then you have a great opportunity to try making freezing bubbles and see crystallisation happen before your very eyes. You only need to take out your regular bubble blower and your favourite bubble mix or try our mixture.
Our favourite bubble solution recipe:
200 ml warm water; 35 ml corn syrup; 35 ml dish detergent; 2 tablespoons of sugar.
Mix and put the mixture in the freezer for a while. Then you dress warmly and go outside to blow bubbles.
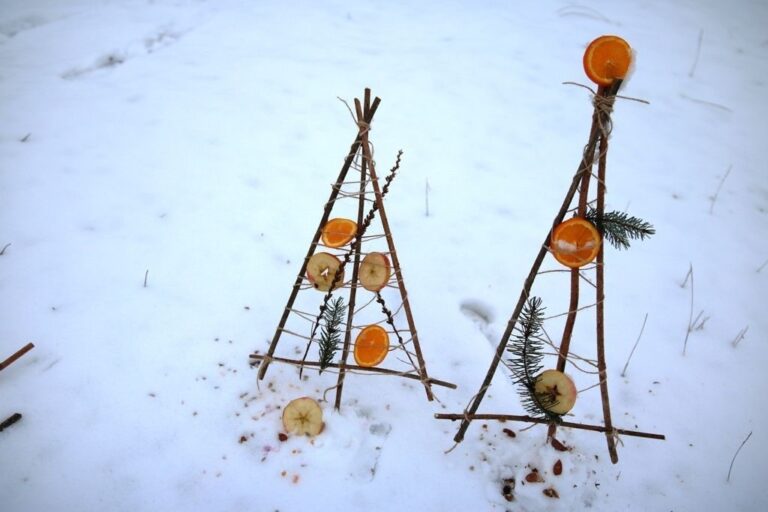
Make nice winter decorations around your house or school.
YOU WILL NEED: sticks and twigs, natural materials for decorations
HOW TO DO IT:
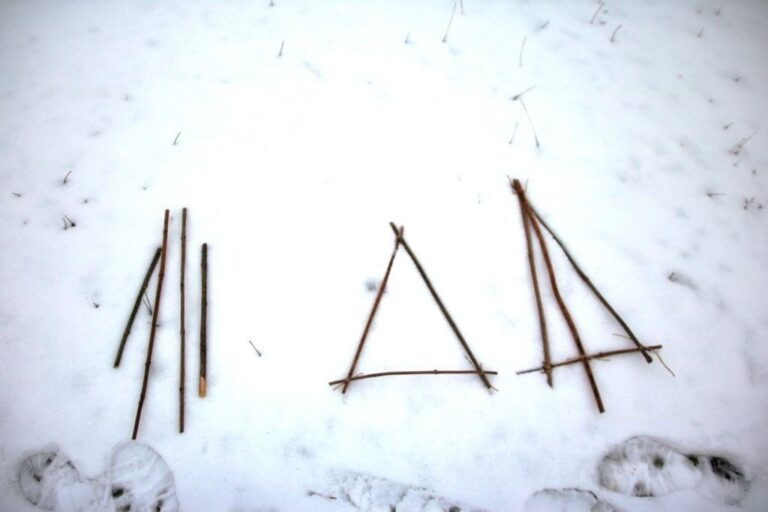
Each child has the task of taking one straight twig (if there is a lot of snow, we recommend preparing them from dry shrub sticks in advance as early as in autumn).
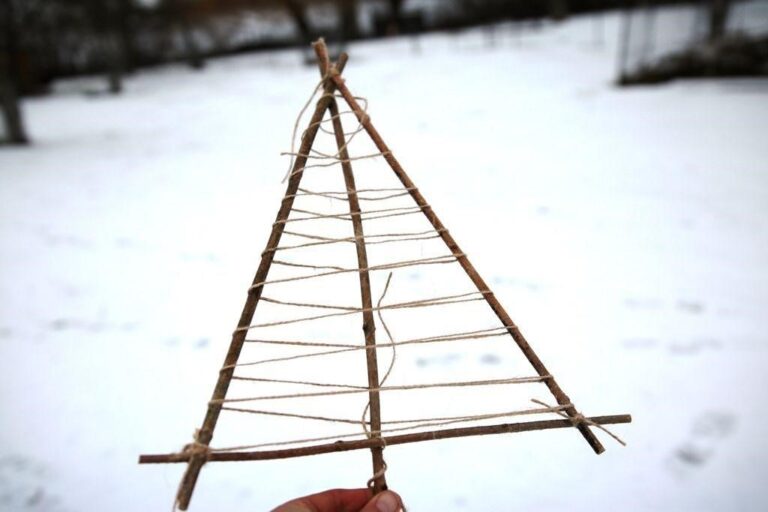
The first task is for every three children to form an isosceles triangle and connect it with a string. The groups then take another, longer straight stick and try to place it to divide the triangle in half. Again, everything needs to be connected with a string. This will make a stand for their tree.
All you have to do is wrap the tree with natural twine and decorate it with natural materials that you can find outside. You can also add some treats for animals.
Stick the resulting trees into the ground or snow and use them as decorations around your school or house.
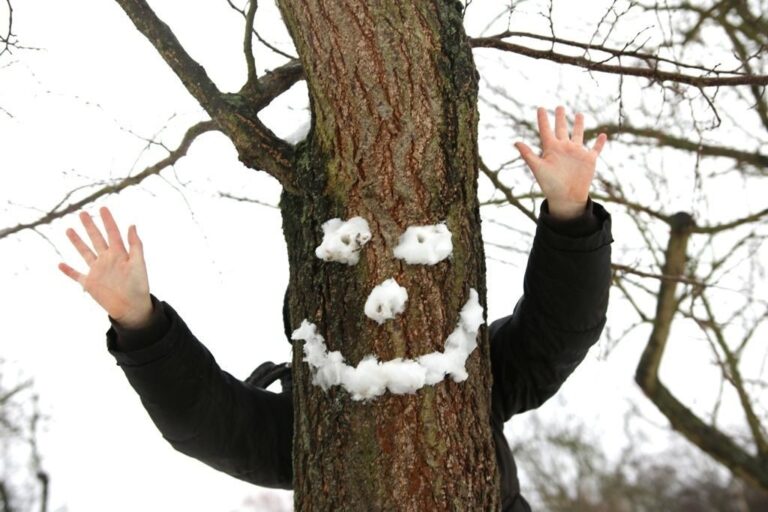
What would a tree tell us if it had a voice?
YOU WILL NEED: camera or mobile phone
HOW TO DO IT:
You've definitely tried to make tree faces. It is now time for the children to bring their Treebeards to life.
Trees with wide and straight trunks are best for this. They should be big enough that a child can easily hide behind them.
Now the children just have to figure out what Mr. Treebeard wants to tell everyone. It is great to remember it all with a photo or a short video.
Make snow "bricks" and show off your building abilities.
YOU WILL NEED: natural materials for decorations, sticks and twigs, markers, natural colours or watercolours
HOW TO DO IT:
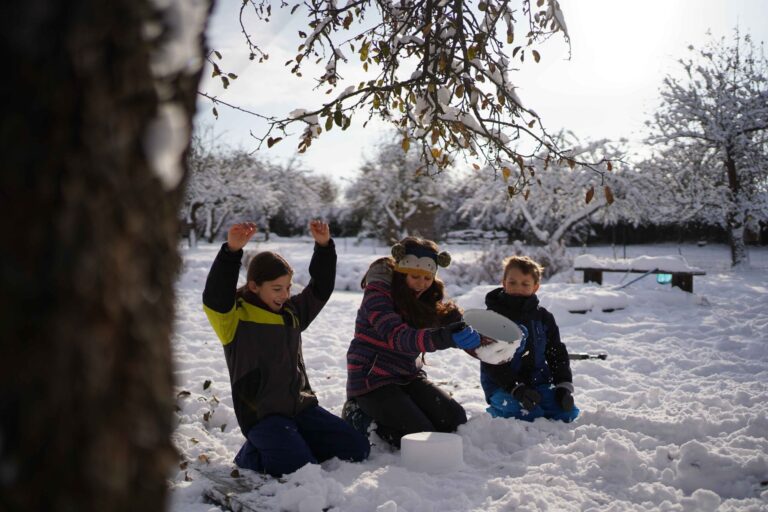
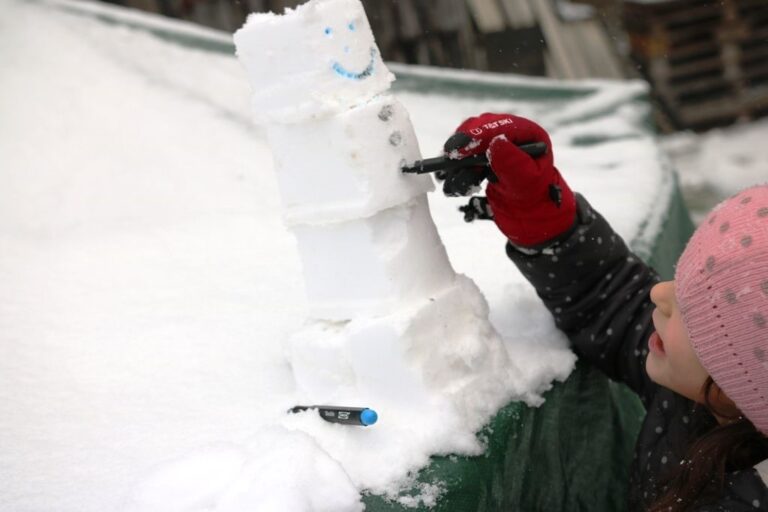
If the snow is good for this and you have made enough "bricks", the children divide into groups and build different sculptures (castles, villages, animals, characters, etc.).
Another challenge can be to build unconventional snowmen. Not only from spheres, but from other shapes like cubes or cuboids as well.
A short playful activity that you can use while preparing for another game.
YOU WILL NEED: natural materials, sticks and twigs
HOW TO DO IT:
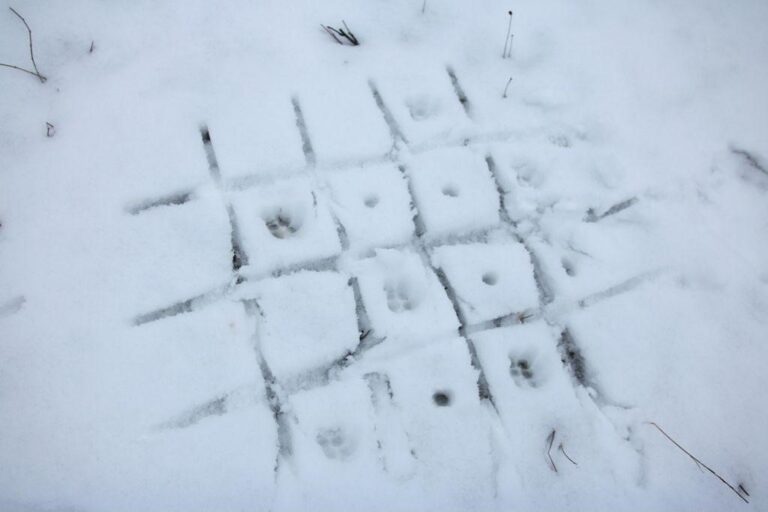
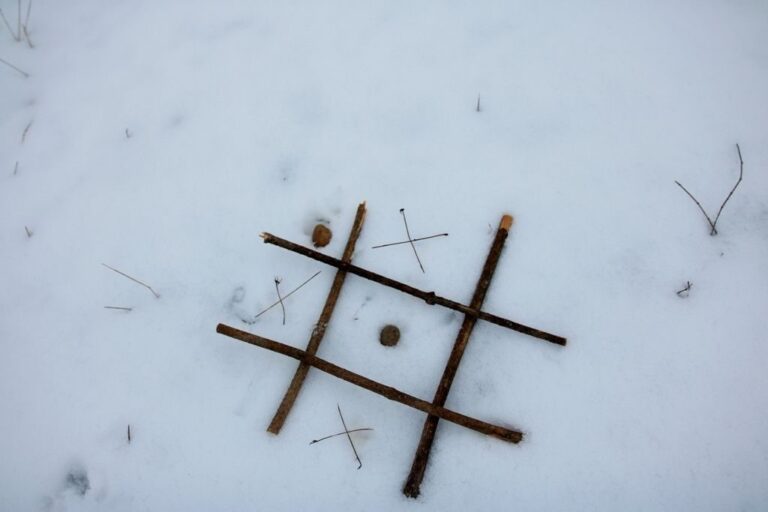
The children should divide into pairs and prepare a 3×3, 4×4 or 5×5 grid (it depends on how good they are at noughts and crosses) and to find or invent their playing pieces.
Now the games can start. Whoever is the first to put together a row of 3, 4 or 5 wins.
more lessons here
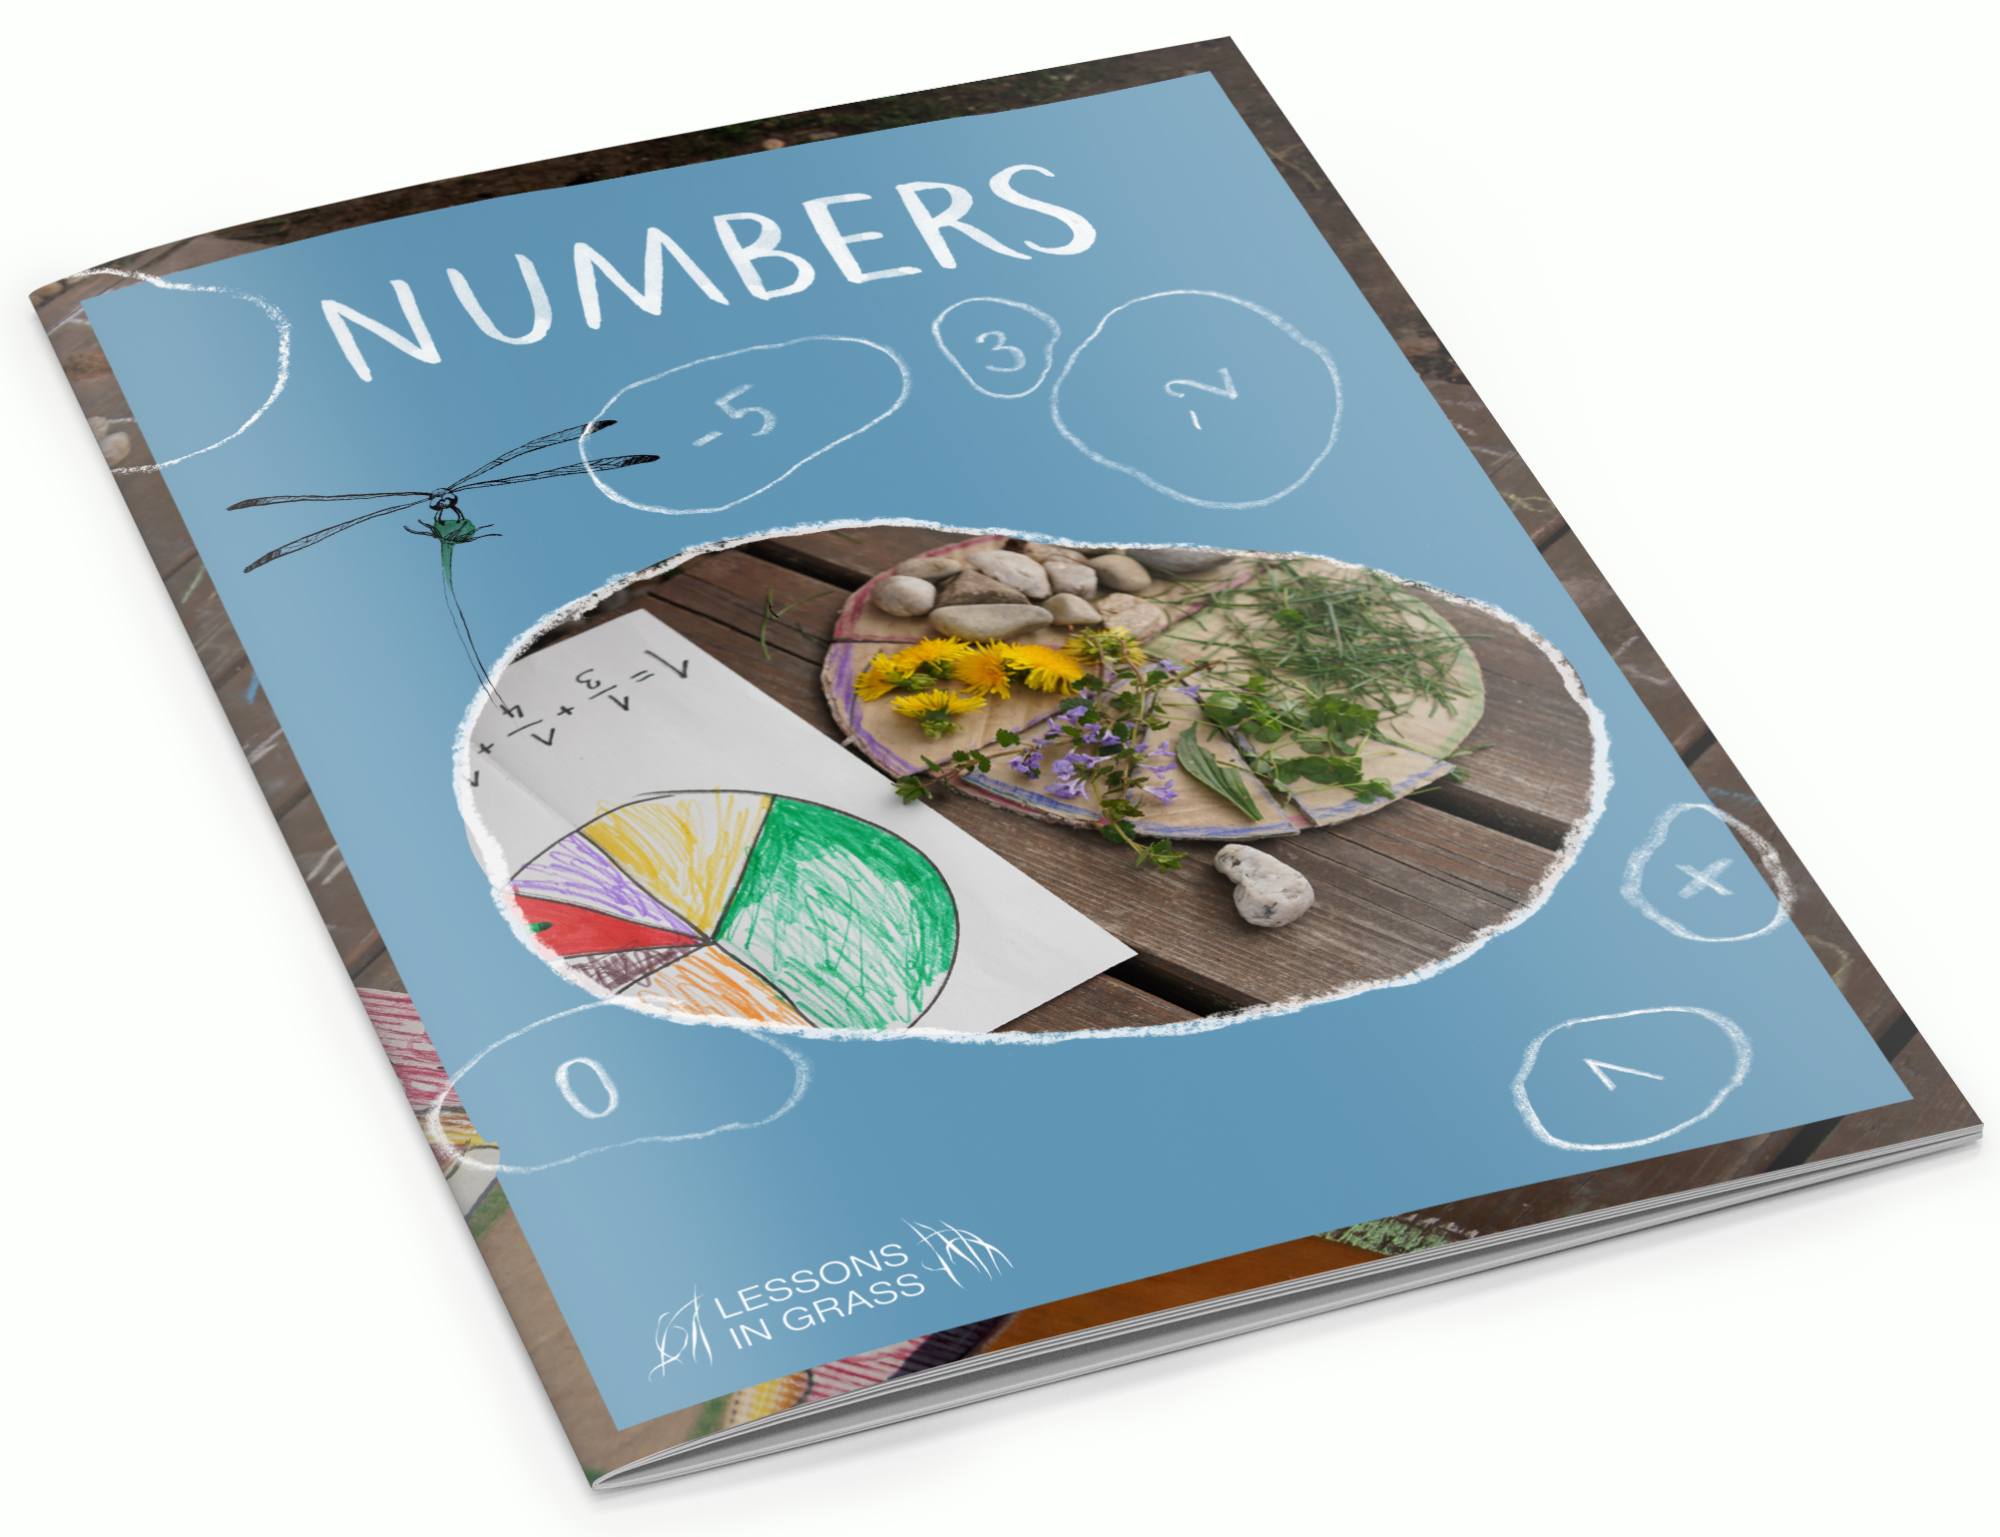
Numbers e-book
17 outdoor lessons in one e-book. Explore maths in a playful way! Let children move.
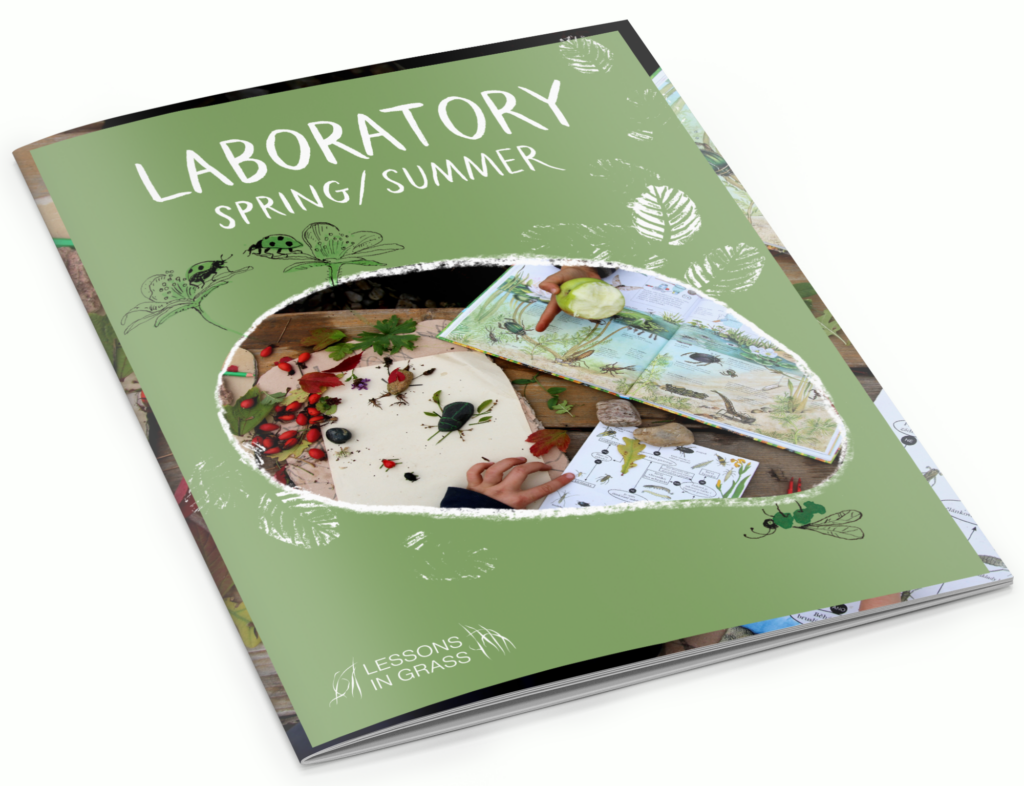
Laboratory e-book
spring/summer
18 outdoor lessons in one e-book. Let children explore the nature and be amazed.
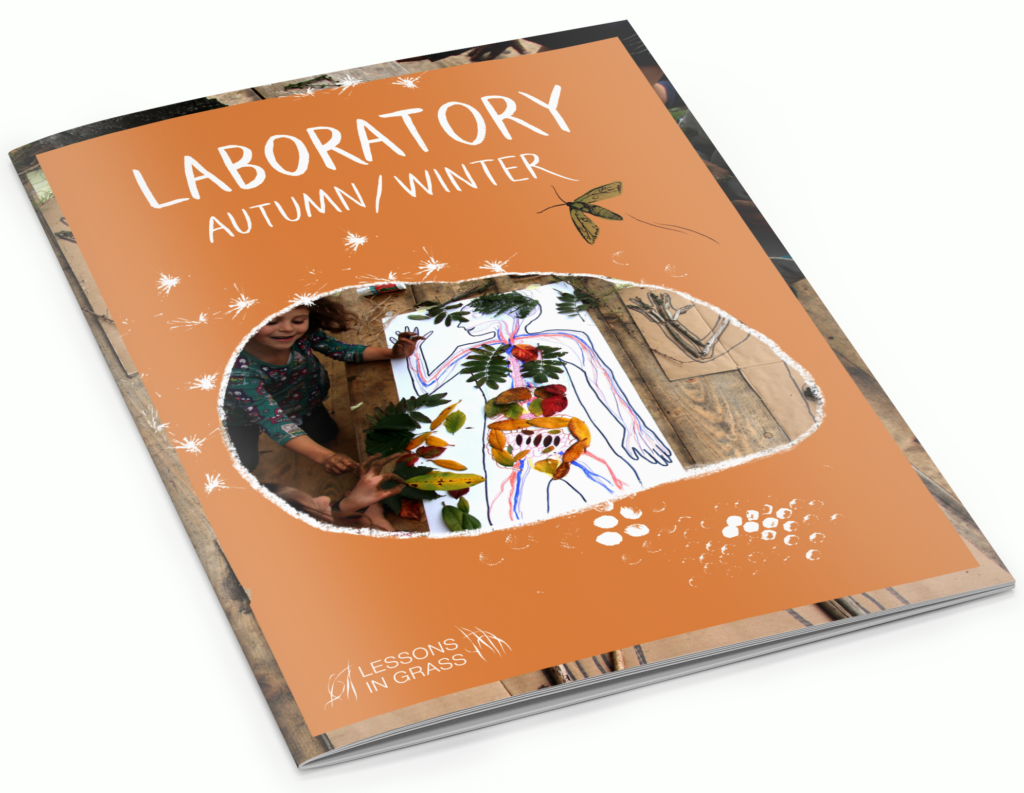
Laboratory e-book
autumn/winter
23 outdoor lessons will guide you through the cold season to get the best knowledge and fun of it!
The Great Outdoors Journal
Let´s start exploring the outdoors! Design your own Journal.
DON'T MISS NEW LESSONS AND MATERIALS!
Would you like to receive news from Lessons in Grass by e-mail?
Subscribe to our newsletter
