AUTUMN CHALLENGES
SEPTEMBER


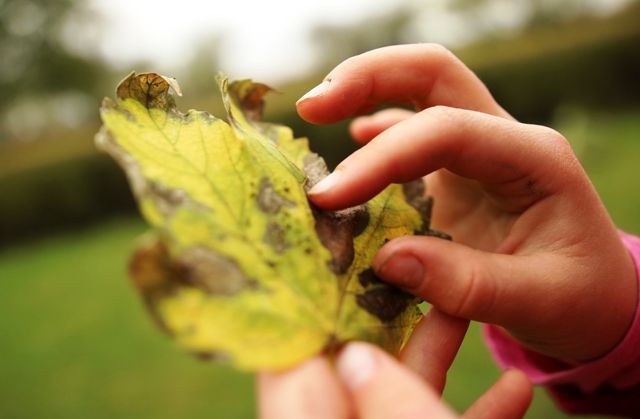
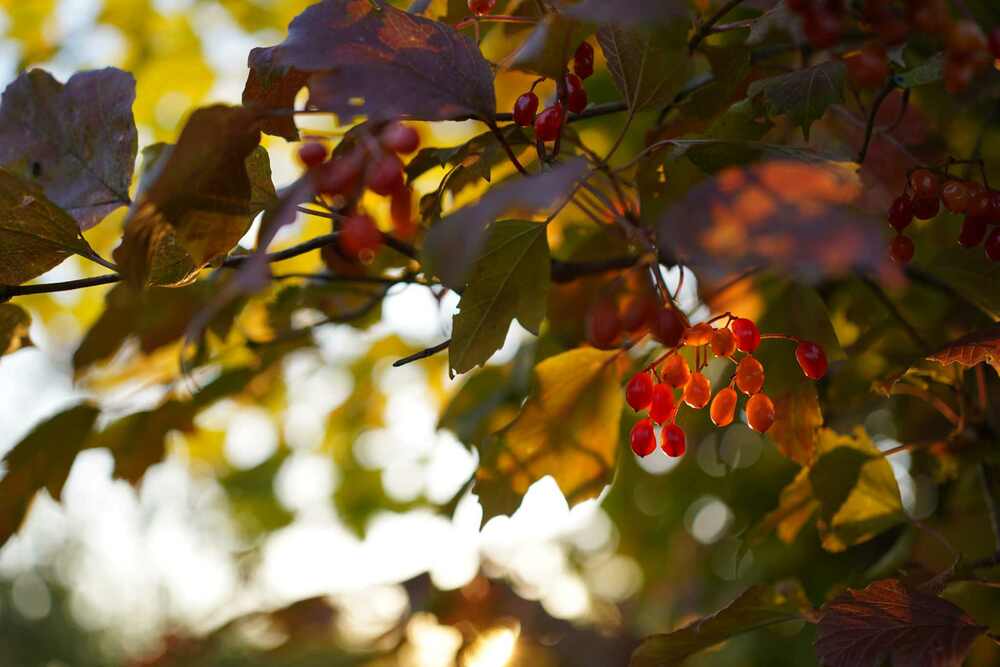
While looking at the autumn landscape, one cannot miss the harmony of colours that the trees and shrubs provide for us just before they drop all their leaves. Counting and naming all colours and shades of autumn leaves is a challenge for all true explorers. We can use the colours of autumn for simple games and learning activities.
I. COLOURS AROUND US
YOU WILL NEED:
a pencil, paper, a mat, colouring pencils or paper or clothes pegs in a wide variety of colours or shades
HOW TO DO IT:
Everyone chooses a place where they have a pleasant view of the surroundings. The task is to count all the colours and their shades that you can see from where you are standing or sitting, without turning your head. Try to describe the colours in more detail, i.e. not just "green", "brown", but specify the shade, and possibly incorporate what has that colour, e.g. "dark brown bark" or "fresh grass green", "pine cone rusty", etc. Write the colours down on paper. You can limit the range of the view using a paper frame that you cut out of a sheet of paper.
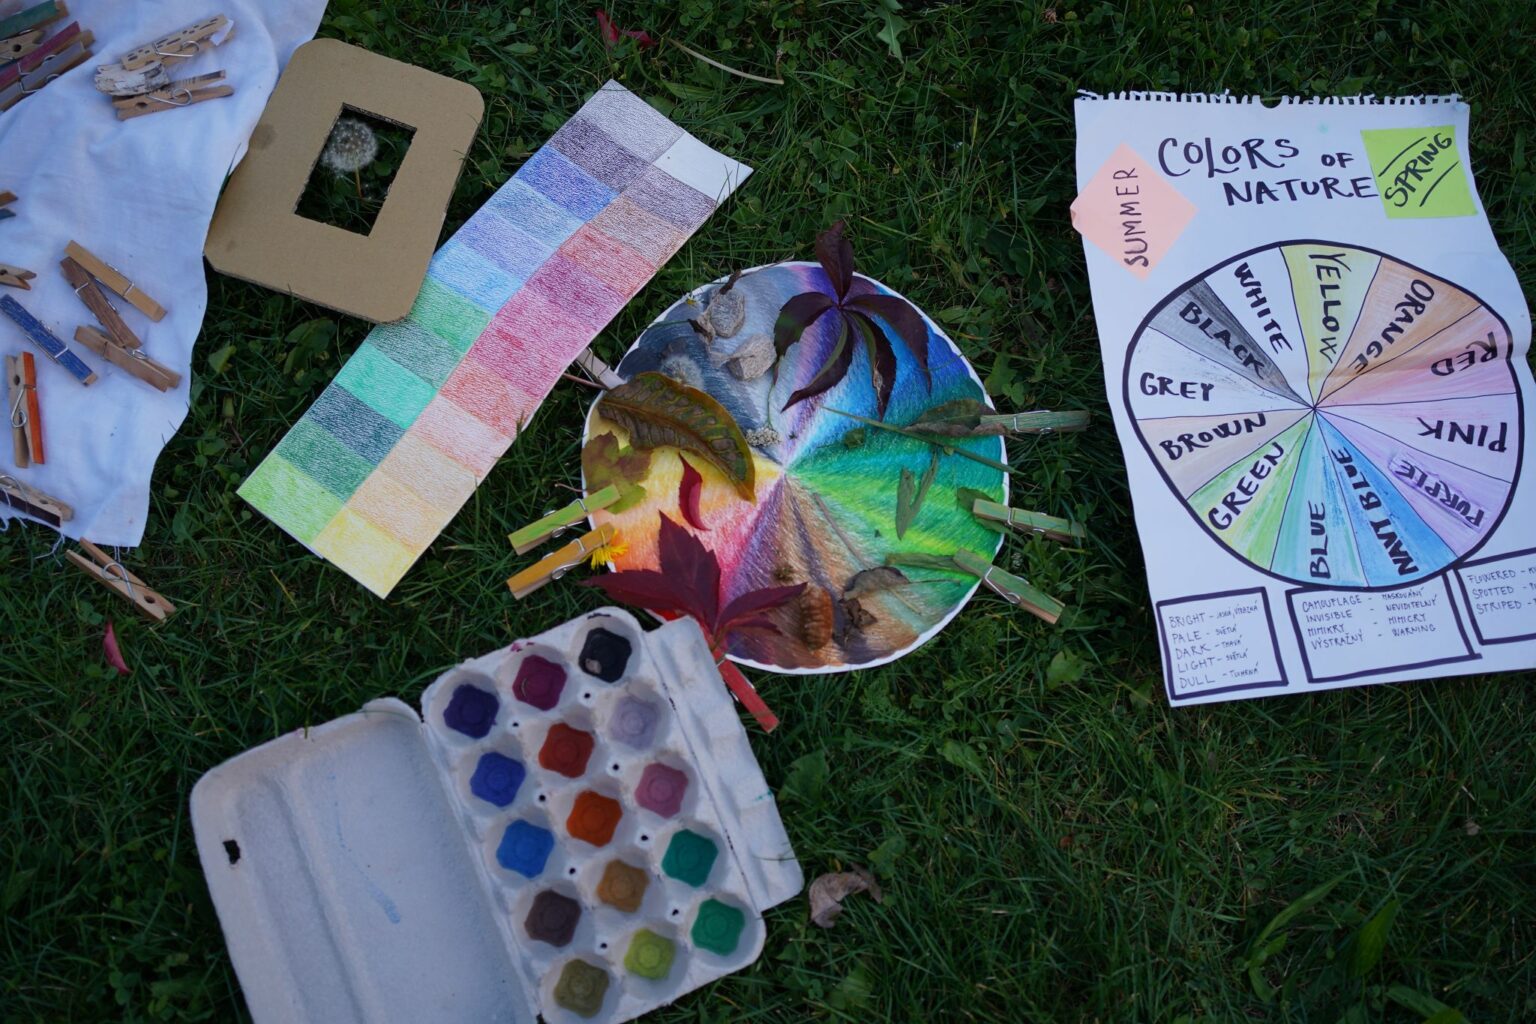
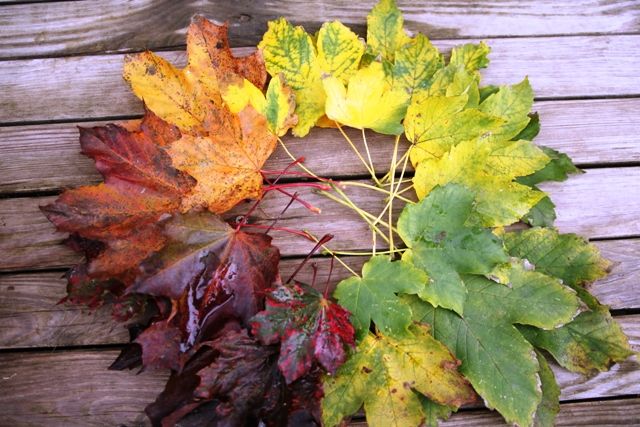
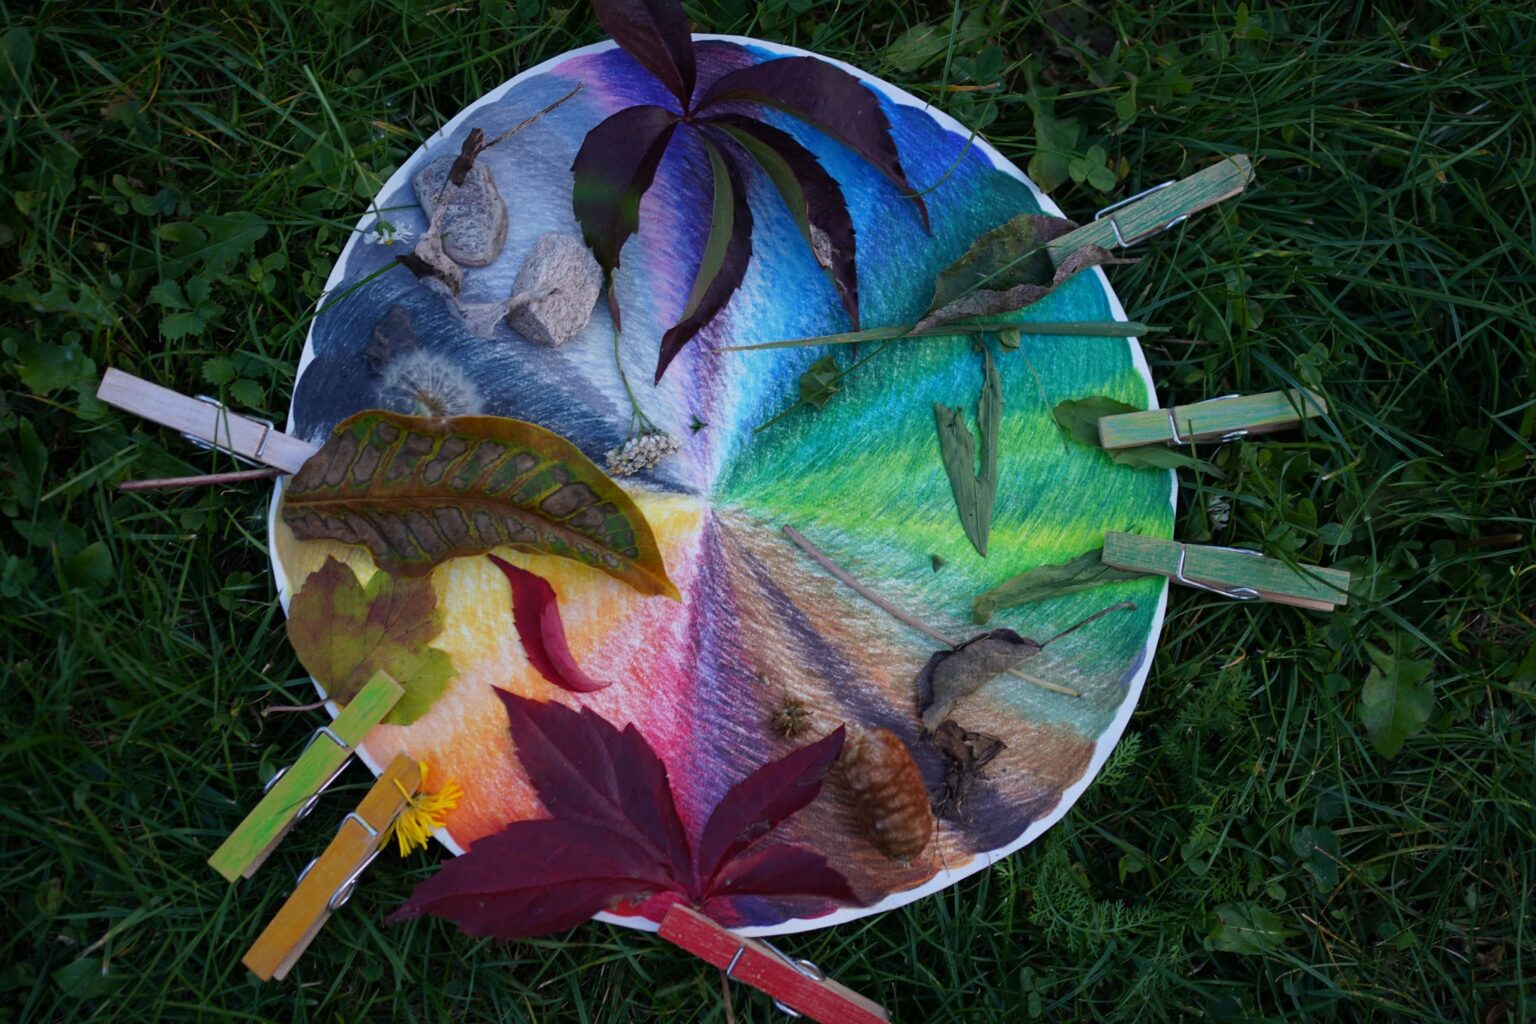
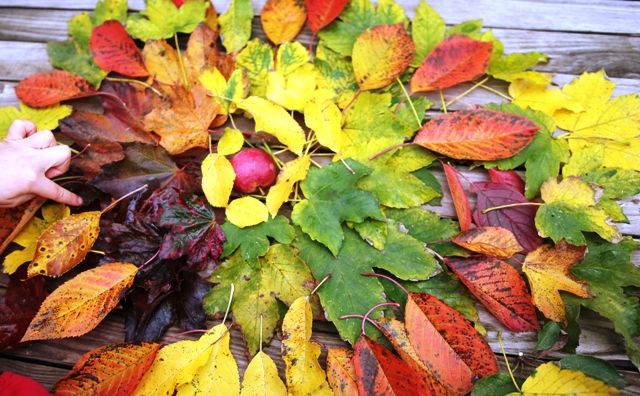
II. LEAF PALLET
Make a quest for colour explorers. Find as many colour shades of fallen leaves as you can in one place or during a walk. Then put together (preferably outside) an autumn colour scheme palette, scale or circle. You can, for example, bring a set of crayons with you and try to find as many colours as possible. You can paint a colour palette on paper or clothes pegs. Children tend to have a lot of fun with pegs, plus you can also attach leaves and other natural items to a string between trees and thus create a great colour range.
TIPS:
It's great to check the places once a week and compare – what changes?
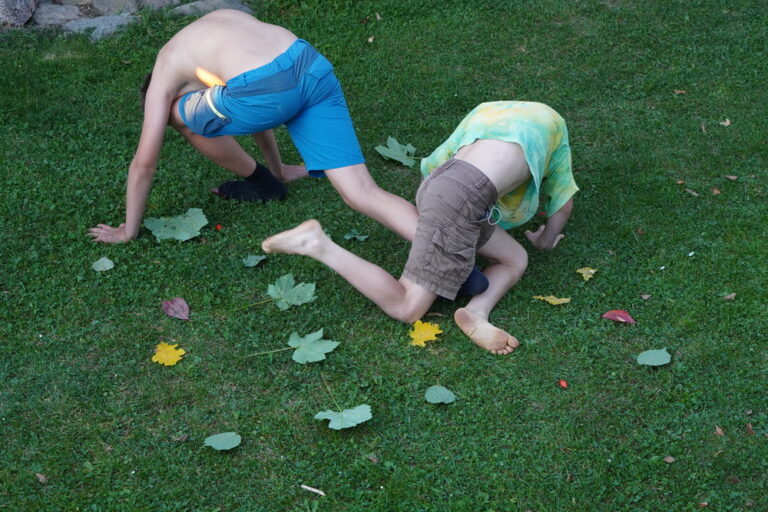

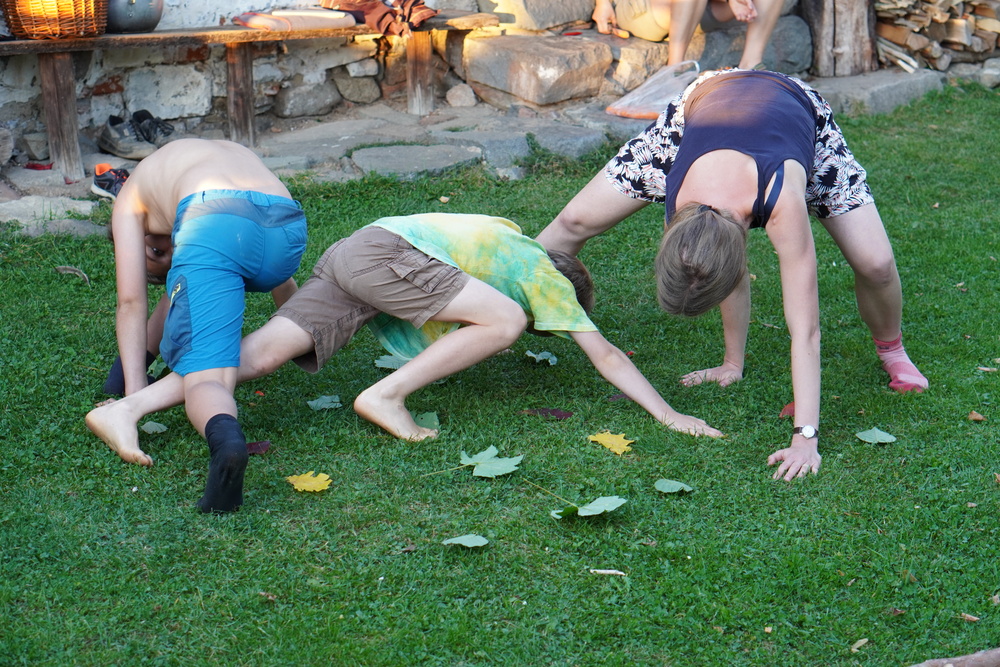
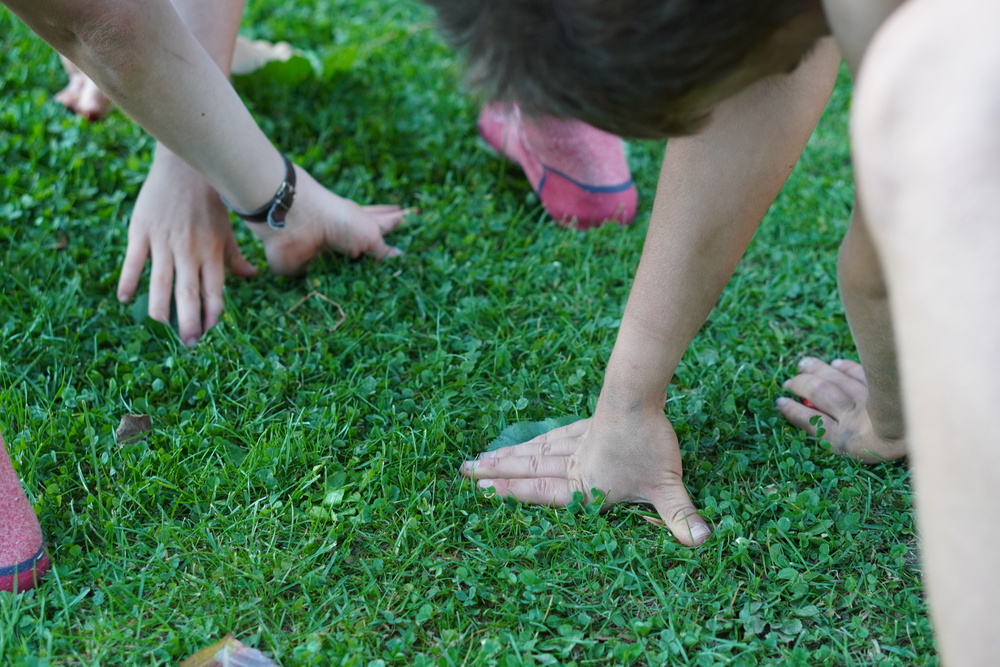
This game is a guaranteed way to stretch your bodies! Create a playing field out of leaves and put your limbs on the designated places. Right foot on oak! Left hand on maple! You will get really entangled in no time – with your teammates or even yourselves! It's a bit like the popular game Twister, except you don't need any gadgets – you can find everything outside.
YOU WILL NEED:
a place to play (flat, clear area outside approx. 3x3 metres, e.g. lawn), a source of different types of leaves
HOW TO DO IT:
1. Collect different types of leaves: a total of 4–5 types, one to two leaves of each type per player. If the children cannot yet distinguish the leaves, it is a good idea to choose very distinctive species or leaves of different colours.
2. Create a playing field on a mowed lawn, or other suitable place. Spread the leaves over a square area at roughly the same distance from each other. You will have the most fun when they are distributed randomly – it is best not to place too many identical leaves next to each other, but mix them as much as possible.
3. The players line up in the starting position – all over the play area, and then, in the agreed order, say the instructions: what limb to place on what kind of leaf. So, for example: "Right hand on maple!" When everyone has done it, the next one continues. Of course, nobody can step on leaves that are already taken by someone's hand or foot. Whoever is not able to keep balance on entwined limbs and falls down is out of the game.
4. If you are playing with a small number of players, you can set up a rule that if there are not enough leaves of one kind left for all the players that particular species can’t be announced. If there are many players and the number of leaves is not easy to check, the rule may apply that anyone who doesn't have a given species can use any other species.
TIPS:
The instructions can be announced by someone who is not currently playing – e.g. players who are out. But they shouldn't nag anyone or do something purposefully against someone.
You can also play with other natural materials – e.g. flowers if there are a lot of them around (e.g. dandelions, yarrow...). Are you fond of massage? Then you can try including pine cones, rose hips, nuts or stones.
If you want to use the game as an opportunity to revise different types of leaves you can collect new ones after a few rounds.
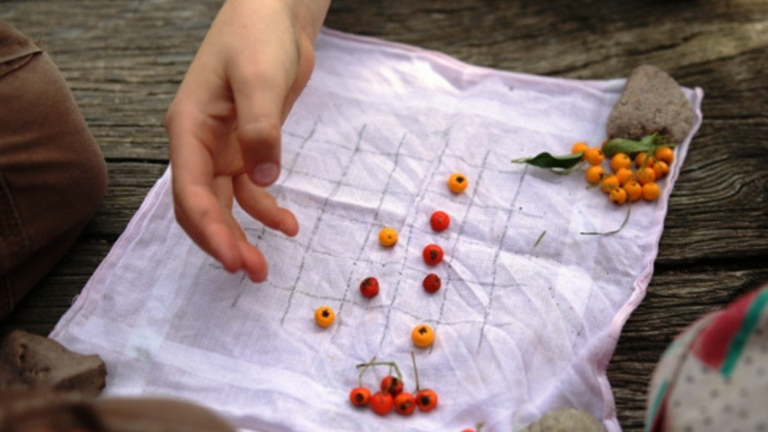
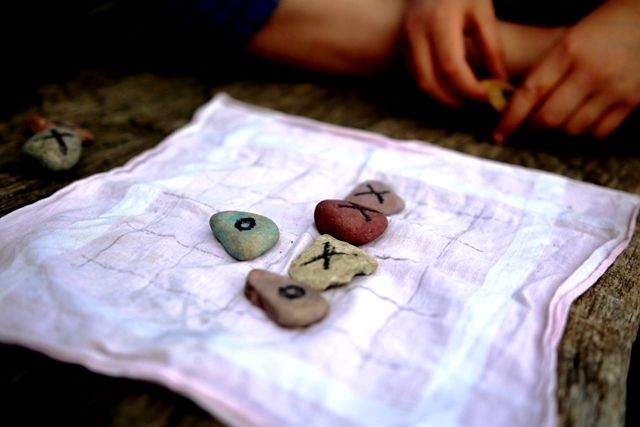

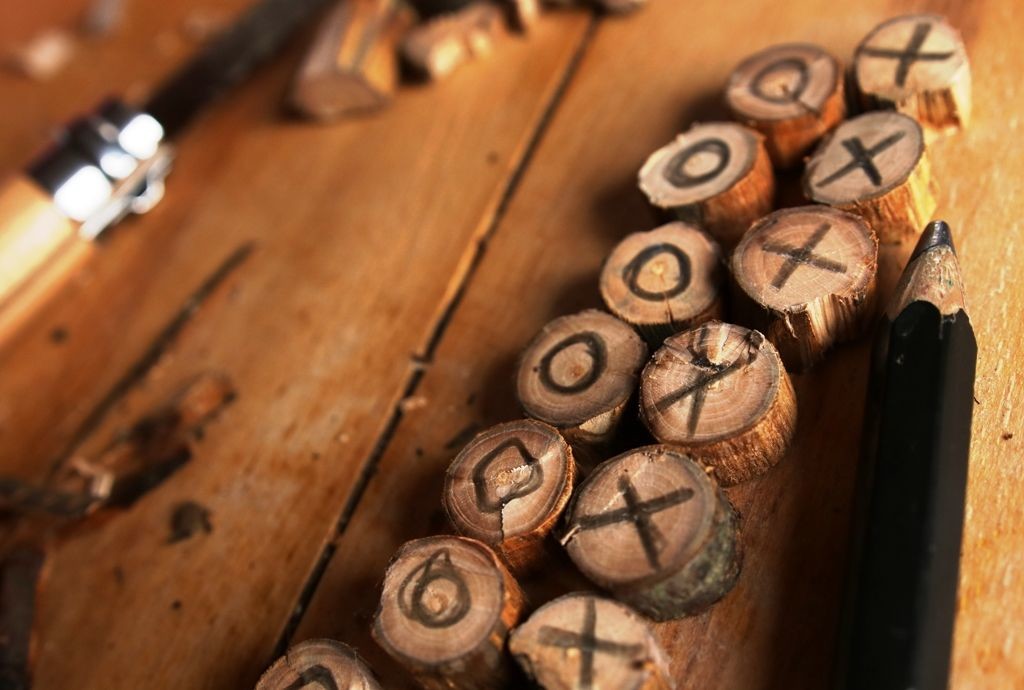
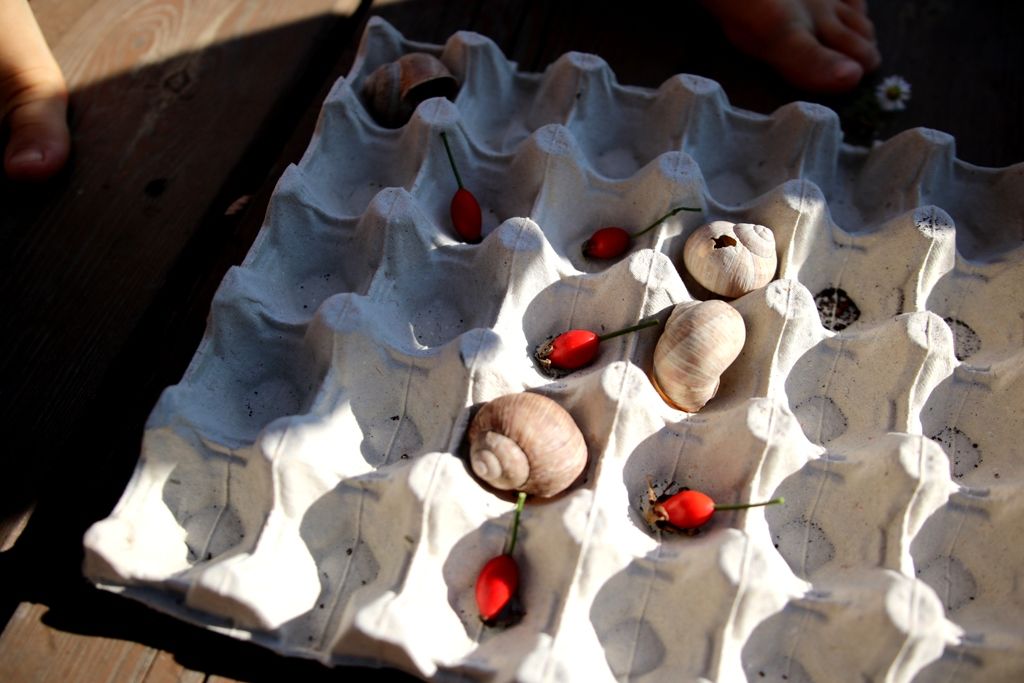
Autumn is a great time to collect and pick all sorts of things outside. Not only are any natural materials you collect lovely and mostly pleasant to touch but they awaken creativity in children. They can also be used as a substitute for tokens or figures in games. Collect some playing pieces and try noughts and crosses for example.
YOU WILL NEED:
chequered handkerchief, kitchen towel or chalk (to create a playing field for each pair of players)
HOW TO DO IT:
1. First you need to find some game pieces. Let the children search through the beauty of what the surrounding nature offers. Then make pairs and have each player choose their playing pieces (it's good if they find natural items that are sufficiently distinct and contrasting). Let the noughts and crosses tournament begin!
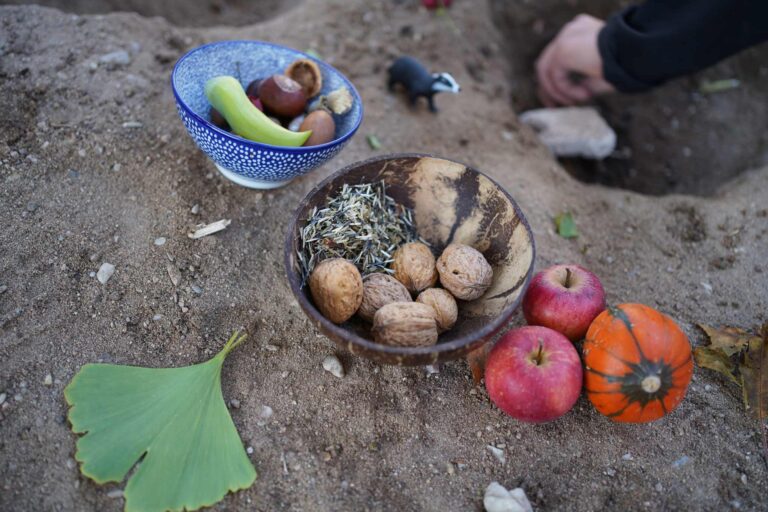
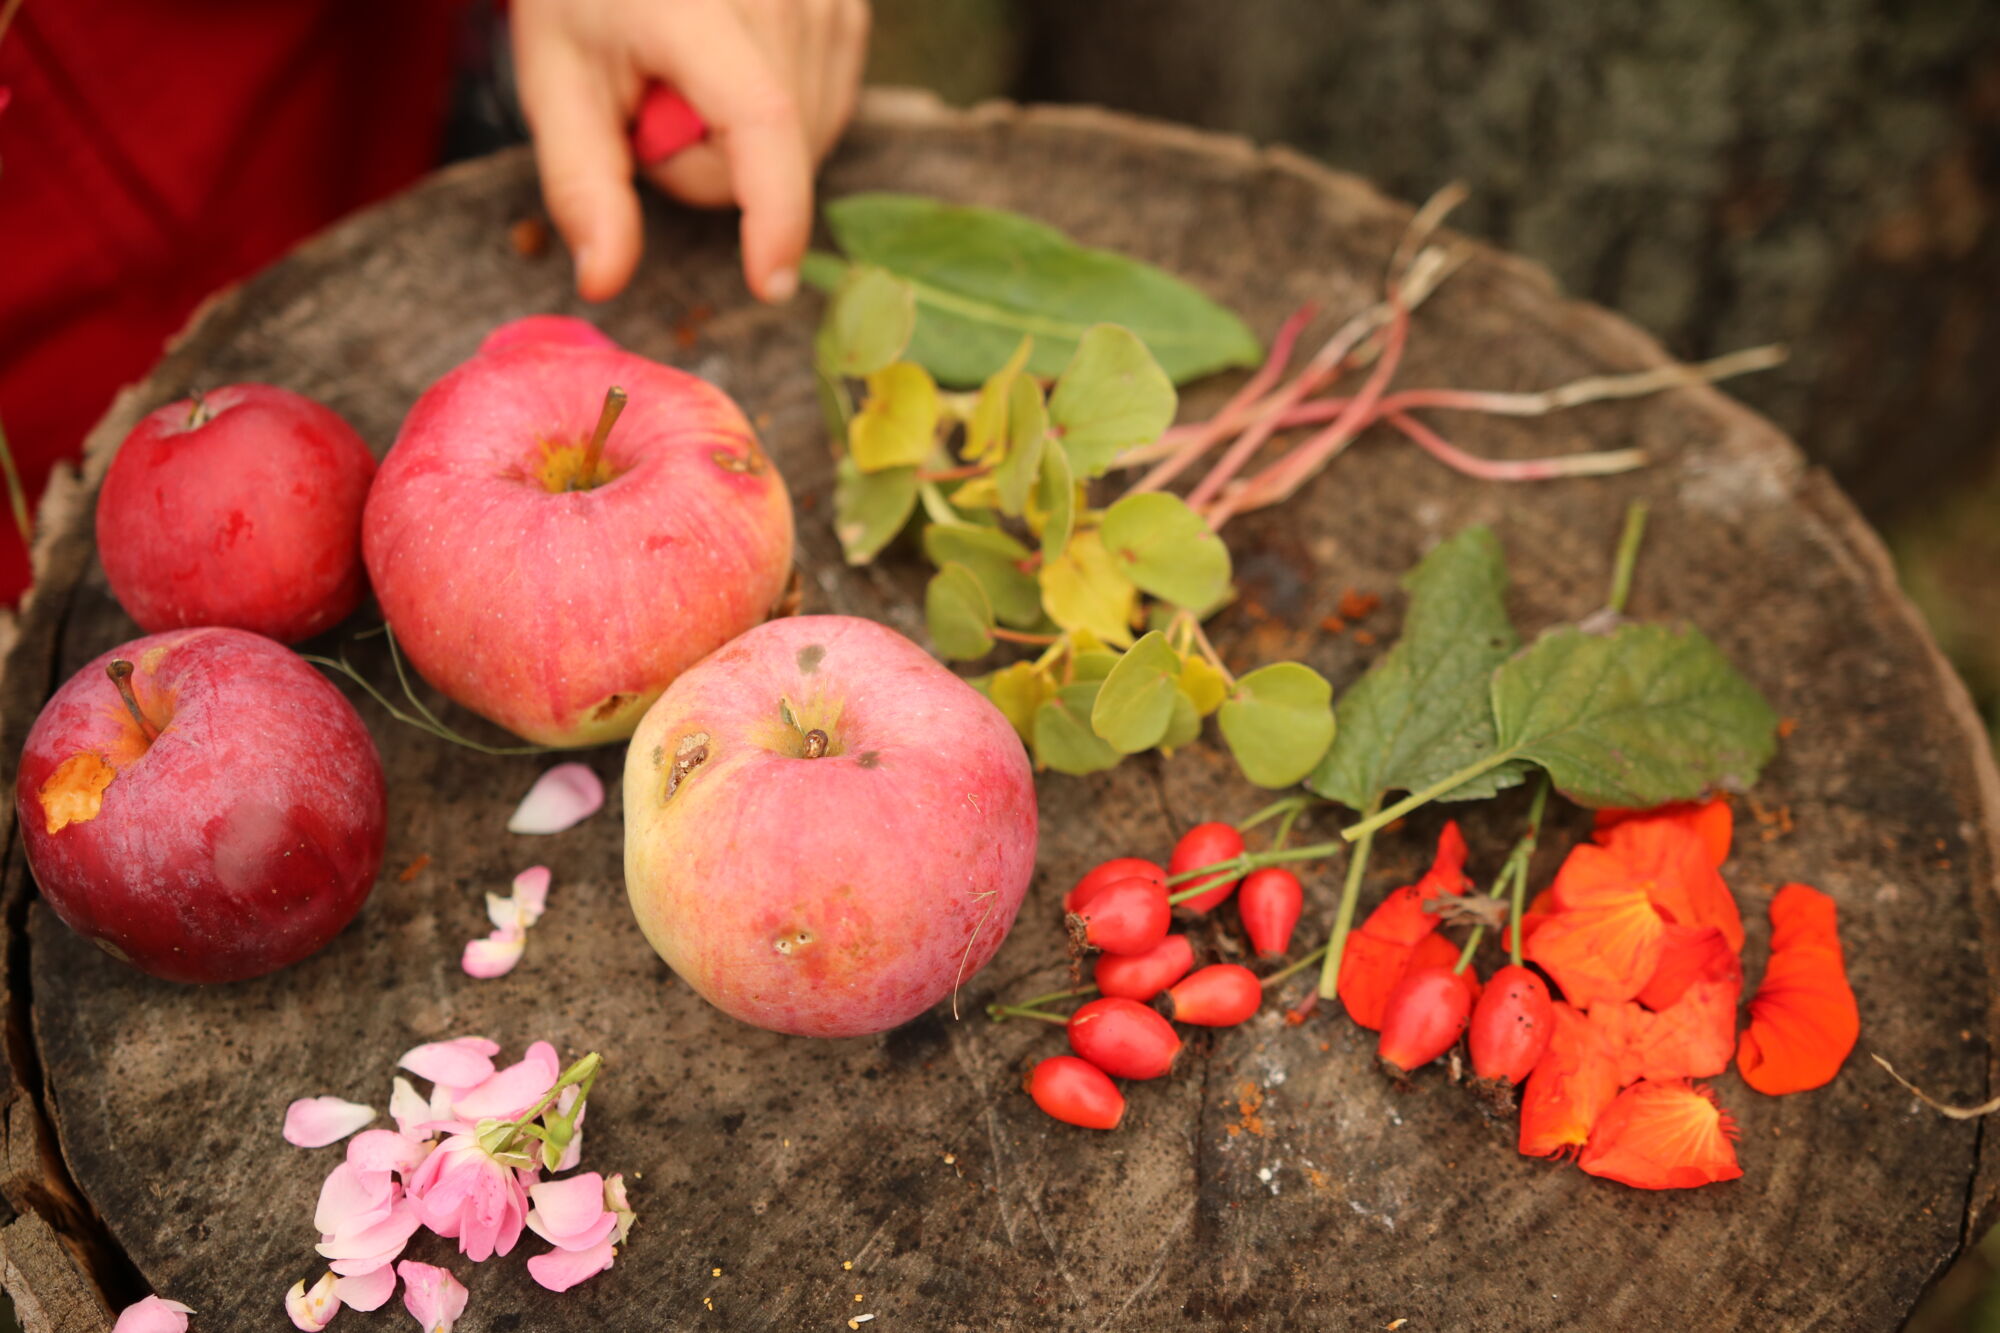

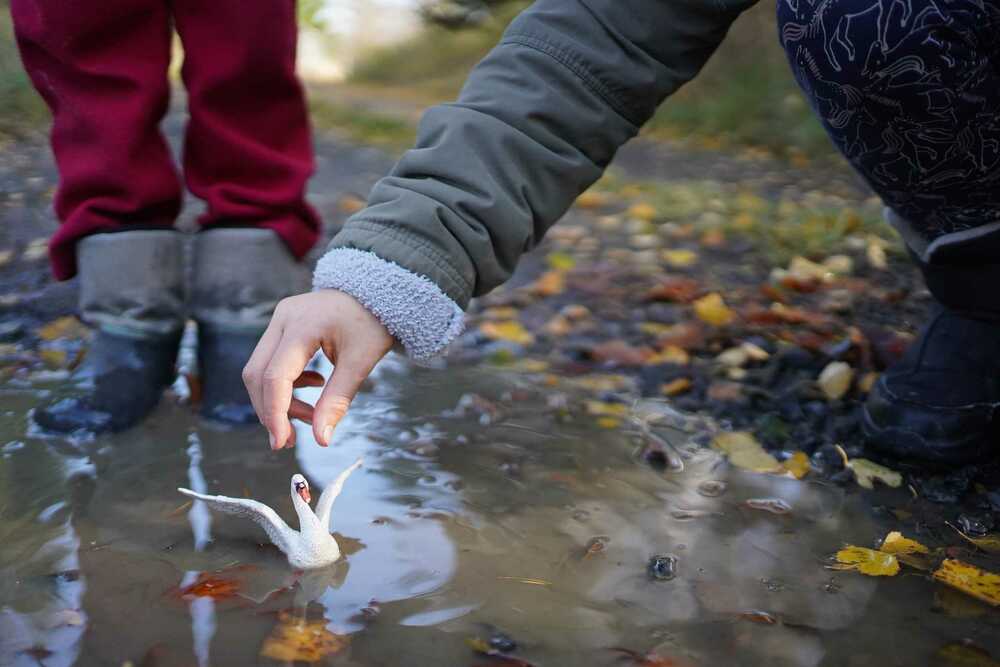
Autumn is magical because of its bounty. How about eating outside?
YOU MIGHT NEED: baskets or canvas bags for collecting fruits or herbs, a knife for cutting fruit
HOW TO DO IT:
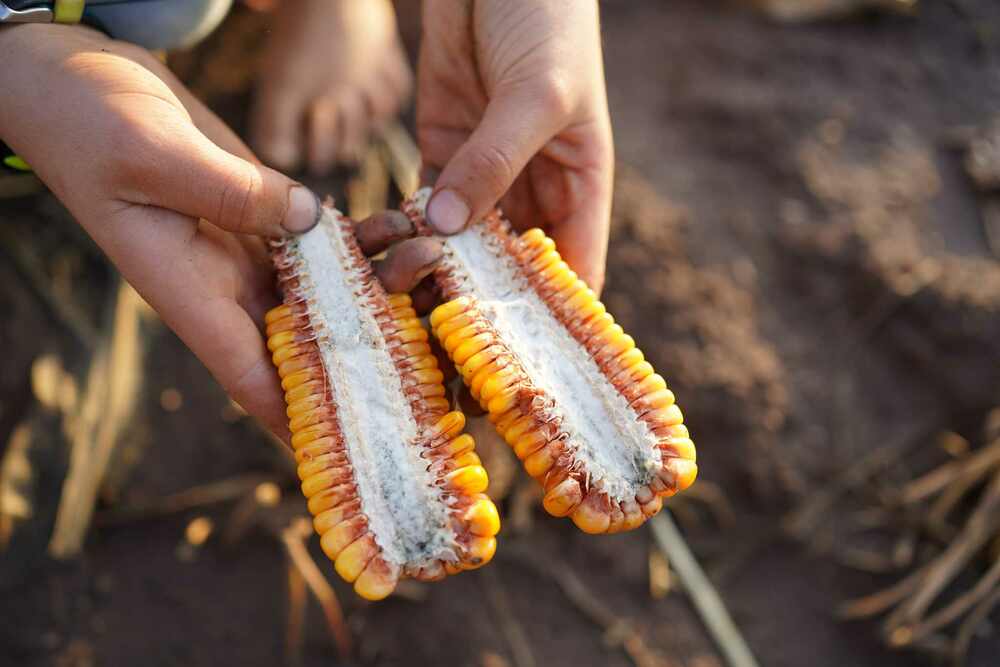
Choose a suitable place with the children and explore the surroundings: How many nuts, rosehips, apples, pears can they find? Is there anything else to munch on? What will make a great tea? What can we eat now and what will be better dried? You can talk to the children about the fact that it is good not to eat up everything but to leave enough for our animal neighbours as well. It's also good to plant some seeds and watch what they grow into.
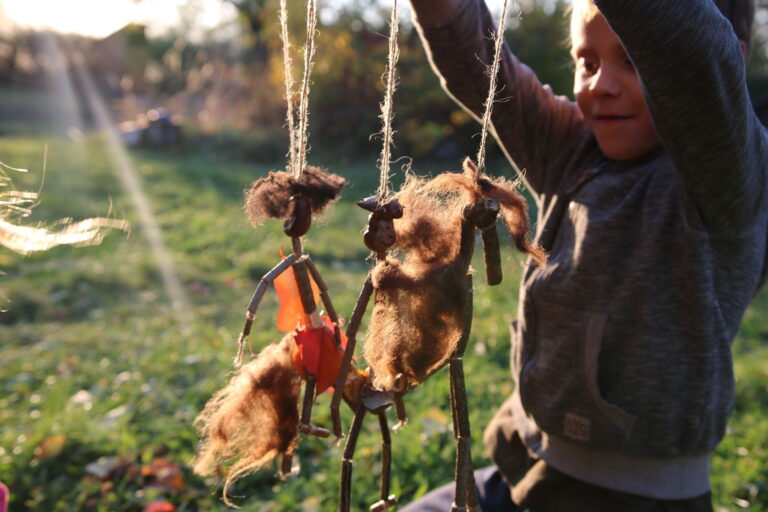
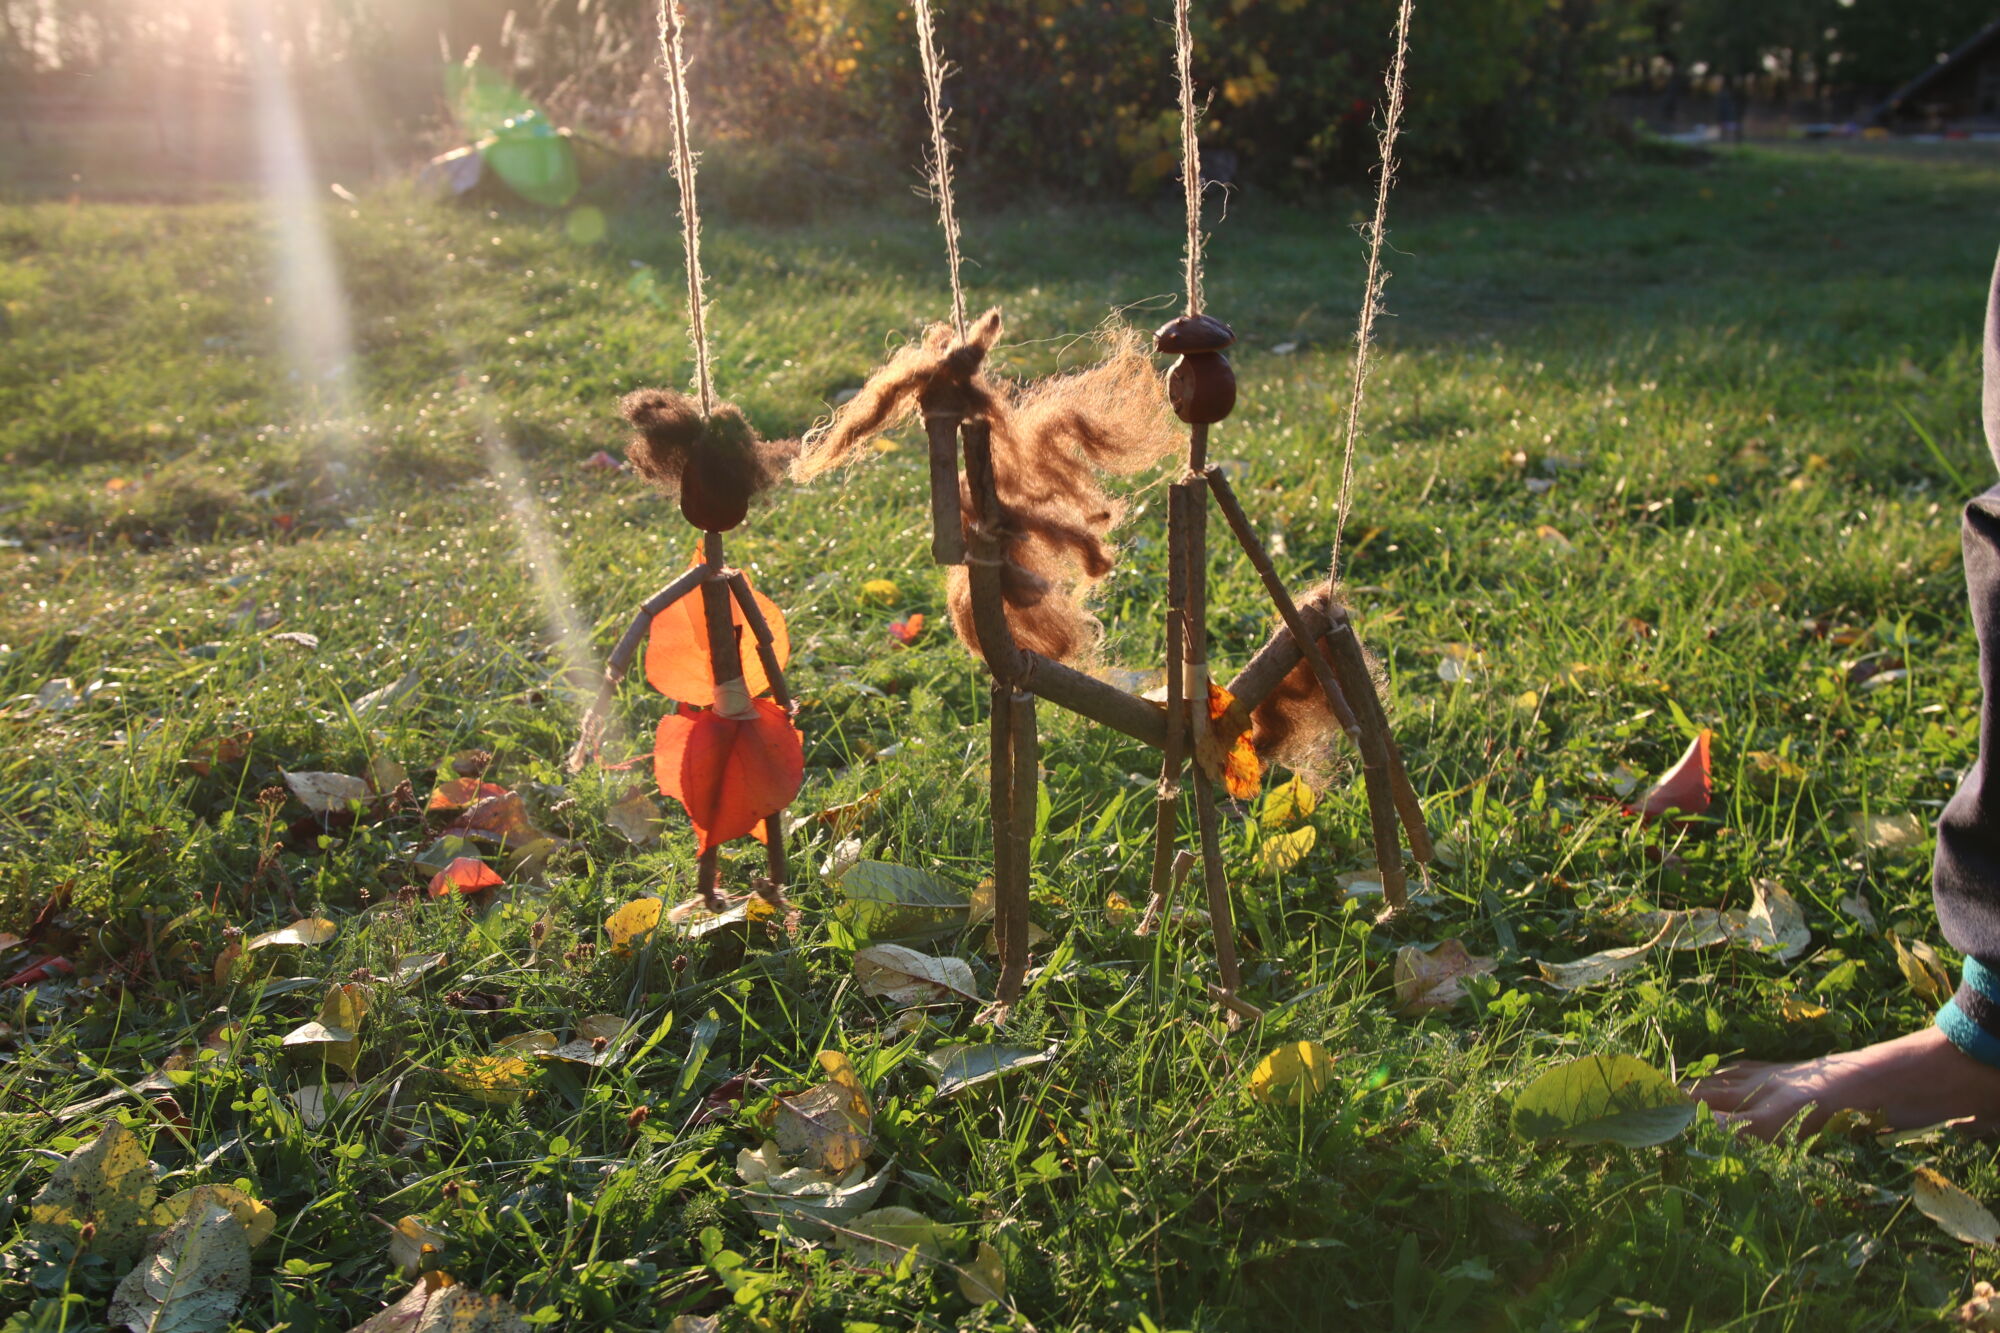
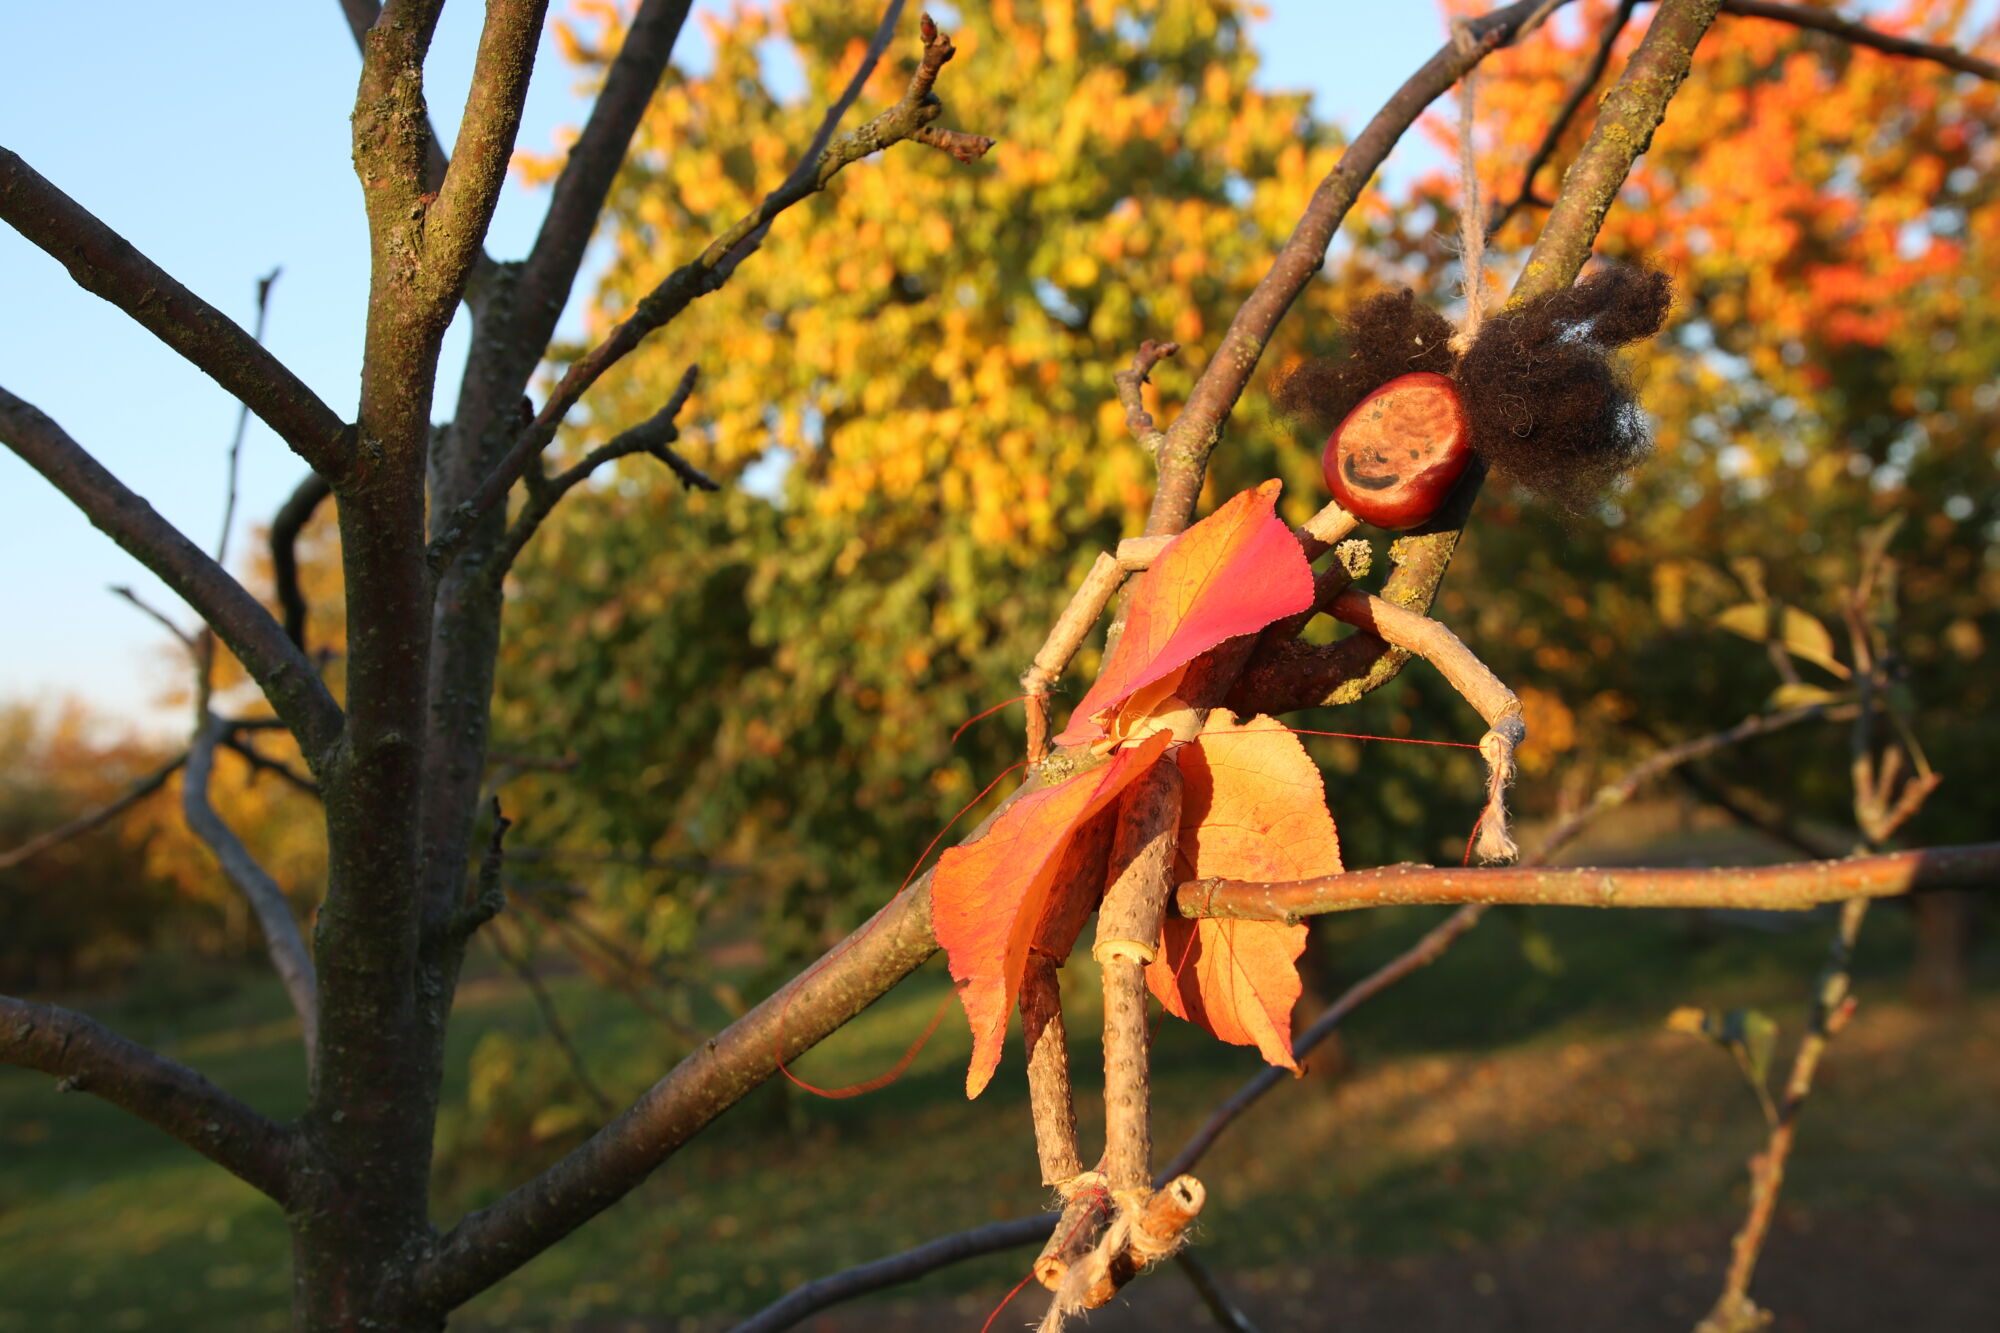
If you like elderberries, then you have probably already harvested some and made them into something good this year. Now you can consider using the elder twigs but this time for some arts and crafts. Why not make a twig elf or other sort of puppet! You can give them names, dress them up and then find the best stage for an autumn theatre.
YOU WILL NEED:
elder twigs
a small saw or sharp pruning shears (with these there is a greater risk of the twig splitting)
a nail, strong wire, a gimlet or a strong twig to hollow out the core of the elder
a knife
string
natural materials for clothes and ornaments and paper adhesive tape to attach them
HOW TO DO IT:
1. It is a good idea to let the cut elder twigs dry a little so that they are not so fragile and do not crack. This will make them easier to work with but it is possible to use fresh ones.
2. Think about what kind of puppet you will make. You can even draw it beforehand to see how many and how long your twigs should be.
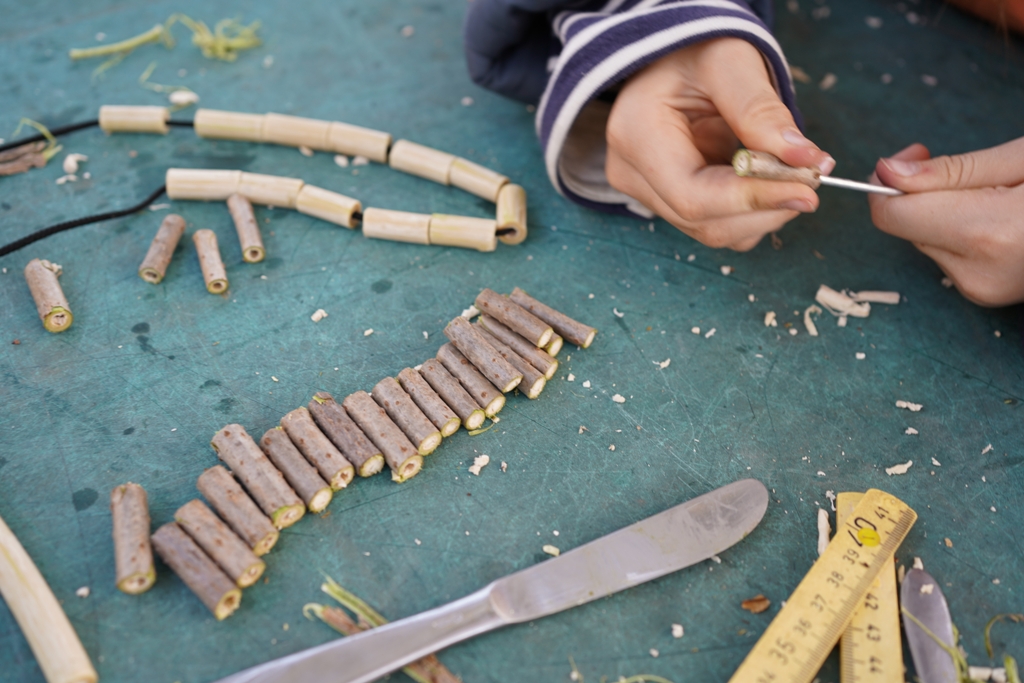
3. Cut the twigs with pruning shears or a small saw into pieces as needed.
4. Arrange the twigs on your mat to form the puppet. Use a gimlet, a twig or a nail to make a hole in the twig. Squeeze out the core of the twig and then put a string through the hollow twig. This is how you will connect all the parts of the puppet.
5. You can make the head, clothes and other decorations from items you find around you in nature; things like acorns, chestnuts, leaves, moss and dry grass for example. Use string, thread or tape to attach them.
6. Now all you need to do is find the right stage and on with the show!
TIP: When making characters, you can talk about the structure of the human body. Have you already tried the Human body lesson? You can find in the lessons.
YOU WILL NEED:
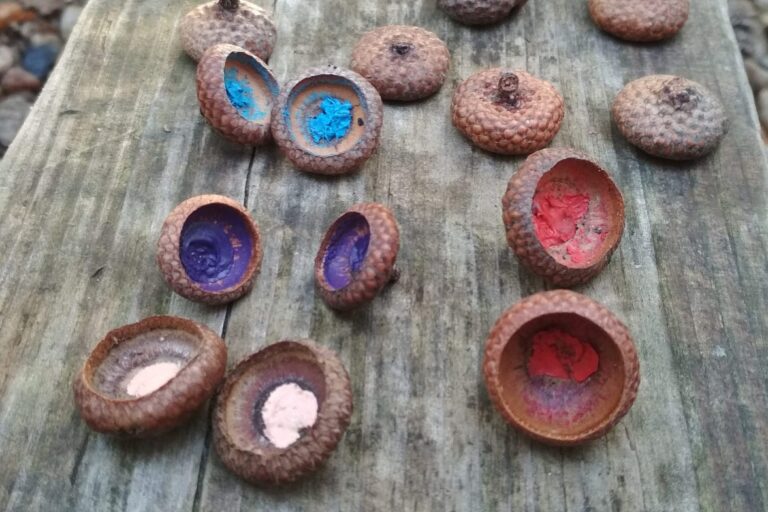
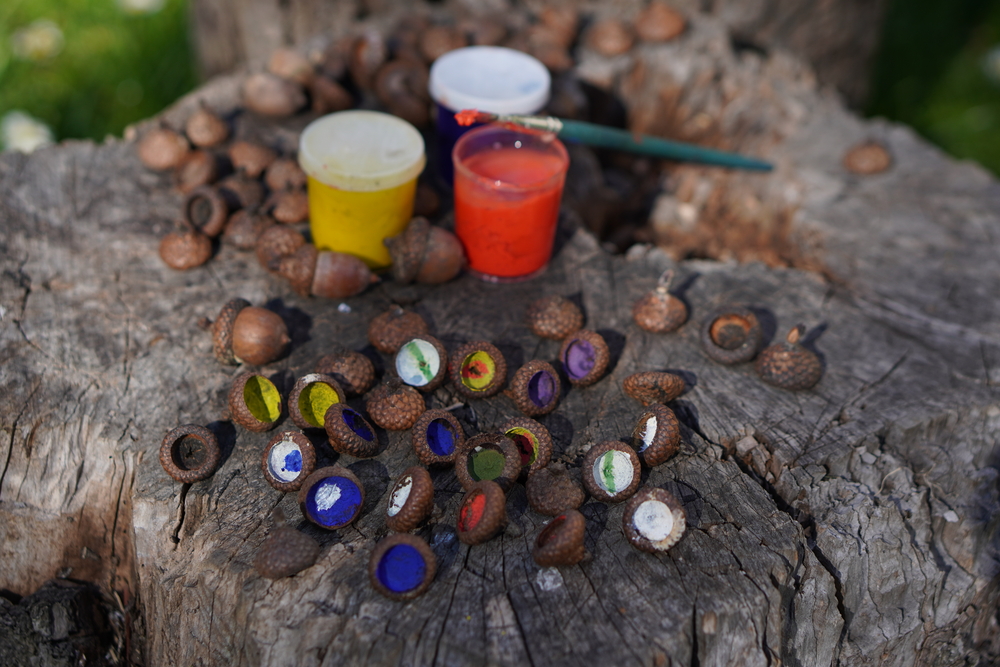
acorn caps
watercolours and a paintbrush or watercolour crayons of different colours
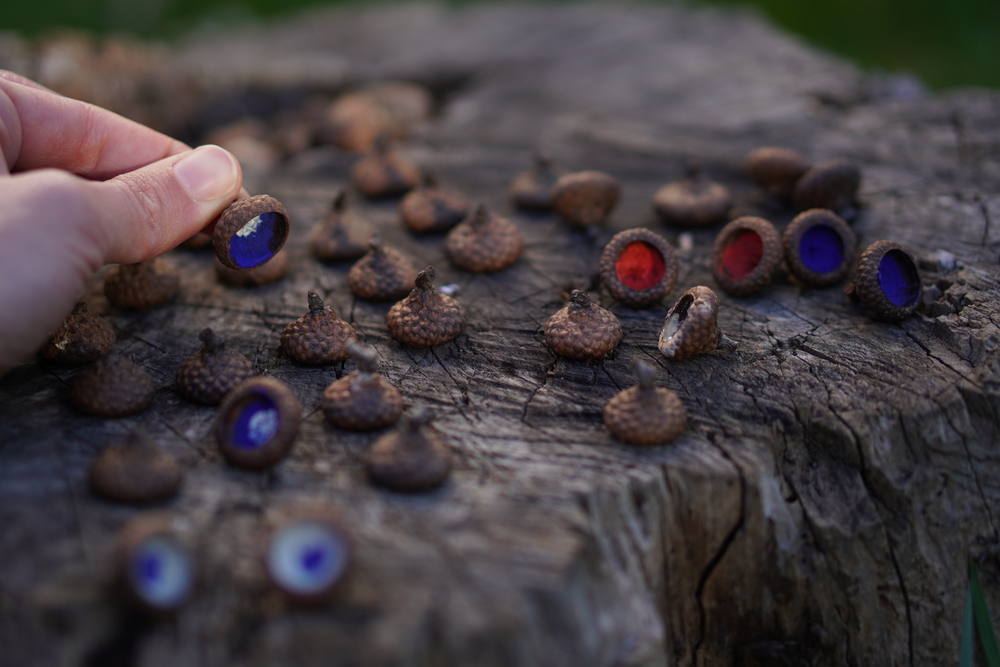
a piece of white fabric (or any mat of a bright colour contrasting with the playing pieces) – you can also play on a tree stump
HOW TO DO IT:
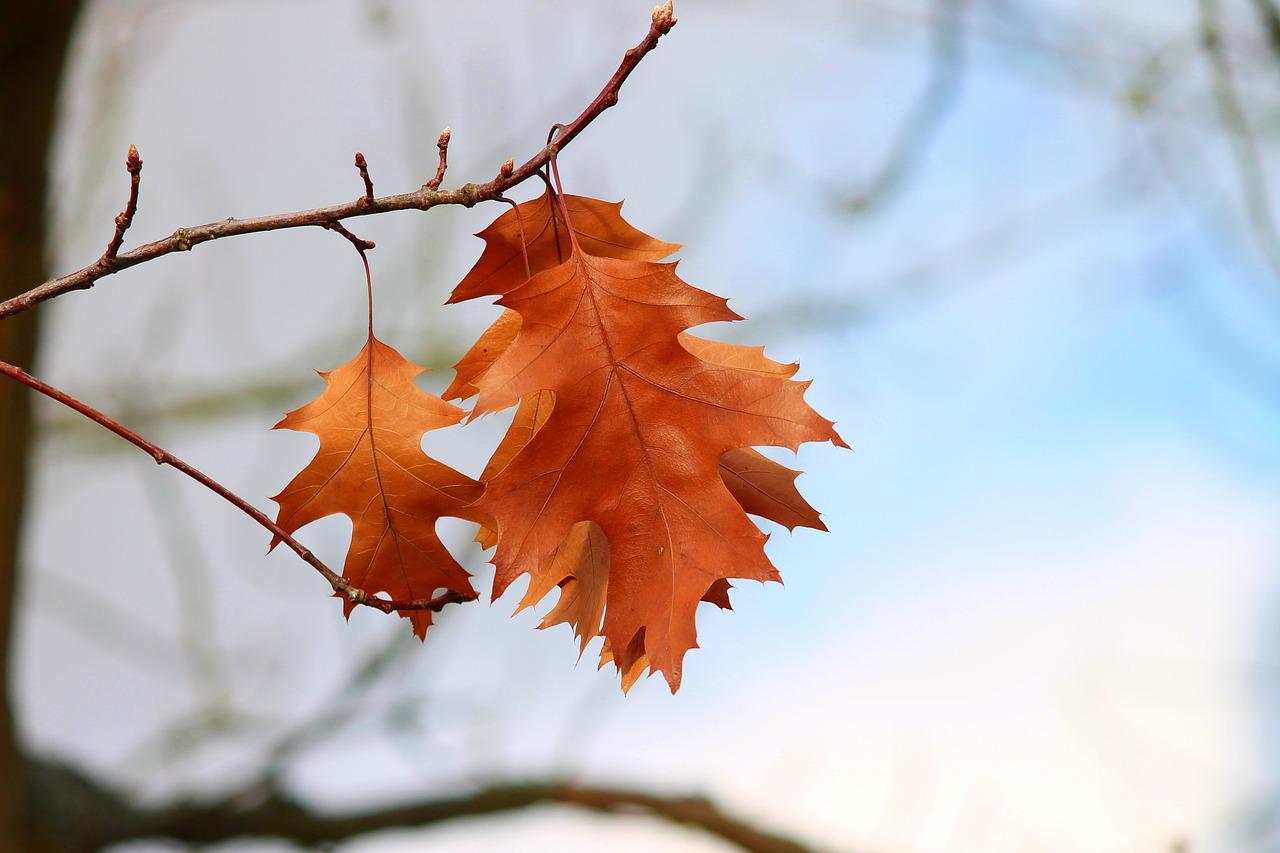
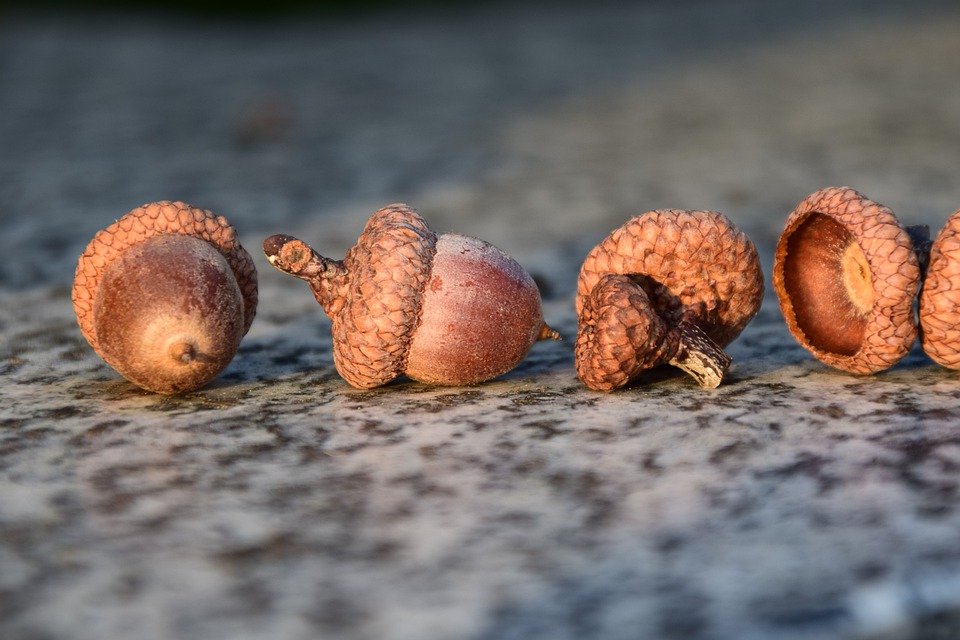
1. First of all, you need to become familiar with the woodland where you take your walks in autumn because you will need to find a lot of acorn caps. NORTHERN RED OAK is best for this game because its acorns have big hats but you can also make do with other types of oak (sessile oak, English oak). Try to find similar sized acorns if possible.
2. The second step is even easier – colour the insides of the hats with watercolours. It is necessary to make pairs of caps with the same colour in order to be able to play the game later. Children who want more artistry can try to paint something in the middle of the inside of the hat. This can also be done with a soft pencil or an alcohol-based marker (a circle, a cross etc.).
3. Finally, count how many pairs you have, turn the acorns stem-side up and get ready to Concentrate!
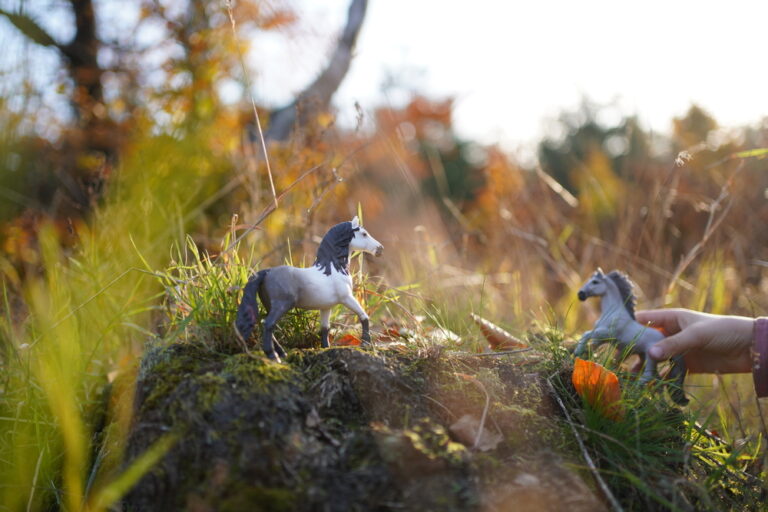


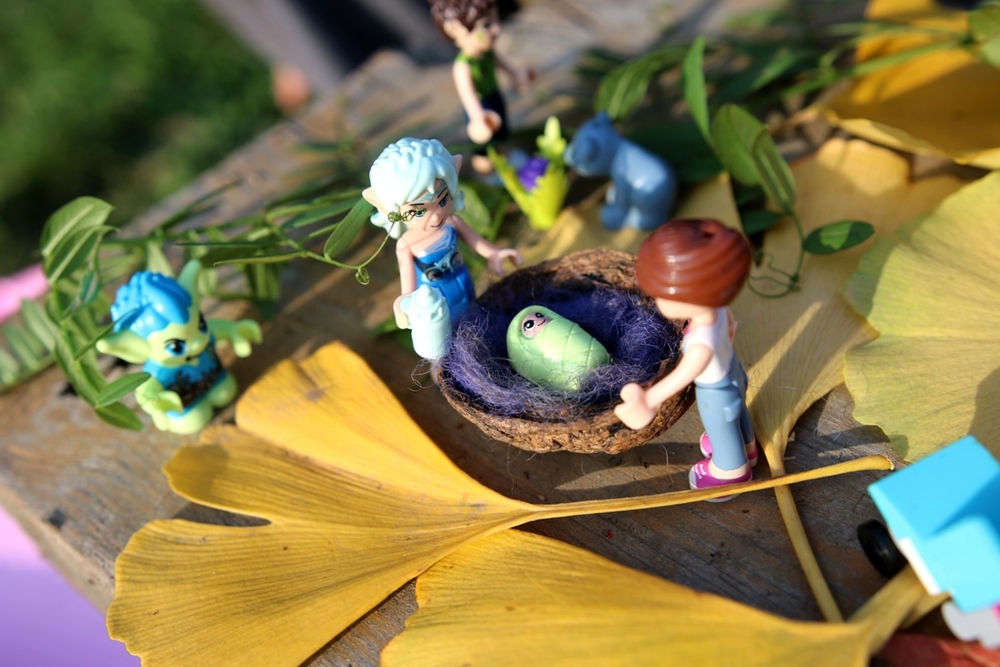

We can experience an unconventional session of creating and building outdoors with our toys from home.
YOU WILL NEED:
a favourite figurine or toy for each child (preferably of the children's own choosing)
HOW TO DO IT:
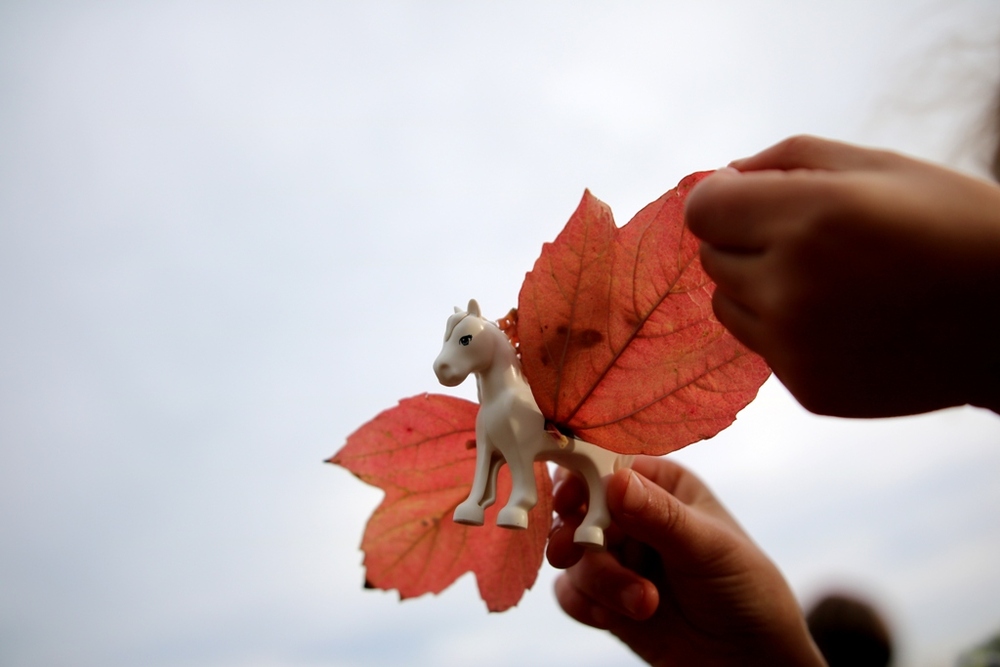
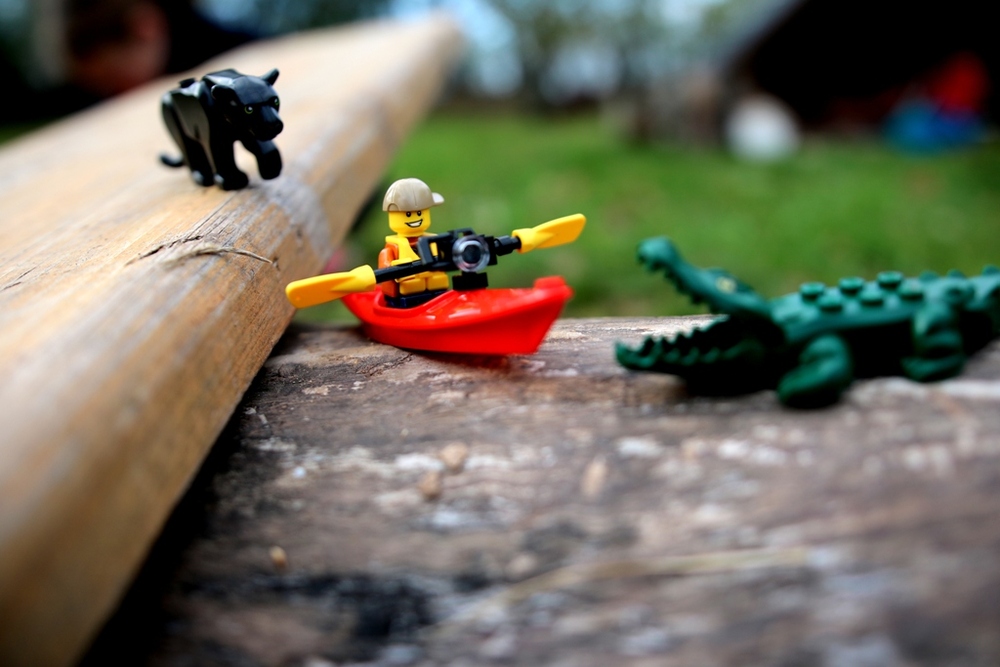
1. For when the children don’t want to go out you can suggest they invite their favourite toys or figurines to join them outside (Lego minifigures, plushies, plastic or wooden animals, cars, excavators, etc.). Let the children find or build or decorate a place for the toys, such as a house, den or garage. Suddenly, small worlds come alive for the children outside and inspire them to invent and play new games.
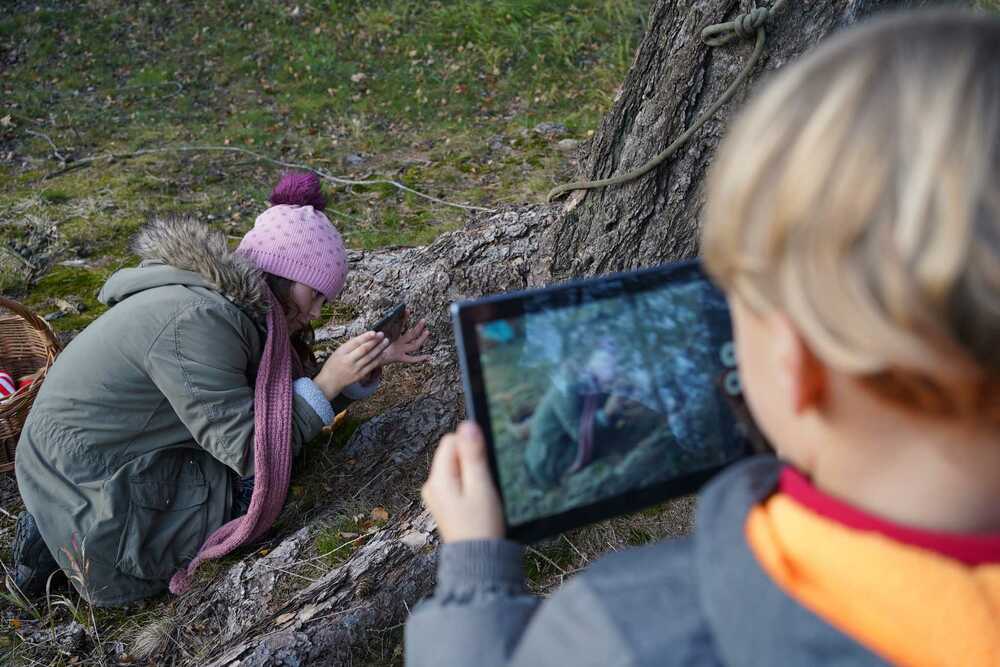
2. You can try a photo challenge with your older children. Come up with an outdoor scene with your favourite doll or action figure, arrange everything and take a picture with a phone or camera. Here is an activity which easily inspires interesting stories and ideas. In addition, children learn to work with composition etc.
3. Outdoor dens are also worth taking pictures of. You can also take some natural materials to school or home with you where you can continue building all the while planning what you will build outside next time.
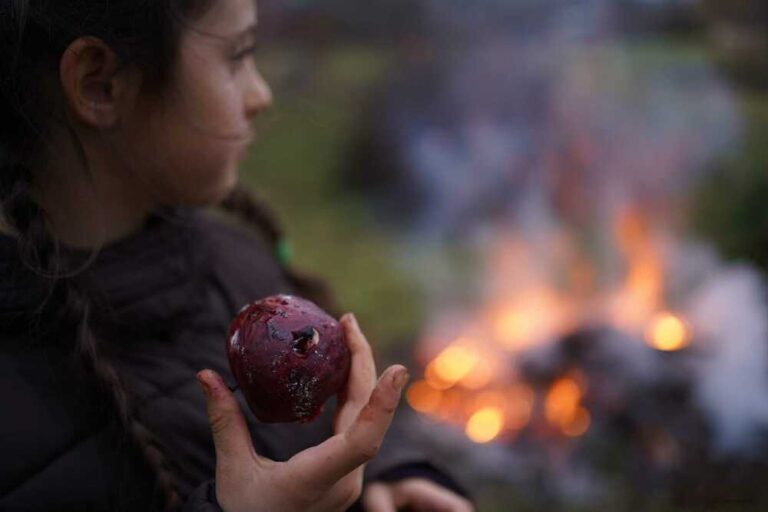
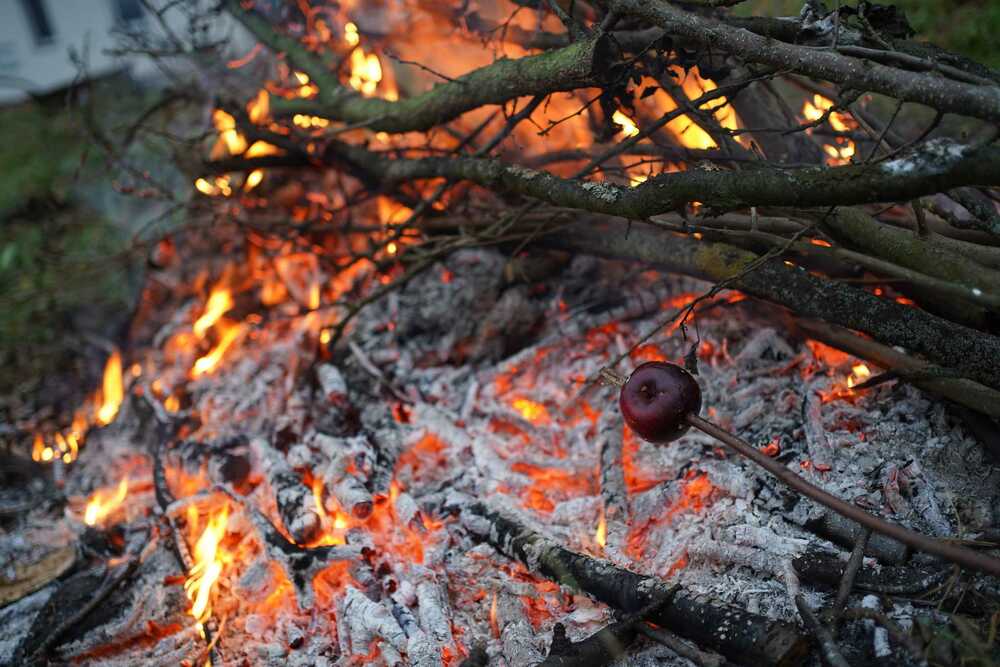

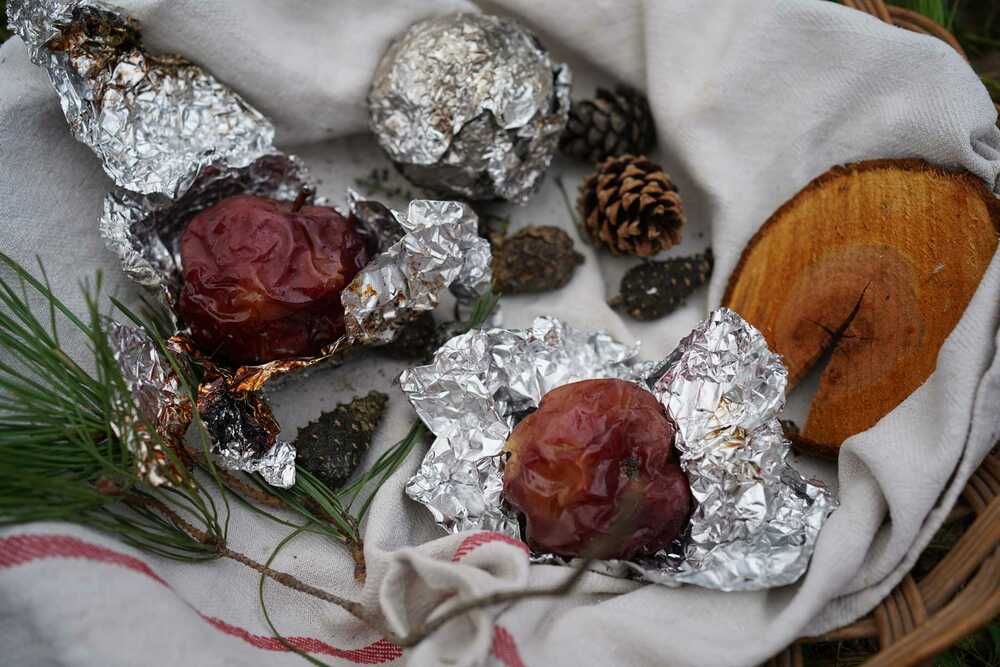
YOU WILL NEED:
apples
foil
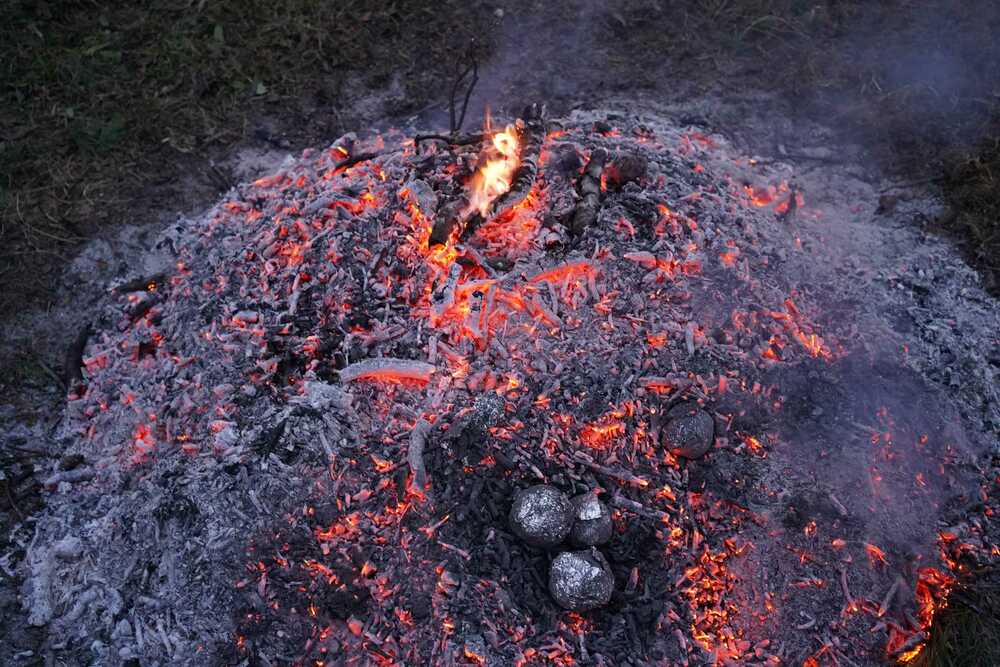
fire or, even better, hot ashes
HOW TO DO IT:
Wrap whole apples in foil plain or you can add a little butter or oil. Now bury the apple bundles in the hot ashes. Depending on the temperature, you will have to wait for 15–30 minutes. When the apple is soft, take it out, unwrap it, blow to cool down… and munch.
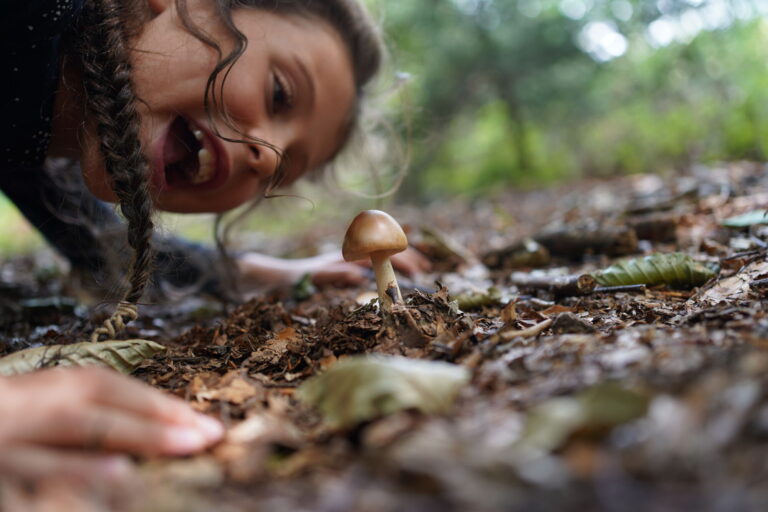

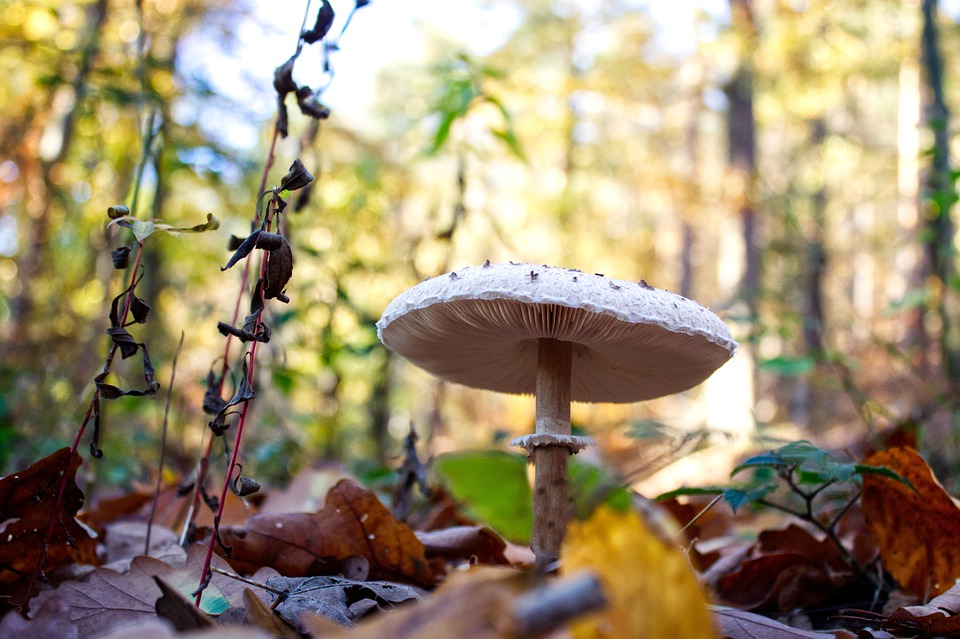

Do mushrooms have a lot going on under their caps? They do! Spores! From which, under suitable conditions, fibres begin to grow and mycelium is formed. Don't believe it? Don’t think there is anything going on under their caps? Well, there is and you can see for yourself!
YOU WILL NEED:
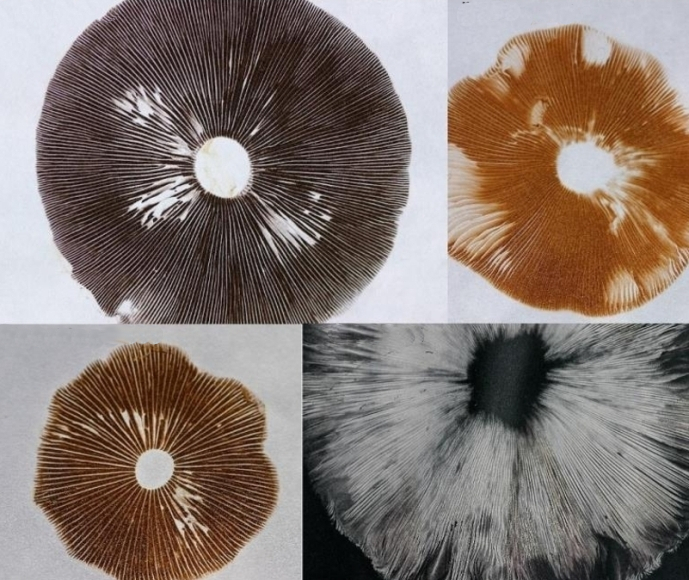
thick paper, white or coloured, depending on the type of mushroom (each mushroom has spores of a different colour)
deep bowl to cover the hat
HOW TO DO IT:
1. The most important thing is to find a mushroom. Once you have it, cut off its stem and place its cap on a strong piece of paper (thinner paper will curl from the moisture) with the gills or pores facing down.
2. Cover the cap on the paper with a bowl deep enough to prevent air flowing around the cap and so it does not dry out. The paper would get too moist under a shallow bowl.
3. Let everything sit overnight.
4. In the morning, carefully lift the bowl and cap and wow! A beautiful picture will have magically appeared on the paper, created from nothing but those spores.
TIP:
How successful you are depends on the stage at which you find the mushroom. You will see the best results with a fully developed mushroom which is just starting to release spores. So not too young and not too old.
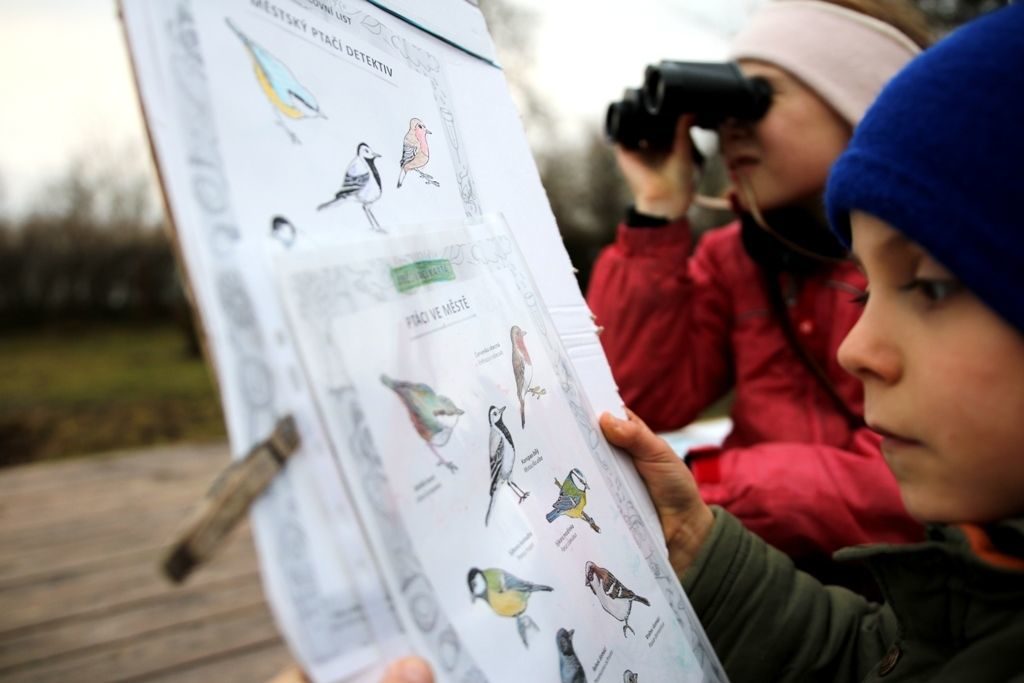

The first frosts are approaching and, with them, the time to feed the birds. Before then you should clean and prepare their feeders. AND if you don't have any yet, feel free to start making some!
This is part of the BIRD FEEDER lesson from the LABORATORY AUTUMN/WINTER e-book. If you are interested in the whole lesson, click here.
YOU WILL NEED:
material and tools for the production of the bird feeder
HOW TO DO IT:
1. CHOOSING A SPOT
Where do you place the feeder? Discuss with children what a good spot requires. To give you some ideas; a spot should offer protection from cats and other predators (placing the bird feeder away from the tree trunk and large branches and high above the ground etc.) and a spot should be visible from a window or other favourite observing place.
2. BIRD FEEDER PLAN
Once you know where to place the bird feeder, it is easier to decide what type to make. Again, discuss various materials and types of construction with the children. Decide together which option is the best (and most realistic) for you. Give priority to natural materials and what you can make yourself.
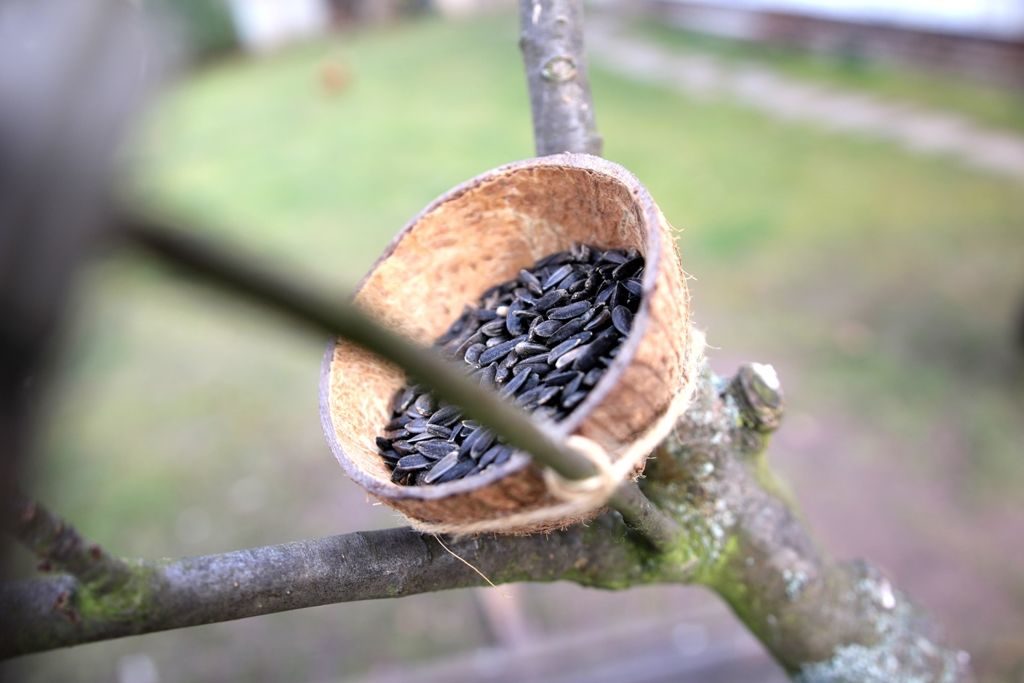
3. FEEDING AND PREDICTION
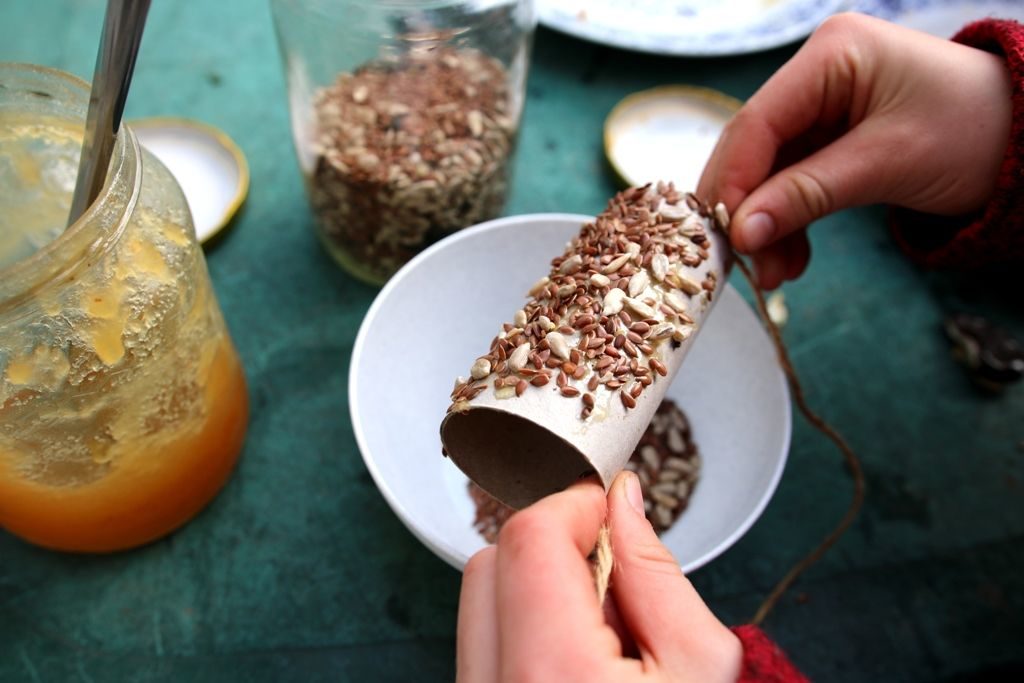
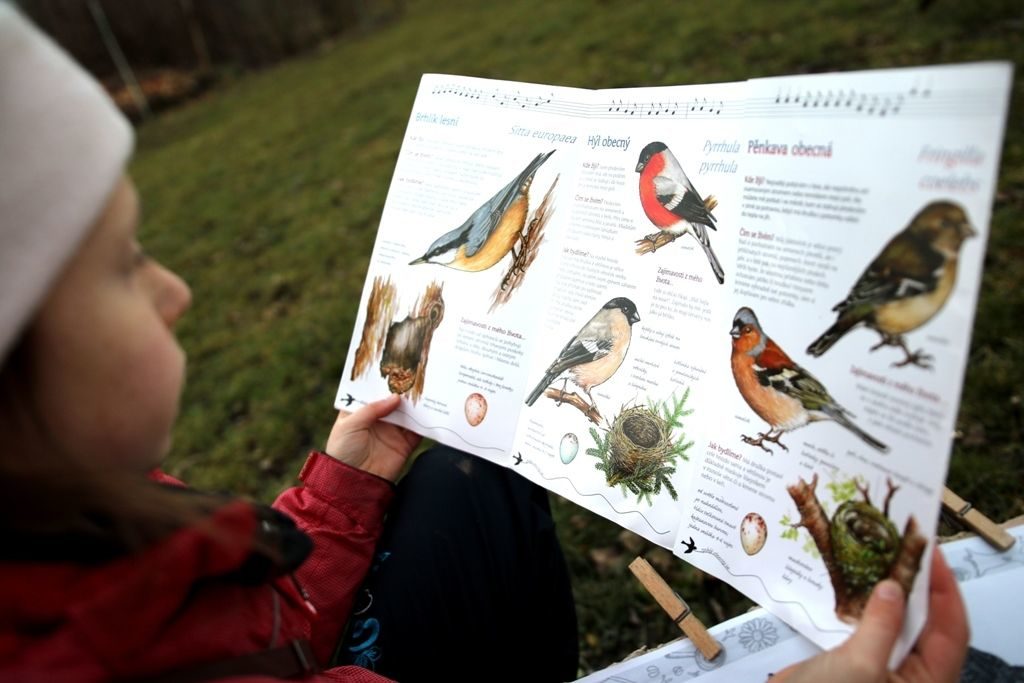
When planning the bird feeder, do not forget to discuss what to feed the birds (sunflower seeds, millet, poppy seeds, oats, red lentils, apples, suet ball, etc.). Make your "recipe" for the food, plan where to get it and decide who is responsible for stocking the bird feeder. You could also write down which bird species you expect to come to the bird feeder.
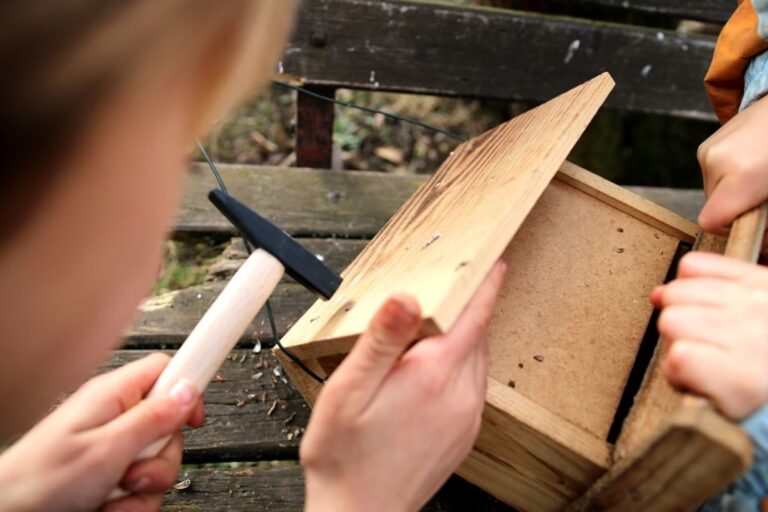
4. MAKING
Let children make the bird feeder. Leave it up to them to divide roles with younger children or, if you see it is necessary, help them get organised. The goal is to make one or more bird feeders from materials collected with the tools on hand. If you have more than one type of bird feeder, you may want to compare and contrast their function and appearance.
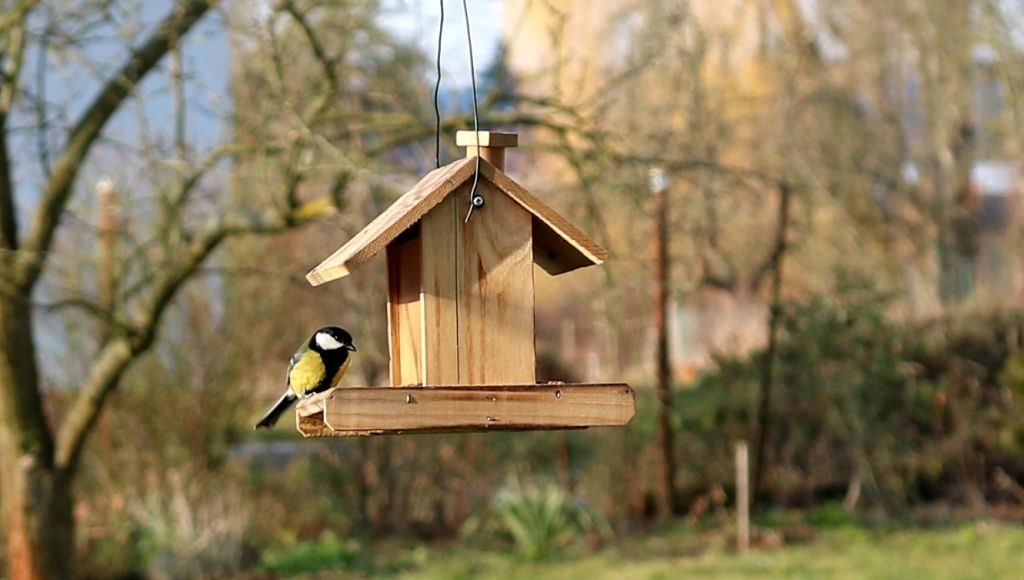
5. PLACEMENT AND FEEDING
Mount the finished bird feeders outside. Check that they are stable and safe, then load them up with bird feed and observe visitors from a safe distance.
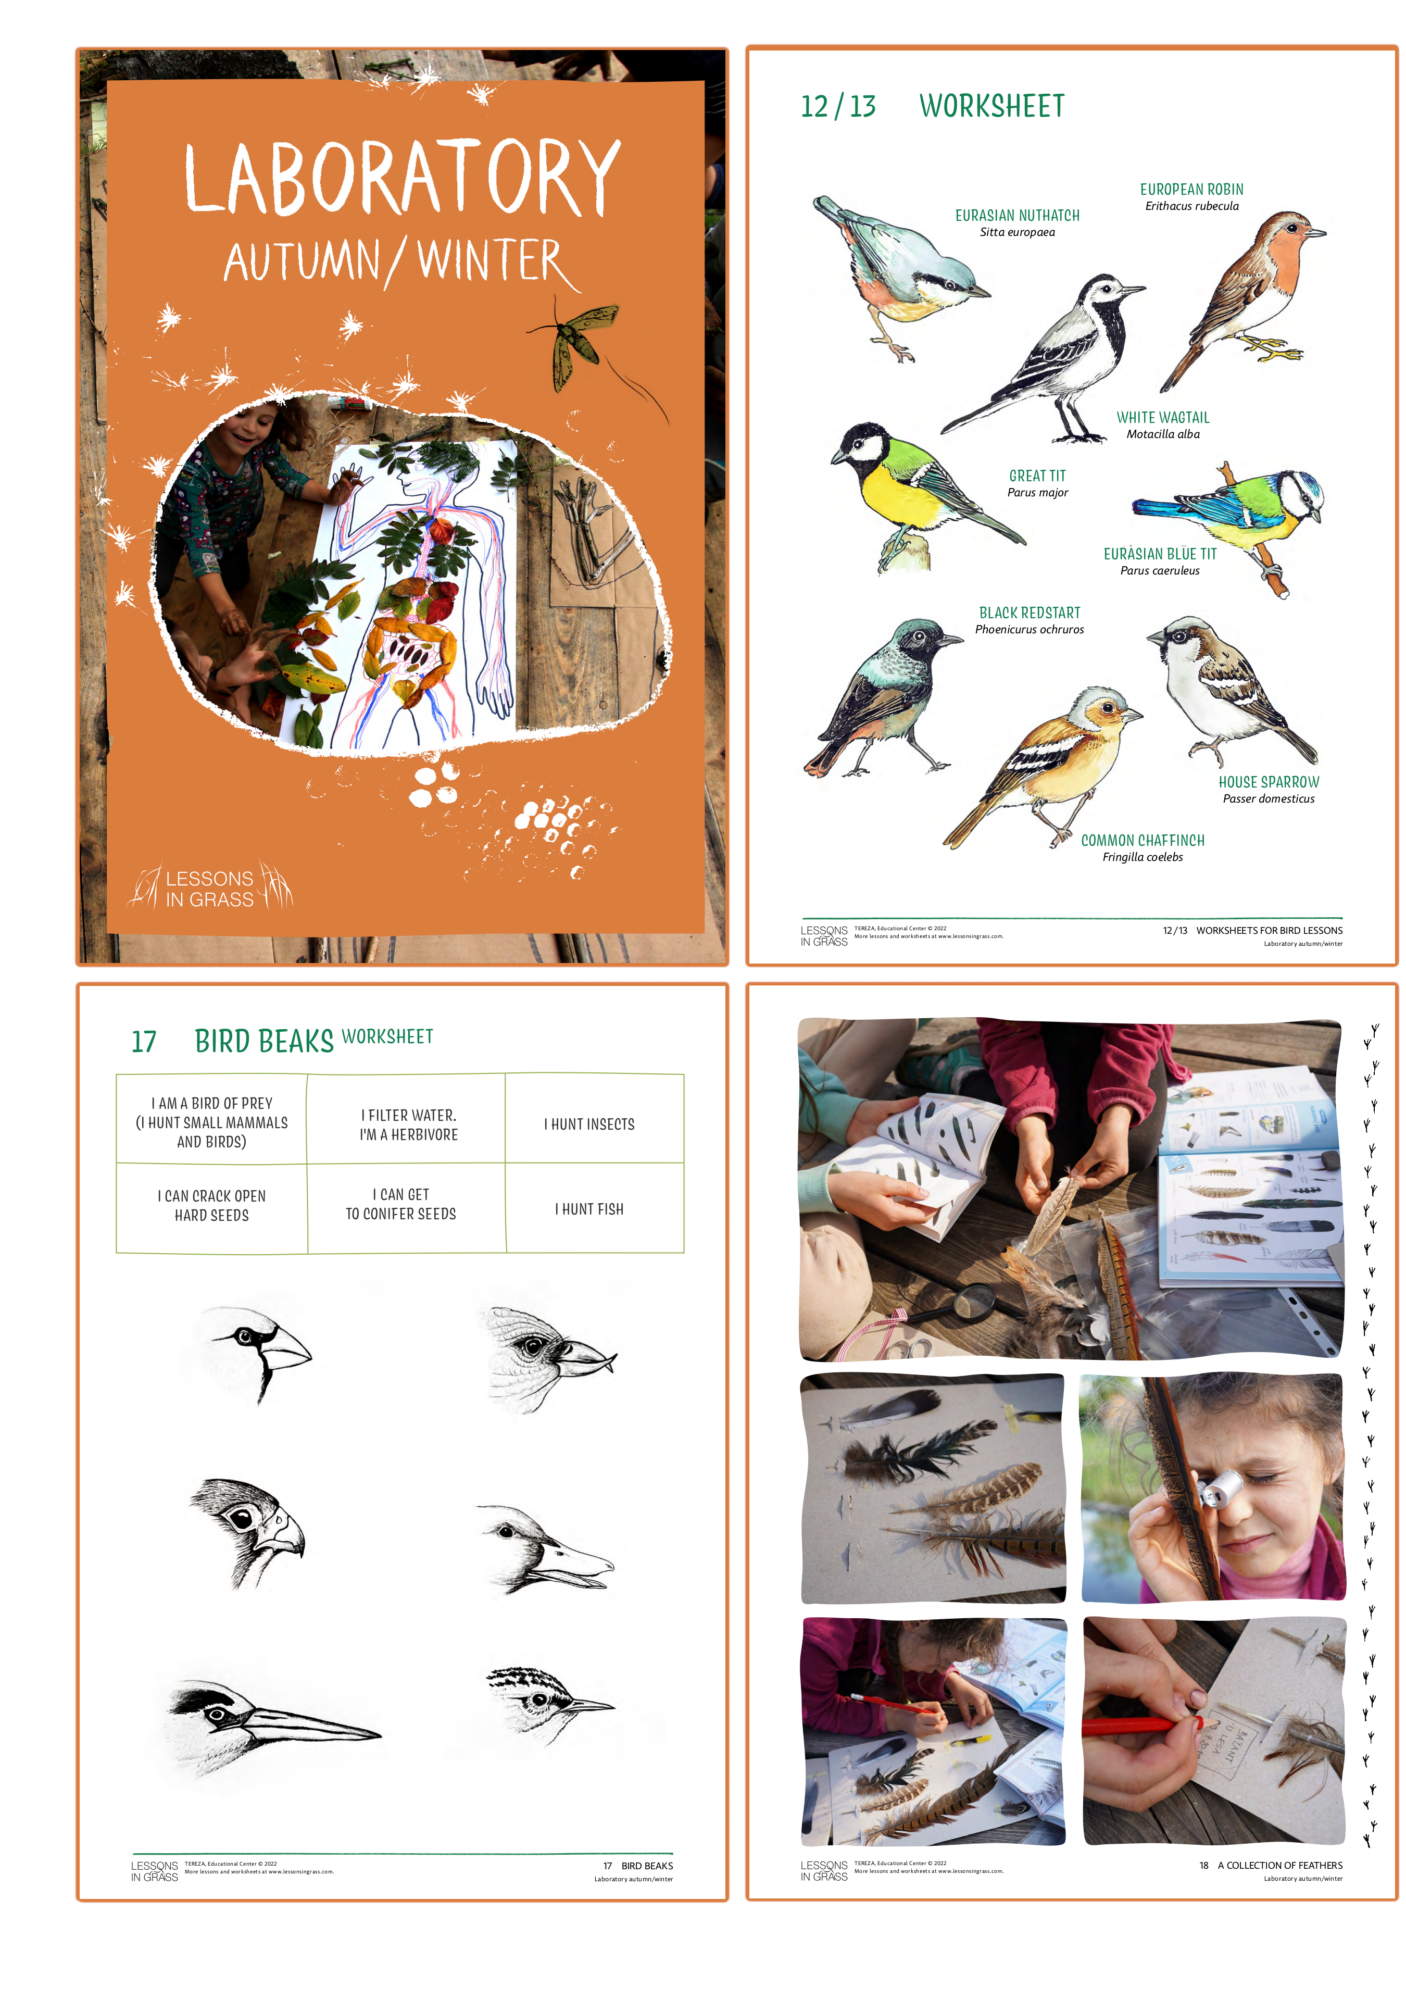
Check out more bird-themed lessons and worksheets. You can find them in the e-book LABORATORY AUTUMN/WINTER
DON'T MISS NEW LESSONS AND MATERIALS!
Whenever something interesting happens, we will let you know in our newsletter.